Table of Contents
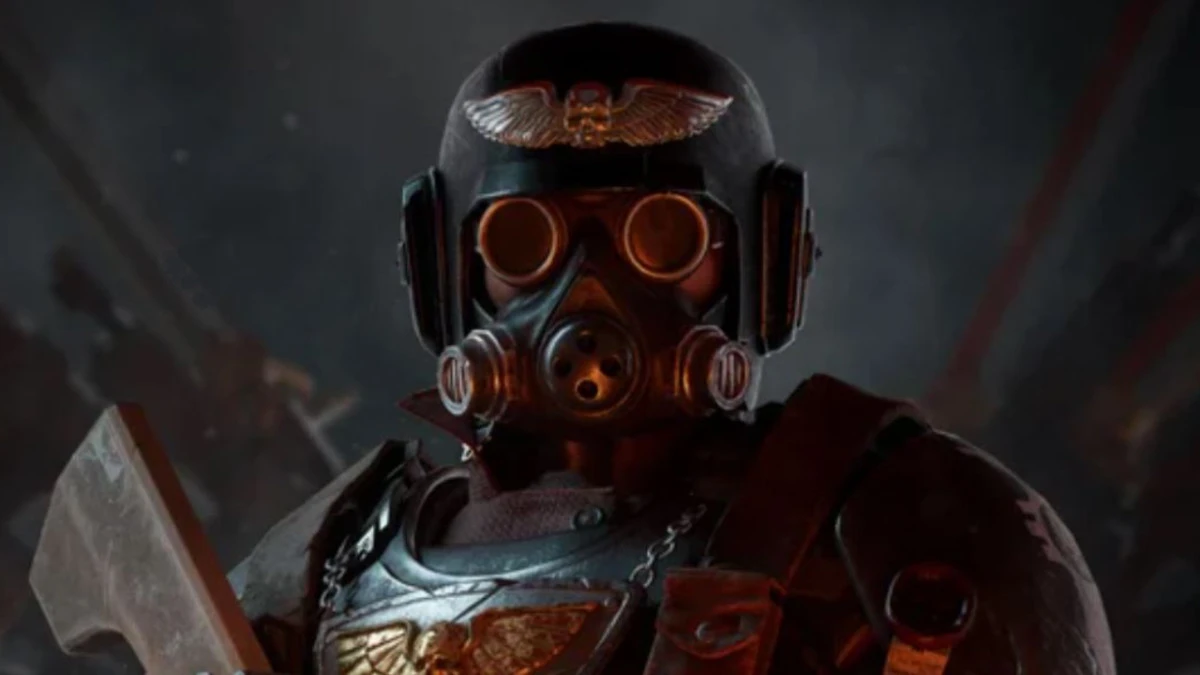
Class
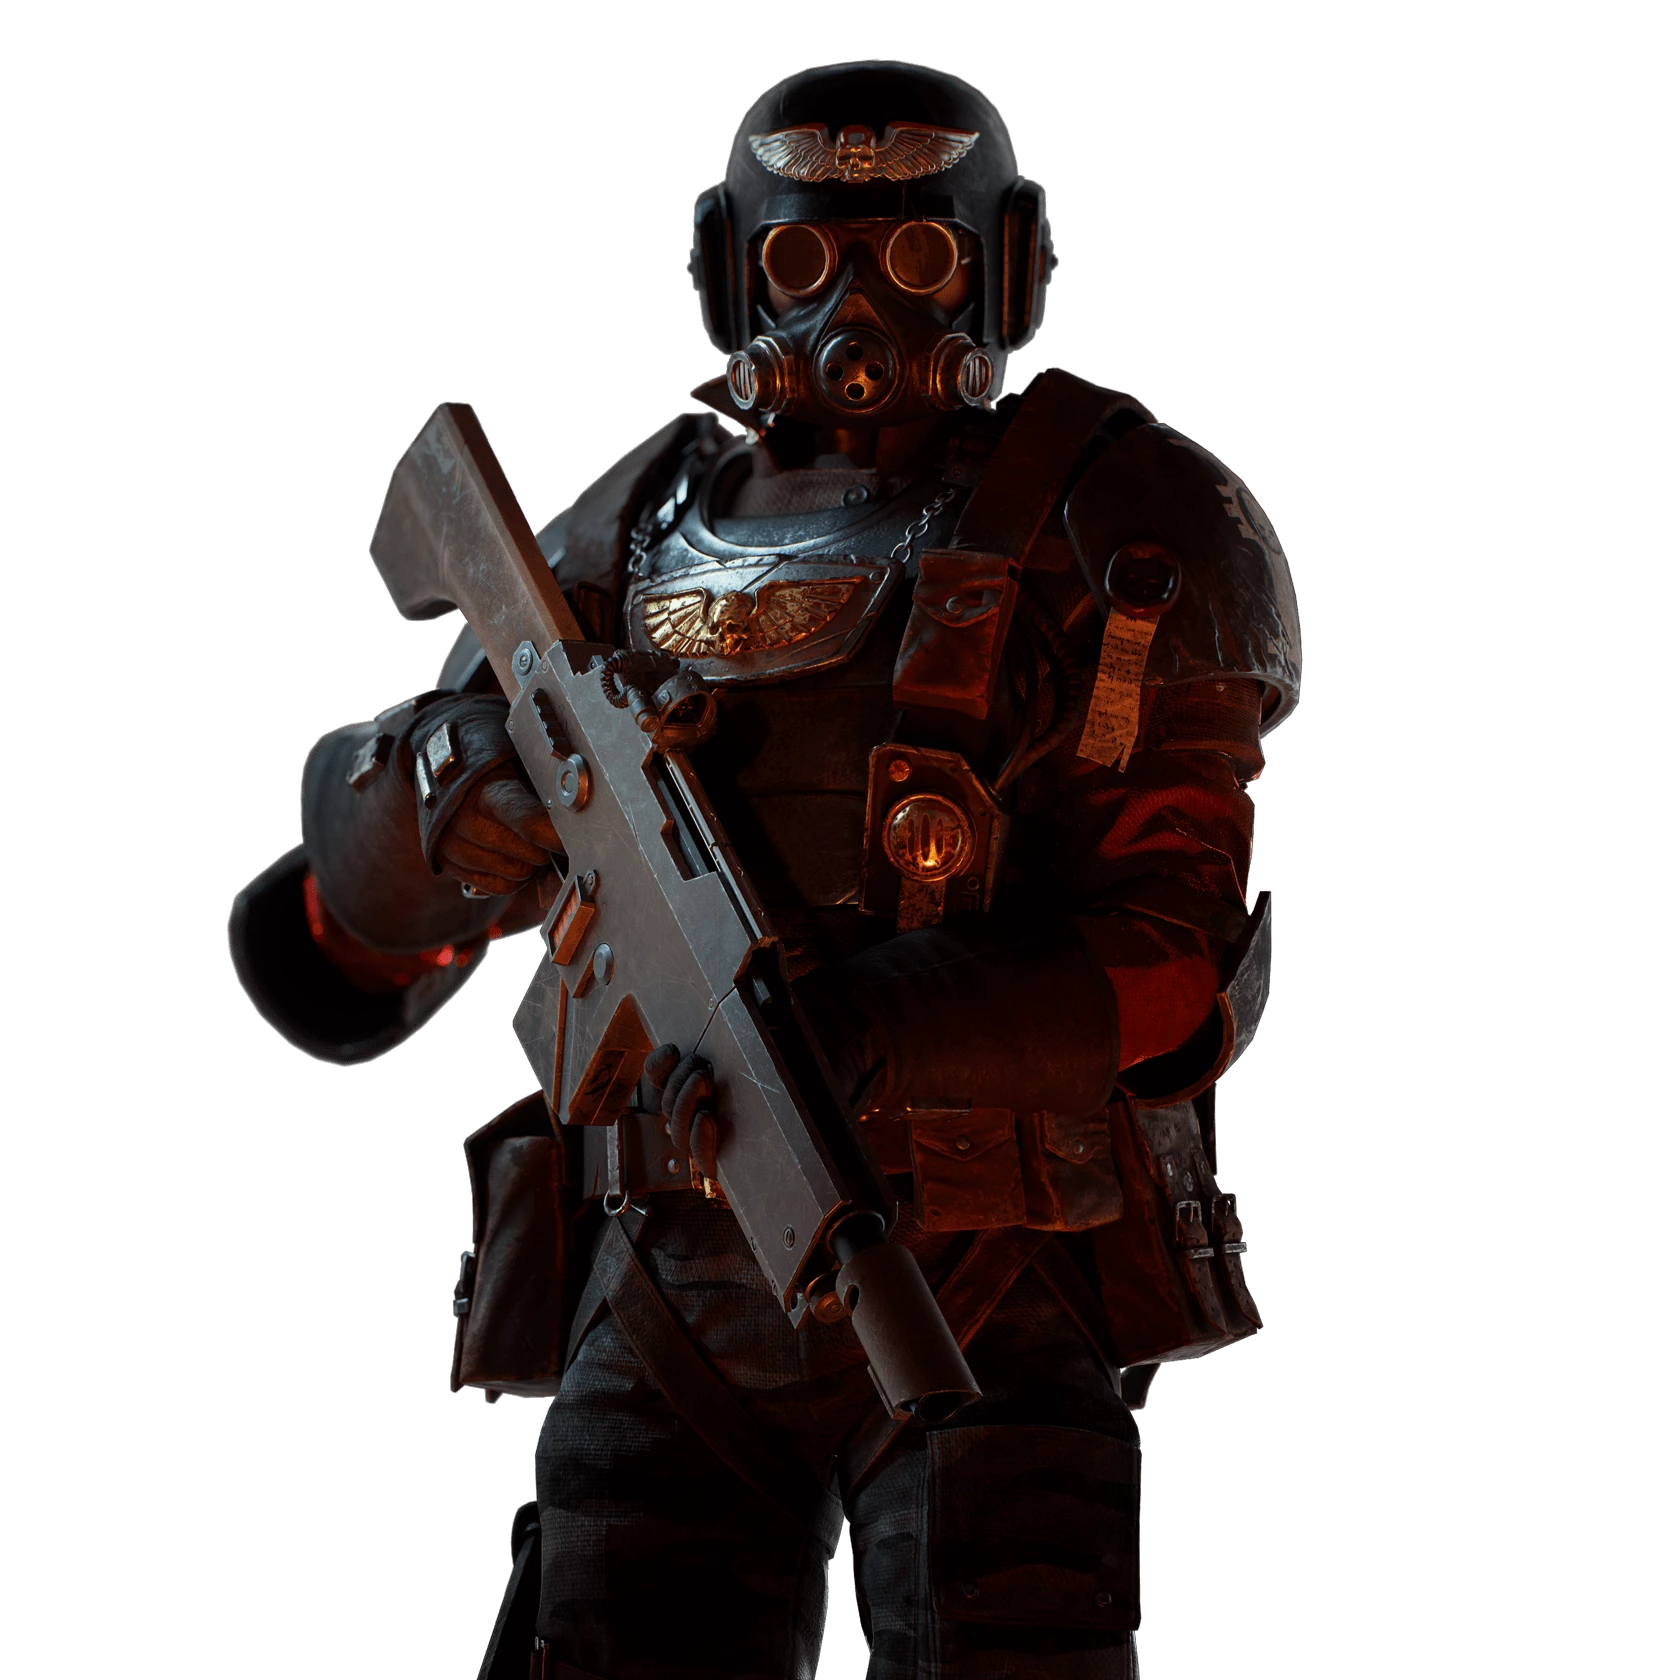
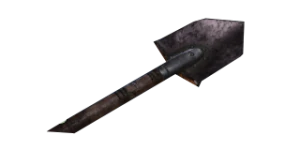
Weapons


Hammerblow
+25% Impact for 3.5s on Hit. Stacks 5 times.
Thrust
Up to +20% Strength based on the charge time of your heavy attacks. Stacks 3 times.

Surgical
+10% Critical Chance for every 0.3 second while aiming. Stacks 10 times. Discharges all stacks upon firing.
Weight of Fire
Chaining Charged Attacks reduces their Charge Time by -12%. Stacks 5 times.
Curios

+17-21% Max Health
+1-3 Max Stamina
+13-17% Toughness
Talent Tree
Description
Caveats
This build has a relatively high skill floor. Make sure you can hold a direction on your own, and always follow up on the aggro dump after using Infiltrate. Low profile gives you a bigger margin of error and room to maneuver, but make sure you Fire and Maneuver at all times, move kill, kill move, and move while killing. Every second you're not swinging or putting rounds downrange is a second your teammates are taking DMG. Be mindful of your positioning and map layout, and employ Situational Awareness. There's no point to popping Infiltrate if all priority targets will be out of view or melee range before you can follow up. Popping Infiltrate isn't always the solution to fucking up or running out of luck. Sometimes you'll need to take the hit and get dropped if cloaking means someone in a better position than yours can do the obj and finish the job. Eg. pulling aggro for the ogryn reviving the psyker that can deal with the doom wall of elites and specials closing in on you three. Despite the air of elitist BS that permeates the community at the end of the day it's a team based co-op game. Don't be a self centered bitch, stand and fight. Take the hit, they'll pick you up once they're done, and you three can go pick up the guy that started the whole shitstorm. Be judicious, being the stealth guy doesn't make you the team's designated game clutcher by default. Play the game, protect the team, win.
Stat Requirements:
Your Helbore should be at least 77-77-70+, DMG - Stopping Power - Charge respectively. Do not Neglect Stability-Mob-Ammo though, baselines should be 65-60-60 respectively. If one of them MUST be the dump stat (Sub 60) pick Mobility. The caveat being that this will increase the skill floor for the build though, as you will have to use your Shovel + Infiltrate (Ult) to move around and manage your positioning more frequently.
For your shovel emphasize DMG-Pen-Mob. First Target is nice to have, as it helps with CCing Crushers, Ragers and Maulers, but can be traded off provided that it isn't sub 60%. Same for defenses, it boost your blocking DMG mitigation and block Stam consumption, but it still can't save you from heavy overheads by Crushers, Maulers, and bosses even at 80 and stacking Stam bonuses.
Ideally you want higher numbers on everything, but not everyone has the time and patience to set up a tent in Brunt's Pachinko parlor while grinding for cash.
How it Plays:
Position-wise keep to the rear and flanks relative to your team. If things go horribly bad and your zealot wants to be everywhere but in the frontline, and the Ogryn keeps LARPing as a sentry turret in the rear you will probably have to frontline. The build isn't intended for that but the CC you can get out of your shovel allows you to flex into it, don't let hordes pin you, and if they do consider preemptively popping a smoke if you're being focused by disablers. Why? Because in said situations the AI director often loves to spawn one or multiple grenadiers and flamers nearby to make sure the horde can finish the job.
Tag often, not just what you're about to kill, but everything you see. Then finally tag back to what you want to kill. This should let your team know what's coming if they're not blind, deaf, or lagging/have glitching audio. If you're achieving optimal positioning you will often be the first to engage flank waves, rear ambushes, and surprise hordes. AI The director will lovingly send every dog, mutant, and trapper it can afford to your way. If your team often neglects to support you while continuing to move ahead whenever you get fixed by a particularly nasty wave or doom wall, don't hesitate to pop infiltrate to proc low profile, and get the DMG boost while you continue to engage to speed things along. Leakers will hit your team, but if they didn't pay attention to you being stuck tens of meters out of coherency fighting the entire map to their rear as you're frantically tagging 10s of different things, and recreating a Star Wars into reel in the kill feed. . . What you're fighting would've wiped them anyways if someone else was in your place. Getting ganked by a crusher or a grenadier you couldn't pull back once low profile expires should remind them you exist.
While navigating the map, unless there's no other choice, always advance along walls and side routes while trying to keep most if not all of your team in view. Within reason of course, be careful not to isolate yourself, and always fight on the move. Ideally towards your team if you're out of coherency. If you're not, towards the rear if you and the team can't put enough fire downrange to fix the advance. Otherwise push, and kill. Match your pace to the team or dictate it by example if they're passive. The director will always hit the team in multiple directions, annihilate the first wave before the others hit and seize the initiative, destroy them in detail. Stay out of the open, and keep cover close but not to the extent that you lose line of sight with the team or aren't able to take shots in their direction. Keeping a wall or cover in one of your blindspots will minimize how often the director tries to get chaff to play grab-ass with you while you're trying to take shots. It will also allow you to protect the team from surprise waves, and disabler flanks. Be aware of your surroundings and don't back yourself into a corner if facing elites or Ragers.
Keep sprinting to a minimum, your Helbore Mk3 is for aggression, and your Shovel is for defense. There are exceptions, but this should dictate your tempo. Keep your Helbore out, even in situations where you'll have to quickly switch always try to get one or multiple shots into your attackers (assuming elites or specials) before they close the distance, the switch to melee while blocking or dodging. The H3 has a slow switch animation. Learn to manage and time your dodges with ranged weapons. You will be often forced to dance around chaff while rationing your ult in order to focus specialist threats. Infiltrate + Low Profile helps here, but don't be wasteful, don't just pop it every single time the director drops one or two pox walkers on you. Gitgud at dodging chaff while using your ranged weapon, and Infiltrate will always be there for you if things go awry or you need to pop an elite, grenadier or sniper.
Infiltrate is commonly used as a defensive disengagement tool, and to close the gap in melee builds. For this build you employ it offensively as an opener to burst down multiple threats at the start of the fight with your Helbore, and to boost your DMG in melee for horde clear and doom wall kiting. Depending on the incoming threats, you open with infiltrate to trigger Marksman (Talent) + For the Emperor (Talent) + Surprise Attacks (Talent). Thanks to Overwatch + Relentles as long as you maintain good situational awareness you will have close to 100% uptime on your ult by focusing disabler spawns in the rear and flanks of the group. Unless you mis/overuse it, infiltrate will always have at least 1 charge up when you most need it.
Hammerblow and Thrust allow you to duel Ragers and Crushers without needing to invest in the Desperado + Reciprocity + Onslaught talents. Open with a special head strike, then a heavy, after 2 stacks of Hammerblow you should be able to reliably stunlock Crushers if you keep hitting it's head with heavies. 3-4 stacks if your First Strike stat is below 65%. Same for Ragers and maulers, weakspot hits makes it easier for these as well but are not necessary as long as you can build up 2 stacks of Hammerblow before they start using overhead strikes.
Use heavies for horde clear, reserve light strikes for single targets (combos only against elites), and special strikes will be your opener to guarantee a stagger against melee elites and Ragers. While not as able as builds running Desperado you can still reliably CC and dispatch hordes at a relatively competitive rate. If your melee is good you can even reliably kite doom walls, and in the right circumstances even stand your ground as long as you carefully manage your positioning and use Smoke to protect yourself against Grenadiers, and Flamers (stay in the cloud).
Use Smoke Grenades (Blitz) to protect yourself and your team against ranged threats if your team can't gain fire superiority during a firefight. This is the case when you're all suppressed and can't knock out opposing Gunners and Reapers quickly enough or are fixed by a horde and other melee threats. They are a last resort, do not open with them unless your team is faced with an opening spawn of multiple grenadiers they can't quickly clear. Things operate in cartoon logic for this game so you blind yourself to blind the enemy and throw them at your feet like you're some mall ninja. In certain circumstances you can do what makes actual sense and throw them at the enemy to blind only them. Unfortunately with the way things currently work this is unreliable, and should only be done in chokepoints where the smoke coverage guarantees that ranged enemies will come towards you instead of pulling back or to the flanks to avoid the cloud. This is also a good way to flush out obscured grenadiers camping your team too, they will attempt to leave the cloud before reengaging, this will be your chance to put them down. Be mindful of positioning, and map layout, otherwise you'll just shuffle them to different cover, or behind the cloud where they'll proceed to reengage the team. Another use for them is to isolate a boss or monster, pop it on the spot where your team is curb stomping it as it will protect you all from grenadiers and other ranged threats trying to peel the team off it. It'll also have the added benefit of forcing ranged threats into melee rage where you and the team melee crackhead(s) can do their thing with one had while bullying the boss with the other.
With careful Stam management and Surgical + Deadshot you can make the majority if your attacks Crit, it won't be 100% but it's reliable enough to keep you safe from most things other than hit reg shenanigans. Consider dropping a couple of points and going for the 0.25 Stam node in the Vet Commando tree if you're willing to lose some breakpoints. It keeps Deadshot fresh longer, and also helps your melee and survivability if you know how to block and push. You don't need to religiously micro your Stam bar, just be cognizant of how often you stay in ADS, and do not ADS to scan for targets. ADS, shoot, kill, toggle to regular view, scan, acquire, repeat. It's a skill, work on it, it's transferable to other shooters you play too.
"Wait, what, three other people!? WTF?"
The team psyker if he knows what he's doing will be your best friend, and anchor. They like to hang out in the rear and flanks too, make sure nothing sneaks up on them, and they will protect you too. If you get the one out of dozens of ogryn or zealot players out there in the community that know how to play defensively and stay in coherency, rejoice! Victory is assured, but don't be complacent and keep disablers off them, and you will never even notice Crushers, Maulers or Ragers in that run. If the shieldgryn sets up in front of a scab heavy weapons platoon, don't just stare at them, pop Infiltrate and camp their flanks, rear, and clean the place up. Thammer zealots can't horde clear to save their lives. Unless they're one of the few that know what they're doing, 7/10 you will clear hordes nearly as fast as they can nuke multiple elites. If a doom wall hits he will be the anchor, keep the horde and disablers off him and let him go to work. Playing with other vets? Mind your spacing, unless someone other than you also knows how to melee you guys will frequently get boxed in by hordes and elite spam. There will always be at least one trapper mixed in, and multiple flamers and grenadiers on the way. If they can't put out enough fire to keep their sectors clear you're going to have to start popping infiltrate like you're a dipshit speedrunner and constantly flex between disabler hunting and frontline. These games will make you wish you were running a WS commando build, but trust your shovel, and be aggressive. Hopefully you checked their loadouts while in the lobby, and assuming he has kit that doesn't make him deadweight, protect the guy with the guy with the biggest gun. He's going to be the closest the team will have to a CC Psyker or a Thammer Zealot if he's running Plasma or a Bolter. Stuck with 3 executioner's vets? Pray to god at least one of them knows that you can turn more than 180 degrees using your mouse and WASD keys. If they know their kit and the game, you guys will dominate anything but T5 Auric, monstrous maelstroms with a coked up director. Otherwise you guys will frequently be overrun from flanks and the rear. You will have to revive people often, but will have a fighting chance if they keep to coherency. Don't try to be everywhere, but do keep an eye on them, and pick a direction and make sure everything there dies before turning around to babysit them. Keep infiltrate use to a minimum or they will be overrun, use it as a life preserver for yourself and them when shit hits the fan, or you need to rush to the revive point to pick them up. Can't emphasize this enough, if needed embrace the frontline and be aggressive. Don't get boxed in, pick a direction, breakthrough and create a safe fallback point, ideally towards the rear, but beggars can't be choosers. This is the case with most mediocre and incompetent teams or when the director flips the lag switch on more than two of you, but it's more likely even with decent veteran players in tow. We're all divas, and prone to ADS tunnel vision. We prefer to shoot 9 enemies out of every 10 and would rather die before learning any melee weapon other than the PS. Fights will quickly go to hell, anchor on the guy with the biggest piece, don't let the director isolate him. If he's putting out good amounts of hurt the director with focus him down with specials and elites. Step up, channel your inner ogryn, and work with him to keep things rolling. If you're the guy with the biggest piece. . . pray to the God Emperor they can melee too, and at least one of them knows how to actually use his Counterfire build.