
Table of Contents
Ogryn Build - Warhammer 40k: Darktide
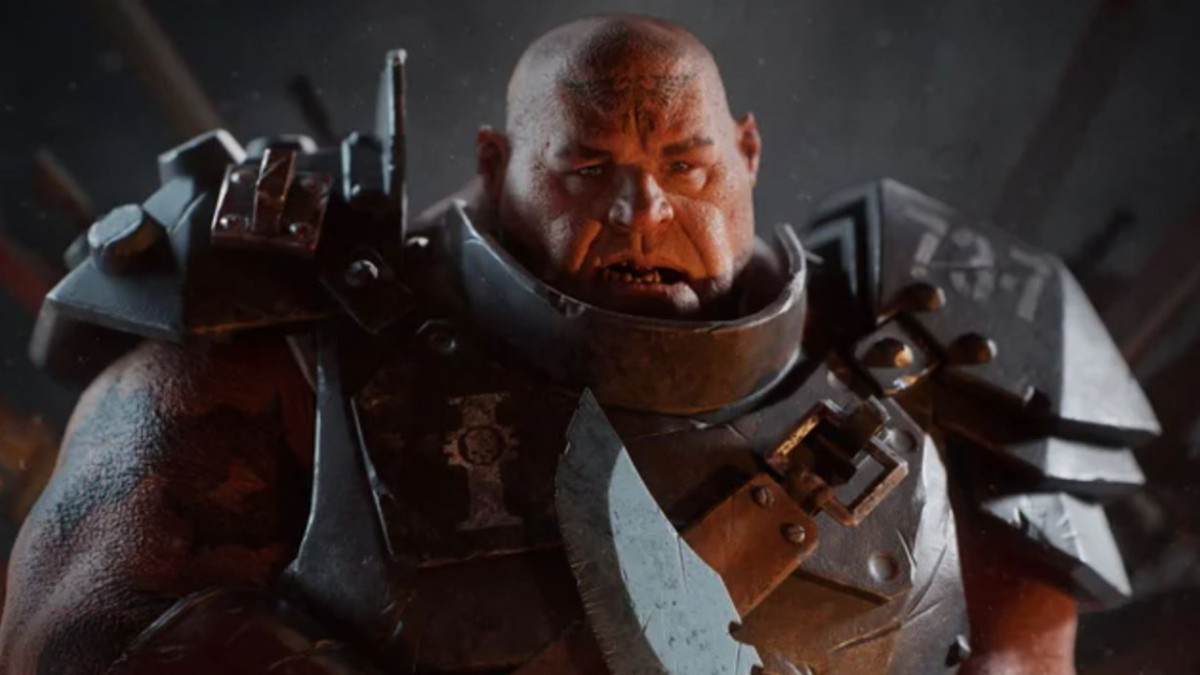
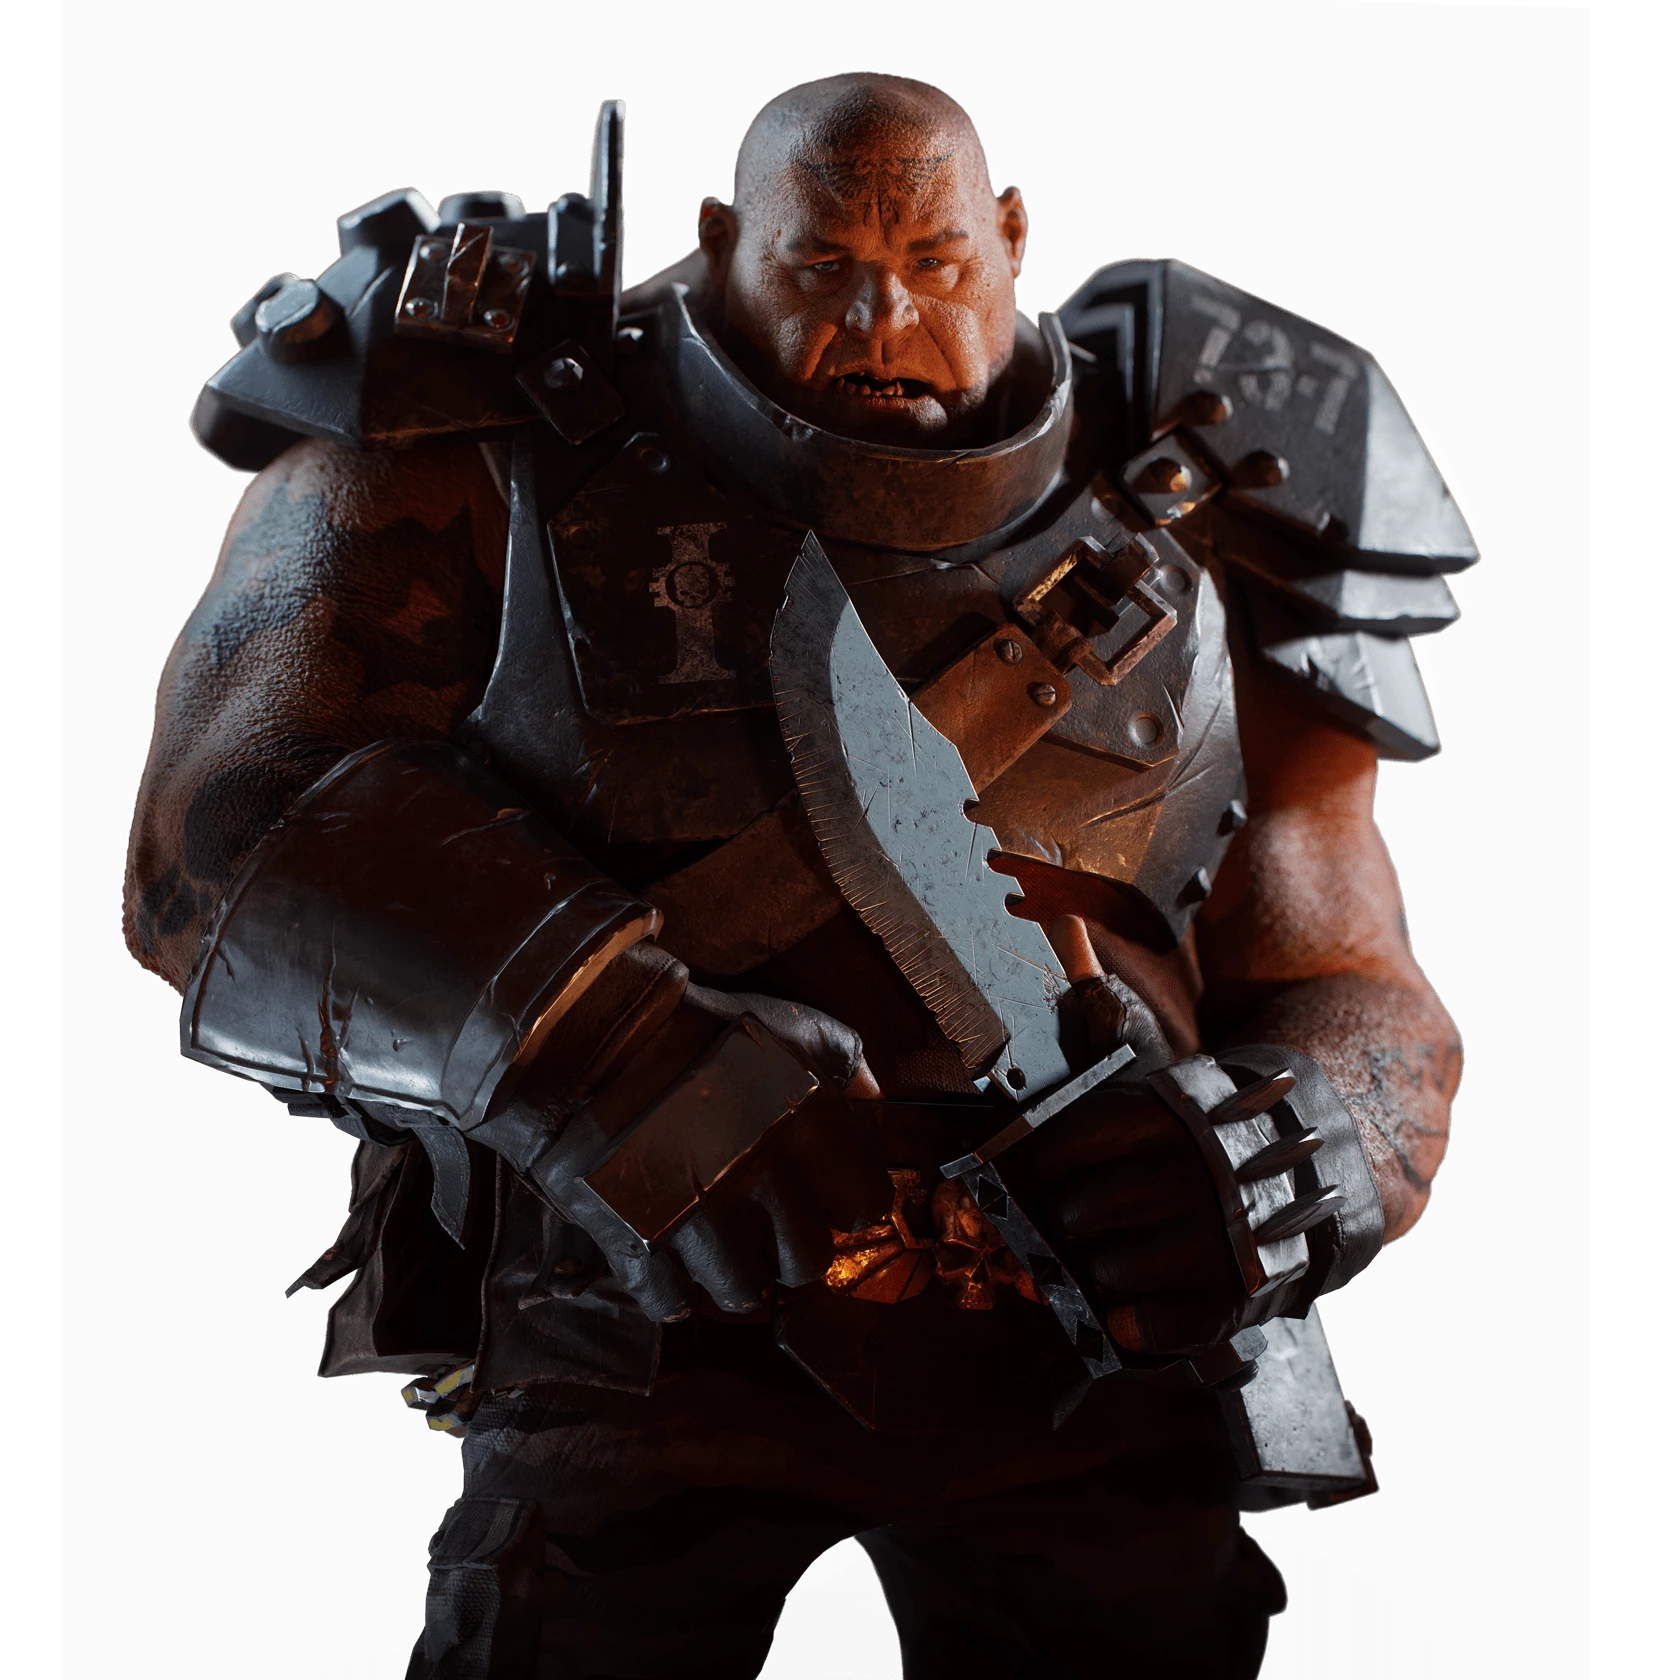
3 Shells In 1 Barrel - Ogryn Ranged Kickback Build
Ogryn Build - Warhammer 40k: Darktide
Class

Weapons



Brutal Momentum
+15% Weak Spot Damage. Weakspot Kills also ignore Enemy Hit Mass.

Skullcrusher
Target receives 4 Stack(s) of +10% Damage if already Staggered. Lasts 5s.


Blaze Away
+9% Strength for every shot fired during continuous fire. Stacks 5 times.

Full Bore
+30% Strength for 5s when every pellet in a shot hits the same enemy.
Curios


+13-17% Toughness
+13-17% Toughness
+13-17% Toughness
Talent Tree

Description
Note: This build is not optimized in any way. What's here is effective (at least for Damnation, the difficulty I usually play on) but it's not specifically made for high levels of Havoc or Auric Maelstrom. Everything was tested in live games on Damnation and in the Psykanium on Auric.
This build came to me when I was looking at Ogryn's talents and saw all the ones that made reloading faster and increased damage on reload/emptying your clip. What came out was a ranged build that I think I actually prefer to twin-stubber ranged Ogryn. I'll admit, I'm not using fully leveled weapons while I'm testing this build (both my melee and ranged are at power 400), but they're still both kicking enemies' teeth in even when they're not at their full damage potential.
Shovel Use
The shovel is used for dealing with hordes (just chain heavy attacks) and carapace enemies (use the alt mode for them). If you need quick damage, like to break a captain's shield, kill a vanguard enemy OR kill a hound after pushing it, just spam light attacks.
Shotgun use
The real meat and potatoes of this build is the Kickback shotgun. Thanks to Lucky Bullet (from Burst Limiter Override) and Back Off!, you can pretty consistently fire 2 rounds in a row and, if you're lucky, you can fire 3 before needing to reload, which thanks to all the reload talents that are taken, will be pretty damn fast. You'll be using the Kickback to deal with ranged enemies, hordes of elites (like Gunners, Shotgunners and Ragers) and specialists (which, depending on the distance they are from you, may take 2 shots to kill). Furthermore, whenever a monstrosity appears, thanks to Fullbore, if you simply repeatedly blast into the monstrosity's weakspot (preferably while also using Point Blank Barrage, though you can still use your ranged weapon to attack even if the ability is on cooldown), you will take CHUNKS out of them at a time. Thanks to Lucky Bullet and Point Blank Barrage, you won't even use a lot of ammo while dealing with enemies. You'll need, at most, 1 or 2, maybe 3 ammo tins the entire mission. Oh, and if you have a Veteran with the Scavenger aura, you will NEVER need to pick up ammo, period.
Other notes/Changes
The Kickback really only works up to 30 meters, where after your damage will start heavily falling off. Even snipers, the weakest specialist, will take 3 or 4 shots to kill. If Point Blank Barrage is active with Light 'em Up, however, they tend to be 1 or 2 shot because the fire DoT gets them.
When it comes to your blitz, I'd choose either Bombs Away! to clear space for yourself in an emergency and have multiple uses of it, Frag Bomb for a BIG "oh shit" button or Big Friendly Rock for dealing with far away specialists. I'd recommend Bombs Away! or Frag Bomb since the use case for Big Friendly Rock is too niche. I actually changed to Frag Bomb in this build (since I've been running into too many situations where I need a big fuck off nade, not several medium size ones) but the build editor doesn't let you change the blitz if you have skills picked past it (WHY, THE DARKTIDE ITSELF LETS YOU DO THIS).
When it comes to choosing between Hail of Fire or Light 'em Up as your modifier for Point Blank Barrage, I will say that Hail of Fire is better for close range encounters (as the damage and rending it offers will often ONE SHOT enemies), but Light 'em Up provides better damage at range and more utility for monstrosity encounters. In general I'd recommend Light 'em Up for the utility.