Table of Contents
Class
Weapons
Curios


Talent Tree
Description
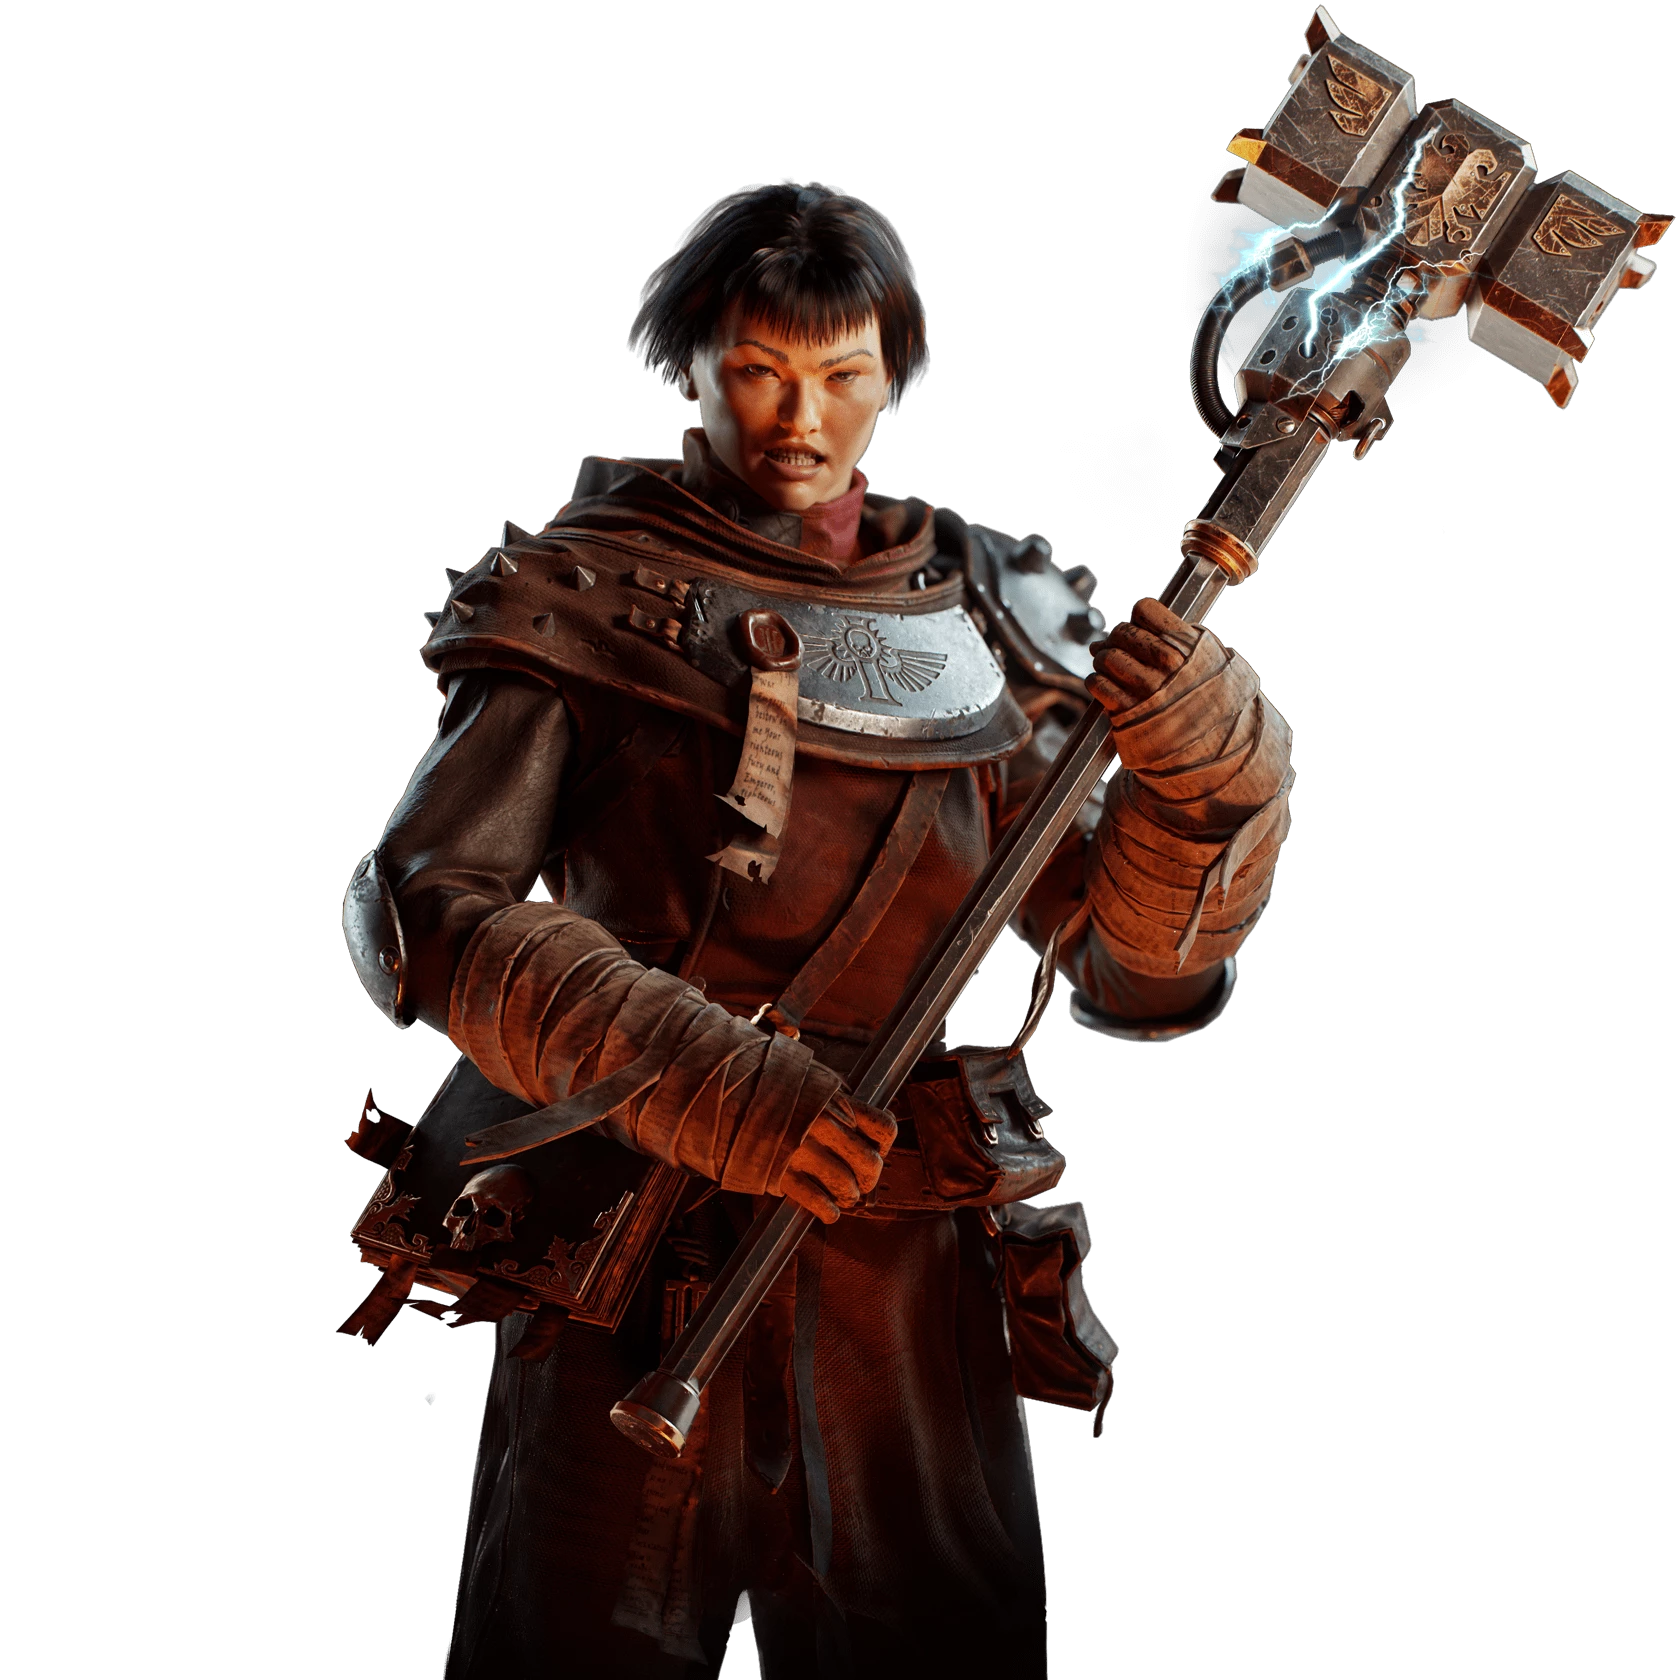
Low skill floor, high skill ceiling, enjoy wading your way through anything and everything! This build abuses the Crusher's insanely high innate critical damage bonus, cleave and versatility, as well as the Zealot's capacity to give any of their weapons 60% crit chance.
Due to how often you'll crit, and how many targets you'll be hitting with those crits, you will be refreshing your active ability constantly, giving you an on-demand big damage boost, toughness recharge and aoe stagger. Not to mention, you'll be dealing an insane amount of damage against everything near you and in your field of view.
We pair the Crusher with the Columnus to have a decent mid-range special killer, as well as a very high DPS option against bosses. You can also use it to annihilate reapers, bulwarks and mutants. Look at Variant A at the end of the guide for a build focusing more on boss killing.
This is my absolute favourite build, slightly winning over the focus fire plasma gun veteran. It is fun to play, easy to learn, tough to master, and an absolute beast. In terms of performance, I have yet to see a single other zealot perform better at anything (DPS, elite kills, stagger, team rescues etc.) in Aurics*.
Pros:
- Where you are, hordes do not exist.
- Rager swarms are naught but small waves fruitlessly vanishing against the bulwark of your utmost contempt.
- You get to shout "DOWN BOY" whenever you see any Ogryn enemy.
- You also get to annihilate reapers and bulwarks in record time.
- Bosses are your bitches* (*Daemonhosts will kick your ass, but it is good etiquette to NOT aggro Daemonhosts to begin with).
- Gunner swarms are at your mercy: they cannot stun you, slow you or really even threaten you in any way. It's a shame the Columnus has such a low suppression value. Better charge into them and let them know who's boss* (*so long as you're not leaving your team completely behind and thus coming across as one of THOSE Zealots).
Cons:
- Snipers can get tricky once they're past the 15/20 meter threshold. You'll have to aim at them and use careful, controlled bursts of fire to get them. Your bets are off if your gun has low stability.
- Though you can easily control Crusher hordes once you get used to weaving special activations in your combos, killing them is a different matter: your role against Crusher hordes is to make everyone else's life much easier. Let those Deimos Psykers, Plasma/Revolver Vets and Bleed Ogryns kill them.
- The Columnus has 0 penetration. If an Ogryns walks in front of you, you're not going to dealing any damage. If a horde is standing in front of that trapper, you better get ready to dump a magazine before you finally kill the bugger.
- Until Death will more often than not proc when you get grabbed by a trapper. That feeling sucks hard. Get used to it.
To note:
- Thy Wrath be Swift is not optional. It provides stun immunity to ranged and melee attacks, as well as slowdown immunity against gunner fire and fire puddles. It is the single highest value perk on the zealot tree, and simply not something any well-thought out build will skip.
- Shield of Contempt is not nearly as impactful, yet still extremely high value: the cooldown for the effect is separate for you and your team. That means that if a team mate activates SoC, you still get to activate SoC. Not only are you providing your team mates a great amount of damage reduction, you're benefiting from it, too!
- Second Wind IS optional, but it is also one of your best toughness generation mechanisms... and toughness generation is something zealots sorely lack. SW, in conjunction with TWBS, is what allows you to be so carefree about gunner swarms: you can sprint, slide and dodge crabwalk your way to a gunner swarm fully intent on killing you and they will simply have done nothing to your health.
Basic combos:
- LMB Spam: works well, though doesn't do very high damage nor does it fare too well against mixed hordes with crushers/bulwarks. It can and will stagger Rager swarms though, and it is the safest option against those. Becomes a lot more effective if you mix in the occasional push attack and special activation, in which case it's the most defensive way to play this build, and a good playstyle to revert to for when shit hits the fan.
- Push attack, sideways dodge, Heavy attack, repeat: highest damage combo, with a very easy timing on the heavy attack. This should be your bread and butter, though it can cause you to get caught out blocking with 0 stamina. This will cause you to get briefly stunned. Should that happen, either immediately use your charge or spam lmb until you get some stamina back. The sideways dodge in there is not necessary, but it's a good habit to have (with this weapon) and the combo is long enough that your dodge counter will have reset once you repeat the combo.
- Activate special, heavy attack, dodge backwards, repeat: your special activation does an AOE stagger that varies in strength based on the attack you use it with. Heavy 1 (downward smash) is the strongest AOE stagger option. Use this to engage and control Crushers, Rager swarms and get out of sticky situations. Pro tip: the stagger can buy just enough time to resurrect someone even in the middle of a mixed horde.
- Push attack, charge, heavy attack: this is how you do the BIG SWINGS. You can even activate special before the push attack, swing against nothing and then proceed with the charge + heavy to really ruin someone's day. This is the best way to engage mixed hordes, and what you'll be constantly using once you get stuck in with hordes in general. The added benefit of this combo is that the critical hit from the charge ALSO contributes to refreshing the CD through Invocation of Death.
- Activate special, charge, heavy attack: this is how you show one particular target how little you like them. It has the added benefit of also staggering everything around your target and thus giving you some breathing room to really open a can of whoopass.
Advanced combos:
- (Against Bulwarks) Activate special, any attack, switch to ranged, fire: you can melt Bulwarks in 0.5 seconds with this combo. It can get a little finicky if others in your team are ALSO staggering the Bulwarks, or if they come in a tight patrol which will cause all the shields to get in the way of the Bulwark you staggered.
- (Against Crushers and Monstrosities) Charge, fire: The charge's damage bonus applies to ranged attacks for a short time, giving high armour piercing too. This isn't difficult to pull off in any way, but it can give you tunnel vision... which will likely get you killed in a game where you need to be aware of everything going on around you.
Variants:
You can remove Until Death and Holy Revenant, as well as Good Balance and Second Wind. This will net you up to four more free points. The guide will assume you will remove the perks in that order. You can use these points to grab either:
- A) Anoint in Blood, Purge the Unclean and Disdain: This will put give you up to 45% extra damage against bosses, as well as around 32.5% extra damage against infested (Disdain is weird). Excellent extra DPS, though at most skill levels it's debatable whether it's worth losing the ability to refuse an early grave from a crusher overhead.
- B) Faithful Frenzy and Sustained Assault: Tonnes of extra melee damage. I find this variant hilarious, but not nearly as effective as the original or A.


