
Table of Contents
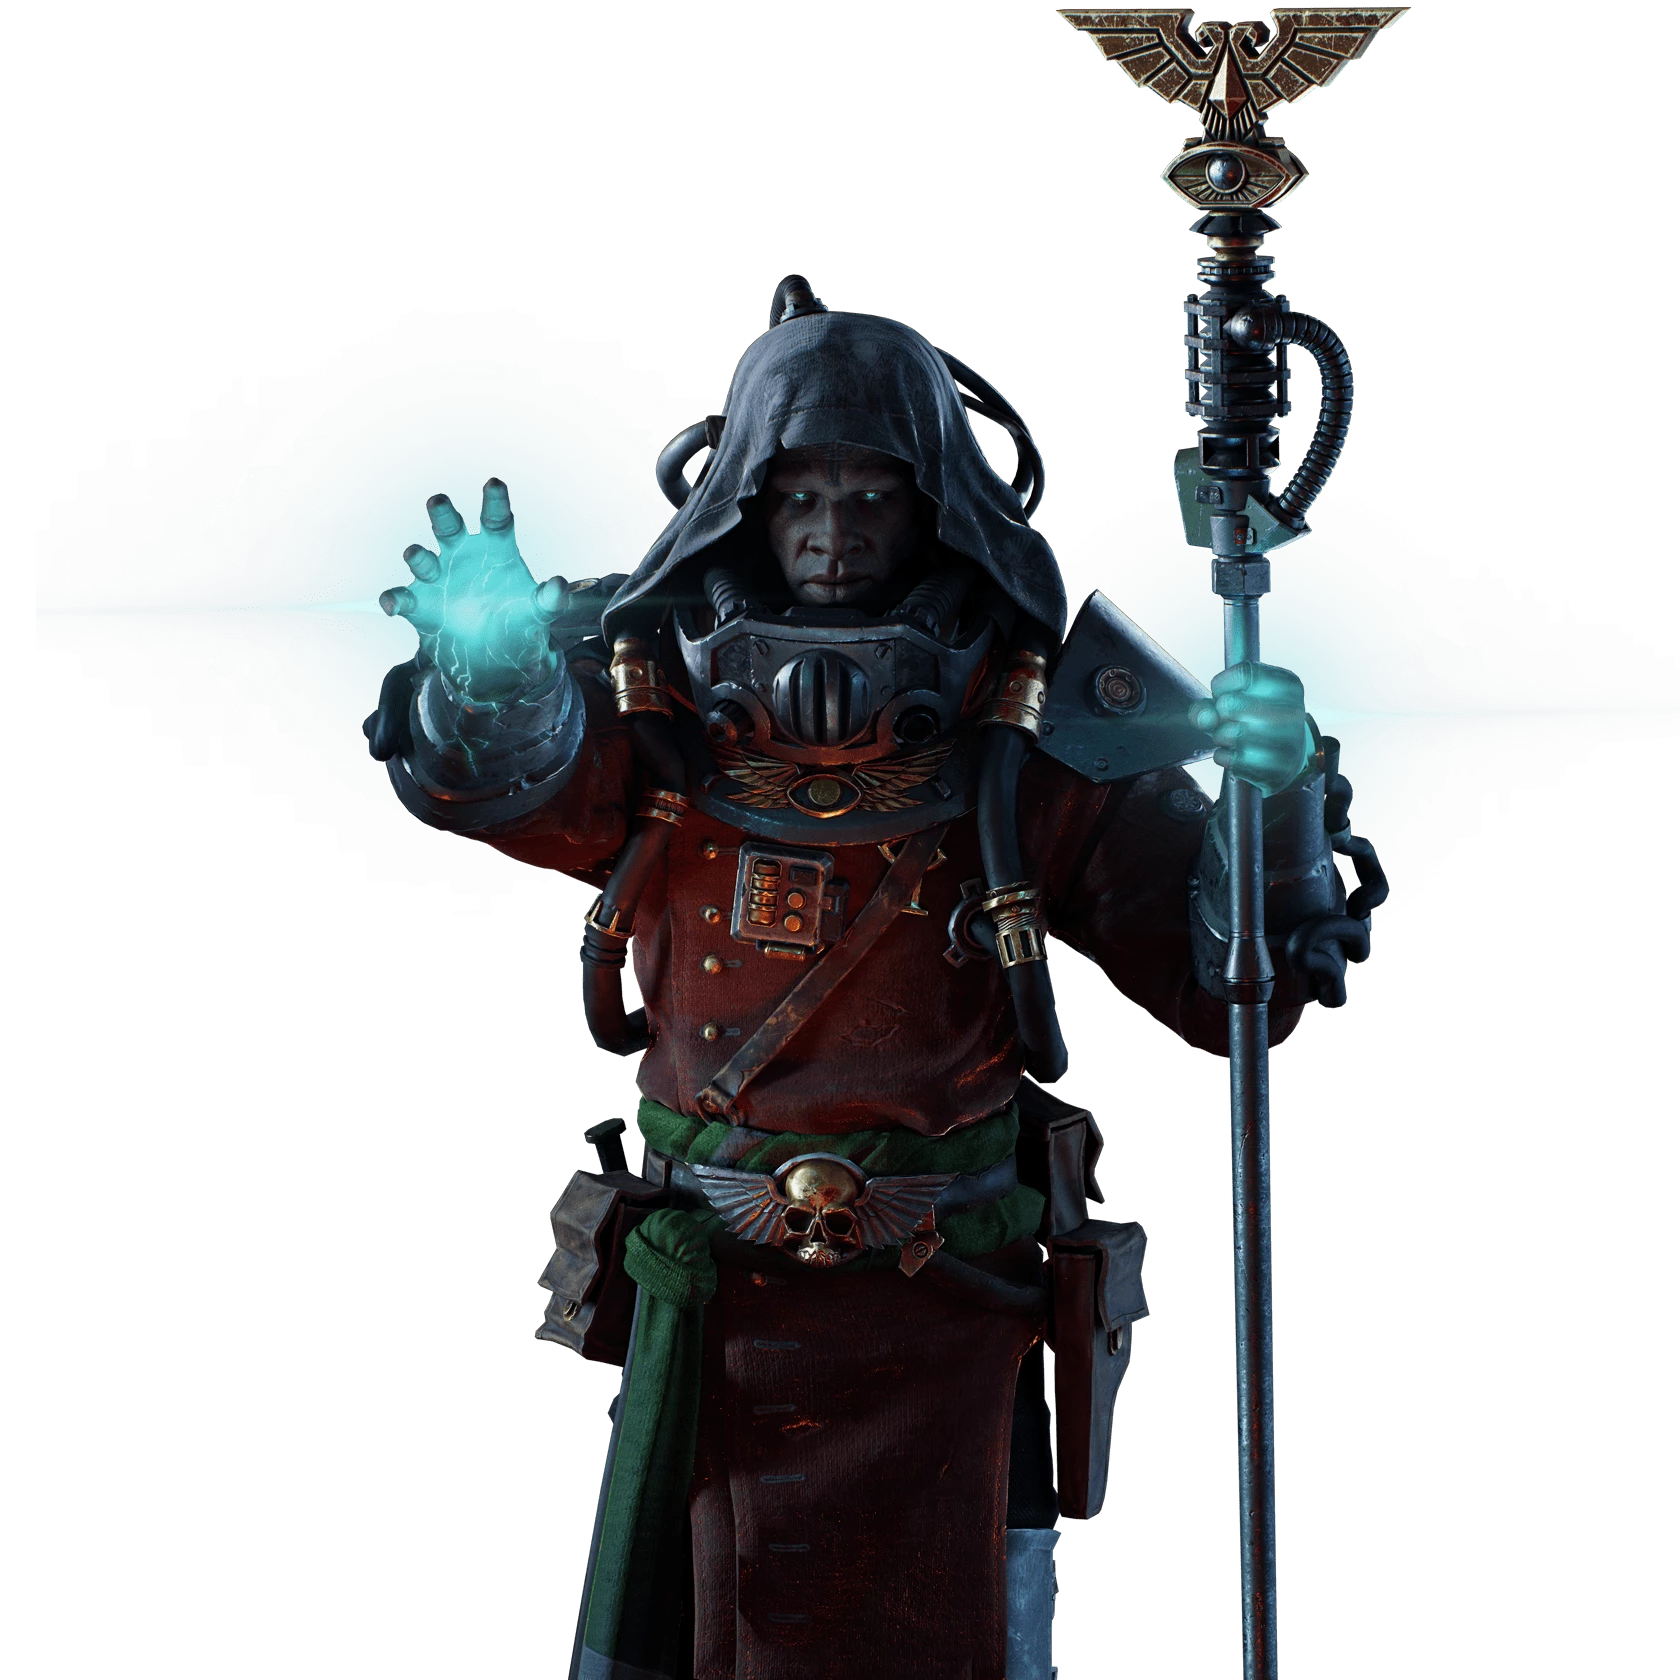
Class
Weapons


Uncanny Strike
Hitting an enemy's weakspot applies 8 stacks of 2.5% Brittleness. Duration 5 seconds. 16 max stacks.
Precognition
+60% Finesse Damage for 2s on successful Dodge.

Warp Flurry
-8.5% Charge Time on Chained Secondary Attack. Stacks 3 times.
Rending Shockwave
Target receives up to 8 Stacks of 2.5% Brittleness, scaling with charge time of Secondary Attack. Debuff lasts for 5 seconds and can have a maximum of 16 stacks.
Curios

+13-17% Toughness
+13-17% Toughness
+13-17% Toughness
Talent Tree
Description
Squeak! (Rat strongly believes that actions speak louder than words and has faith that the gameplay at the bottom of this guide speaks for itself. Rat would also highly recommend watching Rat's gameplay on Twitch at TheRatOCE for more scurries which may help you learn this playstyle faster! Rat is not nearly as active on Twitch and Youtube due to Rat's commitments, however still responds to comments and is happy to answer any questions!) :D
Introduction
With this build, you will be able to handle anything from Auric to Havoc 40. It is difficult to learn how to use the Trauma Staff in tandem with the duelling sword at it's full potential. But if you have mastered it, then you will be able to singlehandedly carry any game in any situation.
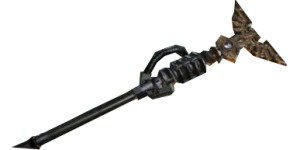
The Trauma Staff
The Trauma Staff is the single best weapon in the game. It is ranged with no ammo, has incredible stagger, and when paired with animation cancelling and rat-like move tech, allows you to deal with every threat, short of bosses, that the game can throw at you. Your impact on the battlefield is wide and far reaching thanks to the staff's range. You can stagger and suppress specials, elites and ranged enemies. You can support frens being overrun by ragers from a distance. You can stop a hoard of crushers dead with the staff's stagger. You can push through a hoard of elites or out of a corner by moving forward and trauma blasting at your feet. You can even use the staff as utility, popping all 3 corruptor growths to reveal the Daemonic Corruptor in under 3 seconds, making it so that you can strike out on your own on events like the end of smelter complex and singlehandedly clear 1 or 2 Corruptors by yourself.
Rat cannot overstate how powerful the Trauma Staff is.
Animation Cancelling with the Trauma Staff
Rat's build emphasises the Trauma Staff as the main weapon with the duelling sword as a supporting weapon to kill/finish priority enemies.
If you were to play Trauma Psyker traditionally, the main drawbacks of the staff is its long recharge time after each secondary attack and how slow you move while using the staff. Luckily, both these shortcomings can be solved with rat tech. To scurry like Rat with this build, by far the most important skills are to learn animation cancelling with the staff which allows you to spam secondary attacks, and eventually incorporate slides and peril quells into the animation cancel input rotation to regain your mobility and manage peril.
Basic Rat Tech
In the most basic form, the animation cancel inputs are:
- Charge staff attack
- Secondary staff attack
- '1' to switch to melee
- '2' to switch to staff
- Repeat.
Rat does this when movement and dodging isnt necessary or when holding a position from a safe vantage.
Intermediate Rat Tech
A more complex input rotation is:
- Charge staff attack
- Secondary staff attack
- '1' to switch to melee
- '2' to switch to staff
- 'R' for a short quell
- Repeat.
Rat incorporates 'R' into the majority of input cycles as it is key for sustaining the sheer amount of attacks Rat spams.
Advanced Rat Tech
Finally once you have mastered that, it is time to incorporate sliding into your rotation. This can be done by:
- Charge staff attack
- Secondary staff attack
- '1' to switch to melee
- Shift to sprint forward
- Slide pinkey down from Shift to Ctrl to slide forward (sliding with the duelling sword is key as it has a higher mobility stat and thus your slides go further)
- '2' to switch to staff mid slide and charge secondary staff attack
- Repeat.
This rat tech is by far the hardest to learn, but is THE MOST IMPORTANT and commonly used by Rat. Sliding does multiple things:
- Provides mobility in an animation which otherwise would slow you down
- Allows you to kite hoards while spamming secondaries
- And gives invulnerability frames from ranged (NOT MELEE... crushers hurt ;~;)
Notes and Tips:
- Spamming secondary attacks can only be done efficiently once you have 3 stacks of warp flurry which speeds up staff secondary charge speed.
- Rat rarely fully charges the secondary attack as Rat can spam faster with smaller charges (usually sticking to 50%-95% charges). Full charges should be used when going for certain breakpoints or trying to focus down specific enemie(s).
- Rat would strongly recommend not being indecisive and holding a 100% charge for longer than absolutely necessary, as it really reduces your dps and slows you down (get in the habit of just flicking towards the nearest enemy).
- Rat has Blast Radius as the dump stat on the staff as being able to spam secondaries more than makes up for a reduced blast radius.
- When possible, stagger enemies towards yourself or your frens to make it easier to melee them and/or hit their heads.
- Prioritise ranged enemies when possible (especially important in high havoc).
- Hounds are very susceptible to stagger, so make sure to push them towards you with staff secondaries for a poke.
- When possible, find high ground as it increases your range, makes aiming easier, and allows you to keep better track of threats, especially specials and ranged.
- Rat has Jump binded to Alt to prevent accidental jumps whilst spamming dodge. (SUPER IMPORTANT!!!)
Move Tech with the Trauma Staff
The second most important skill with the Trauma Psyker is good movement. You can stagger everything by spamming secondary attacks but enemies will still advance on you, and walking backwards simply won't cut it. This is were it gets more difficult and more traditional skills such as aiming, positioning and your ability to react on the fly will be tested.
In short, the best way to kite is to slide away after every secondary attack, similar to the aformentioned Advanced Rat Tech. However the key difference is that instead of sliding forward, you must turn 180 degrees before sliding away from the enemies. It will sound something like this:
- Secondary staff attack
- '1' to switch to melee
- Turn 180 degrees or in the direction you want to go
- Shift to sprint forward
- Slide pinkey down from Shift to Ctrl to slide forward
- '2' to switch to staff mid slide and charge secondary staff attack while still sliding
- Turn back to face the enemy
- Repeat
Move tech with the Duelling Sword
There is plenty of resources online regarding this so Rat will stick to move tech for this build specifically.
A major skill which players usually neglect is learning how to chain slides properly with the duelling sword. The heavy attack on the duelling sword gives a short burst of speed. This can be used when chaining slides to significantly increase your speed and maintain momentum during slide chains. The inputs are as follows:
- Charge a heavy attack with the duelling sword while running forward pressing Shift
- Release the heavy attack (provides a short boost of speed)
- Slide pinky down from Shift to Ctrl to slide forward during your heavy attack to capitalise on the speed boost to slide faster
- Start charging the next heavy during the beginning of your slide
- Towards the end of slide as you begin to lose momentum, release your heavy attack and slide repeating the process.
Note:
- If you do this properly, you will notice that you in fact GAIN STAMINA while moving faster than a sprint (which is why learning this skill is so important as it reduces stamina consumption while roaming and during fights)
- It is fine to have a brief period between the heavy attack and slide where you are running forward.
- When you slide, you are locked in that direction until the end of the slide, so plan your movements accordingly.
Ledge Dashing
Dodging to the side off a height allows you to maintain your dodge momentum until you hit the ground. This skill is extremely important and helps you maintain even more distance when kiting, or scurry faster to save your frens during a clutch situation. Again there is a lot of info online about this which explains it better, but practice this skill wherever you can and you will truly scurry like a rat. ;D
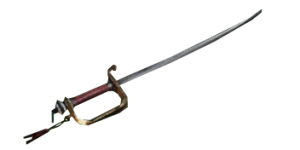
The Duelling Sword
The duelling sword is NEVER USED TO CLEAR HOARDS as it pales in comparison to the staff. Instead, it should only be used for its strength which is poking heads. :3
There is not much to be said for the duelling sword apart from the fact that it finishes off enemies, acts as your primary source of damage against bosses and serves as a medium for faster movement due to its high mobility stat. How you incorporate the duelling sword into your trauma psyker playstyle comes down to individual preference but Rat can give some tips on some things which Rat usually does.
- Be familiar with secondary attacking with staff, quickly switching to melee for a single heavy stab, and back to the staff for more secondary spamming.
- With 6 Warp Charge stacks, a secondary staff attack (~75-100% charge) and a head poke with the sword is usually enough to kill most specials. (Chargers are tanker and will require more staff charge and a head poke to kill)
- For special enemies, Rat makes sure that those enemies are staggered/thrown forward towards Rat so that they are closer and their heads are right in front of Rat for a poke :3
- If you do decide to poke elites too, do the same and stagger/throw them forward to make a head poke easier.
- In Aurics and lower havocs, Muties usually die from 2 face pokes (with 6 Warp Charges), so learn how to poke their face as they are charging towards you, then dodge sideways and poke their face again from the side. It is by far the fastest way to kill them and allows you to get back to staggering the hoard asap.
- Learn the attack pattens of bosses and how to get them into attack animation loops (more information regarding that can be easily found online). From that point on just poke their heads :3
Dealing with Bosses
There are far better guides and videos online showing how to deal with Bosses and Rat would highly recommend checking them out, but here is a very brief overview with this build in mind!
Beast of Nurgle (Burgle)
Burgle is by far the easiest to solo, especially with Bubble. Its pressure mostly comes from it's area denial created by its trail and vomit, the slow debuff from its vomit, and the risk of getting eaten when you are afflicted by the vomit debuff. Bubble essentially absorbs all projectiles including Burgle's vomit, allowing you to stand right in front of it inside bubble as it is vomiting, and not be afflicted by its debuff. From there, it just comes down to standing at a slight angle (around 15-25 degrees either side) from the Burgle as its vomiting, to be able to poke its weakpoint on its back.
Burgle's Tail Whip and Body Slam attacks only proc in the presence of allies who are too close. The tail whip seems to happen if allies are only attacking it from one other side (not including if you are poking it from the front) and to avoid it, simply dodge away. The Body Slam is more dangerous and seems to happen when it is being attacked from more than one side. It does more damage and is harder to avoid, requiring you to dodge and slide away to safely dodge.
Plague Ogryn
The Plague Ogryn is also very easy to solo if you know its attack patterns and how to keep it in an attack loop. In essence, stay close to the Plague Ogryn to bait out it's single Overhead Fist attack before dodging backwards to avoid it, before running up to it again and repeating, all the while stabbing its head. If done well, the Plague Ogryn won't even move making it very easy to consistently land attacks to its head.
During it's triple attack combo (two swipes from the sides and one overhead swing), you can still attack it while dodging. Simply dodge backwards twice (once per swipe) and to the left or the right for the overhead while poking once in between each dodge.
It's stomp attack has a larger AOE so you should either dodge further away, or dodge and slide if you are already too close).
Chaos Spawn
By far the most oppressive and hardest beast to fight, however there is an attack loop you force it to repeat. Similar to the Plague Ogryn, hug the Chaos Spawn and bait out its single overhead swing to which you must dodge to the right while staying as close to it as possible. If done correctly, it will keep repeating its overhead swing as you keep dodging to the right so you can run circles around it as you poke its head. The difficulty lies with how quick it attacks, as well as the fact that you must be practically hugging the Chaos Spawn to have it do its overhead slam (otherwise it will switch to a different attack pattern which pushes you away and makes it hard to get it back into the attack loop.
To avoid it's grab, must also dodge to the right towards its grabbing arm. This move is easy to avoid and a great segway to get it into an attack loop due to the fact that it is relatively slow and stays stationary during the attack making it easy to set up.
Captains
Captains are not too hard to deal with, however the Sword Captain is far more dangerous compared to the Mace Captain due to its fast swing combos which can quickly down you if not careful.
With the Mace Captain, try to hug it in order to bait out its slow attacks (while making it easier to melee him back), to which you then simply dodge to either side. If he kicks you away, just run back up to him and keep baiting it's other attacks.
The Sword Captain should be treated with more care however. Hug him as well to bait out its attacks and simply dodge to either side during it's heavy single sword swings. However the second it starts its combo attack pattern, just play safe by dodging away and creating some distance until it finishes its attacks, before running back up to it and repeating.
Karnak Twins
Treat the Karnak Twins the same as you would with Captains, however try to clear the mines which Rodin Karnak throws out as much as possible to minimise its pressure and area denial in order to give yourself and your team more room to scurry. Rinda Karnak (the sword captain) creates much more pressure compared to Rodin Karnak so your priority should be in killing Rinda first.
Skill Tree
Form follows function. The importance of quick Trauma secondaries dictated the direction of the skill tree in order to facilitate Rat's spammy Trauma playstyle! Here is an overview of some of the key nodes Rat likes to take. ^^
Going top to bottom from the skill tree:
Perilous Combustion is useful especially on higher difficulties due to the amount of specials and elites. It helps in mixed hoard clearing and is generally nice to have, however it can be changed for other nodes if you have different personal preferences.
Brain Rupture is chosen only to provide a long ranged option for dealing with far away snipers or ranged where the Trauma Staff can't reach. However Rat would advise to use this as little as possible as it is simply not worth your time.
Telekine Dome is by far the best talent for this playstyle as it allows Rat to push aggressively when needed, and shield to restabilise and create space. Especially in high havoc where ranged enemies do so much damage, bubble is so incredibly important!
Psykinetic's Aura is super nice to have and really helps maximise bubble up-time. With how often you will kill elites and specials in higher difficulties, this node will always be active.
Anticipation ties very well into Rat's playstyle and is also incredibly nice to have, especially in high havocs.
Kinentic Deflection (Blocking causes you to gain peril instead of lose stamina) has saved Rat's life countless times in the most desperate of situations.
- Warp Syphon is the best Keystone, especially considering the fact that it increases Bubble up-time and provides a consistent damage increase, while reducing peril generation.
Notes:
Empyric Resolve (-40% peril generation. -30% toughness replenished) is optional and can be taken if you are struggling with peril management.
- Crystalline Will is perfectly fine to take considering how peril intensive this playstyle is, especially if you have not mastered peril management, making it very easy to slip up and explode. Often when that happens, it is during a high intesity situation where if you go down, it can be catastrophic for the rest of your team due to how much of an impact you have in any scurry. A point in Crystalline Will has more than paid itself back in the past for Rat, so there is no shame in taking it!
Curios
- Having 3x Damage Resistance to Gunner is by far THE MOST IMPORTANT PERK to take! In the majority of cases, Rat dies due to gunners either directly shredding Rat, or pressuring Rat into fighting in unfavourable positions. Despite its diminishing returns, having ~50% gunner resistance helps immensely and is one of the main facilitators to Rat's aggressive playstyle.
Notes:
- You can pick whatever Curio and perks which suit your preference, there really is no right or wrong answer. However Rat would highly recommend taking 3x Damage Resistance to Gunners especially in high havoc and when experimenting with more aggressive playstyles once you have become more confident with the build.
- Rat used to take 1 wound Curio with Crystalline Will as Rat tended to blow up (>.<). Now Rat is experienced enough where peril management has become second nature and Rat no longer needs either. (Rat favours consistency over maintaining perfect play 24/7 because eventually, you WILL make a mistake. Those mistakes often happen during an intense fight, and because of how strong you are in any team, you're death will have far more of an impact on the success of a scurry than any toughness or health Curio.)
Final Note
Don't be afraid to experiment with different builds! Rat's guide should serve as a guideline and example, not the law. Although Rat has found great success with this setup, other frens may do better with a slighty different build. People often get lost in the weeds of theoretical damage numbers when optimising their build, but remember, we are not robots!
True optimisation is maximising the amount of fun you have first and foremost, before personalising a build to your own skillset and preferences to bring out the best of your own abilities!
Rat sincerely thanks you for reading this guide and hopes that it has helped in some way.
All the best in your scurries and may our paths cross one day!
Squeak! :D