Table of Contents
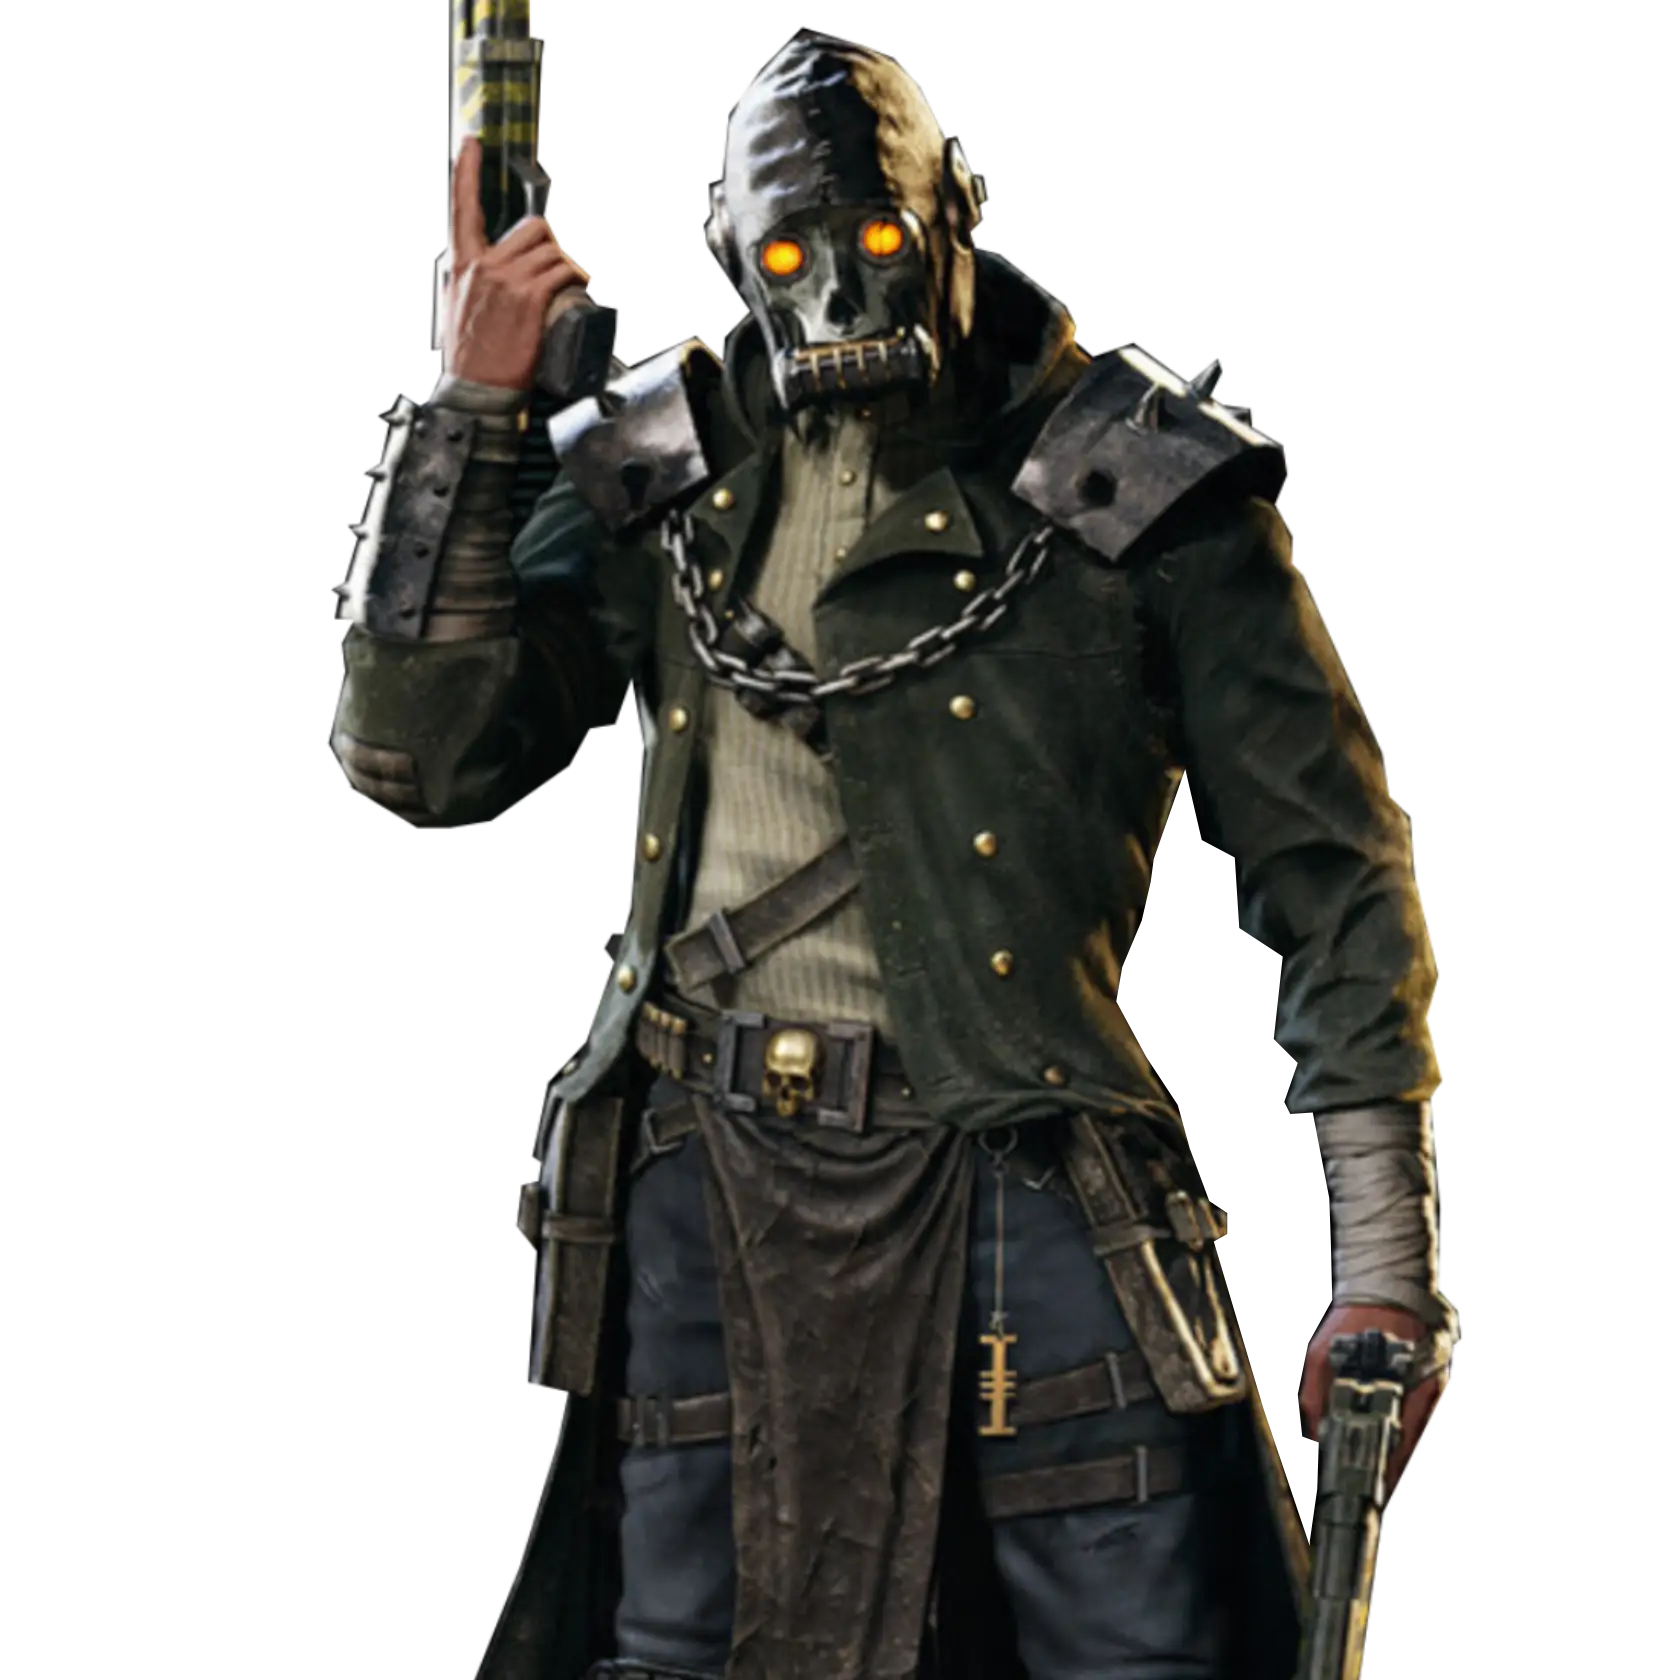
Class
Weapons


Headtaker
+5% Strength for 3.5s on Hit. Stacks 5 times.
Thunderous
Hitting an enemy gives them 4 stacks of 2.5% Brittleness. Debuff lasts for 5 seconds and can have a maximum of 16 stacks.

Deathspitter
+6.5% Strength for 5s on Close Range Kill.
Speedload
+10% Reload Speed for 3 seconds after Close Kill. Stacks 5 times.
Curios

+13-17% Toughness
+13-17% Toughness
+1-3 Max Stamina
Talent Tree
Stimm Lab
Description
A build focused all around using the Double Barrel Shotgun as your problem solver for nearly all scenarios and enemy types. This build mulches through mixed hordes better than the Zealot Flamer and Psyker Purge builds, while also able to handle threats further out than those weapons can manage.
This Build has been Auric Maelstrom tested and has (currently) made it to Havoc 30. Additional testing to come.
Patch 1.10.2 Hotfix #83- The placement of some nodes has been altered, but all the same nodes are still taken, just in different orders now. The Talent section will be updated soon to reflect this. For now, just know all descriptions are accurate, just in the wrong places now. The only substantial change worth mentioning is that Boom Bringer was buffed and it might be a much more tempting take for Anti-Armor. More details below under the Blitz section.
Loadout:
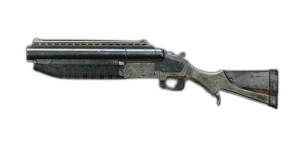
- Ranged
Crucis Mk XI Double-Barrelled Shotgun
Dump Stat: Mobility
Perks: Flak & Maniac
Blessings: Death Spitter & Speedload (or Both Barrels)
Due to the nature of Desperado and Pickpocket's high ammo uptime, you can keep both Death Spitter and Speedload fully active during most engagements. Flak helps the weapon handle gunners as well as turning Mauler body shots into a 2-3 shot depending on your other buffs. Maniac allows the weapon to reliably one shot Ragers even with buffs down depending on how many pellets hit. Due to Ammo Jack this weapon will have three rounds before needing to reload which helps meet above breakpoints. It only struggles against Carapace and bosses. Which in practice means Crushers can cause a problem if your rending stim is not up. For Maulers shoot them in the body where they are flak, and for Scab Ragers shoot them in the head where they are Flak. This gun CAN be run with Both Barrels instead of Speedload, but this cuts down on how much you can spam fire into hordes, and also introduces a weird rhythm of firing one shot and then unloading both barrels to proc the blessing thanks to the aforementioned node Ammo Jack. The weapon does not need both reload blessings. Speedload or Both Barrels alone is enough as losing the damage from Death Spitter really hurts on higher difficulties. Blessings like Full Bore can improve your single target damage, but this weapon already works well with Death Spitter to handle most enemies, and Full Bore does not improve Crusher and Boss damage significantly enough to justify running it. Run N' Gun is FUN to use in place of Death Spitter, but you end up sacrificing too much damage to justify it. If you want a run and gun playstyle, look at single or double autopistol builds that utilize crits. The weapon does not crit enough to justify Flechette or utilize Vulture's Dodge.
- Melee
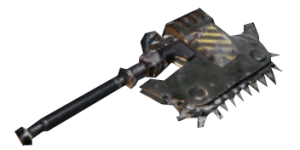
Orestes Mk IV Assault Chainaxe or Orestes Mk XII Assault Chainaxe
Dump Stat: Mobility or Defences
Perks: Carapace and Unyielding
Blessings: Thunderous & Headtaker
Your melee slot is more up to personal preference, but ideally you want something that both makes up for your lack of damage into Crushers and bosses, while also supporting the team. The Chainaxes do the job rather well, and which mark you take is up to preference. Mk IV utilizes fast light attacks for boss DPS and has a nice Push Attack and Heavy combo for hordes when needed (but trust me when I say you will only be pulling this out on hordes when you need to make space.) The Mk XII instead utilizes slower but stronger Heavy Strikedowns that in combination with the weapon being rev'd can deal nasty damage and 2-3 tap crushers. However, in higher end gameplay I find that the XII can be too slow for its purpose. Headtaker is a must to bolster your single target DPS, and Thunderous supports this while also ensuring that your boss oriented teamate(s) can do their job faster. Slaughterer is a VERY good blessing, but I find myself only pulling the Chainaxe out to deal with single targets and as such never had the buff uptime. Bloodthirsty can be a fun pick on the Mk XII specifically to deal massive damage to Crushers and bosses but requires you to set it up.
- Other Potential Melee
Combat Blades & Shivs
These all fill the same role of fast and speedy with Anti-Armor potential. Standard Combat Blade does more direct armor damage utilizing Blessings like Uncanny Strike, while the Shivs gain access to the same blessing (though slightly nerfed) along with the Poison throwing knives that can delete most targets due to high poison uptime. However you are sacrificing emergency horde clear of the Chainaxe. As for which Mark of Blade/Shiv is up to you. One is better single target and the other is better horde.
Chirurgeon's Mk IV Bone Saw
The Bone Saw fulfills a similar, but different role to the Chainaxe in that it works well for supporting the team, but through its two poison modes as opposed to the Thunderous blessing. There are two reasons this is significant. #1 It gives you a more reliable way to proc Sample Collector if need be, but this may put you in a much more hybrid fighting style as opposed to the pure close-mid ranged range build the guide intends. #2 The Brittleness poison stacks additively with other sources of Brittleness which can really help tear through Bosses as well as higher tier Havoc Rot Armor enemies. HOWEVER the weapon struggles Heavily with Cleave. Its recommended to run two Cleave blessings as this build takes no cleave from the talent tree. You -might- be able to turn it into a single target weapon with Refined Lethality + Relentless Strikes. I HAVE NOT TESTED THIS YET as I need to finish leveling up my Bone Saw so try and test yourself. (I will update guide later once I have made these tests.)
Stimm:
There are in my opinion two ways to run the stimm for this build. The first is detailed above, providing us with rending to help handle larger targets and a decent Cooldown reduction to help with higher uptime on Desperado. In my opinion this is the ideal stimm loadout for higher difficulty play but not the only way to build it. If you want to spam Desperado more, you can forego power and rending to instead grab Klay and no other trees. This puts your stimm at 45s which can ALSO let you take advantage of Maxed Out Stimms. This weapon does not need attack speed or reload speed as Speedload (the blessing) & Speedloader (the talent) gives it plenty, and the toughness nodes only provide you with Coherency Toughness regen. Its not negligible as others have pointed out, but I find it to be a bad option.
Talent Tree:
- Top of Tree
At the top we are taking mostly the ranged talent nodes. Voice of Tertium is our primary (but not only) source of toughness regen, while In Your Face and Speedloader support the close range playstyle. Calling For a Timeout helps the class feel bulkier as you are reloading constantly. Do NOT take sticky hands as the spread reduction actually hurts the weapon into hordes.
- Blitz
Currently the meta pick for Blitz is the Chem Grenade. This is an excellent Blitz and easily worth considering. this build runs Blackout as its a great utility for making space, something this build can struggle with. A Blackout nade at your feet can get you out of bad hordes and rager stuns, and the close range gameplay will constantly regenerate the grenade back. Boom Bringer can help supplement Crusher and Boss damage but it gets hungry for refills.
Patch 1.10.2 Hotfix #83- Boom Bringer Ammo increased to 3, meaning you get 4 rockets with Extra Pouches. Its radius was also nearly doubled and its armor modifier was increased from 2.0 - 2.4. If Crushers and bosses are a major issue, this now might be a much more tempting take. Especially as you can still shoot it at your feet to clear space much like the Blackout, it is just slower and does not have a recharge. I would not recommend running Pocket Toxin with this Blitz. UPDATE: This thing is amazing. Its a Armored horde be gone button. Highly recommend.
- Middle of Tree
This is what Youtuber Reginald has dubbed the "Survival Diamond" and is where the first half of your survivability comes from. Nimble, Jittery, and Slippery Customer allow you to dodge, duck, dip, dive, and dodge 90% of dangerous situations. It can let you slide dodge while reloading to become immune to melee damage most times and immune to all damage while Desperado is up. Because you are utilizing your ranged weapon in most engagements, stamina management is not an issue which is why we forgo Regained Posture. Cheap Shot only helps against Crushers which you can stagger by unloading both barrels of your gun but its too inconsistent to take and does not change the gun's struggle into Carapace.
- Aura
Take Gunslinger improved. Its that easy. More Ammo = More shooting especially if/when Pickpocket gets nerfed. This weapon does NOT crit enough to make Anarchist worth taking.
Both stim nodes are just okay. Take the toughness.
- Ability
Enhanced Desperado is the cornerstone of this build, and is currently one of the best Abilities for high ranked play. Even disregarding the infinite ammo for a second, with the press of a button you are turning off half of the damage sources in the game. Full ranged immunity. Not to mention the rending you get from one of the nodes and the high uptime. This Ability is GREAT.
- Bottom of Tree
The bottom section of the tree is where a lot of the key playstyle decisions get made. On the left we take Ammo Jack to add a third round to the shotgun, and Pickpocket holds the whole build together, meaning as long as you get a kill on any enemy that shows up the killfeed, you jump up to 20% ammo when below that amount. Note: I fully believe this Talent will be nerfed to be on melee kills only, but even then the build is very powerful. Unload is easily supported by the constant mag dumb the double barrel has, granting a large damage buff. However, this build does NOT utilize Vulture's Mark. It already has all the damage it needs, and the main other notable part of Vulture's Mark (Vulture's Dodge) does not work well with the weapon. You are not firing fast enough, let alone criting enough to justify the keystone.
In the middle we get the rest of our survival nodes. Burst of Energy allows you to constantly stay aggressive in fights that would normally put you on the defensive. Hive City Brawler gives us great TDR especially as our stamina pool will remain nearly full at all times. Punching Above One's Weight helps supplement some of our poor Crusher and Boss damage.
The right section gives us our utility. Extra Pouches is good no matter what Blitz, and Sample Collector is a must have for any build utilizing stimms. It drastically cuts down on Stimm time thanks to the horde clearing of the build. Our Keystone Chemical Dependency gives us both much higher uptime on Desperado, but also great TDR and an emergency toughness top off if our stim is available. Pocket Toxin can help with stimm recharge if thrown into a horde, but I have found this to be the weakest link in the build. If you are looking for a talent to put elsewhere, start here.
- Notable Substitute Talents
On a build utilizing a short stimm cooldown, Maxed Out Chems will bolster all the great things of the build from TDR to Ability Cooldown. Quick and Deadly can help bolster your damage especially if you are confident in your kiting with the Shotgun out. Moving Target can give you more mobility when dealing with hordes, and Precision Violence can give you better toughness regen if you find yourself utilizing your melee more often. Most other nodes supplement Melee which you can decide on if you find you need more melee support.
Curios:
Dealer's choice. Above is what I run, but everyone argues about what Curio are the best. Only hard recommend is two toughness curio and to have gunner resist on two of them. Feel free to judge me for my choices
That's all there is to this build. I will update as the class gets balanced.
Now Rip and Tear until its done.