Table of Contents
Class

Weapons


Shred
+4% Bonus Critical Chance on Chained Hit. Stacks 5 times.
Wrath
+40% Cleave on Hit. Stacks 5 times.

Stripped Down
Gain Ranged Attack Immunity while sprinting with over 50% Stamina.
Run 'n' Gun
You can Hipfire with this weapon while Sprinting. 15% Close Damage while Sprinting. Also reduces weapon spread at all times by -30%.
Curios

+13-17% Toughness
+13-17% Toughness
+1-3 Max Stamina
Talent Tree
Stimm Lab
Description
HAVOC 40 | DEVILS STIMM SUPPORT
Here is my H40 build for a Devil's Claw, CC, and boss killing Stimm support build. The synergy of the Devil's Claw, Shred, Coated Weaponry, and Sample Collector will allow you to constantly spam your Stimm and Stimm Supply to buff your teammates and their Abilities.
I run this on Goo + Final Toll missions. You can cleave hordes into the abyss, parry Ragers & Bosses, tag Gunners & Reapers with DoT, and the Stimm Pistol & Boom Bringer will help you deal with any armor packs.
BUILD CONSIDERATIONS
MELEE
- Devil's Claw Sword VII or IV
- Maniac & Unyielding
- Shred & (Wrath, or Savage Sweep)
RANGE
- Needle Pistol VI
- Carapace & Unyielding
- Run'N'Gun & Stripped Down
BLITZ
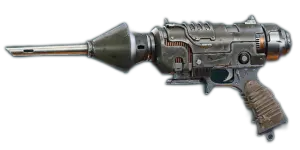
- Boom Bringer
- Since the Devil Claw is weak against Armor you will need to mitigate the build weakness with your Blitz.
STIMM LAB
- CDR, Blight Spreads v1
- 45s
- Kalma V
- CDR, Blight Spreads v2
- 45s
- Kalma IV
- Hypex
- Final Toll, Encroaching Garden, Stimms | Strength + Rending
- 45s
- Wildfire III
- Fury II
CURIOS
- +17% Toughness - Combat Ability, Stamina, Gunner Resist
- +17% Toughness - Combat Ability, Stamina, Revive Speed
- +3 Stamina - Combat Ability, Revive Speed, Gunner Resist
TALENT SWAPS
Don't take Hyper-Critical with this build. Kills via Hyper-Critical don't trigger Sample Collector. As of 1/5/26 this is the case.
H40 TIPS
A few tips when playing the character
- Pickpocket
- Grants near infinite ammo. Note that you just have to land the killing blow via direct or DoT attack. These can be either melee, or range kills.
- You should NEVER pick up ammo 95-99% of the time. The only reason I pick it up is if I'm completely out, and trying to get a quick kill to get me another 20-25 ammo back.
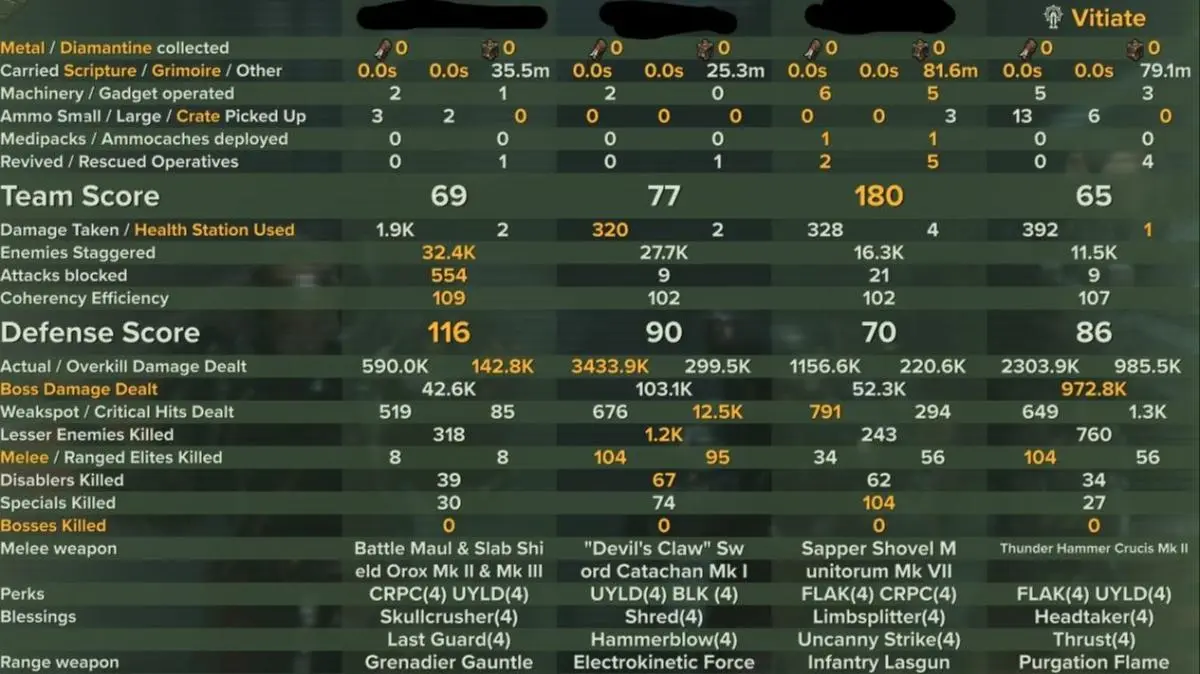
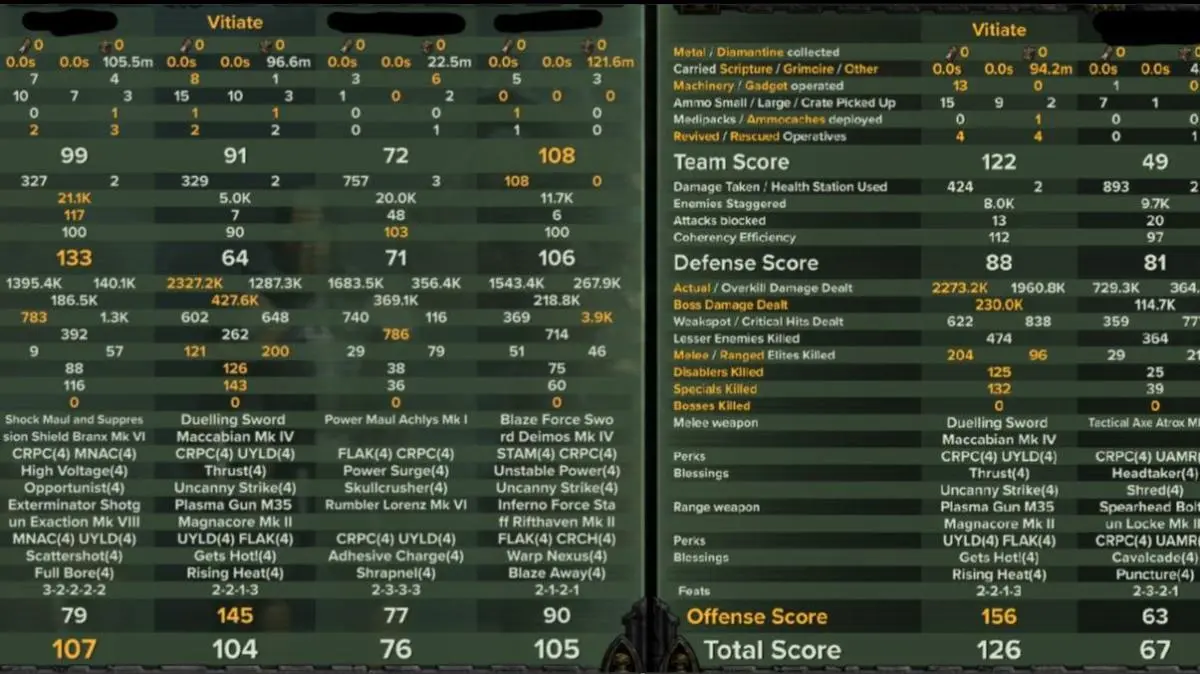
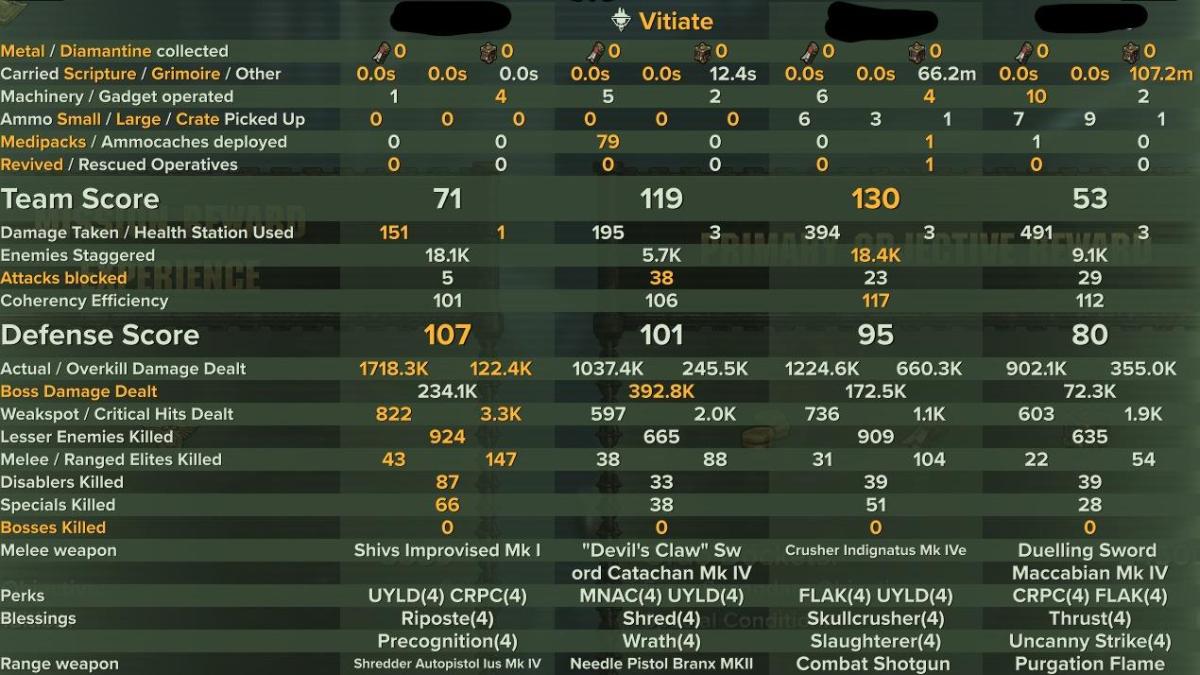
- If you look at the snippet - Both me and the left character are Hive Scum and we picked up no ammo the entire game.
- Needle Count Recommendations for TtK, DoT, Threat Assessment
- One important note: this isn't a minimum shot/breakpoint calculation
- This is to maximize TtK (Time to Kill), DoT (Damage over Time), and how much of a threat the enemy poses to you
- Max Needles = 5
- After this it's diminishing/non-existent returns
- Enemy:
- Mutant = 0-1
- Snipers = 1
- Hounds = 1-3 contingent on immediate threat
- Flamers = 1-3 contingent on immediate threat
- Bombers = 1-3 contingent on immediate threat
- Trappers = 2
- Gunners = 2
- Reapers = 4
- Ragers = 2-4 contingent on immediate threat
- If Rager mob - just spam fire to DoT as many as possible
- Maulers = 2-4 contingent on immediate threat
- If Mauler mob - just spam fire to DoT as many as possible
- Crushers 3-5 contingent on immediate threat
- If Crusher mob - just spam fire to DoT as many as possible
- Bosses = 5
- After attack, shield, or chaotic sequence
Shoot 1-3 to refresh or replenish stack
- After attack, shield, or chaotic sequence
- One important note: this isn't a minimum shot/breakpoint calculation
- Positioning - Zig-Zagging from Frontlining to Backlining
- First off, you will want to make a habit of running with your Needle Pistol out, and reloading it.
- Sprint & Slide
- This will maximize Stripped Down making you immune to ranged fire while traversing
- You will constantly be zig-zaging back and forth of pushing Gunner lines, hitting DoT, pulling aggro, and retreating to the backline
- Run'N'Gun will help with killing Specials & Elites
- First off, you will want to make a habit of running with your Needle Pistol out, and reloading it.
- Boss Fights
- Needle Pistol (Yellow) DoT the boss
- Pull boss aggro
- Parry them into oblivion
- Clutch Revives
- IF Specials & Elites - Shoot Yellow needles at all to kill
- IF Trash - follow "Horde Clear" above
- IF Horde -
- Rocket
Stimm Supply > explosion > then revive while enemies are staggered