
Table of Contents
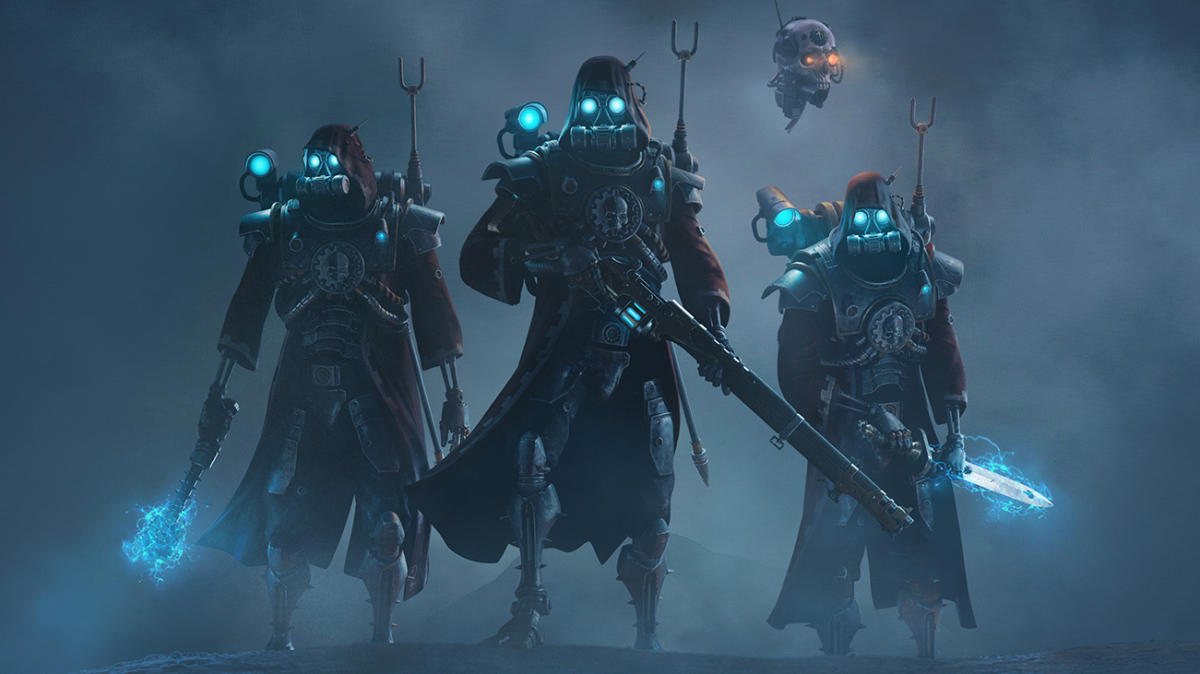
Skitarii Build - Warhammer 40k: Darktide
Auric Tier Skitarii | Do it all | Solo clutches
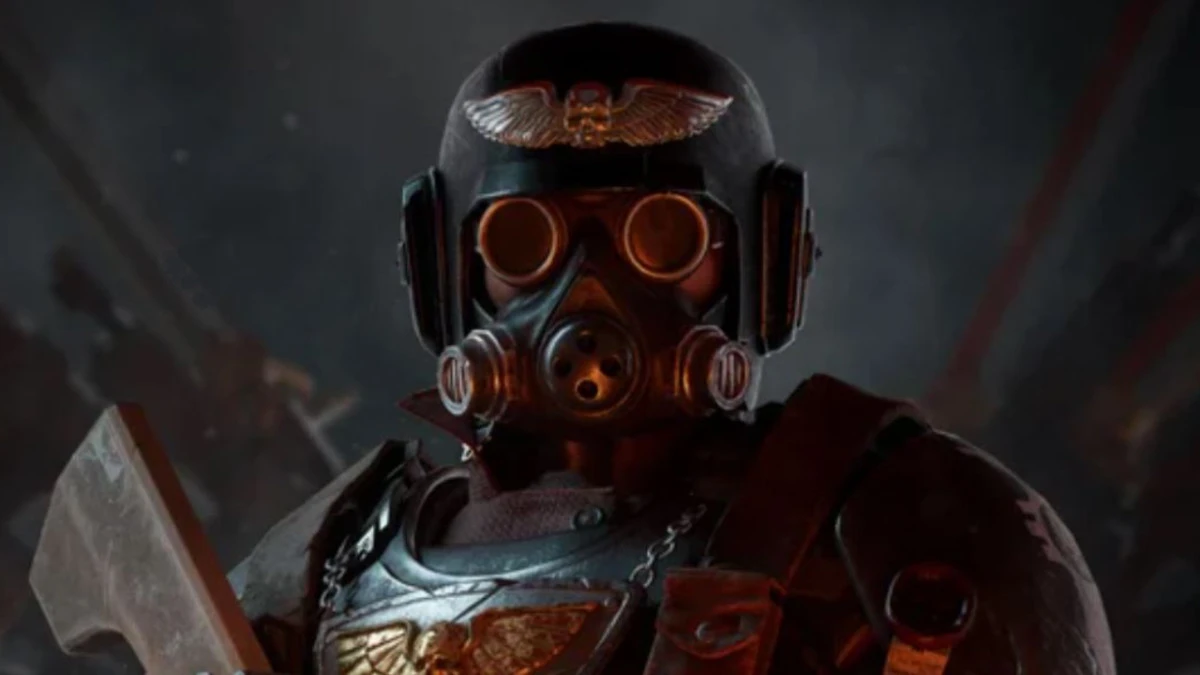
Skitarii Build - Warhammer 40k: Darktide
Class

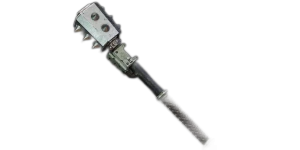
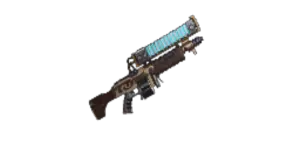
Weapons


High Voltage
+25% Damage vs Electrocuted enemies.
Skullcrusher
Target receives 4 Stack(s) of +10% Damage if already Staggered. Lasts 5s.

Dumdum
+4% Close Range damage on Repeated Hit. Stacks 5 times.
Enhanced Voltaic Arcs
Arc lightning gains +10 jump angle and +1 jump distance, and can jump 1 additional times.
Curios

+17-21% Max Health
+13-17% Toughness
+13-17% Toughness
Talent Tree
Description
Any node that says "on ranged kill" counts when the servo skull gets a kill, so there are lots of very good nodes on the right side of the tree that are just perma buffs because once the servo gets shooting, he doesn't stop, so the buffs don't stop either. I really like the overload keystone to get the perma buffs after doing a certain amount of overloads during the game, but you can easily swap to the bottom KS or even the left KS if you move a few points around. I mainly spend ability energy on the servo skull ping coz it just insta kills any specialist you ping with ease. Overall, the tree has insane flexibility with this setup, lots of room to pick your preferences, but this is how Ive been liking it recently, and sometimes I'll swap to the claw ability if im feeling like it.
Other builds by MortalsEnd


Arbites Beast Master! | Diabeto Build
By MortalsEnd • Updated 1 month ago


Auric Tier Zealot | Do it all | Solo clutches | Mummeh Build
By MortalsEnd • Updated 1 month ago
Arbites Auric Build | Do It All | Solo Clutches! | Right KeyStone
By MortalsEnd • Updated 1 month ago

Auric Tier Veteran | Do it all | Solo clutches | Monkeh Build
By MortalsEnd • Updated 1 month ago