Table of Contents
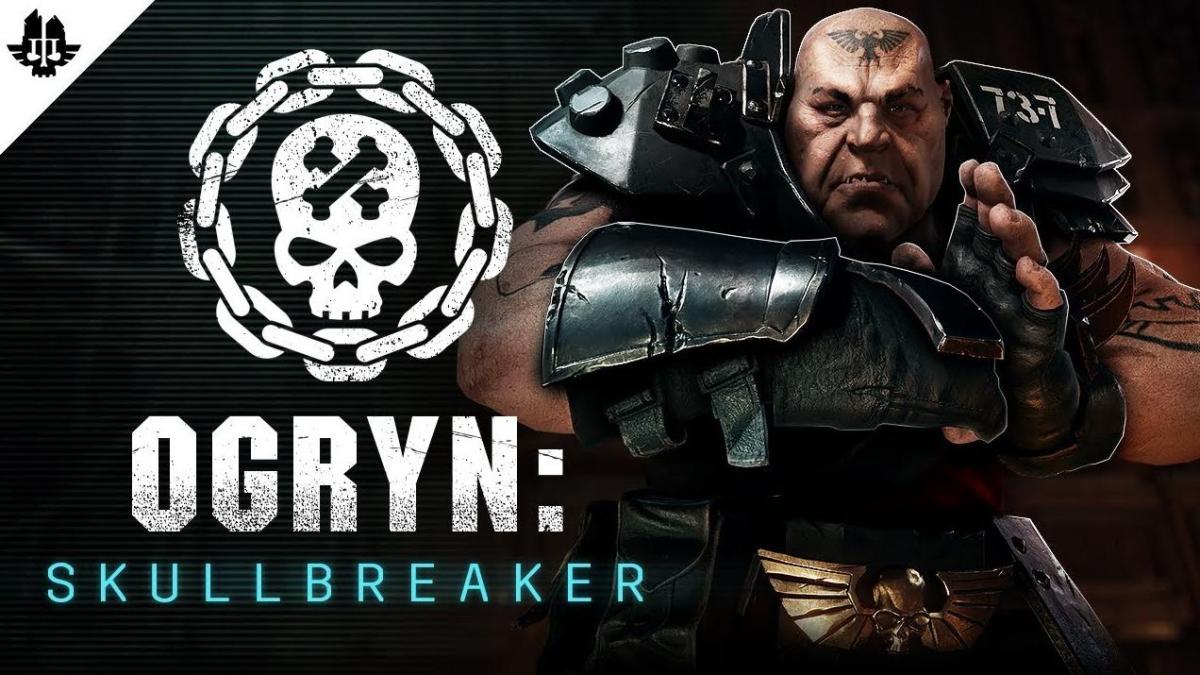
Ogryn Build - Warhammer 40k: Darktide
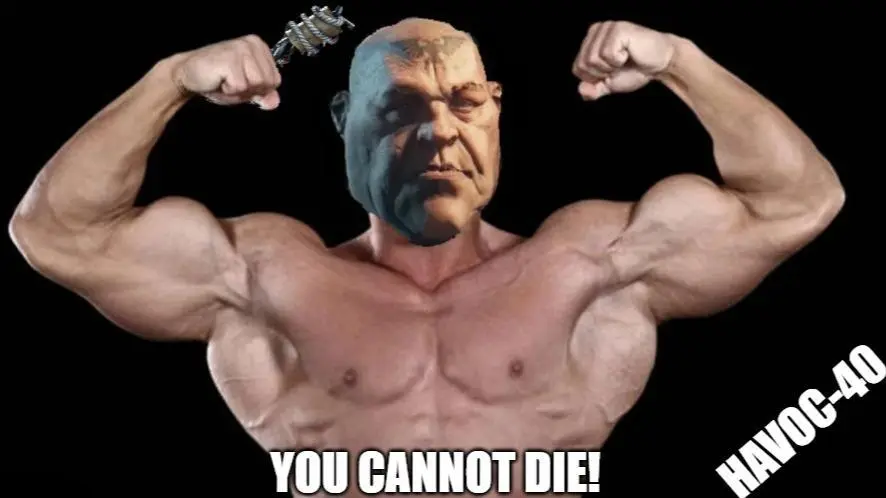
The Immortal ShieldGryn H-40
Ogryn Build - Warhammer 40k: Darktide
Class

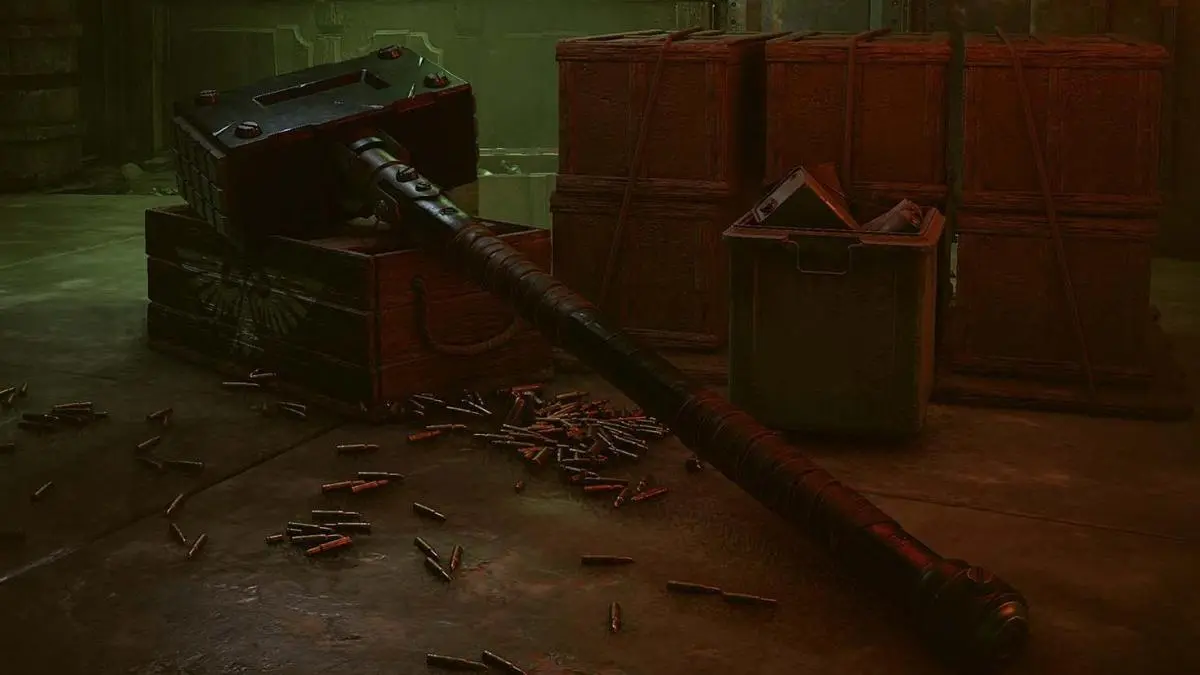
Weapons



Last Guard
Block Breaks push Enemies, 9s cooldown. -30% Block Cost.

Skullcrusher
Target receives 4 Stack(s) of +10% Damage if already Staggered. Lasts 5s.


Pierce
Special Attacks gain +25% Stagger and ignore Hit Mass Bonus from Armour.

Run 'n' Gun
You can Hipfire with this weapon while Sprinting. +15% Close Damage while Sprinting. Also reduces weapon spread at all times by -30%.
Curios


+13-17% Toughness
+13-17% Toughness
+13-17% Toughness
Talent Tree

Description
UPDATED for 'Depths of the Damned': This build has literally saved me through the toughest moments on Havoc-40's & other games too. It's super simplistic; all you have to do is keep on H1>Block/Shove>H1>Block/Shove, etc., etc. You just keep repeating that process no matter what. It's one of the safest Ogryn builds I've ever used; blocking/shoving just keeps feeding to fuel your FNP/Brittleness stacks to be a tanky, unstoppable monster. The shoving/hitting creates more stagger & it really gets your ULT back super-fast with 'Go Again' for your CDR, so you can pop your ULT constantly! You're going to stand your ground, even if your team backs down. Because with the shield, you're nearly invincible; you cannot die (as long as you don't get disabled is really the key, so be super careful). If there's a bunch of gunners, just hold the shield up to taunt them with 'Attention Seeker,' or if you're stuck in a corner with no way out, taunt your ULT & plant the shield in the ground until your teammates can save you. Usually, I hate this kind of advice, but if there's really no way out, it's a last-resort option only; you should never plant your shield regardless. There is no fear; you laugh as you're bashing in their faces. You draw the line in the sand, not the heretics. This is definitely one of Ogryn's meta builds for sure. Honestly, his best in my personal judgment besides those 'OP Gunlugger builds.' In Ogryn alone, I have like almost roughly 4k hours of time into him & I've been playing this game since beta for about 5.1k hours. The reason for 'Last Guard' over 'Brutal Momentum' is because this allows you to keep up the H1>Block>Shove spam for the specific mechanics of the build itself to keep up your constant Pushing, Brittleness, Skullcrusher stacks & ULT spam. Yes, 'Brutal Momentum' is technically more damage itself, but it's not worth it for the way this build is set up because of the specific way you have to play with it in order for it to function properly as intended, if that makes any sense. This build is hyper-specific & usually I would say 'Brutal Momentum' is non-negotiable, except for this very rare exception, of course; otherwise, you should be taking it in other shield builds... If you're an 'Ogryn Bro' or have been playing a while, you'll understand what I'm talking about. Also, if you want to take all Health Curios, feel free to be even more tanky. I feel I don't need it, but go right ahead. If I'm dead-on serious about beating a Havoc-40, this is my magnum opus build if I want to actually truly win. I mean, if you're dying with this build... just uninstall the game; you have no hope. Actually, don't uninstall the game; I'll come over to your house & do it for you... lmao. Kidding. But once you are really good at this build, you're going to shove your big fat Ogre chode down the heretic's throats. Trust me, you'll dominate something fierce. Another alternative way I've actually seen people play this build is literally just all pushing & taunting like the entire time, like literally all pushing the entire game with maybe a few light hits in there from time to time. I personally don't do this because it's very little damage in my eyes. It is super effective as well, but I feel like you're not contributing as much as the way I've mentioned above here; it's more protection for yourself as a push/taunt bot. It's cheesy & as always, the choice is yours on what you want to play for sure. It's not my style, but go crazy!
Side Notes: Yes, you could drop & change a few nodes around for Heavy Hitter for more damage, etc. I feel this build is even better & safer with this configuration, but it's up to you. Another thing is, if you struggle for toughness, drop 'No Stopping Me!' for 'Steady Grip.' I just like the movement mechanic tech more, so I prefer 'No Stopping Me!' (You just feel a bit less sluggish with that node on). You're going to be hitting & blocking/shoving constantly, so it doesn't even matter anymore. I should also mention that you could potentially drop 'Toughest!' for 'Pained Outburst' if you feel less confident in your abilities/skill with Ogryn, if you get dogged, theoretically speaking. This will automatically push the dog off you below the 5-stack FNP threshold, if you want to play it ultra-safe. I would strongly suggest this is the ultimate Ogryn Shield build. You're extremely hard to kill & this kind of build can basically hard-carry 2-3 players on your team who aren't so great; yeah, it's that good if you get your technique down pat. You'll literally become the team. One last thing: use whatever ranged weapon/blitz you feel the most comfortable with. With this build, you're not necessarily a DPS monster... You just contribute differently, that's all. But what you are is a tanky, stagger monster more like & that is valuable to your team; plus, with taunt active nearly all the time, you're literally the distraction when things get heated for your team. You're just the meat shield; that's your purpose essentially. The shield is easily an S-Tier weapon when used correctly. My go-to when I want to tank, Sah. You're the muscles of the team! So, don't be afraid to get in their faces. 💪
Update: Because of the tree changes, I've redone this build. 99% of it remains intact, so no worries there. A lot of tax nodes are gone now, so I got to pick some other nodes that I've wanted in my 'version 2.' What changed? I got to pick some more nodes... 'Beat Them Back,' 'Hard Knocks,' & of course... 'Toughest!'. Also, I've equipped the new & improved shield. This is actually an improvement with more DPS & toughness replenishment; how could you go wrong? That's amazing. The reason I didn't pick 'Can't Hit Me... Again' is that you have the shield, so you can just block/plant, essentially... So, it's almost a wasted point. Plus, you have 'Gunner Resistance' on your Curios anyways; you'll be fine. Usually, I would take this in most builds, but only on other weapons that don't give you that kind of protection; of course, I would. The new & improved tree is great; no real complaints from me. Also, there's a bug with the 'Pierce' blessing on the Thugshot, so you just shoot normally & get almost infinite cleave with it. It reminds me of the 'Kickback' pre-nerfs. We're back, baby! ...or until Fatshark fixes this bug & you have to swap back to surgical, lol. Oh well.
Other builds by B-To-The-Ryan