Table of Contents
Class

Weapons


High Voltage
+25% Damage vs Electrocuted enemies.
Skullcrusher
Target receives 4 Stack(s) of +10% Damage if already Staggered. Lasts 5s.


Blaze Away
+3% Strength for every 10% of magazine spent during continuous fire. Stacks 5 times.
Cavalcade
+5% Critical Chance for every 10% of magazine spent during continuous fire. Stacks 5 times.
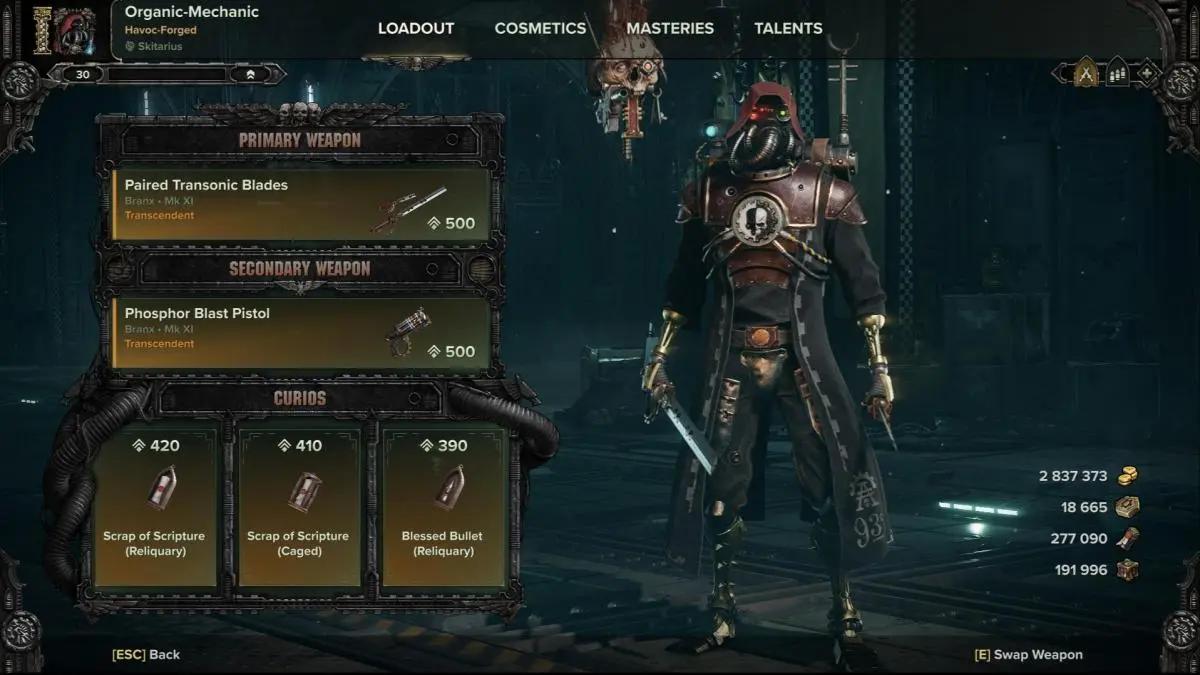
Curios

+13-17% Toughness
+13-17% Toughness
+13-17% Toughness
Talent Tree
Description
Havoc 40 - Hybrid - Strong Range Arc Rifle & Servo-Skull - Strong Melee Boss Killer Chordclaw
I apologise in advance for this being quite a long guide, but trust me when I say, you'll have a much deeper understanding of the Skitarii after reading it.
With this build you'll be able to take out ranged threats with ease, one-shot crushers, horde clear, and nuke bosses.
And at the bottom of the guide I'll discuss which talents can be moved around for you to adapt the build for better survivability.
The abilities that really shine for the Skitarius is it's Servo Skull and Chordclaw.
Bare in mind, that they both use up 25% Capacitance (which is our ability regen resource), so technically in a sense they're working against each other. But it's nice to have both options, because for those ranged battles you can't use Chordclaw anyway right.
Servo-Skull allows us to quickly pick off ranged threats by double tagging enemies. It can melt through flak armour with ease, but it's useless against carapace, and if you target a reaper, make sure you assist it to get the kill.
The Purgator Flame Skull (grenade use) is decent for horde clear, but we're not taking it because our Arc Rifle is more efficient for horde clear.
Medicae Servo-Skull (grenade use) is nice to have because we're quite a squishy class, and we're most vulnerable when physically reviving allies, so we use the Skull to allow us stay safe and keep pumping out the dps while still helping our team (note that it can also free people from nets).
Noosepheric Command drastically boosts the Servo-Skulls damage for rapid elimination of elite threats (snipers / bombers etc). But it does cost us 25% capacitance; so if you find yourself not being able to use Chordclaw as often as you'd like, remove Noosepheric Command, and put the talent somewhere else (I'll offer some suggestions at the bottom of guide).
And remember! That you need -line of sight- to your target in order to use the Servo-Skull.
Our Chordclaw ability is how we'll deal with threats in our face - by ripping off their face! It can deal with any (literally ANY) threat that gets too close. Thanks to our sickeningly fast capacitance (ability) regen and curios (yes, ability regen on curios does help), we can use it very often.
Why have we only taken Satiated Steel?
Chordclaw does higher single target burst damage, so you can one-shot crushers with it (aim for the face); which you -can't- do with Probing Strikes or Axial Slash.
Combined with our Redline Capacitors (purple keystone, top left), we get 5 uses of Chordclaw, and do more damage each time we use it.
With Satiated Steel, we Regen 25% Capacitance every time we use Chordclaw, so before you even use your 5 charges, you'll have another charge ready, meaning that when we face a boss; we can spam Chordclaw 6 times! Making the Skitarii the ultimate boss slayer! (Well, second to the Zealot perhaps).
And it gets better, because the damage can be further improved by shooting the boss 4 times with your Arc Rifle as you close the gap, so that we apply max stacks of Brittleness because of System Shock (talent top of tree) on the boss first.
Even though Slice and Dice (60% more damage) sounds amazing - it isn't any use if you don't have enough Chordclaw charges.
Think of it this way: with Satiated Steel you'll always have Chordclaw ready to use when you need it; you'll get more uses out of Chordclaw, so your damage output -will- be higher.
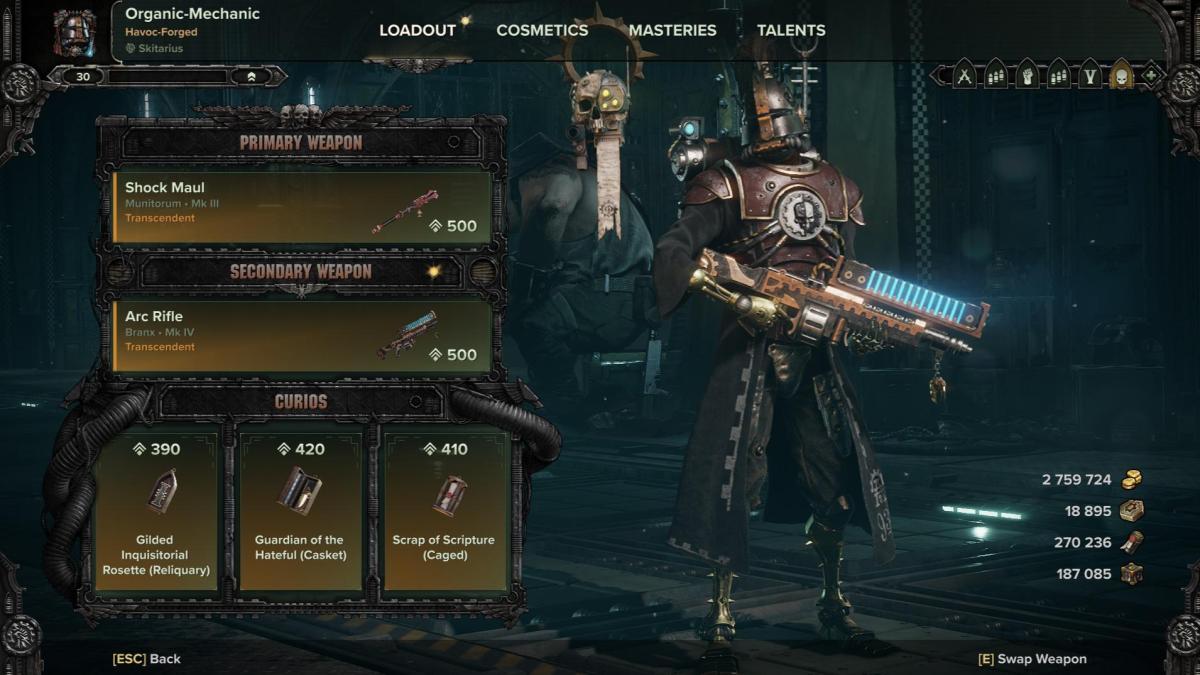
For Range we use the Arc Rifle. Check out my ranged build guide if you want more details of exactly why. Or just trust me when I say: hold down the left mouse button with it, and watch everything die.
The talents Gunsmith (helps us avoid having to reload) and Ammunition-Restoration Pod (right side of tree) make the Skitarii the most ammo efficient class in the game. I strongly recommend taking these talents even with a melee build.
For melee, we've taken the Shock Maul (huh? Really?) because it benefits from our electric damage nodes at the top of the tree (which we're taking for the Arc Rifle as well), but the real reason I choose the Shock Maul for Havoc is because it's special attack melts Captains shields very efficiently.
Note that Unyielding refinement does -not- improve damage of shock mauls special attack damage to captains shield.
So for those moments when Twins and a Captain spawn at the same time, it allows us to take on one of them by ourself
(I recommend targeting the ranged twin to stop him disrupting your team with shots and pox nades, while they're busy focusing down the melee captain), by melting down their shield with the maul, then Chordclaw when his shield is down, and repeat. If there's a horde as well, then use your Arc Rifle on the captain, to melt their shield quickly and clear the horde simultaneously.
Also note that Channelled Motive Force (left side of tree) giving 15% damage after spending 1 stamina, doesn't stack if you spend more stamina.
Stamina is spent by sprinting, blocking, pushing, which will happen naturally as you play.
Personally I don't find +stamina curios helpful for Skitarii, as it only gives you a couple more blocks and allows you to sprint for a couple more seconds.
So for your Curios.
Ability Regen is king, for obvious reasons - that reason being, more face ripping with Chordclaw.
Toughness stacking gives us more value the more we stack the percentage of toughness, increasing our survivability.
Damage Resistance 20% (Gunners) has a diminishing return, meaning that if you take it on all 3 curios, it doesn't actually provide 60% resistance. So the more you choose it, the less value it actually has. The damage resistance of gunners only helps against the elite gunners and reapers, -not- the regular ranged grunts.
Just remember to slide as you move to avoid getting shot to pieces. Having more stamina regen helps with this.
Stamina Regen stacks. It's a more effective way of allowing us to sprint and block more often, without taking a +3 Stamina Curio, so that we can have more toughness instead. Watch your stamina bar; with 24% more regen, you'll notice how much quicker it comes back.
Survivability - find yourself going down a lot? Yeah, it happens on Havoc. If you get hit as Skitarii, you die.
Don't let enemies at your back. If you run out of stamina, you can't block or push (which is why we've taken stamina regen on our curios), you only have so many dodges, and that second it takes for our dodges to refresh is when you'll go down.
Therefore positioning is more important then ever with the Skitarii.
It takes time to learn, and pay attention to where enemies spawn.
And listen out for that "woosh" sound that alerts you to the fact that you're about to get hit; dodge block push whenever you hear it.
Now lets talk about what we can change to improve our survivability.
We can remove our damage nodes (Retribution Conduit and Weakness Analysis Doctrine) at the top of the tree, and Sureshot Cogitator Sync (25% weakspot damage bottom of tree) because we don't do any damage if we're dead! So there's 3 points.
But! Bare in mind that Retribution Conduit can give us a -massive- 35% more damage (for both melee and ranged) if we have our max stacks of 5 (thanks to Redline Capacitors) Chordclaw.
Keep the brittleness talent if you can, as it helps the whole team do more damage because it's applied by our Arc Rifles immense AoE.
If we need more points, we can remove our Servo-Skull modifiers for another 2 points.
So with our 5 points I would choose:
Threat Detection Imperative (right side of tree) for 20% toughness damage reduction.
This is an amazing talent with a very high up time because as our Servo-Skull is constantly picking off poxwalkers and grunts, it keeps refreshing our stacks for us.
Superior Defence Engrams (right side of tree) for 5% toughness regen per second. Our Servo-Skull keeps this buff active as well.
Progressive Plating Matrix (bottom of tree) for 15% more toughness damage reduction stacking from hits, which means this isn't just stacking from melee, it is also stacking from our ranged attacks; both the Arc Rifle -and- our Servo-Skull so this buff has 100% uptime.
Entropic Transfer (top of tree) replenishes 12% toughness over 4s whenever electrocuting an enemy, so considering -all- of our attacks electrocute enemies; this is a constant effect.
Surge Extension (top left keystone modifier) for 25% toughness replenishment over 5s.
The way the keystone Redline Capacitors works, is that every time we use Chordclaw, we gain a stack. Maxing at 5 stacks. So each time we use Chordclaw it does more and more damage (up to 25%), while also giving us 25% damage mitigation, and capacitance regen (helping us use Chordclaw even more frequently) because of our chosen modifiers.
If we take all of these toughness regen nodes; our Resurgence aura becomes far more potent.
And because of this aura, we can even consider putting toughness regen on our curios.
Some notable mentions for survivability talents:
Ablative Wards (top of tree) is a surprisingly strong talent to consider, especially if you have a Zealot in your team with the Beacon of Purity aura (heals 1.5 corruption per second), because you can run through blight and not care. You'd normally take corruption damage whenever near a daemonhost, or get hit by a boss, or pounced on by a hound, so Ablative Wards can prevent a lot more damage than you'd think. Though choosing it depends on the circumstances of your team composition and the mission you're doing.
If you choose to progress your build down the bottom of the tree, then consider:
Slaughter Protocol for 25% toughness replenishment on melee kill, increasing to 50%!!! At 0 charges, which is basically when Chordclaw is empty - which shouldn't be very often.
Adaptive Combat Engram on toughness break gain 30% damage resistance for 5s, so it -could- make the difference between dying or not. But because of its 15s cooldown I don't rate it highly.
I hope this (long! Sorry) guide helps you purge more heretics my fellow Coghead.
Good luck, and remember "Optimal performance is rewarded with modification."