
Table of Contents
Ogryn Build - Warhammer 40k: Darktide
Double Tap (To Be Sure)
Ogryn Build - Warhammer 40k: Darktide
Class

Weapons



Power Surge
Special Attacks on Armoured Enemies cause an additional Shockwave. Special Attacks have +25% Explosion Radius.

Skullcrusher
Target receives 4 Stack(s) of +10% Damage if already Staggered. Lasts 5s.


Blast Zone
+6% Explosion Radius for every shot fired during continuous fire. Stacks 5 times.

Blaze Away
+9% Strength for every shot fired during continuous fire. Stacks 5 times.
Curios


+13-17% Toughness
+13-17% Toughness
+17-21% Max Health
Talent Tree

Description
## Concept and role
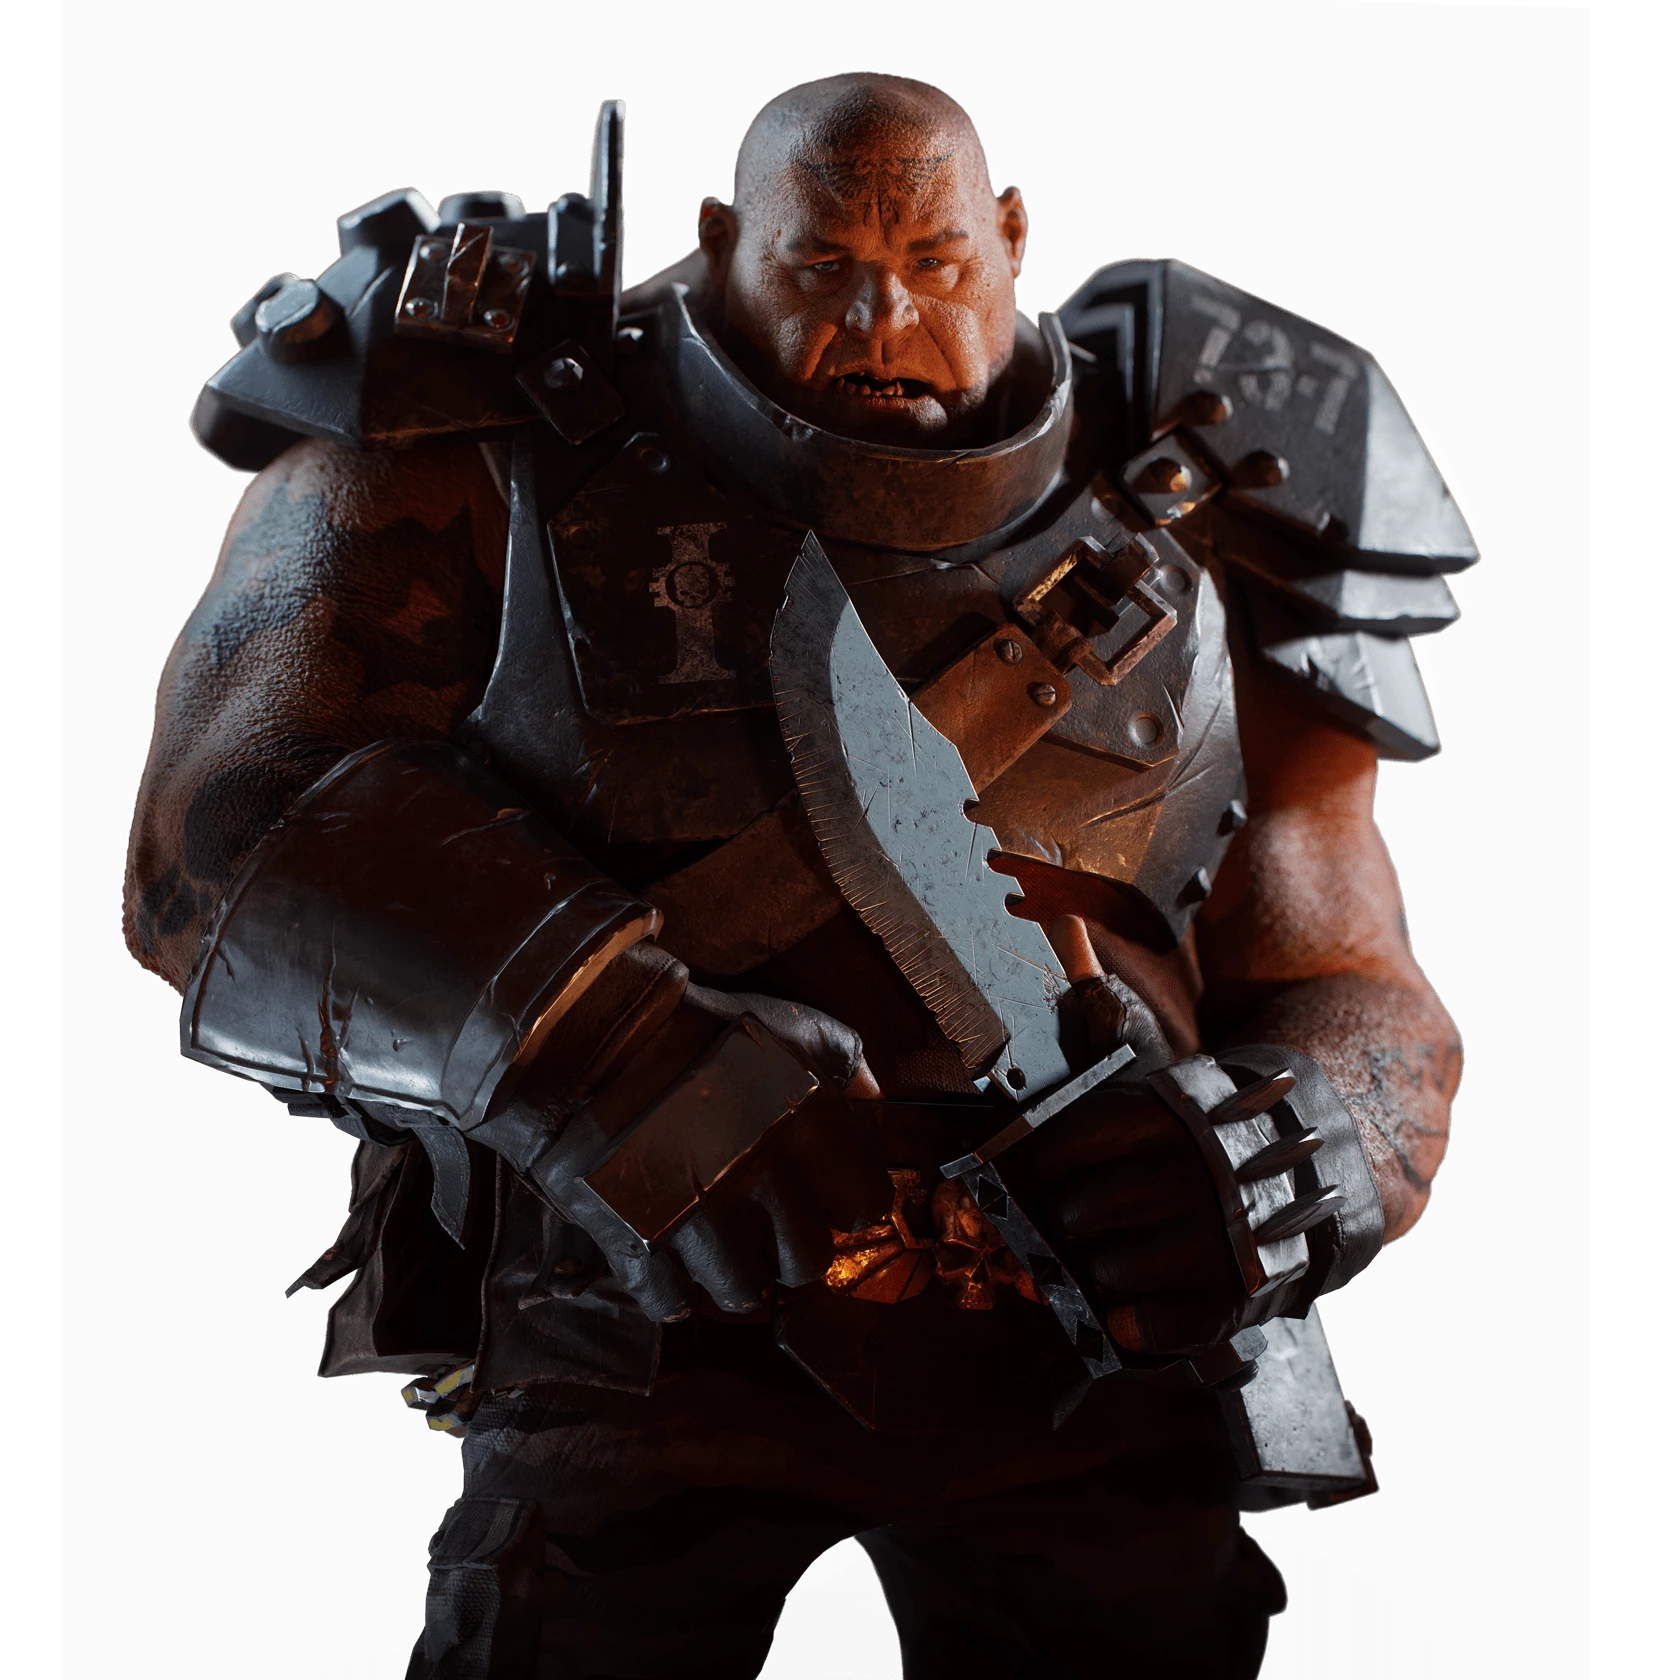
This build plays as a **midline bruiser**. You control space with the Rumbler, then step in with the Power Maul to finish elites, protect your team, and build Back Off! stacks for stronger ranged bursts.
The core idea is simple: melee kills power your Rumbler. You build Lucky Bullet chance with Back Off!, then cash it out with Point-Blank Barrage and Burst Limiter Override when a high-value target or packed lane appears.
## Weapons
### Lorenz Mk VI Rumbler
The Rumbler is your main ranged weapon and control tool. It gives you strong stagger, splash damage, and lane denial against shooter packs, elite groups, and enemies pushing through chokepoints.
PBB rewards you for fighting closer than most ranged builds want to, and Burst Limiter Override gives you short burst windows where the Rumbler can heavily swing a fight. Use it to break dangerous formations before they reach your team.
### Power Maul
The Power Maul is a free grenade every 12 seconds with the Power Surge blessing, it covers everything that survives the Rumbler or gets too close to use explosives safely. It gives you strong stagger, reliable elite control, and a safe way to farm melee kills for Back Off! stacks.
This weapon is here to keep pressure off your team, maintain your toughness through control, and feed your next Rumbler burst.
## Key talents
### Point-Blank Barrage
PBB turns the Rumbler into a close-range burst tool. It lets you step into midrange, punish dense packs, and immediately swap to melee if enemies survive the blast.
### Burst Limiter Override
Burst Limiter Override gives you short, high-impact firing windows. When it procs, use those shots on elite packs, dangerous shooter lines, or anything threatening to overwhelm your team.
### Back Off!
Back Off! is the engine of the build. Each melee kill adds Lucky Bullet chance, so every safe kill with the Bully Club increases the value of your next Rumbler volley.
This is why the build constantly rotates between melee and ranged instead of sitting in one mode.
### Bombs Away!
Bombs Away! is your panic button and fight opener. Use it to break dense packs, rescue bad situations, secure space for revives, or set up a strong PBB burst into a disrupted group.
## Curios and survivability
The build is tanky through toughness, control, and uptime rather than raw health. A 2 toughness / 1 health curio setup fits well, with toughness perks and cooldown reduction giving you better consistency in longer fights.
You want to stay aggressive without overcommitting. More toughness and faster ability cycling help you keep control of the fight instead of backing off to recover.
## Playstyle
The loop is simple:
- Start in melee and build Back Off! stacks with Power Maul kills.
- Swap to Rumbler when you see a valuable target or packed lane.
- Use PBB and Burst Limiter Override to dump a short, high-impact burst.
- Go back to melee, clean up survivors, and rebuild stacks.
- Use Bombs Away! when the fight gets messy or you need to create instant space.
You are strongest when rotating cleanly between melee and ranged. Don’t sit on the Rumbler too long, and don’t waste your stacked burst on low-value trash.
## Positioning
Play slightly ahead of your backline, but not so far forward that you lose coherency. You want clear angles for the Rumbler while still being close enough to peel for teammates and step into melee safely.
Your job is to make fights easier for everyone else: stagger the dangerous stuff, break up pushes, and stop elites and shooters from ever settling into a clean attack pattern.
Or you can blow the hell out of everything, if it survives the blast then it burns to death.