Table of Contents
Class

Weapons


Wrath
+40% Cleave on Hit. Stacks 5 times.

Rampage
Hitting at least 3 enemies with an attack, increases your damage by +36% for 3.5 seconds.

Deathspitter
+6.5% Strength for 3.5s on Close Range Kill.

Scattershot
+12% Critical Chance for each Enemy Hit by your previous attack. Stacks 5 times.
Curios


+13-17% Toughness
+13-17% Toughness
+1-3 Max Stamina
Talent Tree

Description
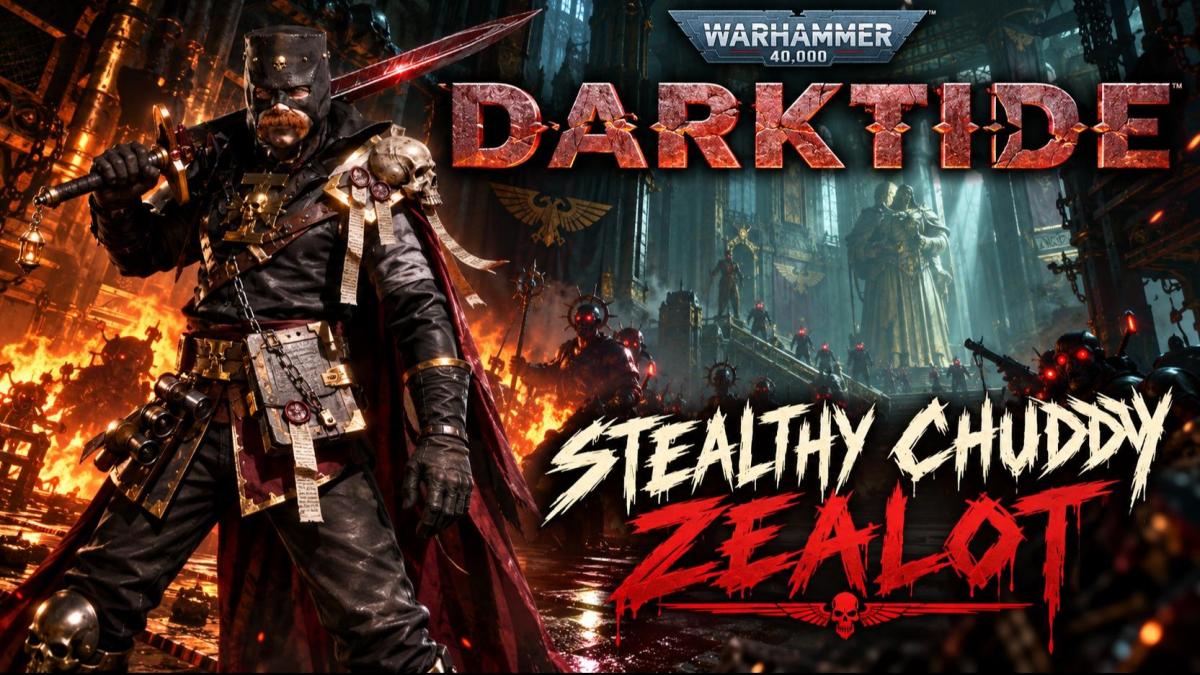
Stealthy Chuddy Zealot
This build is an aggressive Shroudfield Zealot focused on deleting priority targets, destroying bosses with the charged Relic Blade, and using Flame Grenades to control space whenever the team starts getting overwhelmed.
The main idea is simple: use stealth to get where the team can't.
Instead of sitting in the frontline fighting whatever is directly in front of you, look for opportunities to disappear with Shroudfield, slip past the horde, and eliminate dangerous backline enemies before they become a problem.
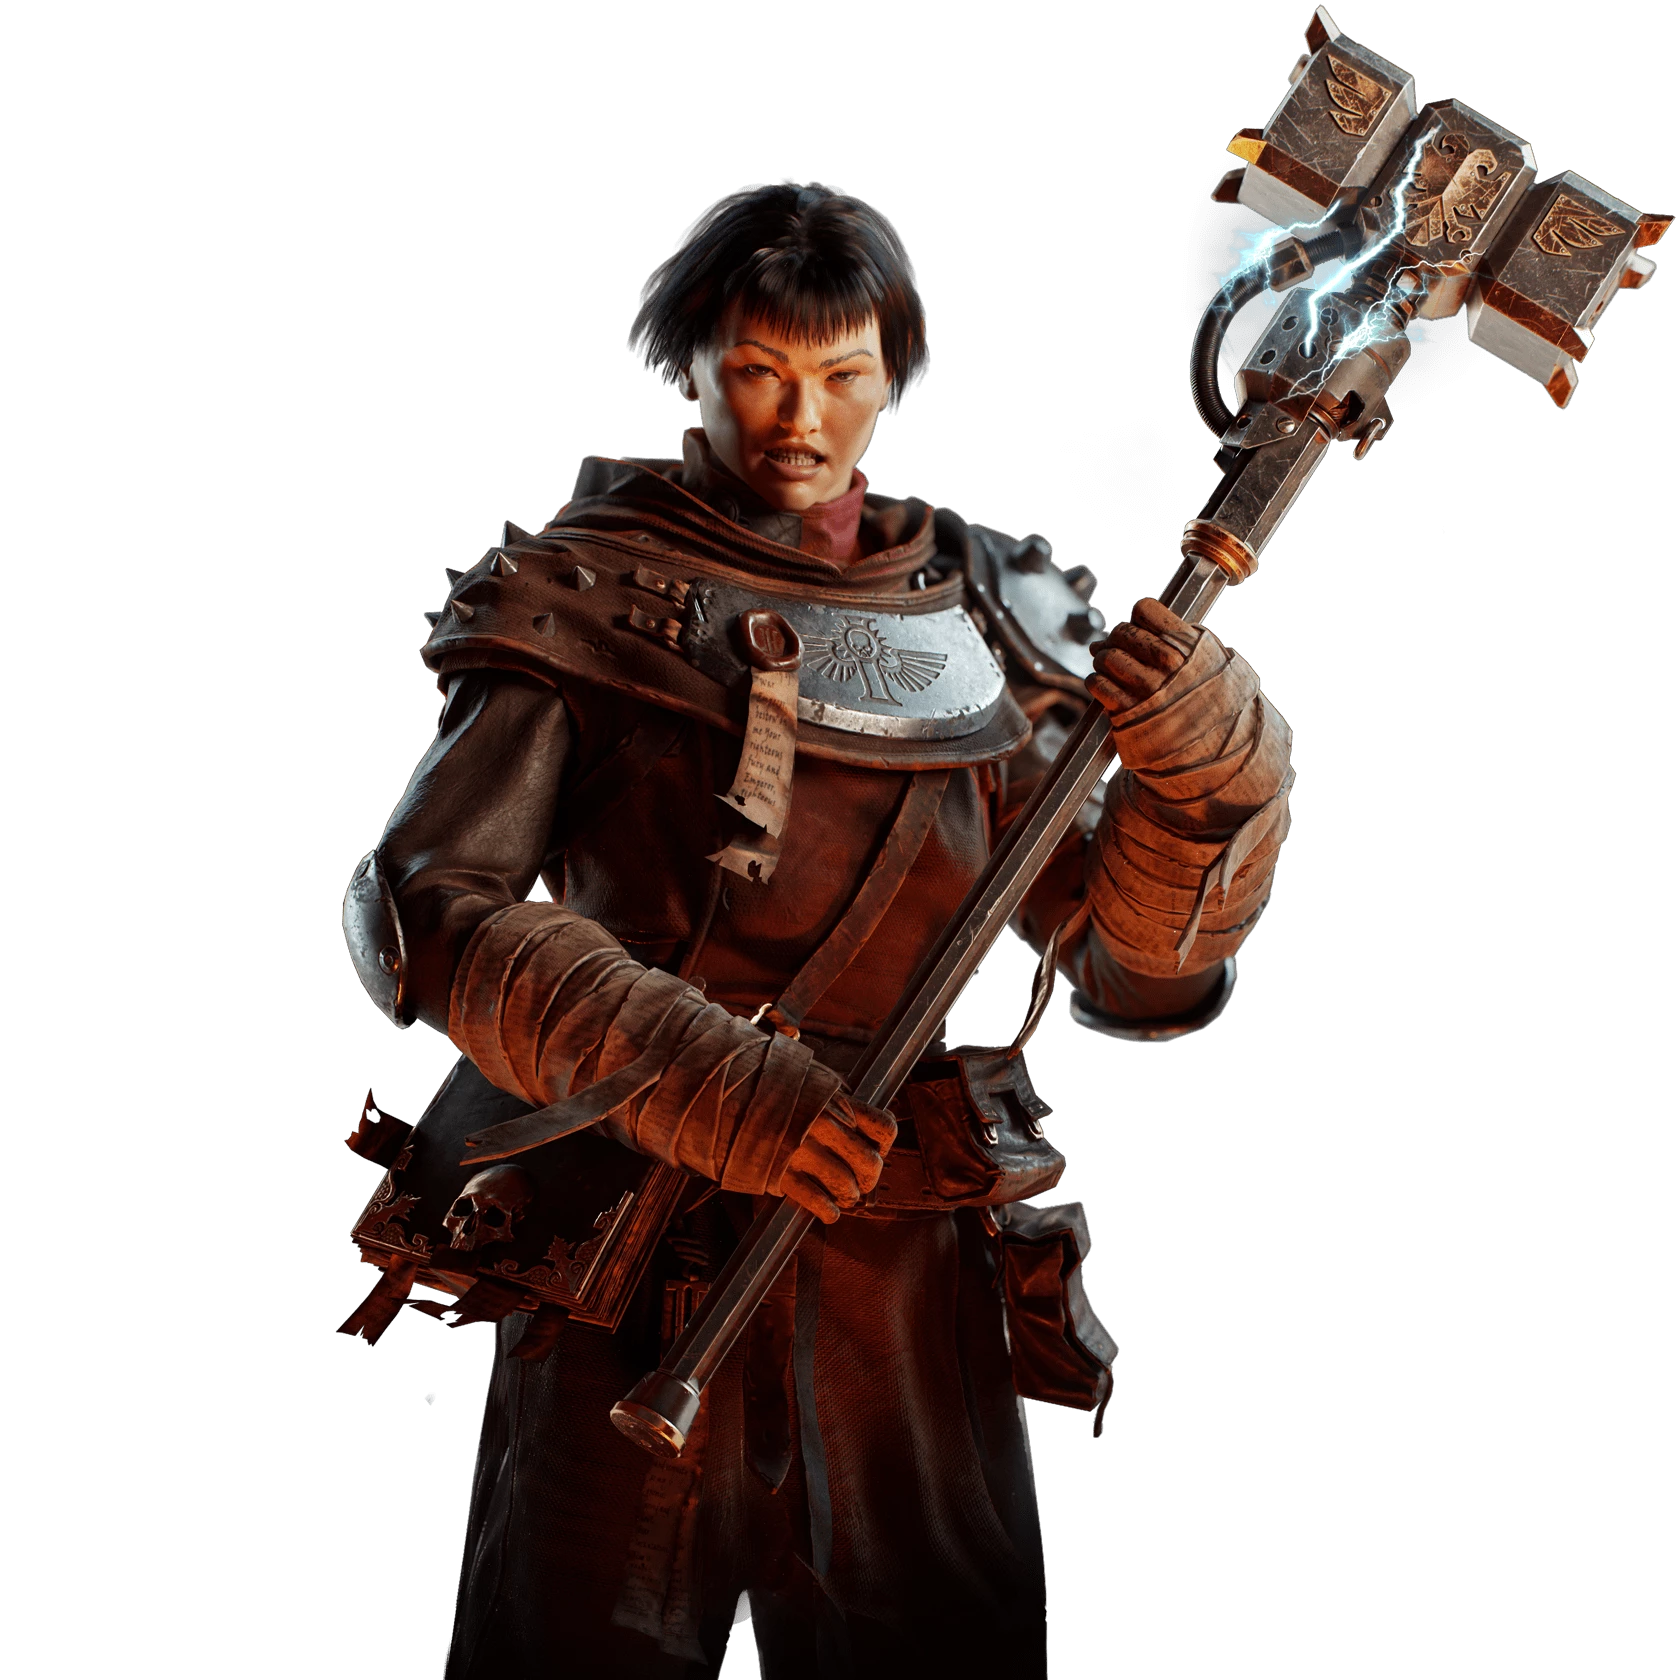
🗡️ Relic Blade Mk X
The Relic Blade Mk X is the centerpiece of the build.
With Wrath + Rampage, the weapon becomes extremely strong once you're fighting through groups of enemies. Rampage gives you additional power as you keep cleaving through enemies, while Wrath helps the blade continue cutting through dense hordes.
For normal enemies, you can comfortably use the Relic Blade as your main melee weapon and take advantage of its strong cleave.
Where the weapon really shines, though, is against high-value targets.
Charge the Relic Blade → activate Shroudfield → get into position → unload your powered attack into the target.
The massive damage bonuses from Shroudfield combined with the charged Relic Blade allow you to absolutely chunk — and in the right situation outright delete — bosses and other high-health enemies.
Don't waste Shroudfield on random enemies if you know a major threat is coming.
👻 Shroudfield / Backline Assassination
Shroudfield isn't just a damage button.
One of the biggest strengths of this build is being able to temporarily disappear from the frontline and attack the enemies causing problems from behind.
See a group of Gunners, Shotgunners, Specialists, or other dangerous backline enemies pinning your team down?
Go invisible.
Move around or through the engagement, get directly onto their position, and start deleting them before they can continue firing into your team.
Once the dangerous targets are gone, immediately work your way back toward the squad.
The goal isn't to permanently play away from your team. You're using stealth to temporarily break away, remove a threat, and return.
🔥 Flame Grenades = Space
Your Flame Grenades are your main crowd-control tool.
Don't think of them purely as damage.
Use them to create space for the team.
If the squad is getting surrounded, somebody needs a revive, enemies are pouring through a doorway, or you need to stop a section of the horde from pushing forward, throw a Flame Grenade into that area.
This lets you temporarily divide the fight and gives everyone room to reposition.
They're especially useful when you're about to leave the team with Shroudfield. Dropping fire into a dangerous section of the horde can help keep pressure off your teammates while you disappear to deal with the backline.
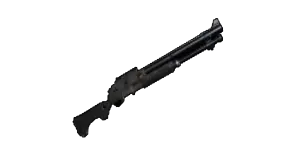
🔫 Huntsman's Shotgun Mk III
The Huntsman's Shotgun Mk III gives the build a strong ranged option for enemies you either can't immediately reach or don't want to spend Shroudfield chasing.
With Deathspitter + Scattershot, it complements the aggressive playstyle of the build while giving you something reliable when closing the distance isn't the best option.
Don't feel like every Specialist needs to be killed with your sword.
If something dangerous is exposed at range, shoot it.
Save Shroudfield for situations where getting directly into the enemy backline actually gives you an advantage.
🔄 Basic Rotation
Your normal gameplay loop looks something like this:
Fight with Relic Blade → identify priority target → Shroudfield → reposition/assassinate → return to team → repeat.
Against bosses:
Charge Relic Blade → Shroudfield → position yourself → powered Relic Blade attack → continue pressure.
When the team is getting overwhelmed:
Flame Grenade → create breathing room → kill priority enemies → stabilize → continue fighting.
You're constantly deciding which of those three roles the team needs most.
💀 How I Play the Build
I play this build like an assassin that can still hold his own in the middle of a horde.
If the frontline is under control, I'm looking behind the enemies for Gunners, Specialists, and Elites that are making the fight harder.
If a boss appears, I'm looking for an opportunity to charge the Relic Blade and combine it with Shroudfield for massive burst damage.
If the team starts losing space, I'm throwing Flame Grenades to block off part of the fight and give everyone room to recover.
The important thing is knowing when to come back.
Shroudfield gives you the ability to make aggressive plays, but disappearing halfway across the map while your team gets destroyed defeats the purpose of the build.
Go invisible. Kill the problem. Get back to the squad.
TL;DR
Shroudfield: Get behind enemy lines and assassinate dangerous Elites/Specialists.
Charged Relic Blade + Shroudfield: Your boss/priority-target deletion combo.
Flame Grenades: Control hordes and create breathing room for the team.
Huntsman's Shotgun: Deal with ranged threats when committing Shroudfield isn't necessary.
Relic Blade: Your primary workhorse for horde clear, Elite killing, and huge burst damage.
You're basically playing a frontline Zealot that can instantly turn into a backline assassin whenever the situation calls for it.
Video


Other builds by Bean