
Table of Contents
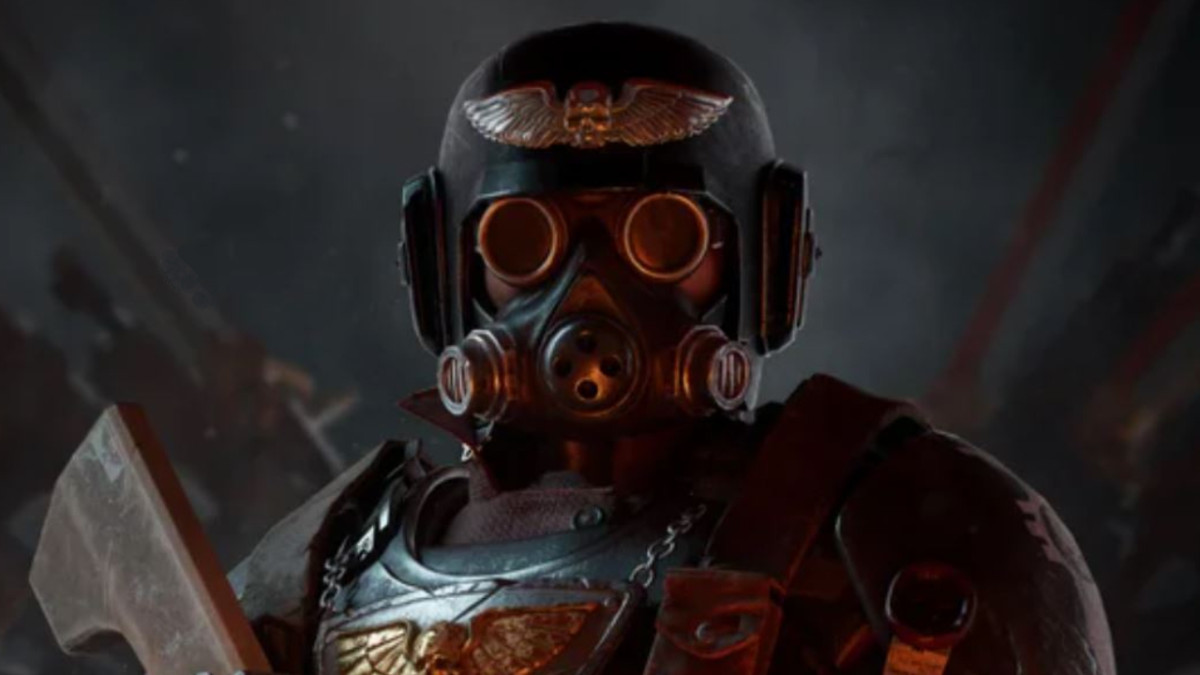
Class
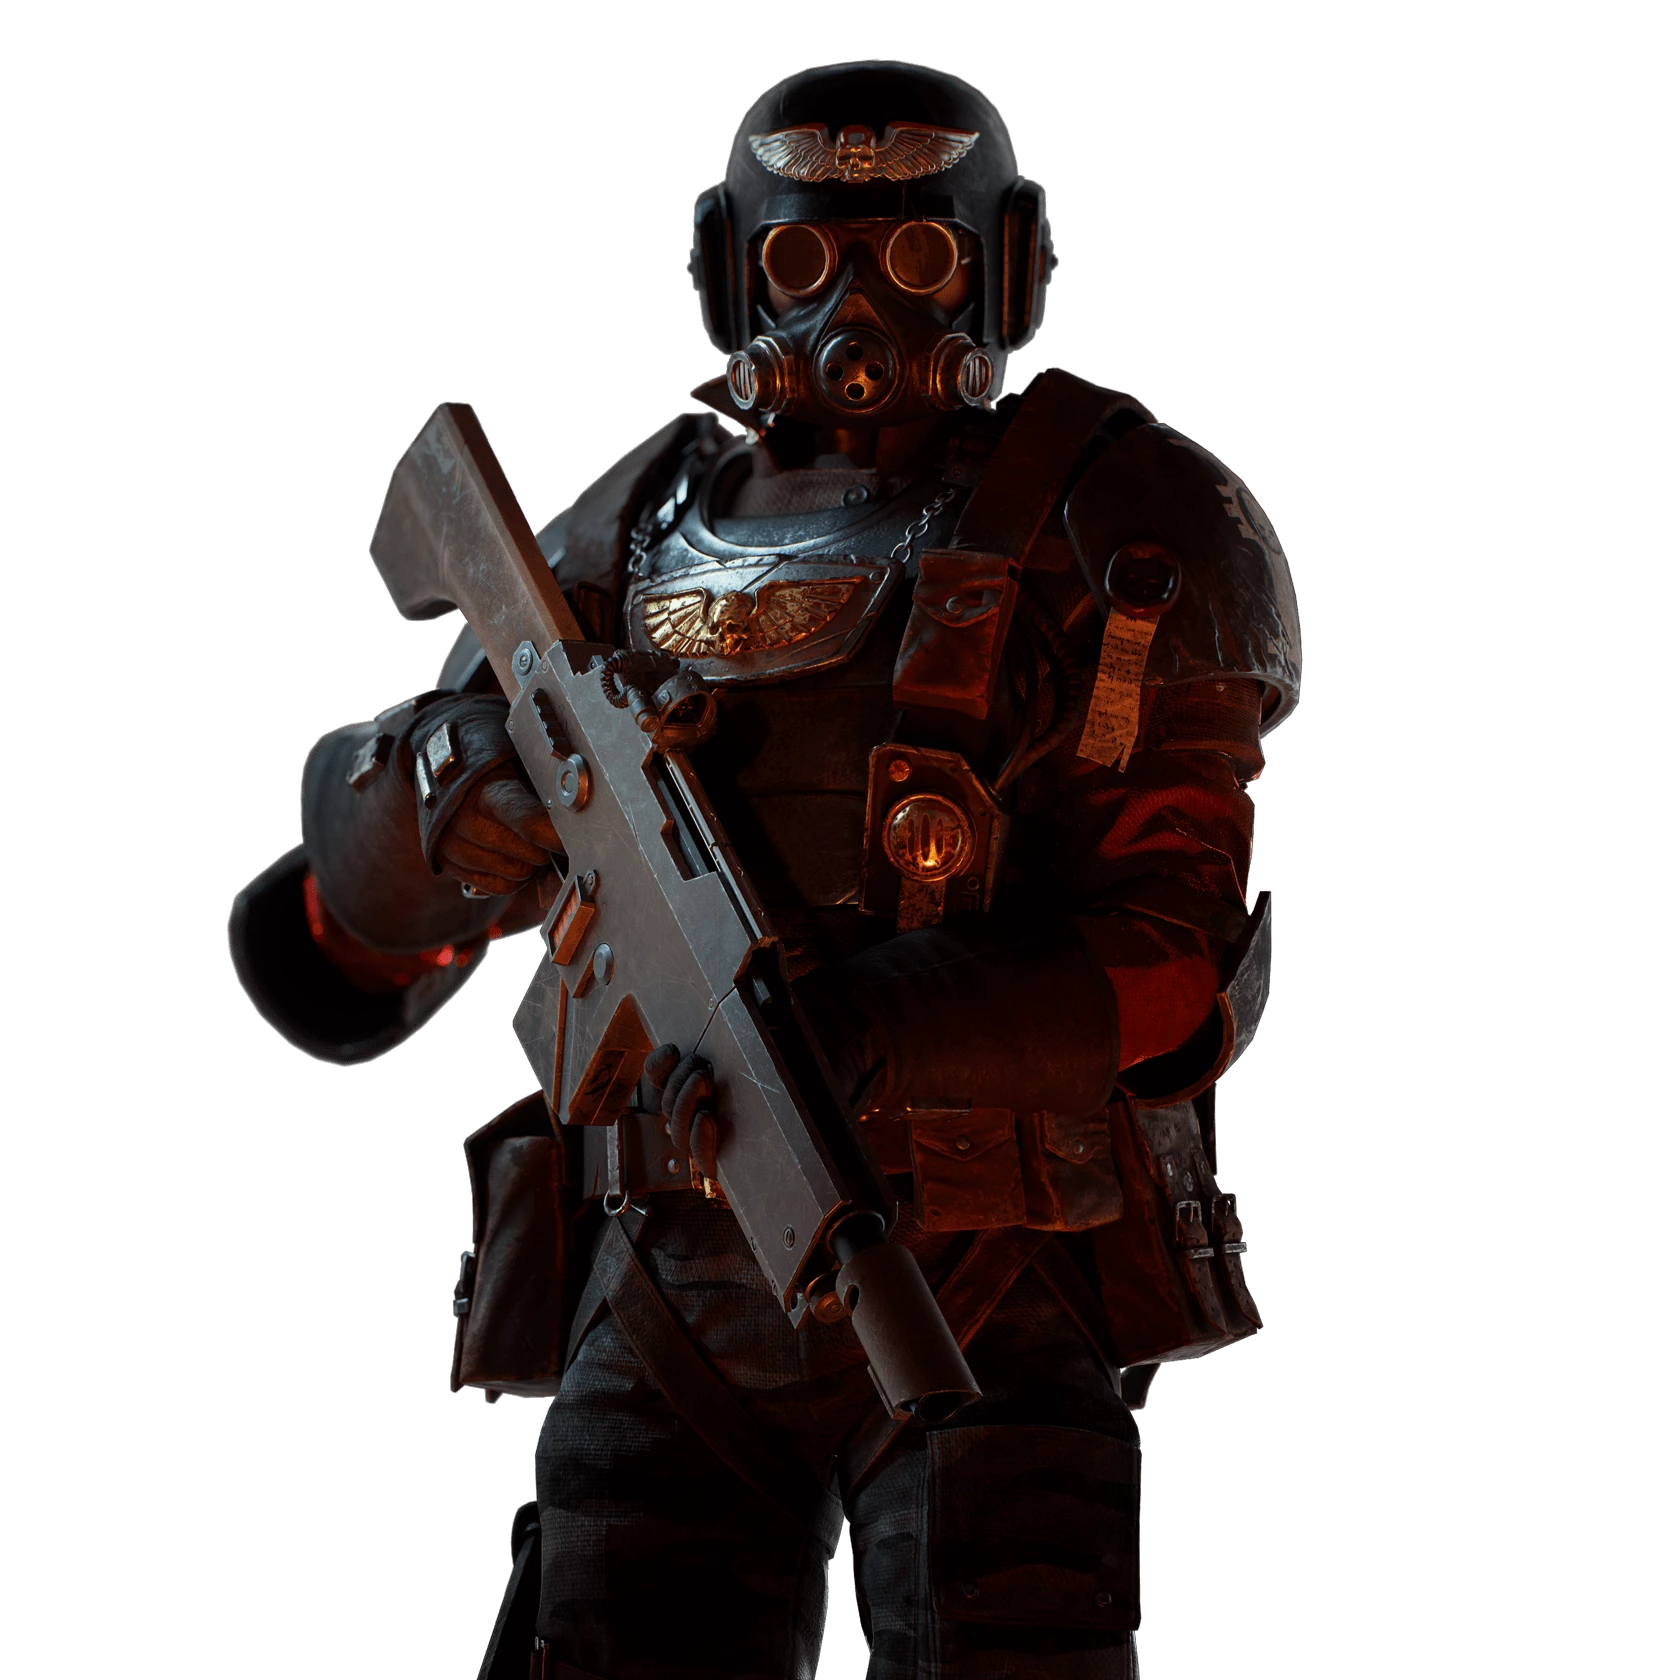
Weapons


Ruthless Backstab
+100% Rending on Backstab Hit.
Flesh Tearer
8 Bleed Stacks on Critical Hit.

Crucian Roulette
+6% Critical Chance for each expended round in your weapon (resets on reload).
Hand-Cannon
+60% Rending on Critical Hit.
Curios

+1 Wound(s)
+17-21% Max Health
+1-3 Max Stamina
Talent Tree
Description
(Updated for Patch #14)
This build was sort of a meme build when I first made it. Now, I find it very effective as long as you know when and how to be aggressive, use your ability, and stay with the team.
Typically, I use Infiltrate whenever I'm in:
A) A bad situation.
- You know what a bad situation is, and you know when you're in one. Use the ability if you need to, in this build you have two at your disposal, and I find that at high levels of play the "Tactical Awareness" passive, allows the ability to be up many times per-match. Especially since the Revolver 1-3 shots most specials.
B) My ally is downed and no one is near them.
- With this build, you are extremely fast. Movement speed wise, you can out run all of your team, unless they're also running a similar type of build. In that case you'll be either slightly ahead of them, or tied in speed. That being said, you gain 20% on top of that running speed towards downed or incapacitated teammates, stacking that with infiltrates 25% and your passive 5% thanks to your aura, you have 50% more movement speed towards any downed or incapacitated ally, and since Infiltrate makes you invisible, then you can pull off a lot of clutch revives/saves.
C) A Gunner, Specialist, or big group is in front of my team.
- If there's a group of Gunners ahead of your team, pop Infiltrate, run into them and backstab all of them. You can kill multiple in quick succession as a heavy attack with the Knife is quick, and the suppression plus the -90% threat level allows you to just continue stabbing all of their backs. If there's a specialist, for example, a Sniper, you can use Infiltrate and either headshot them with the Revolver or run and Knife them if you see that there's more enemies to stab. With the other Specialists, either use the Revolver or Knife, depending on the distance, horde density, and how annoying they're being to the you/the team. If there's a large group across my team, lets say, in a large open area. Use Infiltrate and charge at them, backstabbing all in your path as they wont notice you and will get 1-2 shot with the Knife.
D) I'm the last one up.
- This situation could happen, if you're in this situation, use Infiltrate and revive them, very easy, use your Smoke Grenade to make the revive a little easier, as it removes line of sight from enemy fire.
E) I'm the last one alive.
- This one is rare, but of course it can happen. Wait for your team to respawn, if there's no one around you, you should be able to pull off a save in front of the enemies guarding them with your ability if you're lucky and they spawn near, if they're far, you still have a chance, just, not a big one. If there's a horde and you're the last one, it's a little harder. If you just happened to be the last one and you're team is in an event where they spawn near, just block, dodge, and wait out their respawn timer. If you're in a situation where they'll spawn far. Pray to the God Emperor, and run. Use the Smoke Grenade once you're about to run out of your invisibility, if you happen to have two, you'll have a much easier time running away to save a teammate.
Weapons:
⭐ Symbol means (Depending on Crit)
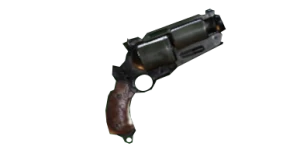
Revolver:
- As I've said before this will kill most Specialists very quickly, here's a list for each Specialist (At Damnation + full health + above 75% on all stats (with at least 78-80% on damage) except for reload speed):
- Pox Hound:
Headshot (Close Range): 1-2 ⭐
Bodyshot (Close Range): 2-3 ⭐
Headshot (Medium Range): 1-2 ⭐
Bodyshot (Medium Range): 2-3 ⭐
Headshot (Far Range): 1-2 ⭐
Bodyshot (Far Range): 2-3 ⭐
- Both Flamers:
Headshot (Close Range): 1-2 ⭐
Bodyshot (Close Range): 1-3 ⭐
Headshot (Medium Range): 1
Bodyshot (Medium Range): 1-3 ⭐
Headshot (Far Range): 1
Bodyshot (Far Range): 1-3 ⭐
- Sniper:
Headshot (Across all Ranges): 1
Bodyshot (Across all Ranges): 1
- Bomber:
Headshot (Across all Ranges): 1
Bodyshot (Across all Ranges): 1-2 ⭐
- Trapper:
Headshot (Across all Ranges): 1
Bodyshot (Across all Ranges): 1-2 ⭐
- Mutant:
Headshot (Close Range): 2-4 ⭐
Bodyshot (Close Range): 3-5 ⭐
Headshot (Medium Range): 2-4 ⭐
Bodyshot (Medium Range): 3-5 ⭐
Headshot (Far Range): 2-4 ⭐
Bodyshot (Far Range): 3-5 ⭐
- Poxburster (May not be entirely accurate) (May 1 Shot across all distances as of Patch 14):
Headshot (Close Range): 1
Bodyshot (Close Range): 2
Headshot (Medium Range): 1
Bodyshot (Medium Range): 2
Headshot (Far Range): 1
Bodyshot (Far Range): 2
- Now, here's the Elites (At Damnation + full health + above 75% on all stats except for reload speed):
- Both Gunners:
Headshot (Close Range): 1-2 ⭐ (Will 1 shot Scab Gunner)
Bodyshot (Close Range): 1-2 ⭐
Headshot (Medium Range): 1-2 ⭐ (Will 1 shot Scab Gunner)
Bodyshot (Medium Range): 1-2 ⭐
Headshot (Far Range): 1-2 ⭐ (Will 1 shot Scab Gunner)
Bodyshot (Far Range): 1-2 ⭐
- Mauler (Weaker at the Chest):
Headshot (Close Range): 2-4⭐
Bodyshot (Close Range): 2-3 ⭐ (2-4 if you're super unlucky)
Headshot (Medium Range): 2-4 ⭐
Bodyshot (Medium Range): 2-3 ⭐ (2-4 if you're super unlucky)
Headshot (Far Range): 2-4 ⭐
Bodyshot (Far Range): 2-3 ⭐ (2-4 if you're super unlucky)
- Both Ragers
Headshot (Across all Ranges): 2⭐
Bodyshot (Across all Ranges): 2-3 ⭐
- Both Shot-Gunners:
Headshot (Across all Ranges): 1
Bodyshot (Across all Ranges): 1-2 ⭐
For the Ogryns, don't use the Revolver. But, you can use the revolver on the Reaper if you're confident you can hit 2-3 shots close range and 2-4 medium-far range shots⭐.
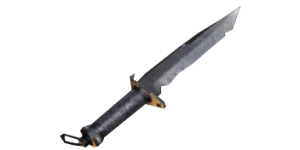
Knife:
I won't go too in detail about Knife. Though I will specify that these are all heavy attacks. All you need to know is that it will 1 shot most Specialists. The only exception is the Mutant. The Mutant will take around 1-4 ⭐. All specialists will get 1 shot headshot when facestabbing + heavy attacks except for the Trapper which will take 2. Both Gunner and Shotgunners will take 1-2 ⭐(Scab Gunner gets 1-2 shot facestab ⭐ and 1 shot backstab).
The next mentioned should always be backstabbed. The Mauler will take 3-4 ⭐ stabs. Crushers will take 3-7 ⭐ stabs. Reapers and Bulwarks will take 2-3 ⭐ stabs. Don't use the Knife on Maniacs, that's what the Revolver is for, if you really need to, 2-3 hits ⭐. Both Shotgunners will take 1-2⭐ (Scab Shotgunners will get 1 stabbed).
Basic enemies will take 2-5 basic attacks ⭐ and 1 heavy attack 2 heavy attacks if you're very unlucky. But, if you backstab basic enemies that are alone, it will usually 1 stab them.
Both Weapons:
Using Infiltrate will half the stab/shot requirement for all of these weapons.
Smoke Grenades:
Typically, I use smoke grenades when there's:
A) A large horde.
- Prevents annoying ranged enemies from firing at you, also snipers. I pop maybe 1 to 2 depending on Horde Density.
B) Lots of enemy fire.
- I always use it when it's a long hallway like on Ascension Riser 31.
C) When I use Infiltrate and I'm about to run at enemies.
- I throw one at my team in order to support them against shooters.
D) A teammate is down and there's a teammate near them.
- If there's no Ogryn, Shield Psyker, Shroud Zealot, or another Infiltrate Veteran, I throw one at a downed teammate in order to encourage the other player near them to revive and protect them from shooters.
Tips:
- You are not a boss killer, take care of everything else around the boss with Infiltrate, before you target the boss.
That's basically all for the guide, have fun Infiltrating and slaying Rejects!