Table of Contents

Class
Weapons


Uncanny Strike
Hitting an enemy's weakspot applies 8 stacks of 2.5% Brittleness. Duration 5 seconds. 16 max stacks.
Mercy Killer
+60% Weak Spot Damage (Enemies with Bleed Stacks).

Surgical
+10% Critical Chance for every 0.3 second while aiming. Stacks 10 times. Discharges all stacks upon firing.
Crucian Roulette
+6% Critical Chance for each expended round in your weapon (resets on reload).
Curios

+13-17% Toughness
+17-21% Max Health
+13-17% Toughness
Talent Tree
Description
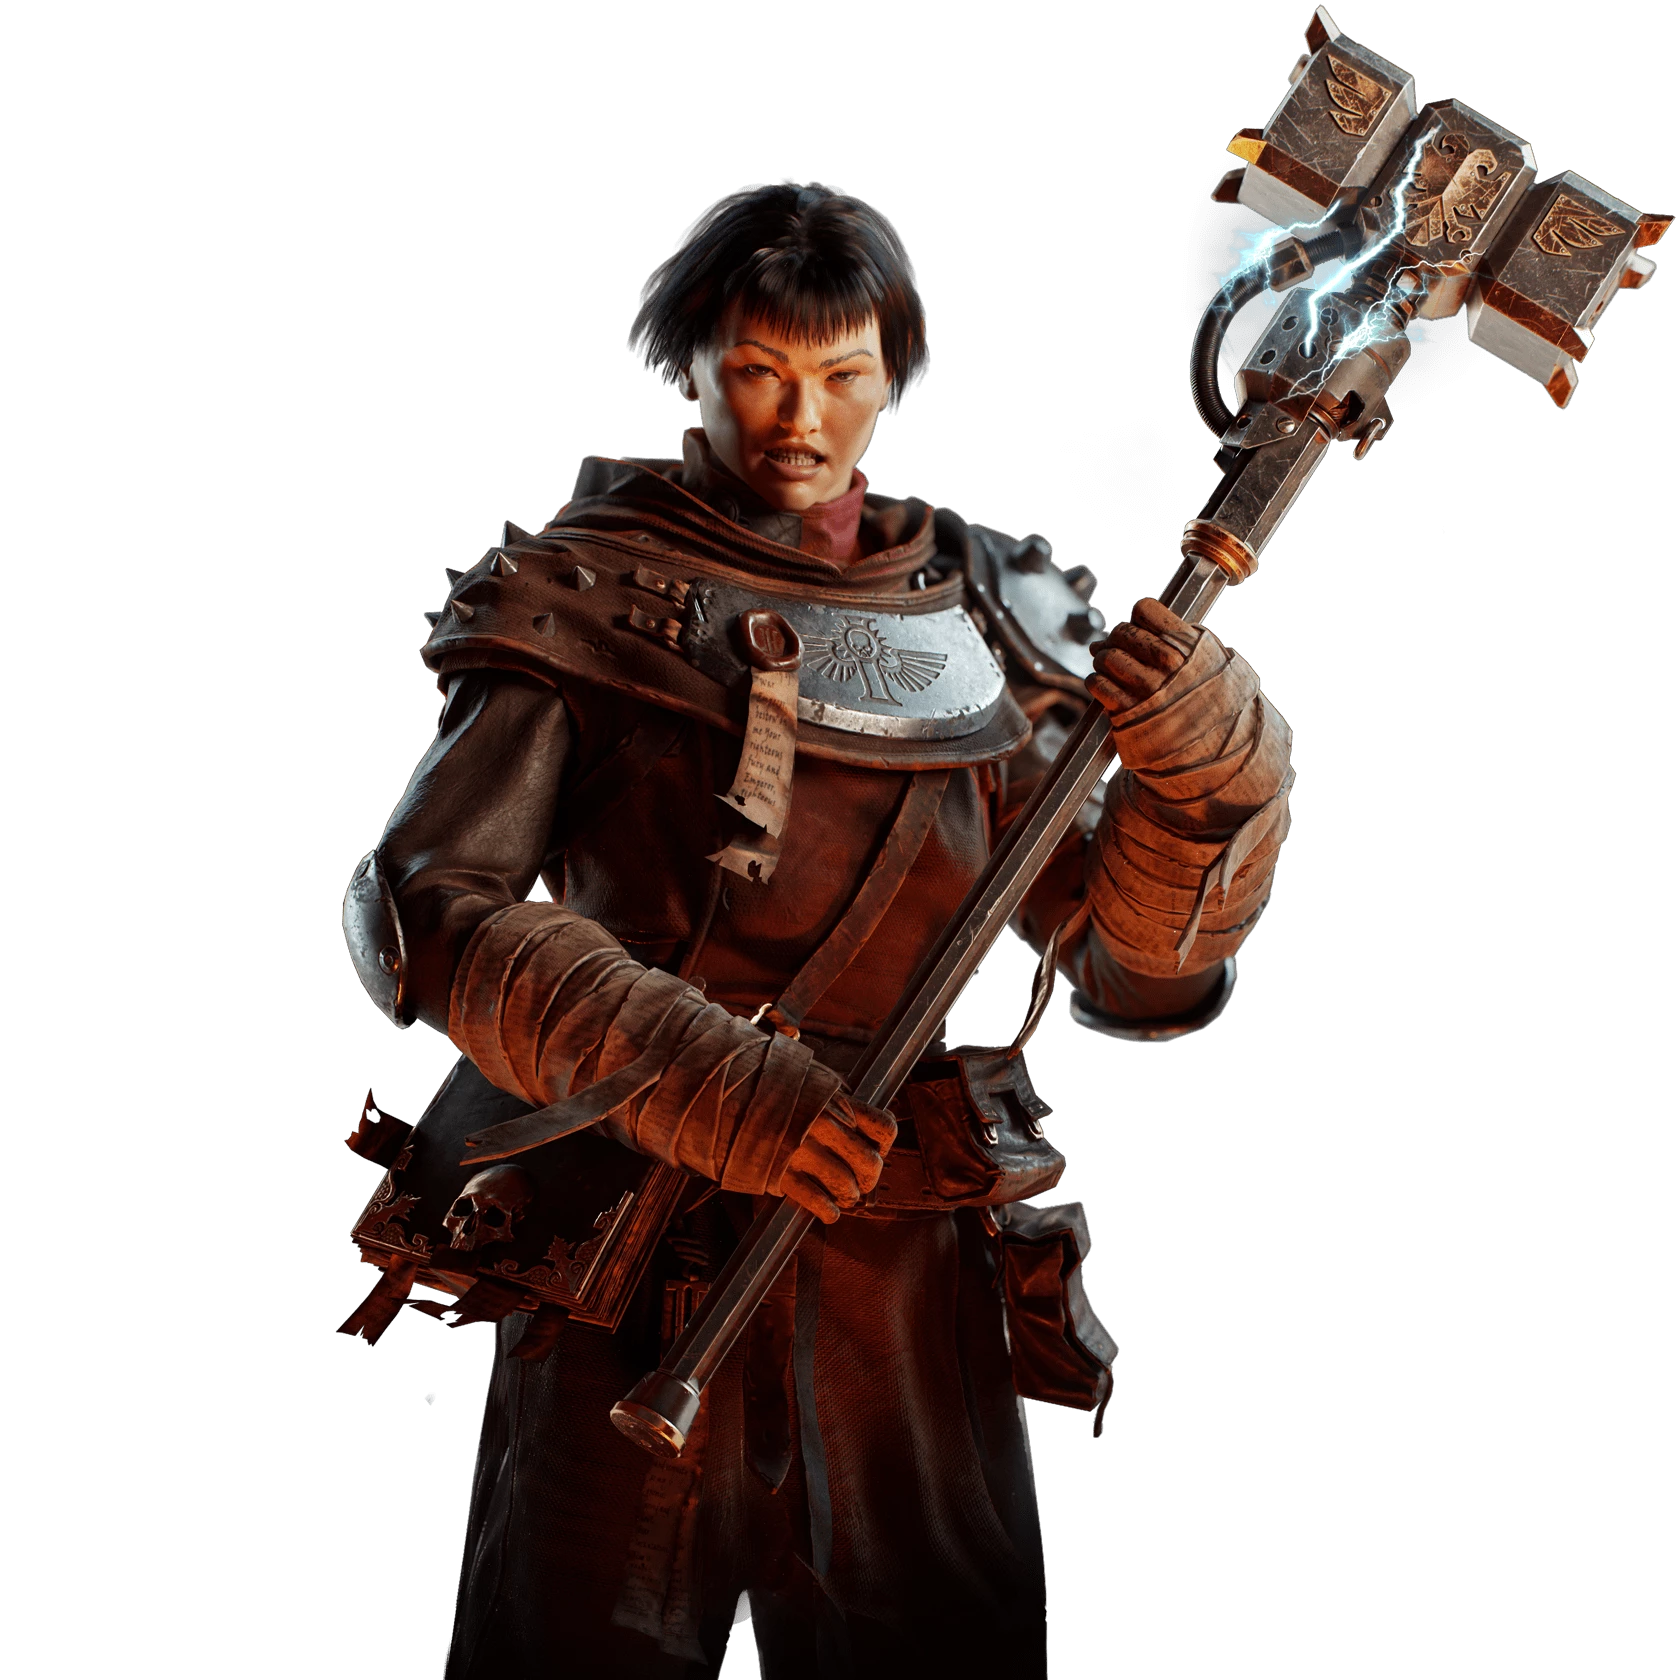
Overview: Sainted Gunslinger
This build is suited for players who like fast paced gameplay and want to play intelligently, who would rather value skillful shooting, melee and positioning than blindly spamming the attack button.
This build is not suitable for beginners and ideally you should not directly adopt this build instead grow your zealot into it, it requires practice to master.
This is a high skill build and you will perform poorly until you become experienced in this playstyle upon which you will be the pro-clutch player that can single-handedly save the entire team. For all the below details I will assume that you have top 10% shooting, weak-spot melee and dodging skills. Also, you have an understanding of enemy AI patterns.
The design of this build was made keeping auric level missions in mind and below I will explain all choices that went into this build.
First let us discuss what is this build all about what does the sainted gunslinger do?
This is not an all-rounder build; you are indeed the weakest person on the team health and toughness wise, yet the hardest to actually down.
Here are the high-level (strong) roles that this build adopt:
Anti- Specialist, Elite and Boss
Revive and rescue specialist.
In addition, with correct positioning there are enough blessings and buffs in this build for you to easily chop through a horde (with proper positioning) and clear the area of gunmen quickly (with good aim)
That covers most aspects of a gameplay: you are good at deleting specialists and elites quickly, are a significant damage dealer to bosses, incredibly hard to down (with good dodging and sprinting) and can put your team mates back on map asap, plus with your agility you can complete in game objectives faster than others.
When dealing with hordes you have to keep your positioning in mind as getting surrounded would mean death.
When it comes to horde clearing and bulk damage you play the support role ensure that the ogryn/psyker doesn't go down and clear alongside allies.
Over the next few sections I will go through playstyle details.
--------------------------------------------------------------------------------------------------------------------------
Weapon Choices:
The key to this playstyle is speed and precision: being able to move fast and being able to delete specific enemies on the map asap. the weapon choices are made keeping in mind that you don't want to spend half a clip on killing a rager or keep shooting at the bulwark forever. At the same time not being so heavy that they hinder movement speed for increased damage hence enabling high mobility.
Both weapons are critical to this playstyle, at times when playing with this build you might want to give up and get back the eviscerator instead try getting better at hitting weak spots, taking headshots and being at the right place.
Gameplay with this build is very satisfying once you find the flow.
I list key takeaways in brief.
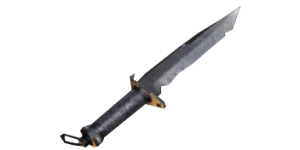
- Catachan Mk III Combat Blade
- Unmatched mobility
- High crit damage and penetration
- Mercy killer is synergistic with playstyle and abilities. and this weapon ofc.
- Uncanny strike can absolutely power up your attacks by rending armour and make your blade a mini eviscerator.
- Key component to backstabbing based playstyle.
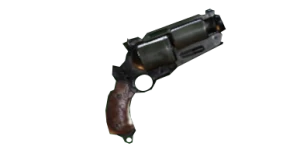
2. Zarona Mk IIa Quickdraw Stub Revolver
- Unmatched mobility
- This is your click and delete gun, you can kill specialists in 1-2 shots, bulwarks in 2-4 shots (crit dependent) and crushers in 3-4 headshots.
- This gun has very high penetration can kill multiple enemies in a straight line, you can literally hold chokepoints with this :D, nothing feels better than killing 3 ragers with 1 headshot.
- Surgical and crucian roulette greatly increase your crit chance.
Most of specialists are maniacs and flak armored hence the weapon buffs, you can replace with carapace armour as suited.
--------------------------------------------------------------------------------------------------------------------------
Curio Choices:
You do not have wound curios and blessings in this build as with Until Death Blessing being low on health means immortality when you get chained hit or choked.
I want to emphasize that key to adopting this build is to HIT & DONT GET HIT. with quick dodging and positioning you can evade most damage. At auric level you don't want to put yourself in positions where you take damage at all, the only point where you can be downed is when you get accidently caught in a wrong spot, say a crusher bonked you or a flamer roasted you with horde surrounding you, in those case taking casualty damage means 5 seconds of invulnerability with Until death blessing, enough time for running away or entering shroud field.
Hence just buff up your toughness and regeneration, have 1 health buff at max.
Reducing gunner damage by over 60% as this is the most common damage you will take.
Additionally try to get ally revive speed as locked blessing it will greatly help in clutch situations.
--------------------------------------------------------------------------------------------------------------------------
Blessing choices:
The blessing choices have been made for a very aggressive playstyle, removing all damage reduction and toughness regen based blessings. Key reason for doing that is that as long as you are not downed everything is good, if you are downed it is almost always bad positioning and sometimes bad luck in latter case until death can bail you out, not to mention that you have 60% DR shield of contempt to lower chain damage (which is mostly why you get downed), other than that all but tree dependent toughness regen and DR are removed as In my opinion they don't save you from dying, even a infested zombie boi's hit can take 40 out of toughness bar so the point is:
HIT & DONT GET HIT
AND HIT HARD.
Blessing's explanations in order:
- Disdain (+10-20% melee): in any situation you will be eating a bunch of low damage gunner bullets which will buff up your melee attack by ~10% on average and ~25% under strain, esp. good when your close quarters with gunners.
- Anoint in blood (+20% ranged close): key component to one shot canon revolver, rager not going down in melee? switch and boom.
- Purge the unclean (+20% infested, unyielding): Pox hounds, Pox busters, Infested Hordes & Bulwarks, Crushers, Reapers, Bosses, you already have flak and maniacs covered in weapon blessings, this means damage everything.
- Backstabber (+20% backstab): Contributes to one stab shroud fielding a crusher, take a chunk out of boss dps.
- Second Wind: useless, don't get hit, more useful than the other one in tree line.
- Blades of Faith: Another one-shot weapon when synergized with other buffs, use when switching to revolver takes time/ revolver empty.
- Buffs to melee damage (+5) and movement speed (+5) useful for this build.
- Emperor's bullet: Actually, useful as you will be emptying your revolver quite often, didn't go down the sainted gunslinger tree line (irony :P) as reload speed for melee kill wasn't very synergistic why would I use revolver when I am all choppy-choppy.
- Shield of Contempt and Until death as explained above.
- Dance of Death: not useful for revolver, but in tree line.
- Thy wrath be swift: Movement Speed: good.
- Grevious wounds: Weakspot stagger synergizes with the blade buffs to create a bloody cocktail.
- Duelist: Another component of weak spot cocktail.
- Loner and Shroud field: class basics, press F to disappear, reposition backstab anything while exiting to reduce cooldown, when you will become experienced you will press F even before you actually get into trouble, just Deja vu.
- Sustained Assault:+4%*5 melee damage boost on chain: who says hordes are a problem?
- Swift Certainity: Sprint speed, good.
- Pious Cutthroat: Just backstab bunch of zombies and your cloak is back.
- Inexorable Judgment: Key component to this class, move around put yourself in correct spot and let all the hell break loose, ranged fire rate not useful but for melee this is a blessing truly.
As you can see with the melee and ranged buffs, this build coupled with weapon blessing synergies this is truly a damage dealing class.
--------------------------------------------------------------------------------------------------------------------------
NOTE: While adopting this build account for every buff, blessing and curio for full effect, this build doesn't try to be everything but something very particular if you have read carefully so far.
-------------------------------------------------------------------------------------------------------------------------
Team Positioning and General Play Strategy:
Knowing your strengths is good but knowing your weakness is even better, to say that this zealot can do everything is an overstatement, sure you can deal huge damage to every entity in the game but if I had to draw a graph of damage dealt (low to high) and number of enemies (low to high), this build will be placed at high damage to low to medium number of entities based on player skill.
So, you need to pick your targets intelligently. As a rule of thumb don't try to be a hero, you don't charge head on to a pack of maulers backstab one of them and be bonked by the rest of them. Wait for your your team to engage them remove disablers(snipers, bombers,flamers,trappers) and clear gunners meanwhile, once engaged and enemy health is reduced go and one-shot crit them to end quickly.
A lot of people say stealth zealot causes more aggro on rest of the team that is true, but you are working from the back and taking down engaged enemies, anyone can deal with a zombie horde, but to deal with a horde with a 5 pack of crushers, 10 dreg gunners, 2 tox flamers, 2 snipers, 4 bombers, 5 mutants,and you have this player focused on clearing the specialists quickly from the back, improves mission success rate a lot.
But as this requires skill and stealth zealots mostly don't stealth right. they end up downing themselves before adding value.
In general, you have great synergy with ogryn and crowd control psyker as the former can draw aggro and latter can keep targets stationary making them a sitting crit duck.
Apart from that you are also the ultimate medic in the game your shroudfield can make you ignore the aggro while you revive the ogryn, you can quickly infiltrate enemy lines and rescue your teammate and both of you can make their way back to the rest 2. Many games are lost just because one player goes down the rest try to revive and themselves go down in chain.
When dealing with hordes don't jump in the middle swipe their heads laterally treating them like a sing mass entity.
Many other tricks you can pick along with xp, but to conclude this is an extremely fun and challenging. build to play with just remember:
HIT & DONT GET HIT