Table of Contents
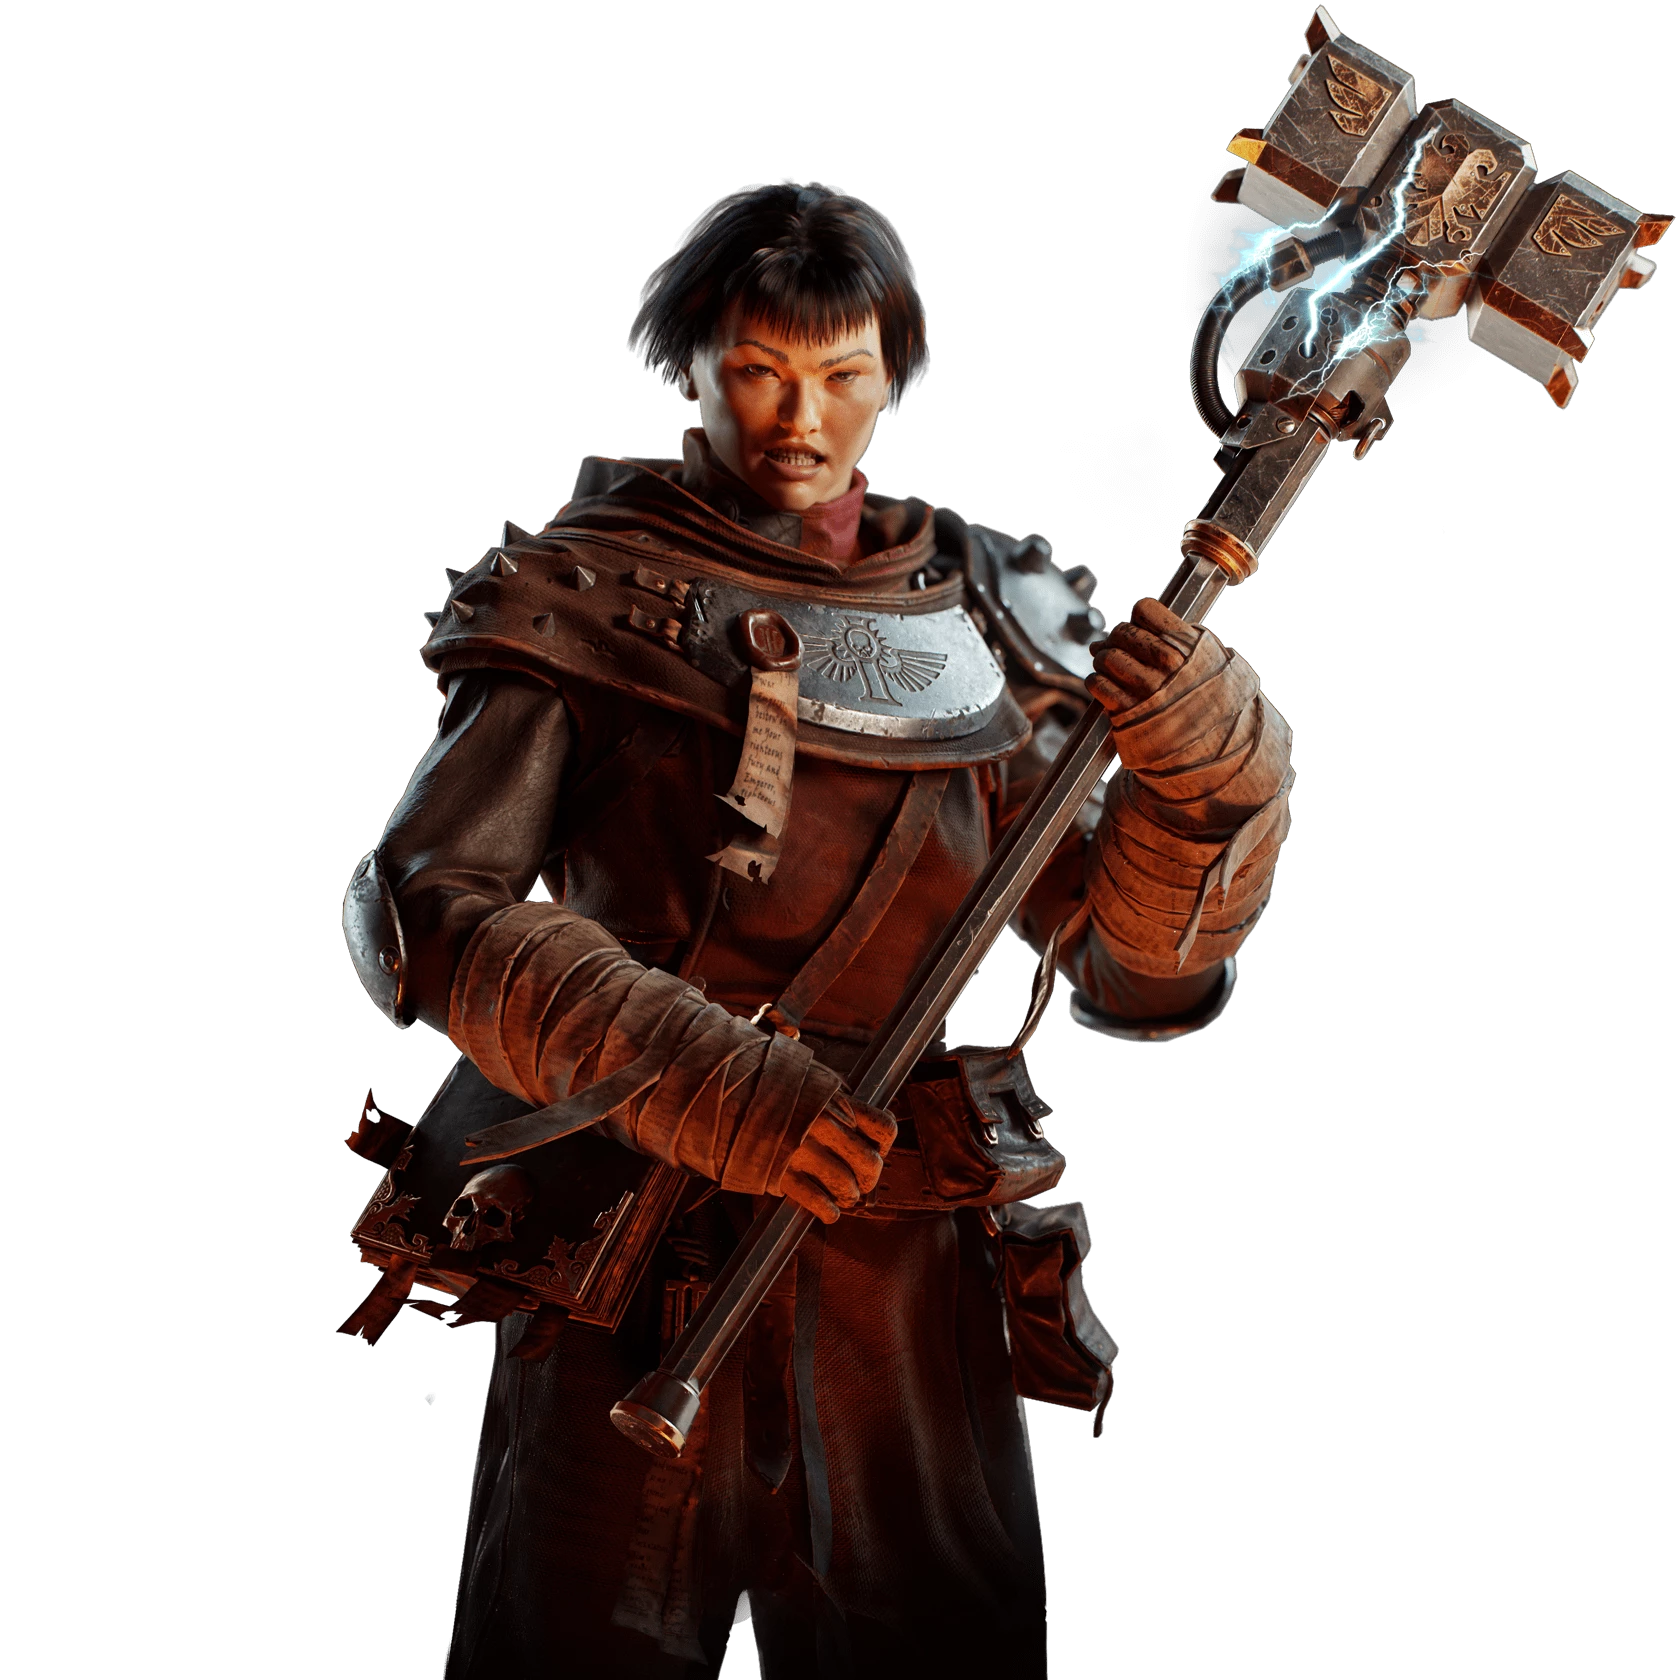
Class
Weapons
Curios


Talent Tree
Description
Changelog:
(I am trying to keep all my guides up to date. Upvote this guide to let me know I should keep updating them)
- 04-January-2024
- Added Flamer Tips
- 03-January-2024
- Guide Creation
--- --- --- --- --- --- --- --- --- --- --- --- --- --- --- ---
Talent Variations:
- Max Damage
- Melee Damage Boost (Operative Modifier): +5% Melee Damage
- Sustained Assault (Passive): +20% Melee Damage for 5s (5 melee hits)
- Anoint in Blood (Passive): +25% Base Damage to ranged weapons (based on distance)
- Purge the Unclean (Passive): +20% Damage to Infested & Unyielding
- Max Survivability
- Backstabber (Passive): +20% Melee Backstab Damage
- Blood Redemption (Passive): +50% Toughness Replenishment on melee kill
- Second Wind (Passive): +15% Toughness on Dodge
- Toughness Boost (Operative Modifier): +15 Toughness
--- --- --- --- --- --- --- --- --- --- --- --- --- --- --- ---
WEAPONS & CURIOS
Melee Weapon:
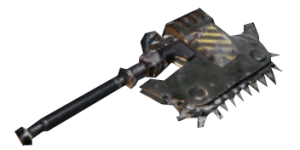
- Orestes Chainaxe Mk IV
- Perks: Flak + Maniac
- Blessings:
- Headtaker: +25% Power (5 hits)
- Thunderous: +40% Brittleness (2 hits)
- Dump Stat: Defense
- Notes:
- Power = Damage + Stagger
- Fully buffed Lights and Shredded Lights will fair better against Carapace outside of Psychanium
- I see many people recommending "Thrust" (Blessing) - I beg to differ:
It's too situational and not as useful as you think in real mission conditions (outside of Psychanium) - Pick Bloodletter (Blessing: +16 Bleed Stacks) if you want to max Boss Damage
- Pick Slaughterer (Blessing: +40% Power on 5 kills) if you want max Mixed Horde/Elites Damage
Ranged Weapon:
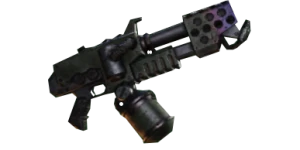
- Purgation Flamer Mk III
- Perks: Unyielding + Crit% (or Reload Speed)
- Blessings:
- Blaze Away: +40% Power (Damage and Stagger) on continuous fire
- Overpressure: +25% Power (Damage and Stagger) on continuous fire
- Dump Stat: Mobility
- Tips:
- Burn Breakpoint is 76. More than 76 Burn doesn't offer any benefits to the Flamer.
- Max Burn Stacks: 15 - However, with the above Blessings it's worth flaming to empty canister
- Pick Quickflame (Blessing: +36% Reload Speed) if you value reloads more than damage output
- What people get wrong about flamer;
- They believe it's just another ranged weapon you can pull out and quickly kill a few elites.
- They tend to overuse it
- Flamer should be used very SELECTIVELY, similar to the Ogryn's Big Frag Grenade;
- If you see 10+ Elites
- If you are fighting Bosses
- If you are getting overwhelmed by huge mixed hordes
Curios:
- Blessings:
- 3x (+1 Wound)
- Perks:
(for all 3x Curios)- +12% Stamina Regen
- +5% HP
- +12% Sprint Efficiency (or anything else you value the most. I personally think S.E. is underrated)
--- --- --- --- --- --- --- --- --- --- --- --- --- --- --- ---
Flamer Tips:
- Burn modifier breakpoint is 76. You don't gain any more benefits by having more than 76 burn on your flamer
- Crits apply 2 burn stacks instead of 1 (there's a reason why many people pick Flamer on Crit "Blazing Piety" Build)
- Flamer stacks ramp up additively until 10th Burn stack. After this, it is multiplicative, so the damage ramp-up is insane. This is the burn stack breaking point for killing elites that aren’t Carapace.
- Applying Rending/Brittleness AFTER building burn stacks on a target will make the burn dot ignore armor too. This is extremely handy when dealing with things like Crushers.
- Throwing a knife cancels pull up animation of the player, allowing you to brace instantly to shoot, giving you extra time to burn. Very useful to know if you wanna play the Max Survivability Variation of the build above and pick up throwing knives instead of stun grenade.
- Celerity Stim is awesome for Flamers: +20% Attack Speed +15% Reload Speed
- Take "THY WRATH BE SWIFT" - Seriously, this talent will make you uninterruptible if a loose enemy taps you while you are bracing and holding fire
- Fury of the Faithful will make your flamer ignore armor for its duration. That means you fire will do way more damage if you charge first. Do it.
- If that wasn't clear, it means rending/brittleness will substantially increase the damage burn ticks do to armored enemies. You can apply burn stacks on crushers and then hit them with a weapon that applies brittleness.
- Primary Attack's main use is to stagger and/or push enemies.
- Bracing (Secondary Attack) is for max damage but the least ammo efficient if you do continuous fire. You can actually Brace and tap-tap-tap to kill enemies more ammo efficiently BUT you will NOT get the benefits from most of the good Blessings
- Flamer is a Horde Clear weapon; You should never use it to kill 1-2 enemies and you should definitely never try to compete with an IAG in picking up elites. It will lead to wrong conclusions.
- Generally use Flamer as an "oh-shit moment" escape card. Kinda like the Ogryn's Big Frag Bomb. That means, you generally want to use your Flamer against packs of 10+ elites or hordes with a size of at least 50 bodies.
- Flamer will kill everything except Crushers. If everything else is dead switch to your melee weapon
- Flamer is extremely good against Unyielding (Bosses)
- Flamer should generally be used in relatively open spaces. It can also be a long corridor but definitely not made for small rooms and sharp corners
- When you use Flamer you need to create space and keep a mid-range distance from your enemies. If you are too close some elites (like ragers) can become immune to stagger and kill you pretty fast.
- When using Flamer remember to dodge to the left and to the right. Don't stand still. This is similar to creating space but it should be stressed as much as possible that you are not meant to stand still and face-tank loose enemies.
- Don't spin the Flamer around because you want to burn more targets. You will actually do less damage and likely kill nothing. Anything important will have to take 15 burn stacks to die. Here's a good mod to track stacks: https://www.nexusmods.com/warhammer40kdarktide/mods/137
- You can actually split the reload animation in two parts!
- First part is until you detach the canister and ammo goes to 00
- Second part is when you attack the canister and ammo goes to full clip
If you are getting pushed you can do the first part, switch to melee, kill what you have to kill, do the second part of reloading later.
--- --- --- --- --- --- --- --- --- --- --- --- --- --- --- ---
Author Notes:
If you made it this far, thank you for reading my guide.
I really hope it was helpful.
If you want to find more guides from me search for "guide by Yobi"
If you want me to continue writing and updating these guides consider Upvoting!
Video
![[EndGame] Psyker Scrier's Purgatus Build | Auric Ready | Guide by Yobi](/storage/sites/darktide/build-editor/cover-images/1w4oycmfhHLwDkKaOPyh1qwoqOIHrCv65T6S1Evi.webp)

[EndGame] Psyker Scrier's Purgatus Build | Auric Ready | Guide by Yobi
By yobiraion • Updated 2 years ago
![[EndGame] NEW META: Gun Zealot | Auric Ready | Guide by Yobi](/storage/sites/darktide/build-editor/cover-images/02m2fFdQb797XSb8hYxPgQnoctURuGAzQQriwCQP.webp)

[EndGame] NEW META: Gun Zealot | Auric Ready | Guide by Yobi
By yobiraion • Updated 2 years ago
![[EndGame] Veteran Grenadier No Keystone | Auric Ready | Guide by Yobi](/storage/sites/darktide/build-editor/cover-images/nEEmcKx9QATMY6fgsyMJwDrkaS0vCNwSUj4hhE1a.webp)

[EndGame] Veteran Grenadier No Keystone | Auric Ready | Guide by Yobi
By yobiraion • Updated 2 years ago
![[EndGame] Zealot Piety "Crit" Build | Auric Ready | Guide by Yobi](/storage/sites/darktide/build-editor/cover-images/b2IC3SJdeJgqSJrQbmxic4l8BkUwgRwnqyq75ERC.webp)

[EndGame] Zealot Piety "Crit" Build | Auric Ready | Guide by Yobi
By yobiraion • Updated 2 years ago

![[EndGame] Zealot Wounds Build: Shred & Burn | Auric Ready | Guide by Yobi](/storage/sites/darktide/build-editor/cover-images/zRtxPZieVn8QcYeXDVMU9zUhJ9LK7pKMcjpkddEF.jpg)


