
Table of Contents
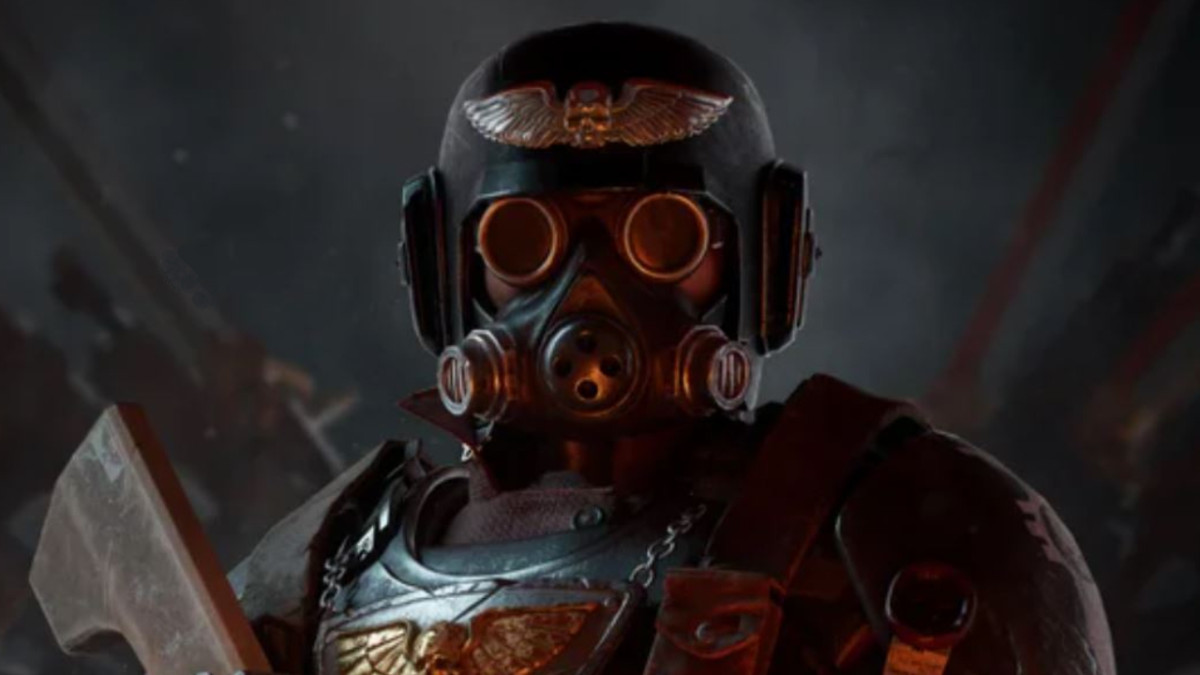
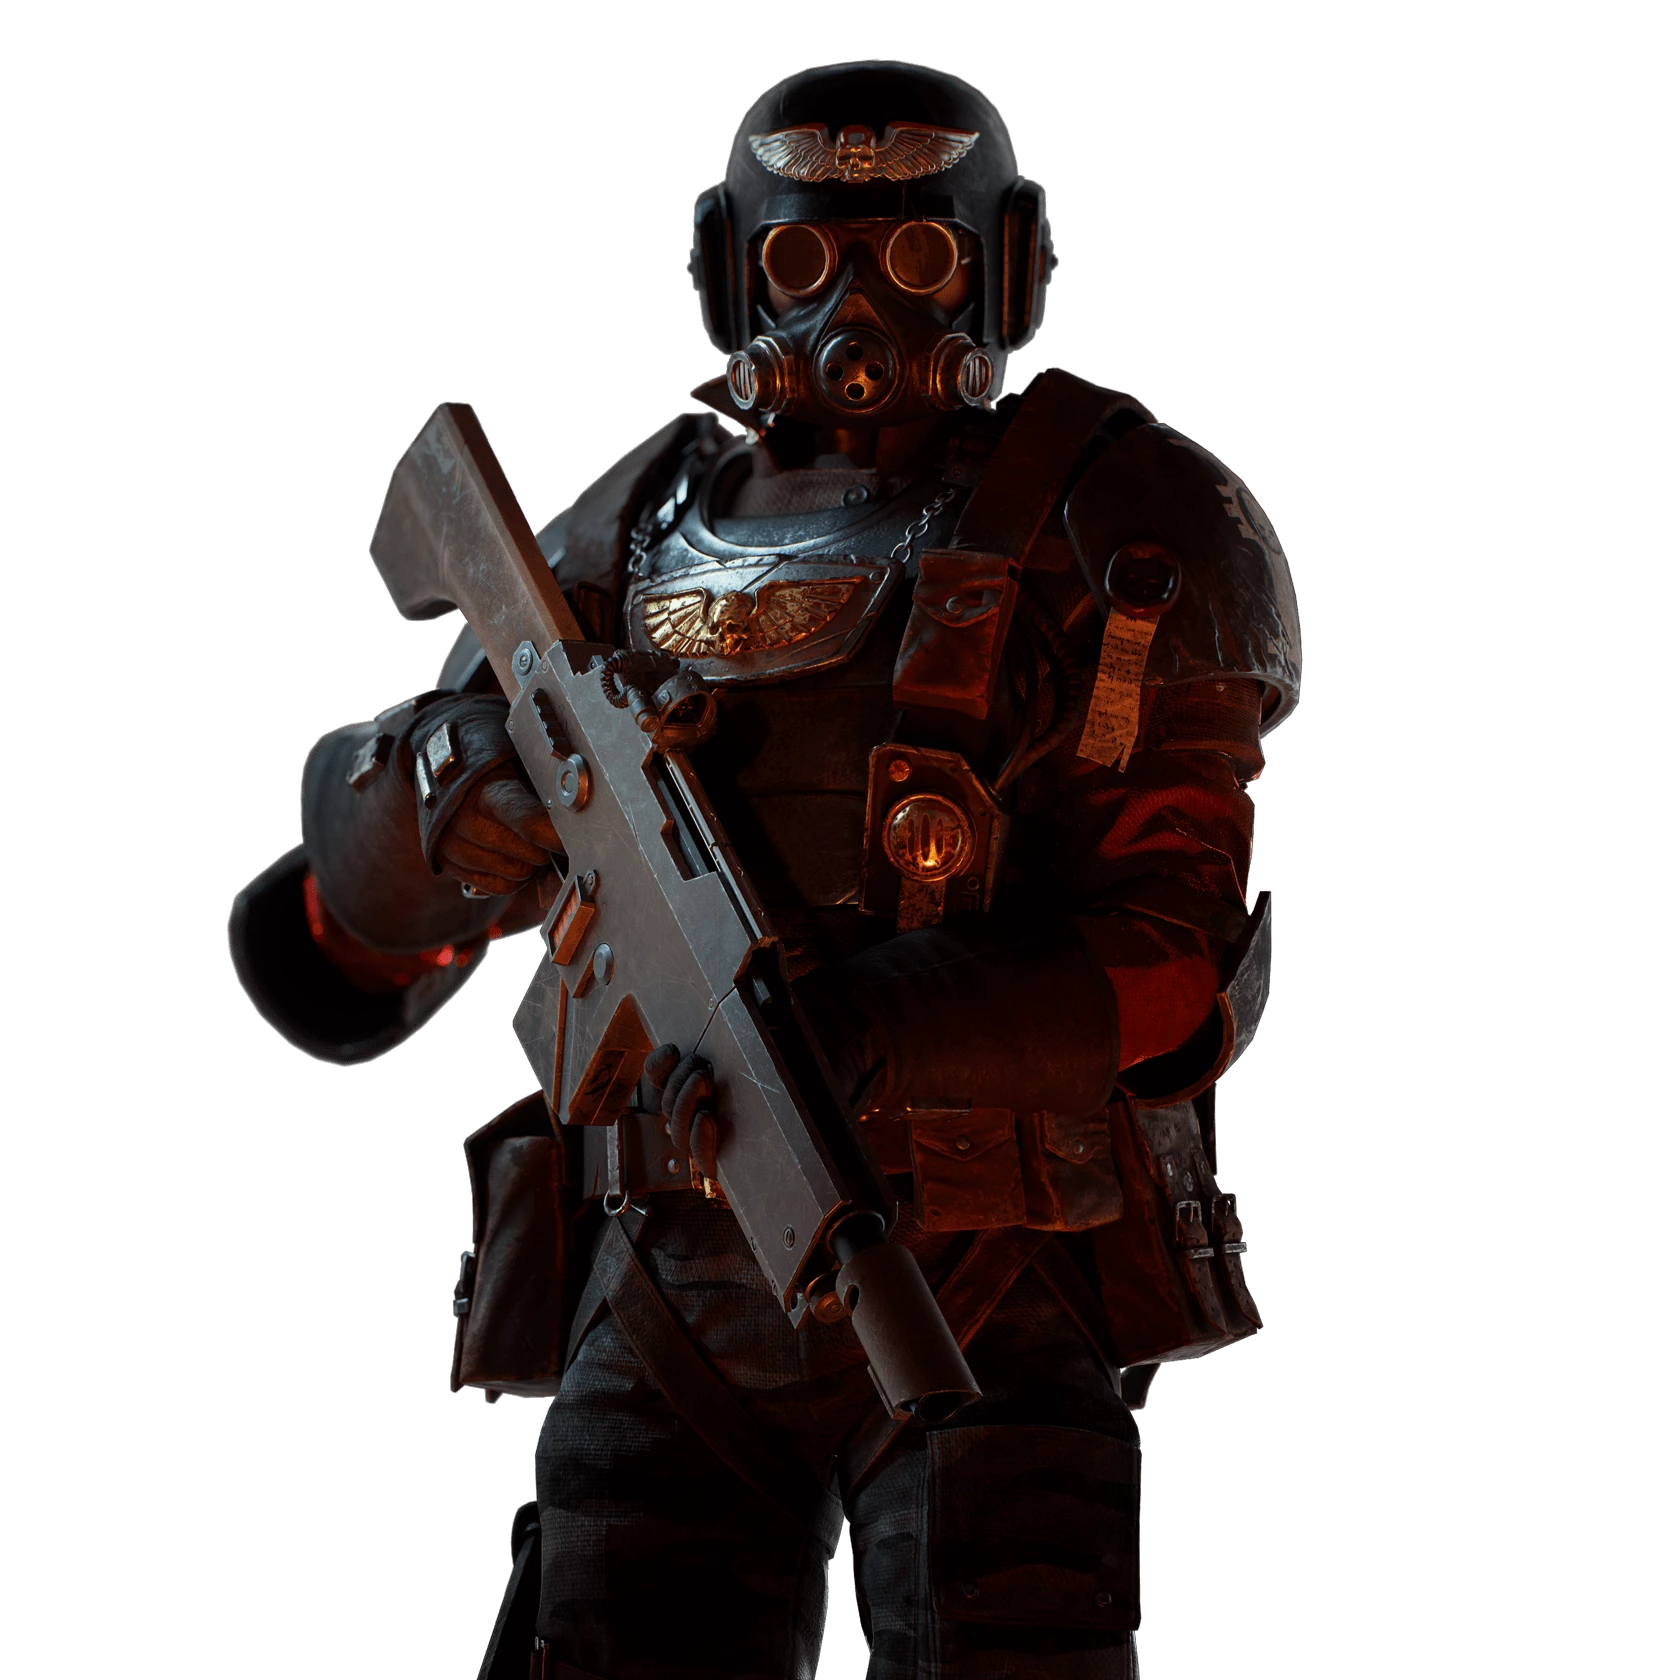
Class
Weapons

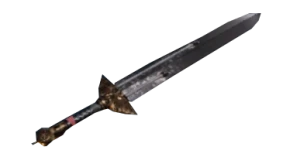

Power Cycler
2 Extra Chained Energised Hits and 10% Impact on Energised Hits.
Rampage
Hitting at least 3 enemies with an attack, increases your damage by +36% for 3.5 seconds.

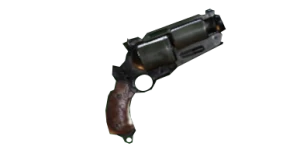
Hand-Cannon
+60% Rending on Critical Hit.
Crucian Roulette
+6% Critical Chance for each expended round in your weapon (resets on reload).
Curios

+1-3 Max Stamina
+17-21% Max Health
+1 Wound(s)
Talent Tree
Description
This build kind of does everything. It primarily relies on your ability to land headshots and manage your stamina.
You don't have to read this whole thing to use this build, so browse at your own leisure. The short and long of it is that this is a very active frontliner build relying on headshots, target priority, consistent shout usage and good stamina management in return for great survivability and extreme damage.
This build does not require an optimized kit to work. The talents should be allocated exactly as prescribed. Perks and blessings on the weapons are listed in the order of priority.
For the power sword, only power cycler is really a requirement, while the spread should have high mobility. Flak comes in really handy for clearing some trash types, but the power sword is OP enough without it. Which mark of the power sword you have is not very important, but I prefer 3 for the horizontal light attack pattern. Cleave targets is probably the least important stat since the powered up hits will have incredible cleave anyway, so dump that stat if you can in favor of the others.
For the revolver, high damage and reload speed are the most important, with a fairly even spread on the remaining stats. Handcannon and crit chance are the most important stats. Surgical is a bad pick for a second perk because Deadshot will punish you for spending too much time aiming down sights, so crucian roulette is preferable. Both flak and maniac armor types are very nice for perks, and I would say that utility-wise they are more or less identical. Carapace or unyielding can help you hit some breakpoints with ogryns, but they are less common than flak or maniac.
For the curios, a stamina trinket is very highly recommended due to Deadshot, while the other two can be adjusted according to preference. Stamina regen is pretty much mandatory on all curios. The stamina curio and perks mean you don't have to focus on satisfying your stamina economy using your talent points, freeing them up for talents with higher performance. If you are having a hard time maintaining decent stamina, consider picking up sprint cost reduction in place of ordo dockets.
When playing, keep an eye on your stamina. Switching to the revolver is very fast, so don't be afraid to engage in melee. Do not linger in ADS when not firing, since it drains your stamina. Your shout and improved movement speed and the devastating power of your sword will really make you shine in close quarters, but the revolver's significant pierce also lends itself well to downing groups of enemies if you can line them up. Focus on light attacks with your powered hits unless you have plenty of space to maneuver.
If you are being attacked by ragers, use your shout to make space and pick them off with your gun. If your shout is on cooldown, try to make space by dodging, then whip out your gun and either do a very quick ADS or hipfire to take them down. It is very hard to use the power sword to take down ragers while they are attacking you without taking damage.
For bosses, use your krak grenades and shout to stun, and then aim down sights and land weakspot hits. A weakspot crit will do around 2500 damage, so your boss damage is actually very good as long as you can consistently land those hits, with a 4-round magazine averaging out to around 7000 damage, plus the damage from your krak grenades. I've consistently landed at least 30k boss damage on each boss with this build. It isn't as effective as a specialized boss-killer, but can definitely hold its own.
On the Karnak twins, you will probably have the best kit in the group for dealing with elites and specials, since you can easily reach them from any point in the arena. Your high mobility will also let you easily clear mines and trash as needed. It does not cost you much time to quickly dump a magazine into their heads when their shields are down, but you likely are not the best candidate for grinding down shields so prioritize other tasks if you can while the shields are up. You should will add a great buffer for warding off corruption damage with the bonus toughness, so use it.
Aggressive use of your shout is actually an important point for all maps. You should be having no difficulty at all picking plenty of specials to keep your shout off cooldown, and it both grants you a toughness shield and improved damage. That toughness shield is worth a great deal, because as long as you have temporary toughness, Iron Will will be active, granting you 50% damage reduction.
Note that the revolver also pierces most elites and specials effectively, meaning if you can line them up a single magazine can take care of multiple specials at once. You will need 2-3 headshots to deal with crushers depending on whether you crit, but if you soften a group of them up with krak grenades you can usually pick off any remaining stragglers with a single bullet.
There is an internal cooldown on the survivalist aura of around 1 second, but it does not prevent you from receiving multiple rounds of ammunition when killing more than 1 elite/special with a single round. Lining up shots to pierce multiple enemies whenever possible is therefore a really good tactic for your ammo economy.
You will be hovering at around 45% crit during ADS without crucian roulette, averaging around 55% or so with roulette, so you will crit very consistently, bypassing most armor thanks to the revolver's innate penetration and handcannon.
If you reload with ammo in the weapon right after killing an elite or special, your reload will be extremely fast, so you will not have a lot of downtime from reloading. Similarly, survivalist will essentially reimburse your rounds for any elites or specials you kill. Do not animation cancel your reload after 1 bullet even if you spent all your ammo. The 20% bonus is not enough to compensate for the ramp-up time for the reload animation.
Be wary of the fact that while the weapon special for the power sword is powering up, the weapon special for the handgun is a terrible melee attack that cannot be animation canceled. If you are switching back and forth between the weapons and instantly powering up your sword, you may get stuck in a pistol whip loop, at which point you will need to let the pistol swing animation play out before switching to melee. The dodge-distance on a decently rolled pistol is very good, so use that to avoid getting hit while the animation plays, or use your shout.
A weakspot crit does around triple the damage of a normal hit, and around 50% of your shots will crit. A headshot crit will do about 1700 damage on a carapace, and around 2600 damage on unarmored. A non-crit weakspot hit will do around 600 damage on carapace and around 1200 on unarmored. In practice this means every enemy in the game except maulers and ogryns will go down to 1 headshot crit or 2 headshot hits, with maulers and ogryns taking 2-3 instead. This build is reliant on you landing headshots, although having extra damage to flak will actually make it less sensitive to missing and landing a bodyshot.