Table of Contents

Psyker Build - Warhammer 40k: Darktide
Space Wizard: Top Damage Every Round
Psyker Build - Warhammer 40k: Darktide
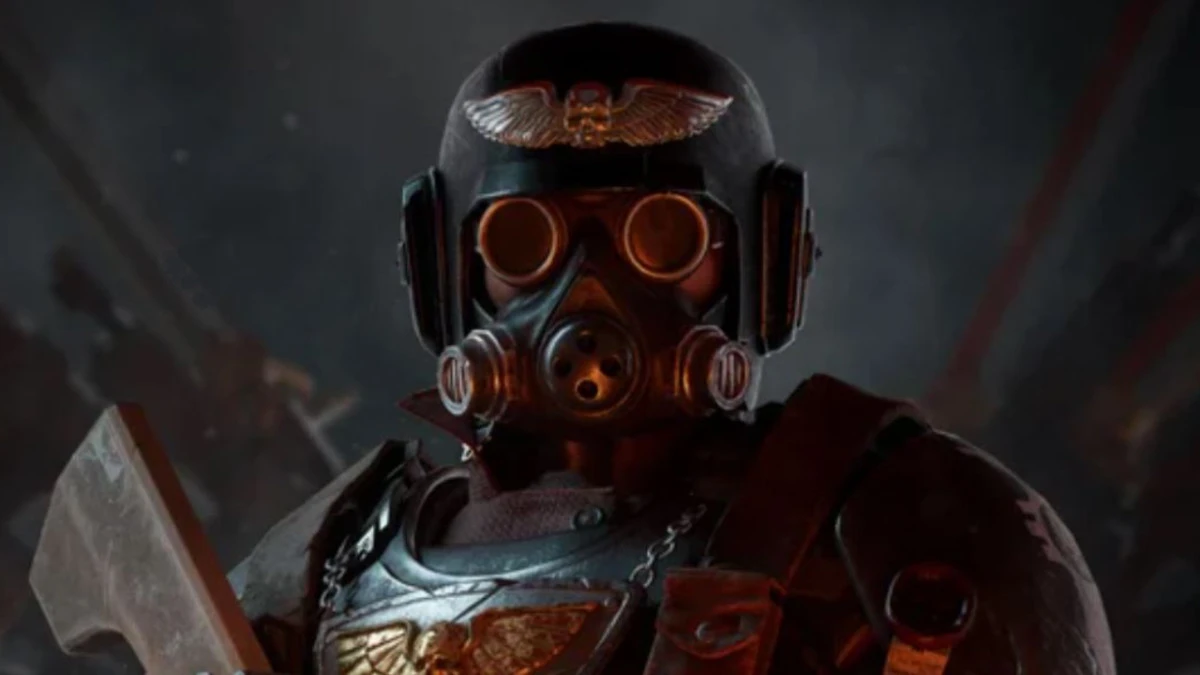
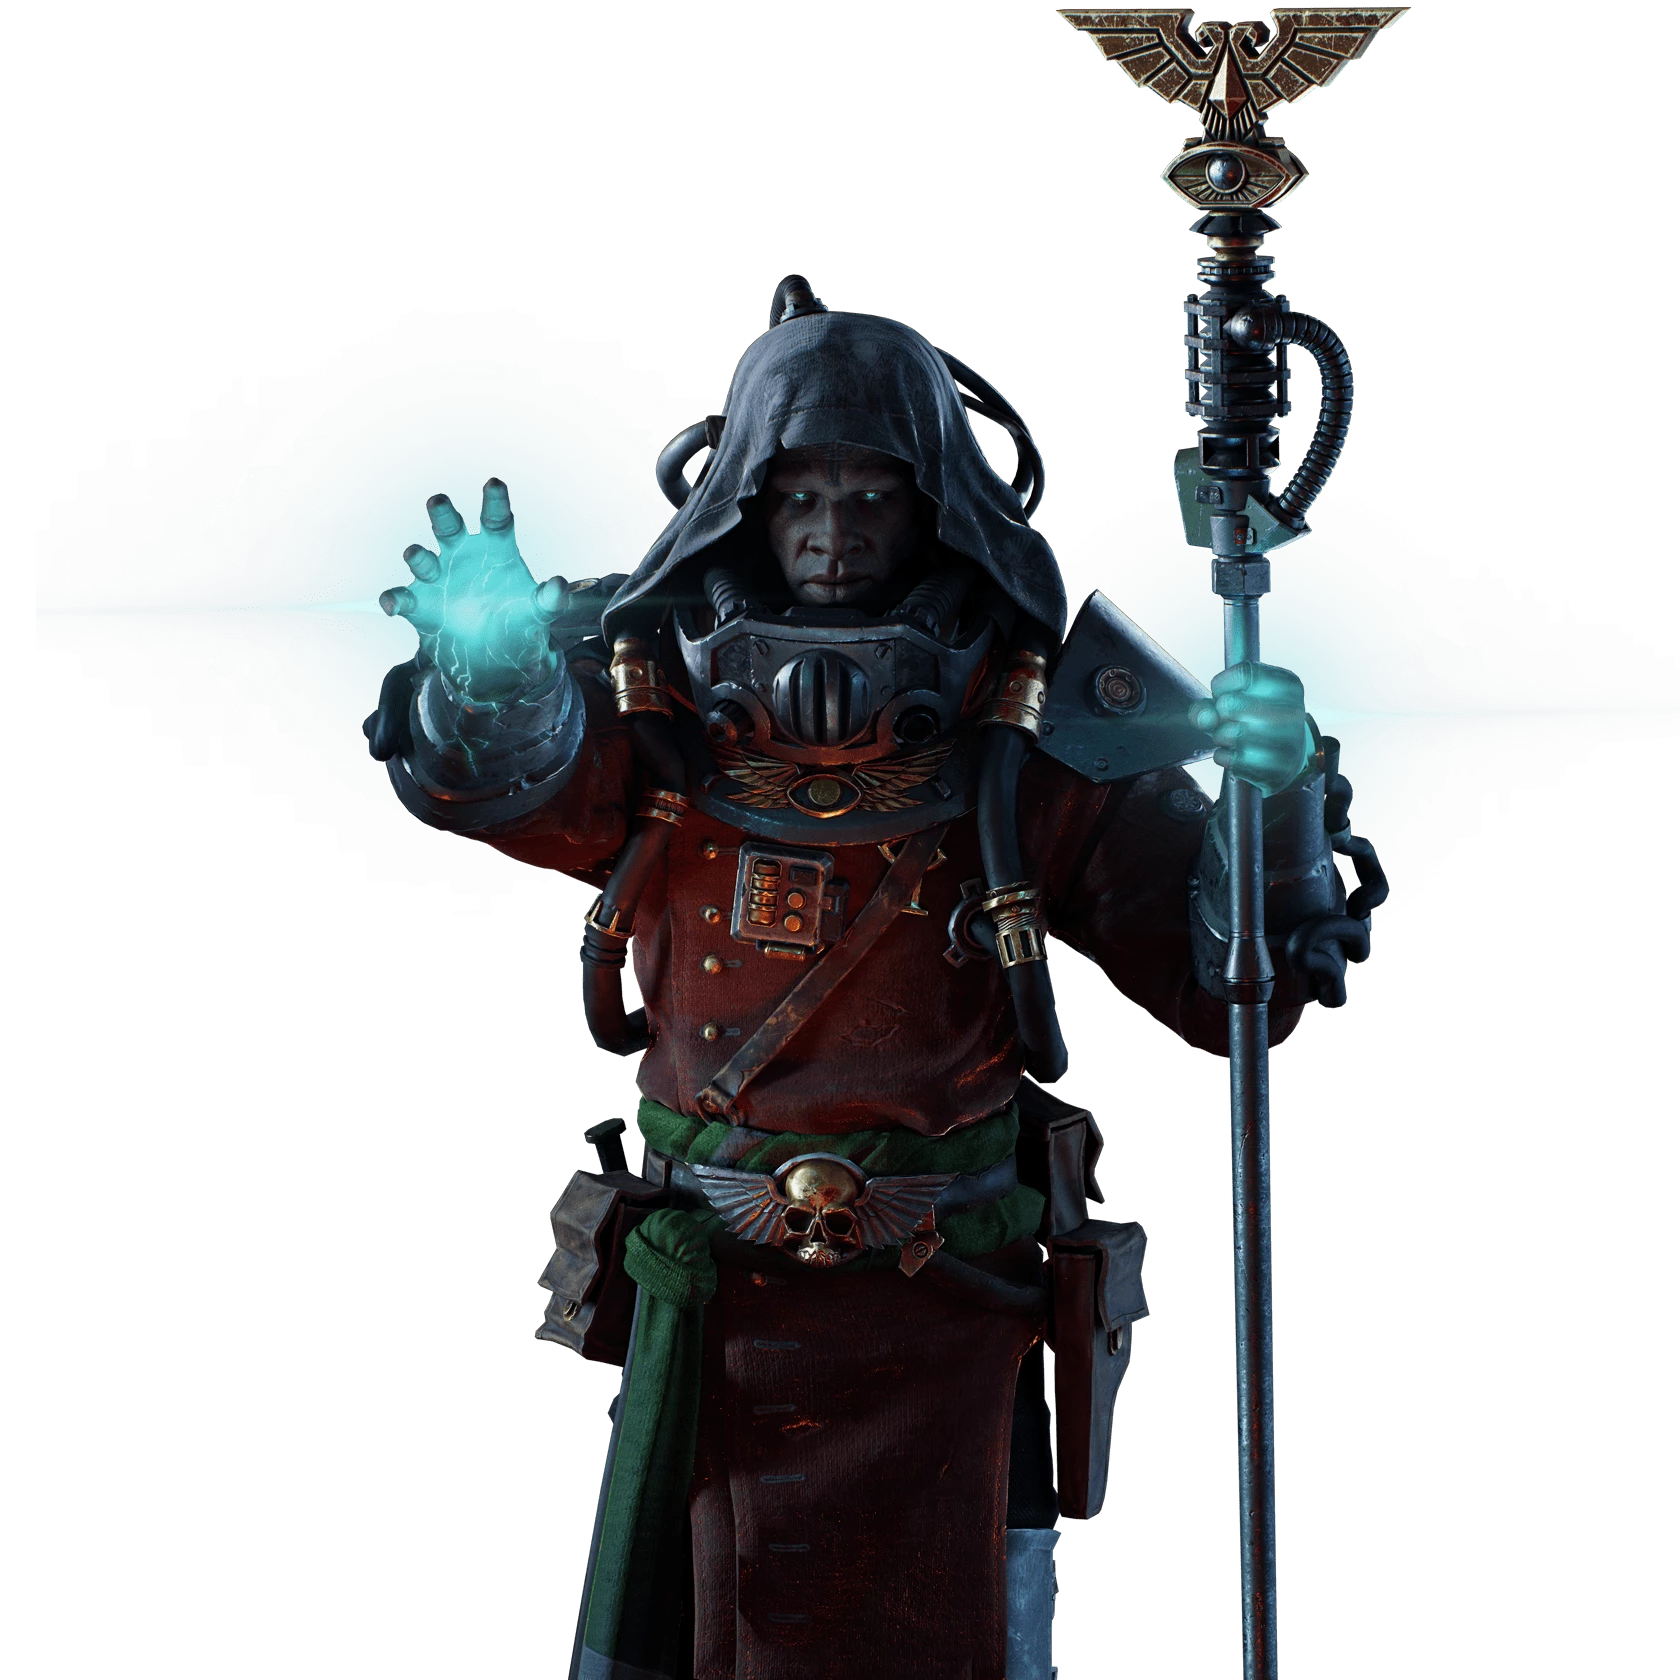
Class
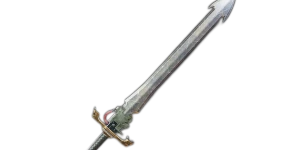
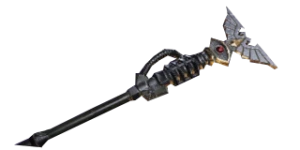
Weapons


Slaughterer
+8% Strength for 4.5s on Kill. Stacks 5 times.
Unstable Power
Up to +20% Strength, scaling with Peril.

Warp Flurry
-8.5% Charge Time on Chained Secondary Attack. Stacks 3 times.
Surge
2 Shots on Critical Hit. +5% Ranged Crit Chance.
Curios

+13-17% Toughness
+17-21% Max Health
+1-3 Max Stamina
Talent Tree
Description
Consistently acheive the highest damage on the scoreboard with this unrelenting freak-of-nature build for the Space Wizard.
It's really cool in a vertical scenario because the travel time of voidstrike blasts is slow enough where you can jump and land with several of your bolts accompanying you while you strike a cool pose. This is essential, I mean this in all sincerity, you must be an absolute corndog in order to properly play The Space Wizard
This build utilizes the extreme onslaught of Auric Maelstrom and turns it back onto itself, by aiming a fully charged voidstrike down the longest possible line of enemies right at their heads, you become The Space Wizard. To believe it, you need only try it and tell me if the little trail of crackling heads popping pleasantly into the distance doesn't fill you with the resolve needed to put on your Space Robe and Space Hat, smoke from your Space Pipe, and cast Space Beam into the darkness
The way to acquire huge number is by lining up a line of enemy heads so long you can't see the end of them. You can do this easily by finding a really really long hallway but there's plenty of room for creativity too: picking a particular angle at the top of a series of staircases can allow your shots to 'double dip' or even triple dip into the densest horde just by the interesting way that their pathing weaves in and out then back into your AOE of death.
The fact that your shots are cleaving heads means that Wildfire + Perilous Combustion are proccing multiple times per shot, and if you've found 'The Line' for the area you're in, whichever direction you're facing is now locked down. The only thing that's getting past your line of fire is a Monstrosity, and even then you can stunlock Plague Ogryns with repeated max-strength strikes to the head.
Normally you'll just be throwing a fully charged voidstrikes at any bulwark or specialist you can see, sprinkling in volleys of primary fire to prevent any gunners from building momentum. You can control an unreasonable amount of the battlefield with staff primary fire. If you're ever surrounded by gunners, try firing primary fire in every direction that is shooting you, with longer volleys at gunner elites, you don't even need to hit them. They will all stop just for a moment and that moment is all a competent team needs to clean up and end the danger
Don't bother with void strike blasts at reapers unless you're aiming at the head for a killshot, because reapers hate primary fire even more than death and will gladly lie down after 3-4 hits of primary
I say this for all my builds, this build requires extreme aggression. Although you'll likely end up in the back once you find 'The Line', you'll still have to fight your own frontline versus whatever spawns are near your Line. Usually this means being able to fight waves of specialists solo which is quite easy using Kinetic Resonance to spam brain burst on them at mid-range. If you've found an especially good Line it's worth it to bunker down and farm the horde because it will either A. Run dry quickly and you relocate to team faster or B. AI director increases spawns to try and thwart your void-supremacy and then you farm that too.
When armor runs in because you're killing too fast, two frontlines need to hold the armor back on both sides. The safest way to do this is 2 pairs of two fighting back the mauler/crusher swarms so that you don't get surrounded, but this build can easily spiral the game intensity upwards so that mauler/crusher swarms are double what you're used to. More commonly what happens is you will face one direction of the armor and hold them back, face-to-face, using your void strike, while your 3 teammates hold back the other direction
The way you can fight armor swarms is by sending fully charged strikes to crusher heads, ideally from max-range but point-blank is a common situation since each crusher takes at least 3 fully-charged headshots to die, you can alternate targets, staggering each one out of their attack and stunlock them this way to buy your team a ridiculous amount of time. Don't be afraid to whip out the Deimos for a quick secure-mauler kill if they're all stumbling around and recovering from stagger, all it takes is the special-attack imbue, a solid heavy attack windup, and landing the strike for a guaranteed mauler kill
However, things often get nasty with this level of spawns, and it's possible to start pulling armor bigger than you and your team can hold back from meeting in the middle. There is a handy way to salvage this situation. If your team is able to kill armor, by the time the two front-lines collide both sides will have at least put down several armors, breaking the Legionnaire effect that armor groups have and exposing whatever squishy enemies are crowding behind them. Whichever direction you can see with the most unarmored horde is now your job to farm quickly. Whatever cuts the biggest chunk of squishy enemies in any direction becomes your new job, because what you're doing is building your team an escape route out.
The voidstrikes ability to nuke large areas of horde at a time means you can take a desperate situation pressed on all sides and cut a hole for you and your team to run through, escaping out whatever offers the least resistance and regrouping safely, facing the combined frontlines hordes together on the other side.
Sniper damage resistance will allow you to survive a single sniper shot which is essential for performing the ultimate Space Wizard Tech available, which is landing a voidstrike headshot on the sniper before the veteran can. It feels incredible, the farther away the better due to the void strike delay. If you've never experienced it I'm telling you now, try lining up a shot at a max range sniper, letting fire, slide-dashing away, and seeing the scoreboard populate your kill a half second later when your bolt finally reaches him is 100% chefs kiss