Table of Contents
Class
Weapons
Curios


Talent Tree
Description
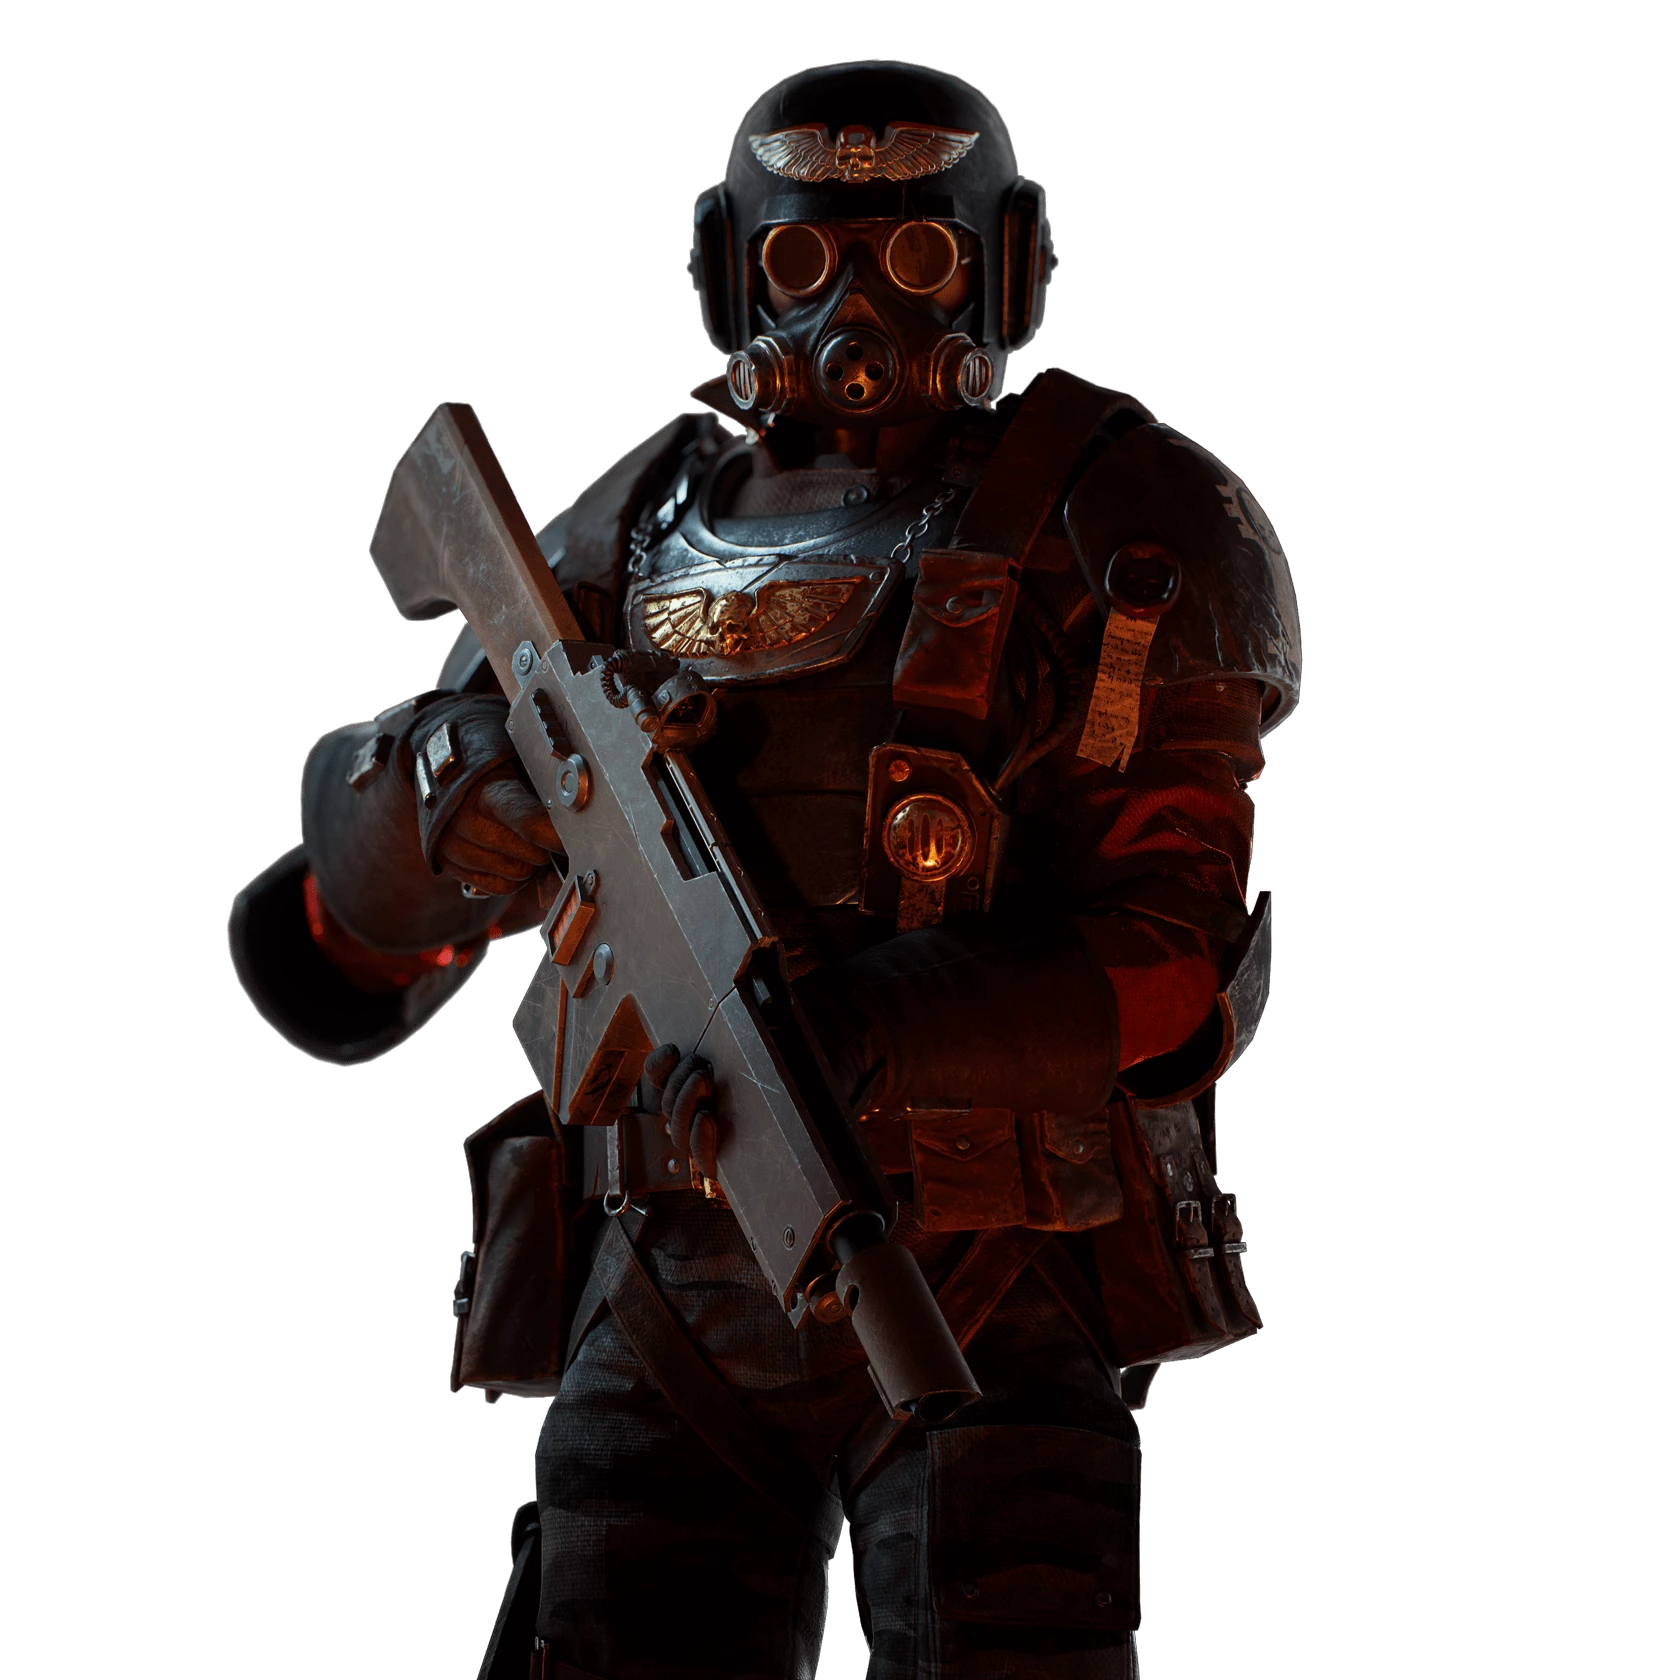
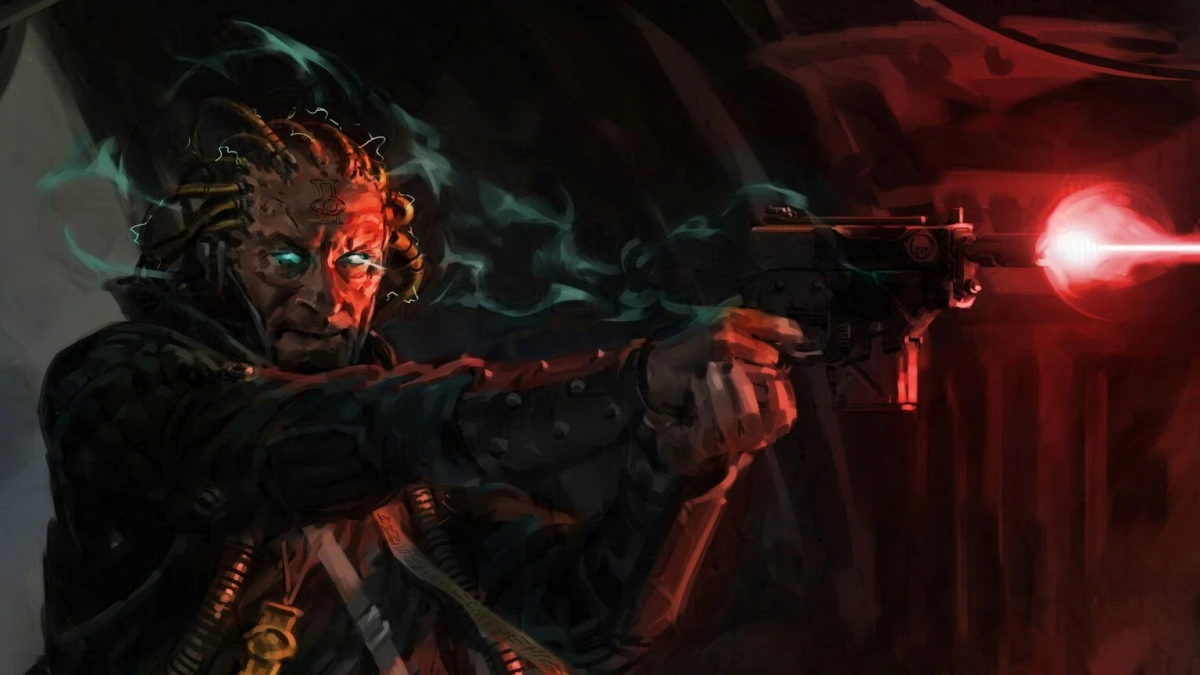
Plasma Kasrkin
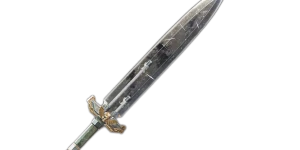
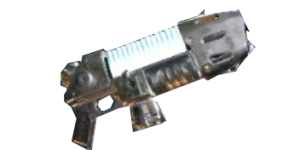
It is no secret that the Plasma gun is busted, able to eliminate anything smaller than an Ogryn with a single, well-placed headshot. Charged shots should rarely, if ever be used and this baby can clear out a multitude of high-priority threats before it gets close to overheating. The Munitorium Mk III Power Sword is similarly broken, although admittedly, only with the right blessings. Until you can get Power Cycler IV, Your better off going with another melee weapon that you feel more comfortable with.
Playstyle
The Achlys Mk VI Power Sword is favoured over the other power swords due to its straight light horizontal attacks for dealing with with trash mobs, and its heavy swings which are a bit more of a slant attack for bigger threats. Powercycler is absolutely mandatory for making this weapon work. This is admittedly a rare and difficult blessing to get hold of. In fact, I still do not have Tier 4, and have to make use of 2 charged strikes instead of 3. Tier 3 is usable until you can get tier 4, but I would not recommend running it without at least tier 3, as the weapon will not perform adequately enough. The Uncharged power sword is a very mediocre weapon, whilst the charged attacks are capable of slicing through pretty much anything. It is a bit of a slower and clunkier weapon, and so should only be used when things get a bit too close. For the most part, we will be keeping our distance and using our ranged weapon, shouting with Voice of Command to create some breathing room.
The M35 Magnacore Mk II Plasma Gun is the best-ranged weapon in the game, much less for Veteran. I have some friends who have recently picked up Darktide and struggled to get on with it due to its slight delay in firing. This is something that does require a little bit of practice to get accustomed to, but the rewards once you do are staggering. You have a weapon that deals tremendous damage to all armour types, a quick pull-out time, and surprisingly good ammo economy with infinite cleave. If you can line several enemies up at once, your shot will pierce all of them. I think this is why those who play Auric Maelstrom see it's potential, whilst it can feel lacklustre at lower difficulties where the horde density is not enough. Make no mistake, being able to deal 1000 damage to 5 crushers in a line is something no other weapon can compete with. Normal shots use 3 ammo, and charged shots use 9. You NEVER want to use charged shots. You use up more ammo, generate more heat, and run the risk of missing your shot entirely, for what amounts to a marginal increase in total DPS (and given the propensity for overkill, a lower DPS in most situations). Firing a quick shot at max damage will cause some toughness damage, whilst firing a charged shot at max heat will blow you up like a psyker. There is just no reason to ever use charge shots. The reload time is very long, but you have 135 rounds in one cell, equating to 45 shots total, which is more than enough to deal with any engagement. Use the special ability to vent overheat and only reload during downtimes, such as when you are entering a new area and chilling in an elevator or airlock.
Build Path
We start by moving to the left and grabbing Longshot. We will be using our ranged weapon for the majority of the mission, so anything that can buff our ranged damage is a great value proposition. I do not continue down this path, however, as the buffs you get down the middle tree are just too good. Close Order Drill Synergises amazingly with Iron Will picked up much later down the tree. These two perks combined give us an overall toughness reduction of 67% provided our toughness Remains above 75%, something which works with overshields. This essentially means that our ability now provides us with effectively 150 toughness instead of just 50. The survivability this combo brings is just too powerful to give up. In addition, I prefer Confirmed Kill more than Exhilirating Takedown. Yes we should be aiming for the head even on our plasma gun, but it is not a precision weapon and in practice, is not the most reliable. I much prefer being able to aim for centre mass and guaranteeing that I will be replenishing toughness, rather than relying on landing headshots, in a less-than-responsive weapon, in high-stress situations.
Moving Down, we pick up Shredder Frag Grenades over Krak Grenades. We already have effective means of dealing with armour, so Krak Grenades are not necessary. I also find this saves two points. Krak Grenades really benefit from Grenade Tinkerer whereas Shredder Frag Grenades do not. The majority of the damage from these fragmentation grenades comes from the bleed effect they offer, the damage and range of which are not affected by Grenade Tinkerer. These grenades are mostly used for horde clear. Bleed dot damage stacks multiplicatively. As a rule of thumb, toss one grenade to stagger enemies, and toss 2 in quick succession to clear out a room. The bleed effect of two grenades will kill all chaff enemies, and the majority of elites. It's only high health threats like Ogryns and Mutants that survive.
Moving down we grab Catch a Breathe. Some people like Get Back in the Fight! but realistically, you should not be letting your toughness run out anyway, and in situations where it does, this node does not provide enough benefit to save you 90% of the time. Catch a Breathe gives you a means to replenish toughness in clutch situations where your whole team is down, and lets you outlast enemies in ranged firefights. Survivalist is a mandatory skill for Veteran. The only time it is acceptable not to pick this up is when playing with a friend who you know will be bringing it instead, as these auras do not stack. A plasma gun with a decently rolled ammo stat will have just shy of 300 total ammunition. This means that each elite or specialist kill will replenish 3 ammo, enough for 1 shot. Hypothetically, this means that it is possible to never use up ammunition. Now of course in a real situation, this is not going to occur. You will have to shoot non-elite enemies and you should not be waiting 5 seconds after a kill before shooting again. But the point remains that the amount of resources this node provides to you and your team is far too strong to pass up, and lets you go significantly longer before requiring an ammunition pick up.
Demolition Stockpile is another mandatory node. Even if you are not using grenades too often (which I tend not to in this build), the value it provides is insane. If an average mission lasts around 30 minutes, that's 30 grenades, or about 10 grenade pickups per mission. Taking this node frees up these resources for your Ogryn with Frag bombs or your Zealot with Immolation grenades, which will help your team out as a whole. Field Improvisation is a fantastic support node that allows your team to restock grenades and cleanse corruption. I often find it difficult to have the spare points to pick it up, but when you can, you absolutely should to be a team player. Voice of Command with Duty and Honour is the meta ability for a reason, as you are virtually unkillable whilst this thing is up. It can stagger enemies, knock them back, give you and your team a shield, and all around just provide great utility. This ability is the sole reason we stack cooldown reduction in our curios. Even just spamming it off of cooldown will provide fantastic utility to you and your team.
Going to the left, we pick up the most vital nodes here. You should always be aiming for headshots when you can, and Precision Strikes provides a hefty +30% damage to reward your accuracy. Fully Loaded not only increases your maximum ammo supply, but also means that ammo pickups and Survivalist replenish even more ammunition. Superiority Complex provides a nice +15% damage to elites, and can help you more reliably hit breakpoints, allowing you to 1-tap elite gunners consistently.
Down the middle tree, there are a plethora of god-tier nodes to grab. For the Emperor! provides a damage buff to you and your allies every time you use your ability, something we will want to be doing as frequently as possible. Tactical Awareness feeds further into this, giving us a large 6-second cooldown for doing our role's primary job of eliminating specialist enemies. Iron Will synergising with Close Order Drill, providing insane Toughness reduction, and is the primary reason why we stack toughness on the Veteran. Demolition Team, when paired with Demolition Stockpile makes it rare to find ourselves in situations without grenades to clear rooms and stagger tougher enemies. The +25 Toughness node, is just so good for a simple node. If you take 3 x Toughness nodes at +17% each with +5% Toughness, the actual toughness you receive from this node is as follows.
1.22×1.22×1.22=1.6108
End Toughness Gain=25×1.6108≈40.27
+40 Toughness for one node. Bring it Down like Superiority Complex is just a straight damage increase to high-tier threats, and should always be picked up. Finally, we end with our Keystone and all the modifiers, Focus Target!, Target Down! Focused Fire & Redirect Fire. Whilst we should be capable of doing everything in a match, our priority is always on focusing on Elite and specialist enemies. By constantly tagging these threats, we apply a hefty damage bonus to them (up to 32%), as well as support our team through constant Toughness regeneration and damage buffs. You are as much a team support asset as well as a solo powerhouse.
Weapons
Whilst both can work based on preference, I prefer the Achlys Mk VI Power Sword over the alternative power sword. Light attacks are a simple horizontal sweep, excellent for quickly cutting through a horde. Empowered special attacks should be used as much as possible, as it makes your weapon effective against everything. Powercycler is mandatory as a blessing, although tier IV is admittedly pretty hard to come across. Tier III is sufficient, but I wouldn't recommend running a power sword at all if you don't have at least some tier of powercycler. Brutal Momentum helps us cleave through more hordes during our swing, and can mince a small room full of enemies with a couple of quick swipes. Heavy attacks should be reserved for high-health enemies like mutants and Crushers. I pick up extra damage to Flak as it is the most common armour type encountered, and mutants to help us 2-tap mutants that get into our backline
The M35 Magnacore Mk II Plasma Gun is the strongest ranged weapon the Veteran has bar none. With an effectively infinite cleave, it can carve through entire lines of enemies. There are only really 2 blessings worth picking up. Blaze Away increases damage when firing rapidly, likely trying to kill a pack of crushers or bring down a monstrosity. Rising Heat provides increasingly more damage the higher the heat generated is. Some like to go for Gloryhunter, but we have so many other ways to replenish toughness that I find it kind of redundant, and prefer raw damage. Between Focus Target! and Precision Strikes anything short of an Ogryn or Monstrosity will be killed in a single well-placed headshot. As such, I grab extra damage to Carapace and Unyielding to reduce our time to kill on these high-tier threats.
Curios
After 1,000+ hours in Darktide, I have a few simple rules when it comes to Curios. Melee classes (Ogryns and Zealot) should take 2x Toughness and 1x Health Curios to give a good mix of defensive stats. Veterans should take 3 Toughness Curios, as they benefit more from Toughness than other classes, owing to their larger toughness pools and skills such as Iron Will. Psykers should run 2x Toughness and 1x Stamina curio to make up for low Base stamina, and to benefit from their faster stamina regeneration. Obviously, there are some caveats to that. A melee centric Veteran might want to run 1x Health Curio and certain knife and stealth builds might want to run a stamina curio. But for the most part, I find this a good rule to stick to ensure you have curios that are effective for the vast majority of your builds, especially when starting out when it is difficult to find any curios, much less good ones. Oh and Wound Curios should only ever be used on Zealot Martydom builds. Having Wound Curios actually means that health stims will now heal less on you. I know some people like to take a wound curio 'just in case they go down', but in higher difficulties, there is no guarantee your team can pick you up. It's far better to invest in defensive abilities which prevent downs as much as possible.
For Perks, Always take Extra toughness and gunner resistance. Gunner Resistance is the most useful resistance node as it applies to Scab Gunners, Scab Shotgunners, Dreg Gunners, Dreg Shotgunners and Reapers. This is the largest collection of enemies out of any of the resistance perks. These enemies can absolutely shred you in seconds, and make up a significant portion of the enemies encountered in Auric Maelstroms. The ability is multiplicative, so does have some diminishing returns. 0.80×0.80×0.80=0.512 meaning that we end up with a total gunner resistance of 0.488, just below 50%. I can certainly see the argument to only running two gunner resistance curios (with an overall damage resistance of 36 %) and opting for something else (potentially sniper OR Flamer), but I still value that extra 12.8%.
For the final perk, it depends on your build. If you are using a build which relies heavily on your ability, then run cooldown reduction to more frequently make use of said ability. I find this to be especially powerful on builds which make use of Voice of Command for instance. If your build is not too heavily reliant on your ability, then run for extra health. Again you can tweak this to suit individual playstyle (and the mercy of the RNG-gods as Hadrons bricks yet another piece of equipment), but this is a pretty good rule to aim for.
Voice of Command is your immortality button, and the overshield lasts for 15 seconds. With a 30-second cooldown, let's crunch the math. 12% cooldown reduction leads to our ability being off cooldown in 26.4 seconds. This means that between consecutive shouts, there are now only 11.4 seconds where you are 'vulnerable' and not benefiting from the overshield. Bear in mind that overshield counts as you being above 75% toughness. Toughness reduction stacks in a multiplicative Iron Will combined with Close Order Drill means that your actual toughness reduction is a 33% increase of 50%, giving us a value of 0.67. So that's a 67% damage reduction, effectively giving that 50 toughness overheal 150 toughness in actuality, not accounting for any additional toughness damage reduction from teammate shields. Technically it's slightly higher because of the extra 5% damage reduction node (68.175%) but you get the idea. You're virtually unkillable whilst this is up, so having this god-mode up more often is far more impactful not just to you, but to your team's survivability than the extra 15% health on the Veteran's quite pitiful base health pool.
Strengths
The Plasma Kasrkin build excels due to its exceptional ranged and melee capabilities, bolstered by the Plasma Gun and Achlys Mk VI Power Sword. The Plasma Gun’s infinite cleave and high damage output, particularly effective in high-density horde scenarios, make it a top-tier ranged weapon, while the Power Sword, especially with the Power Cycler blessing, provides unparalleled melee prowess. This build ensures high survivability through the synergy of Close Order Drill and Iron Will, offering substantial toughness reduction, and constant team support via tagging and ability usage. The versatile build path enhances both offensive power and defensive resilience, and the inclusion of Shredder Frag Grenades adds efficient horde clearing. Despite its reliance on specific gear and precise resource management, the build's combination of powerful weaponry, strong defensive mechanics, and team support capabilities makes it a formidable choice for high-level play.
Weaknesses
We sacrifice mobility in exchange for raw stats and power. The plasma gun is a clunky weapon, and unresponsive. Getting used to the delay in shots takes some getting used, and may result in missed shots when first trying it out. Both of our weapons deal exceptional damage, but leave us wanting in terms of mobility. If we cannot murder everything in short order, then we can struggle to reposition ourselves properly when things get out of hand. It is also a build which relies on specific blessings like Powercycler to work. As such, it can be hard for newer players to obtain everything they need to make their own Plasma Kasrkin.
Questions & Answers
Question: Why do the stats, weapons, and abilities in the video not match what's written in this guide?
Answer: I am constantly evolving and refining my builds. As patch notes are released, certain weapons and abilities may change in effectiveness. Additionally, as my skills and knowledge grow, my preferred builds can shift. I aim to provide videos demonstrating the effectiveness of my builds in a Damnation level Auric run as proof of concept. However, these videos may sometimes be outdated. While I strive to keep everything current, Darktide is my hobby, and I may not always have the latest updates in the videos. The information in these guides reflects my most recent thinking and should be considered more accurate than what is shown in the videos.
Video

Azyr Psyker | Smite | Venting Shriek | Empowered Psionics
By Crukih • Updated 1 year ago


Sister of Battle | Immolation Grenade | Chorus of Spiritual Fortitude | Blazing Piety
By Crukih • Updated 5 months ago


Aqshy Psyker | Brain Rupture | Telekine Shield | Warp Siphon
By Crukih • Updated 5 months ago

Ulgu Psyker | Assail | Telekine Shield | Disrupt Destiny
By Crukih • Updated 1 year ago

