Table of Contents
Class
Weapons
Curios


Talent Tree
Description
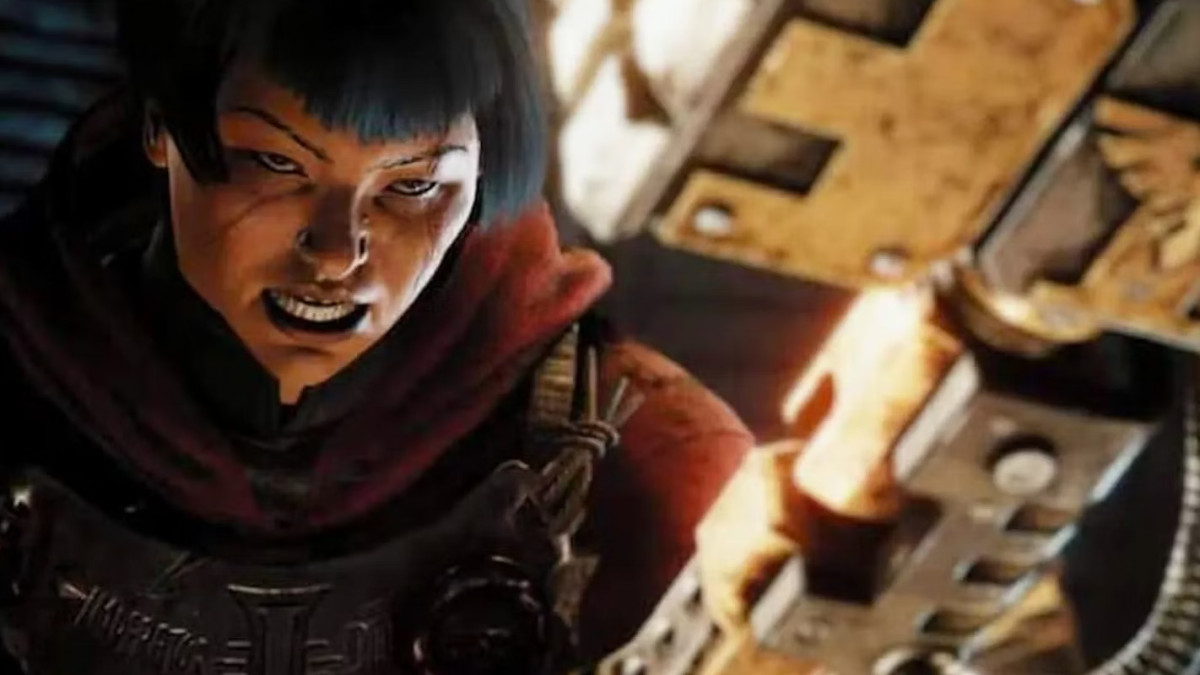
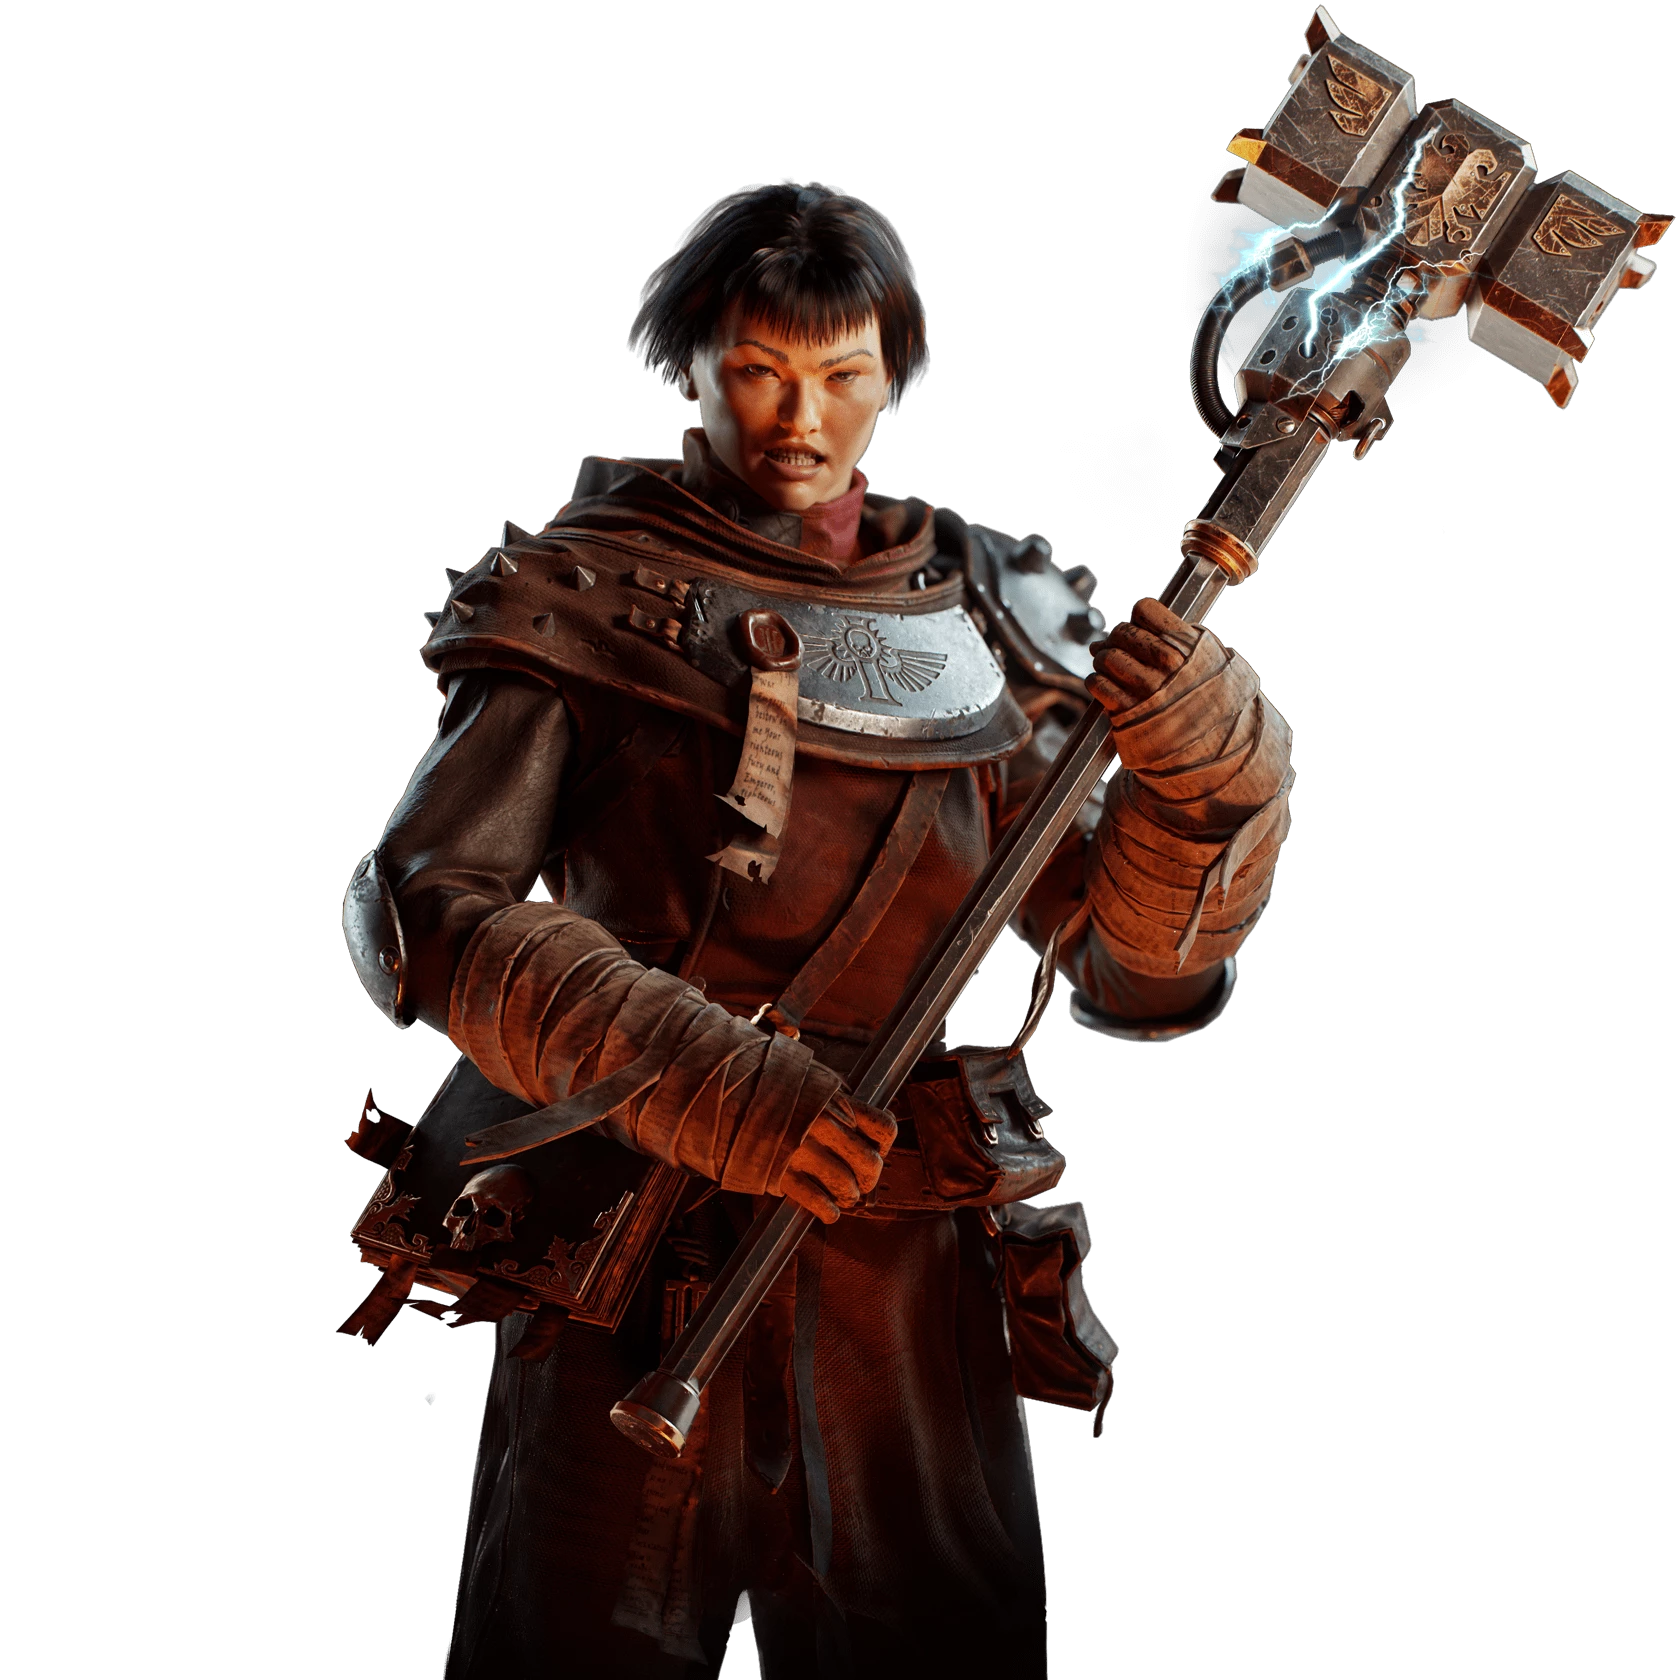
Daemonhunter
I like to run this into Maelstroms with monstrous specials for obvious reasons. The Crucis Mk II Thunder Hammer is the premier Monstrosity killer in the game. Weakened Monstrosites can be 1-shot by combining it with Shroudfield and normal Monstrosities can be chunked. The hammer is a specialised weapon, and the insane levels of Monstrosity damage come at a cost. Whilst it can deal with hordes of chaff well, and chunk down Bosses, it really struggles at mixed hordes and a lot of other situations. For this we need a workhorse ranged weapon. I don't think anything quite competes with Vraks Mk III Headhunter Autogun for its versatility. A humble weapon often overlooked by more specialised ones, the Vraks has an absurd ammo economy (Great for a zealot), accurate over extreme ranges with its 3-round burst yet can still be hip-fired quickly to deal with closer situations, all retaining great armour penetration.
Playstyle
Contrary to most other Zealot builds, you actually want to be quite cautious and methodical in your approach. Your ranged option is used to enemy ranged enemies and elites. Your melee is reserved for either taking down large threats, or dealing with lesser hordes. Mixed hordes can be a bit more of a threat, as the Crucis Mk II Thunder Hammer can struggle to cleave through heavily armoured targets like Maulers in a mixed horde. These targets can either be dealt with by using our Vraks Mk III Headhunter Autogun as it has fantastic damage against Flak armour and can be fired quickly in 3 round-bursts to quickly dispatch enemies at shorter ranges. You can also make use of Immolation Grenades to clear out chaff enemies so you can focus on the tougher enemies. When a monstrosity or other large threat appears (or if you start to get overwhelmed), pop Shroudfield and get yourself into a position to deal massive damage and take these high-priority threats out. Also of note, if you manage to backstab someone just as you're entering Shroudfield, It won't consume your ability whilst also benefitting you from its buff. It's a bit tricky to pull off, but in choice situations, can help you deliver 2 devastating backstabs in quick succession.
Build Path
We start by going down the right path. Backstabber comes up quite often, as we knock enemies around. It will also help you deal big damage to Monstrosities from behind. Blood Redemption increases toughness regeneration per kill from 5% to 7.5%, which can help sustain us in extended melee. However, the main reason we go down this route is to take Second Wind. This is one of the best toughness replenishment nodes in the game, and allows us to top up our toughness every 0.5 seconds simply for doing our job, dodging and weaving through battle.
Down the middle path, we pick up the usual nodes. Anoint in Blood helps to deal more damage when you need to kill things at close range. The main node we take here is Purge the Unclean. The extra 20% damage to unyielding helps deal more damage to monstrosities, and more easily lets us more easily hit the breakpoints to 1-shot Monstrous specials. The next node here is honestly your choice, as both of them have quite mediocre returns. Voice of Terra provides a slight increase to survivability in ranged firefights, whilst Restoring Faith can help mitigate damage when your toughness gets taken out. Immolation Grenades are great for clearing out the chaff, giving you a clean attack to hit larger targets with an empowered Thunder hammer attack.
From here we bust a right. Duellist provides an absurd damage increase. It's not always possible to get a dodge in before delivering a killing blow, but when it does it's insane. We will still be dodging frequently in melee, and this node incentivises us to aim for the head even more so than we already should be. Until Death into Holy Revenant is almost synonymous with the Zealot. So many builds make use of it, that I honestly feel scared not taking it. The last thing I want to do is put myself into a risky situation and then go down, when I was counting on these nodes. As such, every one of my Zealot builds utilises it just to avoid that awkward situation. We do admittedly invest quite a few points grabbing it, instead of the more optimised route on the route hand. If you feel confident running without it, then I highly recommend going right and grabbing Thy Wrath be Swift instead as make your way down. However, remember that you also miss out on one of the best auras in Benediction. Loner, by comparison, is arguably the worst aura in the game. Really the benefits from going left after Immolation Grenade are great enough to sacrifice those extra points.
Shroudfield is what allows you to reliably 1-shot Monstrous Specials. I will admit that dropping Fury of the Faithful was a painful sacrifice. That ability allows you to charge up your hammer, and then use it to reposition yourself closer to your target, guaranteeing a crit and extra damage from Duellist. However, the more I played, the more I found myself favouring Shroudfield. You need time to line up your shot and charge up your attack. That is not always possible with Fury of the Faithful. Shroudfield on the other hand, provides you with breathing room to get the perfect hit in, as well as allows you to perform choice clutches by resurrecting your teammates. We grab Master-Crafted Shroudfiled to increase that window of opportunity to 6 seconds, and Invigorating Revelation to provide some helpful defensive bonuses. Of note, Shroudfield goes on cooldown the moment you use it, NOT the moment you leave stealth. If you leave it until you attack to the last moment, theoretically you can be in stealth every 24 seconds, before taking into account other forms of cooldown reduction. The downsides Perfectionists brings (namely a 45-second cooldown and only 3 3-second Shroudfield) are way too great in practice to ever warrant picking it up. The extra damage does not allow you to hit any new breakpoints. If it lets you 1-hit normal Monstrosities, I MIGHT, consider it. As it is, do not use it.
Sustained Assault allows you to increase your damage by up to 20%, and comes up frequently when clearing hordes. Pious-Cut Throat comes up a lot more often than you might initially suspect. You tend to throw chaff around quite a lot with your attacks, so you gain access to their backs quite frequently. It also counts on your kill, so provided you land a finishing blow, it will instantly drop your cooldown to 24 seconds. Swift Cetainty helps you close the gap quicker, and also helps alleviate the rather hefty stamina drain the Thunderhammer brings. You should be mixing in slides anyway to prolong your stamina, so you should rarely run out of stamina. Finally, we round it off with our keystone Inexorable Judgment, Retributor's Stance & Inebraite's Poise. What I love about this keystone is that it requires no active thought from the player. You periodically get buffs simply for playing as you normally would. Damage, attack speed and toughness or all brilliant stats that benefit us.
Weapons
The Crucis Mk II Thunder Hammer is superior to the Ironhelm Mk IV Thunder Hammer, the latter of which should never really be used, due to its awkward moveset. Thrust is absolutely pivotal, as is extra damage to Unyielding to make sure you get the 1-shot potential on Monstrous specials. Heavy attacks are side-ways swings, so constantly combing heavy attacks is the best way to deal with hordes. It does make landing hits on priority targets, especially in mixed hordes difficult, however. A special attack into a light-1 hit is not going to do much damage, whilst staggering you. This is the inherent weakness of Thunderhammers, and why I favour Shroudfield as an ability to more reliably drop aggro and get a good, clean hit on that monstrosity. Some people like to pick up carapace. I honestly find the carapace damage sadly quite lacking. You can 1-shot a Crusher with a backstab with your ability without having to spec into additional carapace damage. In any other situation, even with thrust, it will take 2 hits, so I prefer to opt either for unarmoured, or flak damage to better deal with hordes. To further assist with horde clear, I like to grab Slaughterer, although Headtaker is a perfectly fine alternative.
The Vraks Mk III Headhunter Autogun is seriously slept on as a weapon. The recoil can be quite harsh if you fire whilst moving, but if you stand still or crouch, there is virtually no recoil, providing some much-needed ranged utility to the Zealot arsenal. Headhunter and Deadly Accurate work exceptionally well. The 3-round burst on the Vraks means you can stack up Headhunter very quickly, and all Headhunter autoguns do exceptional finesse weakspot damage. I will be the first to admit I'm not the best shot, and these weapons can still deal great damage on body shots. But when you get the opportunity, you can absolutely slay with a headshot. Most ranged threats you will be dealing with run either flak or maniac, so pick up both of these to reduce your time to kill, and increase your chance of taking them out in a single salvo.
Curos
After 1,000+ hours in Darktide, I have a few simple rules when it comes to Curios. Melee classes (Ogryns and Zealot) should take 2x Toughness and 1x Health Curios to give a good mix of defensive stats. Veterans should take 3 Toughness Curios, as they benefit more from Toughness than other classes, owing to their larger toughness pools and skills such as Iron Will. Psykers should run 2x Toughness and 1x Stamina curio to make up for low Base stamina, and to benefit from their faster stamina regeneration. Obviously, there are some caveats to that. A melee centric Veteran might want to run 1x Health Curio and certain knife and stealth builds might want to run a stamina curio. But for the most part, I find this a good rule to stick to, to ensure you have curios that are effective for the vast majority of your builds, especially when starting out when it is difficult to find any curios, much less good ones. Oh and Wound Curios should only ever be used on Zealot Martydom builds. Having Wound Curios actually means that health stims will now heal less on you. I know some people like to take a wound curio 'just in case they go down', but in higher difficulties, there is no guarantee your team can pick you up. It's far better to invest in defensive abilities which prevent downs as much as possible.
For Perks, Always take Extra toughness and gunner resistance. Gunner Resistance is the most useful resistance node as it applies to Scab Gunners, Scab Shotgunners, Dreg Gunners, Dreg Shotgunners and Reapers. This is the largest collection of enemies out of any of the resistance perks. These enemies can absolutely shred you in seconds, and make up a significant portion of the enemies encountered in Auric Maelstroms. The ability is multiplicative, so does have some diminishing returns. 0.80×0.80×0.80=0.512 meaning that we end up with a total gunner resistance of 0.488, just below 50%. I can certainly see the argument to only running two gunner resistance curios (with an overall damage resistance of 36 %) and opting for something else (potentially sniper OR Flamer), but I still value that extra 12.8%.
For the final perk, it depends on your build. If you are using a build which relies heavily on your ability, then run cooldown reduction to more frequently make use of said ability. I find this to be especially powerful on builds which make use of Voice of Command for instance. If your build is not too heavily reliant on your ability, then run for extra health. Again you can tweak this to suit individual playstyle (and the mercy of the RNG-gods as Hadrons bricks yet another piece of equipment), but this is a pretty good rule to aim for.
Strengths
The ability to kill Monstrous specials in a single hit, is the Deamonhunter's key selling point. Sometimes you the A.I Director simply does not like you, and decides to spawn 5 Chaos Spawn all at once. The ability to knock them all out in sequence turns a run-ending threat, into another Tuesday for the astute Zealot. Hordes are easily (and somewhat brain-deadily) dealt with by simply spamming heavy attacks over and over. Poxhounds can be dealt with by creating a ring of friendly fire with our Immolation Grenades and the Vraks Mk III Headhunter Autogun allows us to step on the toes of the veteran class a little bit, and deal well with ranged threats and specials.
Weaknesses
The Deamonhunter struggles with mixed hordes. The Crucis Mk II Thunder Hammer requires time to power up Thrust, and the sideways attack means that if chaff is in the way of your intended targets, it's very easy to deliver all of that power into a random poxwalker, instead of the Chaos Spawn trying to vore your teammate. Immolation Grenades provides us with a tool to clear these threats out, but it takes time, precious seconds that you do not always have.
Questions & Answers
Question: Why do the stats, weapons, and abilities in the video not match what's written in this guide?
Answer: I am constantly evolving and refining my builds. As patch notes are released, certain weapons and abilities may change in effectiveness. Additionally, as my skills and knowledge grow, my preferred builds can shift. I aim to provide videos demonstrating the effectiveness of my builds in a Damnation level Auric run as proof of concept. However, these videos may sometimes be outdated. While I strive to keep everything current, Darktide is my hobby, and I may not always have the latest updates in the videos. The information in these guides reflects my most recent thinking and should be considered more accurate than what is shown in the videos.
Video

Azyr Psyker | Smite | Venting Shriek | Empowered Psionics
By Crukih • Updated 1 year ago


Sister of Battle | Immolation Grenade | Chorus of Spiritual Fortitude | Blazing Piety
By Crukih • Updated 6 months ago


Aqshy Psyker | Brain Rupture | Telekine Shield | Warp Siphon
By Crukih • Updated 5 months ago

Ulgu Psyker | Assail | Telekine Shield | Disrupt Destiny
By Crukih • Updated 1 year ago

