Table of Contents

Psyker Build - Warhammer 40k: Darktide
Carry Anyone in Maelstrom: Obliterator Psyker Build + Hardcarry Guide
Psyker Build - Warhammer 40k: Darktide
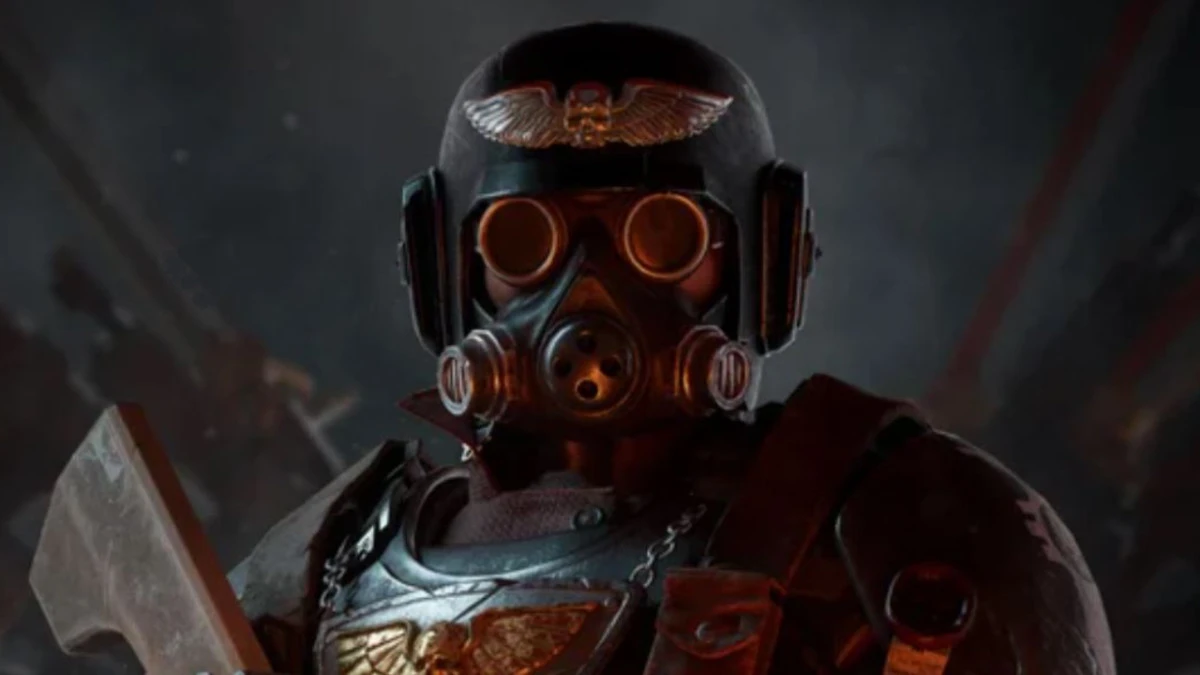
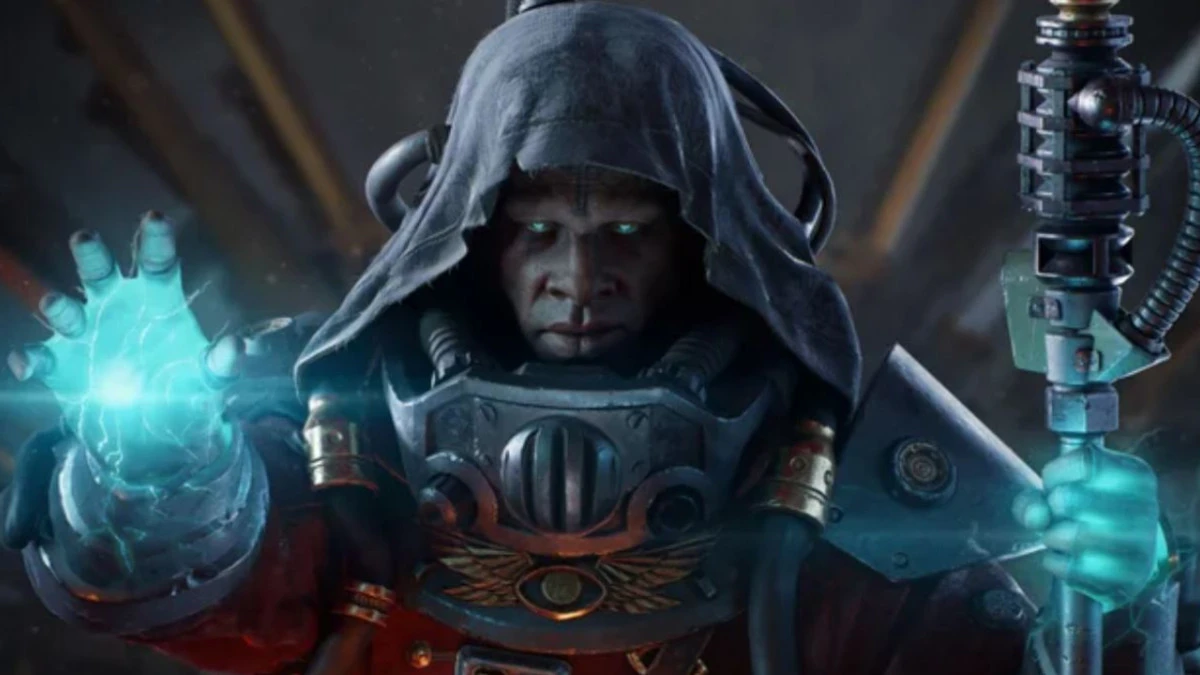
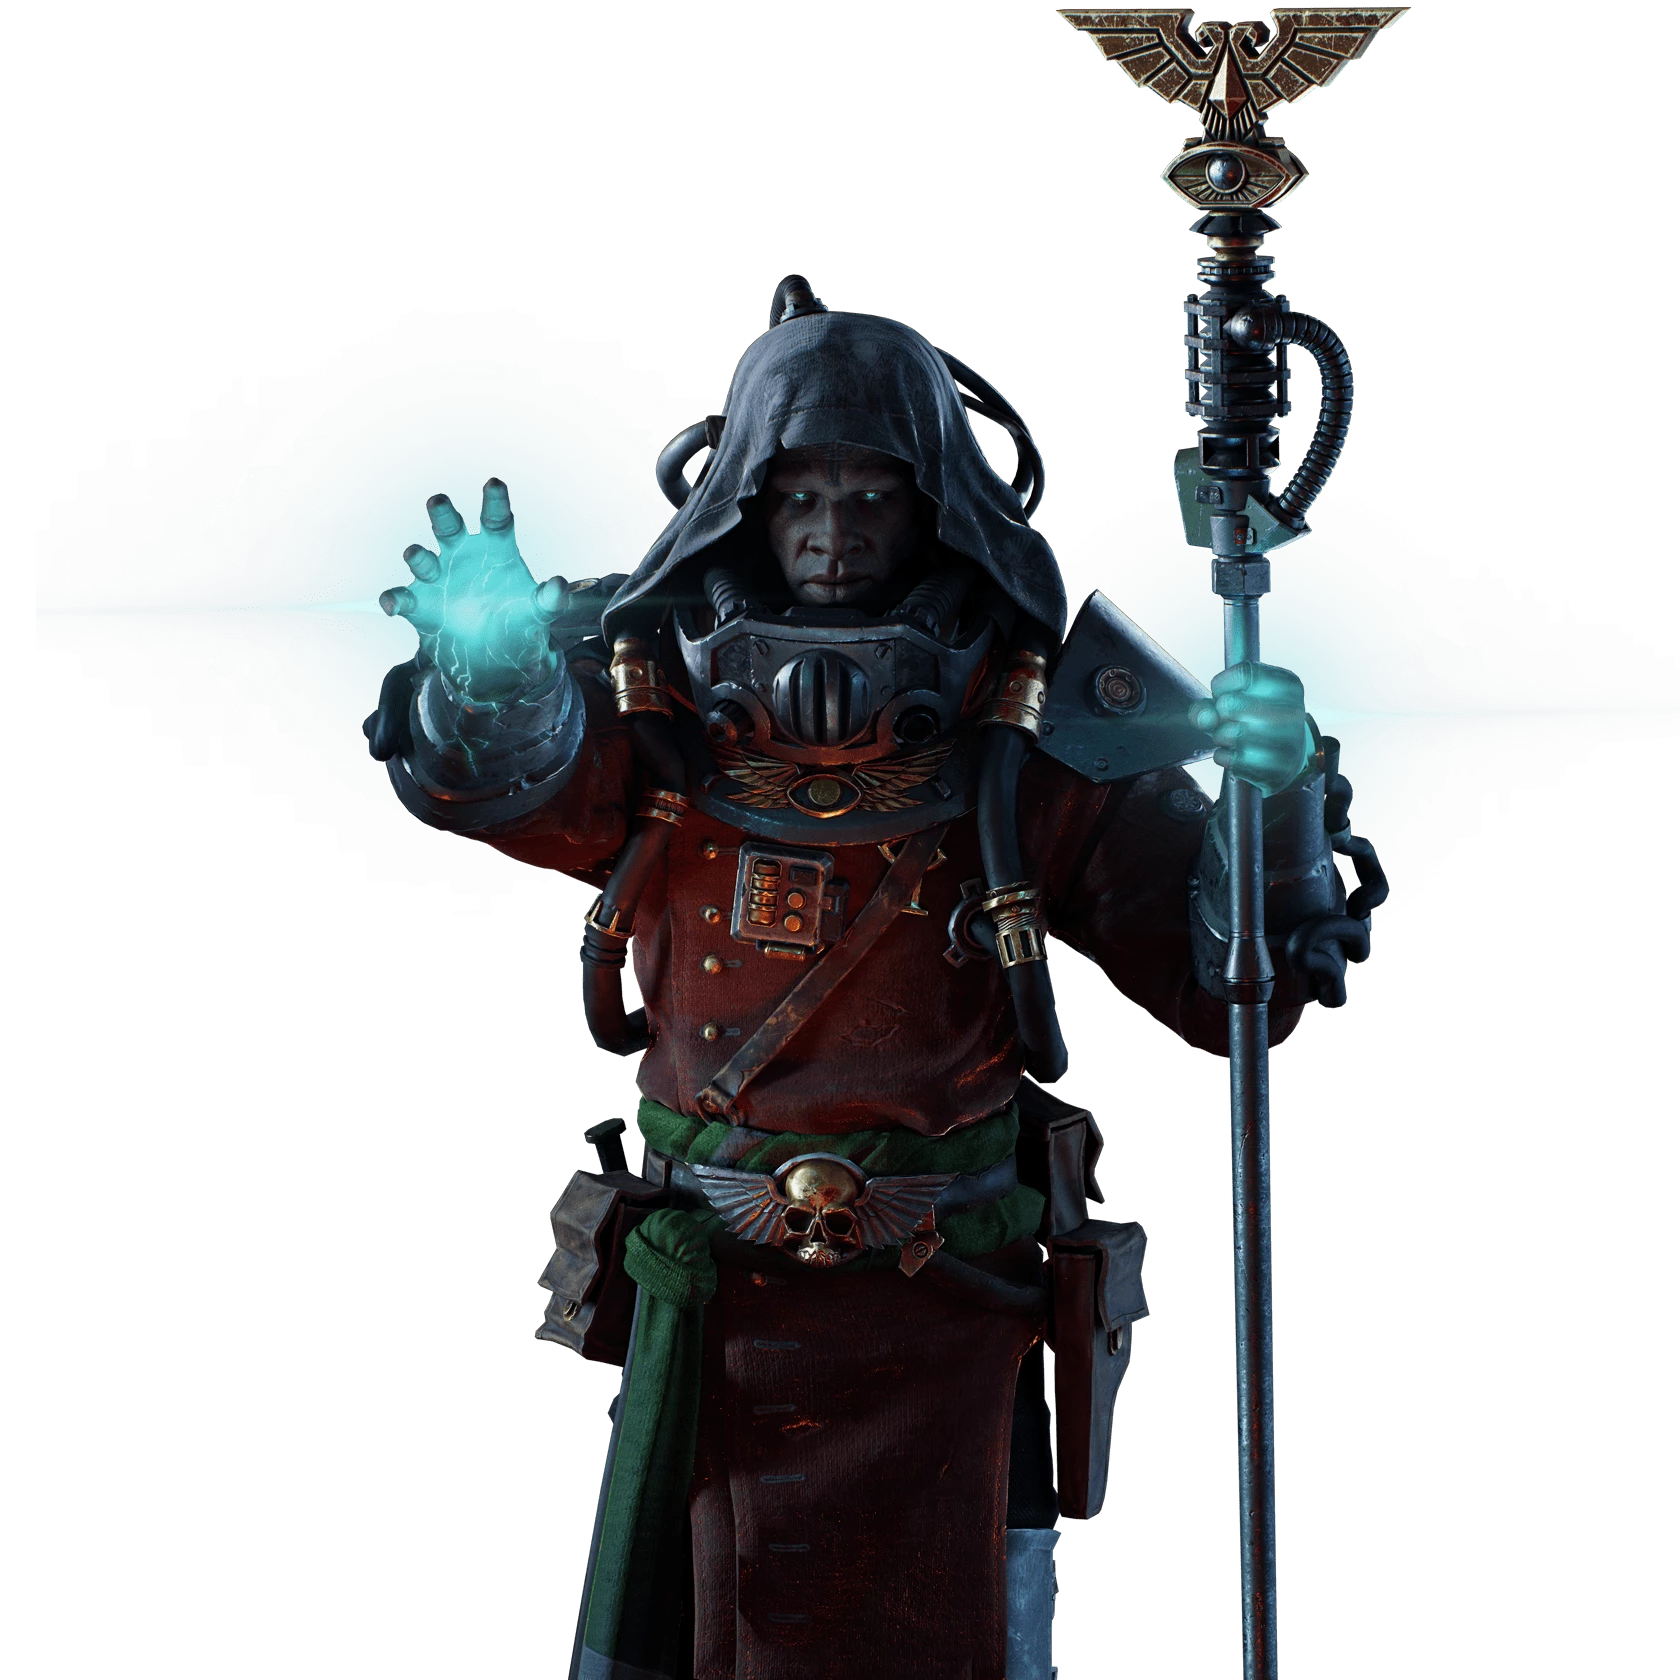
Class
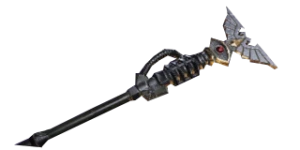
Weapons


Slaughterer
+8% Strength for 4.5s on Kill. Stacks 5 times.
Superiority
+12.5% Strength for 7 s on Elite and Specialist Kill. Stacks 3 times, deteriorating one at a time.

Warp Nexus
Gain between 5% and 20% Critical Chance based on current level of peril.
Blazing Spirit
Enemy gains 4 Stacks of Soulblaze on Critical Hit.
Curios

+13-17% Toughness
+13-17% Toughness
+17-21% Max Health
Talent Tree
Description
Hello all, I'm Bug on NA and I enjoy winning Auric Maelstrom missions with pubgame low-level players for fun.
This build is designed not only to take top damage, but specifically to cover for most new-player weaknesses using a combination of a scaling snowballling damage wildfire crit build and an ultra-aggressive CC dominant frontline presence that you can perform from the frontline or the backline as needed. I'll write up sections where I ramble about each ability followed by tl;dr summaries of all the granular tech breakpoints and tips I've found using the weapon.
Weapons
Voidstrike Staff: If you've ever fired this straight through a dense horde at headlevel and heard the crackle of dozens of skulls pop as your bolt flies off into the distance, you already understand the sheer hordeclear potential of the voidstrike. Now add a snowballing fire effect for every single crit (From weapon blessing Blazing Spirit), + every Elite/Specialist kill from Talent Perilous Combustion, + every pre-existing Soulblaze enemy that dies (does not need to be killed by you, just needs your soulblaze stacks) transfers up to 4 of their stacks to nearby enemies from Talent Wildfire. If you perform a Max-Peril Venting Shriek onto a Dense horde, it does not matter what enemy types are in that horde, all of them will be swallowed up by the fire so long as you can land several voidstrike shots onto the horde and start the snowball effect.
When you successfully reach the Wildfire Snowball Breakpoint, everything in that area is disintegrated nearly instantly. ( I highly recommend downloading the 'Kill Tracker' mod to observe the killcounts of your combos during Wildfire, it is not unusual for me to see 50+ kill combos from hordes offscreen that I am no longer even facing/fighting. ) The effect of wildfire is so subtle you and your team might not even know it was you that deleted the horde unless they could see the combo count. The raw killpower of this combo only increases the larger the hordes become, which is something that you will notice happen when you play a build like this that kills in such massive numbers. Most games I will 2-4x the hordekill count of even the strongest players, usually with personal totals over 800 average. Also important to mention, the long range of the Voidstrike and snowball combo allow you to effectively fight in 2 directions at the same time, provided you're not immediately surrounded, but even in that circumstance you are quite capable of fighting in both directions using a CC-style of firing: Aim downwards at the bodies of enemies in both directions and aim at the floor to CC trashmobs swinging at you. I've survived many surrounded situations standing with my team using this method, and it may be just what is needed for the team to hold and survive together in an otherwise impossible situation.
Voidstrike Tech: 50% charged secondary pops bulwark unless it has CC resist. 50% charged secondary shot to a crushers head can knockback. You can somewhat safely kite a horde of maulers and crushers by dodging backwards and landing 50% charged headshots, so long as they don't manage to flank you, you can continue this indefinitely in areas where you're able to safely kite in a wide circle. Align your shots to head-level and fire fully charged shots down long hallways to safely hold a spawn direction by yourself. Use your charged secondary attacks on doors, enemy dropspots, and anywhere enemies spawn in bulk to easily start a wildfire and effectively disable that spawn while enemies spawn, die, and continue your soulblaze even on targets out of sight/behind cover. Make liberal use of staff primary fire especially to control gunners and prevent them from firing. If a gunner is firing, left click in their direction you don't even need to hit, the suppression and stagger on primary attack is much greater than secondary fire, so primary fire reapers, gunners, and specials for instant CC. If your team begins a fight against a room of gunners and they are fully guns blazing, you can solve it very easily and resource-efficiently with primary fire spam in every single direction a gunner is firing, singlehandedly applying CC bombardment that causes the entire chaos army to flinch and cower. Primary for light armor CC, secondary for heavy armor CC + kill.
Deimos Sword: Originally I used the ever-popular Dueling sword because it is so safe to play, however there is a superior melee weapon for this build in particular due to it's raw offensive CC power. In addition to being faster than the Dueling sword by turning sideways and side dodging in your desired direction using your enormous dodge distance that outpaces even some zealots, this sword is capable of also making you a walking wall of CC with it's absurd blockpush strength, AOE, and distance. The long range distance of your blockpush is the specific reason the Deimos is superior to the dueling sword when it comes to carrying new players. Go into the meatgrinder and test it for yourself to see the absurd lengths your blockpush can reach while also knocking an enemy flat on their face. The best targets for this are: Ragers, Bombers, Flamers, Trappers, Maulers, Dogs, Shotgunners, even Crushers and Bulwarks can be knocked to the ground easily by players with good mechanics. You are essentially completely safe from poxbursters, the combination of your high dodge distance and force of block push can allow you to escape a poxburster that has surprised you and is right in your face, not every time but often enough I've escaped one without a scratch. Finally the Deimos is superior to the dueling sword in desperate teamfight scenarios, whereas the Dueling sword might be superior at running away and escaping intact alone, the Deimos is superior at leading your team through a maddening horde to safety when you're completely out of options. You will be astounded at the situations you can survive by calmly walking (to conserve stamina) and blockpushing in the direction you need to go, not to mention that you can effectively force a Team-Revive or Objective by simply blockpushing. Blockpush Deimos can even pop open a bulwark in 1 or push a crusher onto the ground, although it takes 4~ blockpushes so thats not it's best use. Please note that the first blockpush attack does not use Peril, but the second does (mine uses 3.6%), so you will headpop if you're at 100 doing blockpush. Last mention is the Special Charge attack, which is more of a meme than an effective killing tool, but it's excellent in a pinch against a solitary rager or crusher or bulwark, which will pop open even on a direct strike to the shield making it good when you're frontline in a narrow corridor.
Deimos Tech: Light attack + Heavy attack + Block animation cancel + Repeat for a looping assassin stab strike similar to dueling sword. Knock crushers + maulers to ground with repeat headshots using this technique. Safely solo a Plague Ogryn in melee with headshots using this method. Also optimal for killing Mutant waves. Sidestep + dodge to cover long distance fast. Blockpush most enemies to the ground even at mid-range (ideal for surprise trappers / flamers). Charge attack + full heavy swing charge to CC a crusher. Charge attack or blockpush bulwark shield to pop. Blockpush ally performing objective/reviving to buy precious time towards the end of their sequence.
Venting Shriek Blitz: The wildfire starter, to play simply look in the direction of the densest horde and press F to pay respects. The CC is weak but can save a teammate from all sorts of situations including but not limited to: a mauler/crusher winding up their overhead swing, a horde of ragers in melee swinging fulllspeed, a widespread hail of gunfire from gunners in cover, a sniper taking aim at your allies head while they do objective, a dog midpounce, a bomber about to throw, a surprise horde that spawned directly onto you from behind. All of these and more are like delicious treats for you to snack on and sabotage, used in combination with all previously mentioned CC this creates an essential zone of safety around you for both your team and for you to enjoy more time safely firing your voidstrike at horde. Never underestimate the ability to protect your team from danger before it begins by Venting Shriek a Special mid-animation and then brainbursting them. An easily overlooked aspect of the Flaming Venting Shriek is the amount of information it reveals as well, when visibility is low and the inhabitants of an area are unknown, sometimes a venting shriek communicates everything your team needs to know more effectively than anything you could say or ping by simply illuminating 100+ monsters in the dark using the light from their burning souls. Finally, because we take Kinetic resonance and Wildfire, immediately following a Venting shriek you can take your pick between deleting a horde with your voidstrike or a monstrosity with Brainburst spam, also fantastic to brainburst a room full of specials through low visibility or a wall of fire. Just be sure you can see what you're brainbursting when a poxbursters ping can be heard, as the chaos of war very commonly can kill your brainburst target causing it to auto-switch to anything nearby, which is a terrible lesson to learn when that target is a poxburster you or your teammate are pushing.
Venting Shriek Tech: Use immediately on first horde spotted when horde sound plays to begin the wildfire in one direction. Interrupt/cancel specials mid-attack animation to protect self and team, but also works on all lesser units. If your ally is CC'd by a hound, immediately turn to their location and use venting shriek regardless of walls/doors/collision, it will free them (I use Player Outlines mod which makes it very easy to respond quickly to their location). Illuminate an unknown area and reveal hiding enemies in cover. Force a special/gunner hiding in cover to reveal their head and swap to brainburst for an easy priority kill. If being targeted by a sniper during dense horde, venting shriek and then immediately swapping to brainburst in the area of their red laser sight can pick the sniper from the crowd with great consistency. The high peril of voidstrike spam makes venting shriek very useful for maintaining your barrage, you can even headpop and vent out of it for a free attack at 100+ peril to maximize crit chance and damage that often turns back the tide. Depending on input/frame lag the time between headpop and venting shriek can be surprisingly long even though its instacast so be sure not be hit by a mutant/hound during that time because that will automatically down you. You're 'safe' to headpop with 2~ seconds left on your vent CD, and if you're extra spicy you can headpop at 4s if you know your attack will kill the special/elite due to the CD reduction from Talent Psykinetics Aura.
Brainburst Tech: Easily protect your team from all plaguehounds by locking a brainburst as they rush past you. Venting Shriek + brainburst spam makes special wave spawns extremely safe and simple, making you very potent in the backline. Tagging an enemy makes brainburst priority lock much more consistent. Spam brainburst on monstrosities after venting shriek to make you a reliable boss-slayer beaten only by specific Veteran + Zealot builds, I regularly help kill an accidental daemonhost even in auric maelstrom, very effective for keeping team morale. Kill a special without vision by relying on their Spawn SFX to locate their general location, brainburst can target and kill without vision. Use the long wind-up time of brainburst as an opportunity to look around, look behind you, watch your allies backs. Practice fighting in two directions by locking a brain burst target and then looking behind you while your target safely dies behind you. Practice reaction speed times by swapping to brainburst on sight of a special unit that reveals itself for a limited amount of time. Many specials have AI programming to reveal themselves visually to you before they hide in cover and begin sniping your team, essentially creating a minigame where you race to swap to brainburst and acquire a lock-on during the split second they're revealed. Use doors and cover to brainburst safely in situations where you require absolute perfect play, such as at the end of a teamfight that downed your entire team and you need to clutch against a handful of loosely spread out high priority targets.
Gameplay
Carrying New Players: New players are great, they are to be cherished and protected, nurtured and inspired. The way you do this is by watching their backs playing from the backline. It requires excellent mechanics and game knowledge because you must also watch your own back while doing this. Psyker more easily gets away with this by having extra time to look around during your brainburst / peril quelling times. Learning to look behind you regularly is a skill that takes time to learn, and some never do, likely because of players like yourselves who shoot the trash mobs off their backs and hold the backline. Here is a breakdown of my pet-theory about Frontline/Backline Dynamics.
Grouping: Ideally you are all 4 in a group, but coherency is not always the perfect strategy for every situation, coherency is especially challenged by bombers and flamers which specifically work to force the team to split, or kill the team outright when all 4 are pinned into a cramped area by armor. Splitting up slightly occurs naturally and the safest method is as follows: 4 is ideal, but barring that, 2 and 2 is better than 3 and 1. Hang out with them like a buddy and make sure they're ready to drop down and move up. Given that special waves and horde events spawn in both directions, Front and Back (or more depending on the area), this often results in a natural Frontline/Backline pairing fighting the heretics in both directions. Many new players bring their own strategies to this, often by running as fast as they can through the level, however this creates a negative effect for new and experienced players alike. The player in the very back contends with an enemy constantly catching and ensnaring them, either literally with a trappers net but just as likely a pack of loose heretics can easily slow and encumber a player while the team charges forward, isolating them, then executing them alone. New players are unable to counterplay against this situation effectively, and new players in the frontline may go their entire careers without ever realizing the problem. To resolve this, when it's time to advance, turn and find the backmost player and use your gun/ranged to shoot the enemies off your ally, allowing them to safely advance under covering fire. If it's you in the back, use CC/AOE to create room for yourself to begin sprinting to catch up. A perfect team rotates naturally in this way between frontline/backline roles and looking out for each other, but this is real life and we're not always given perfect teams. That is why in my experience the best location to hard-carry a team is from the backline. In the backline, use all of your skills to guarantee your survival against the threats you can't dodge, and every spare moment you're afforded to make your presence felt on the frontline. Never let a single Special enemy pass by you, hounds, mutants, and even maulers will try to sneak past you to deliver a surprise attack on your unwitting ally and, because we are hard-carrying new players, a single leaked enemy can very likely kill them, making it your responsibility. If your frontline was perfect, then they would not allow any enemies to slip past them and attack you, freeing you up to more efficiently and safely lob bolts both backline and frontline for huge numbers on the scoreboard, but they will not be perfect, so you will need to be prepared to fight leaks from the Frontline, because life is unfair and you are hard-carrying, so make a habit of looking behind you as often as possible.
Fighting Solo: Not a good idea, but it's not always your choice when fighting backline. Ideally one of your teammates is supporting you with the buddy system, but for many reasons that might not be the case. In order to survive fighting alone you need to have perfect specialist mechanics, master dodging trappers and mutants, master killing plaguehounds by dodging and then melee killing them midair, master kiting flamers by dodging sideways towards them into melee, memorize all specialist spawn SFX so you know what priority of danger is behind you. Since the odds are against you, you need to use everything you can to get an edge, fight using a corner to safely hold a position, look for unique areas where you can see both your backline spawns as well as frontlines battle, allowing you to deal damage to both from one location. It's not common but some locations allow you to have a straight line of sight through multiple layers of the horde, essentially allowing you to hit the horde multiple times in a single shot, as an example: The trashmobs directly in front of you, the horde located up and down the staircase, and then again the horde through the door at the bottom of a staircase would maximize every shot you take. Exploit enemy spawn and pathing AI at doors, enemy dropdowns, and other spawn locations to kill a large amount of enemies quickly enough so that you can then run ahead and kill the frontline horde as well. In the event of utter chaos, where each team member is individually surrounded and isolated from one another, you in the backline are uniquely able to push forward and link up with at least one member, but because they are new players, prepare for them to flee as soon as you arrive, they may not understand how to hold the position with you. In the same situation as described, a full health Beast of Nurgle or Plague Ogryn can easily be a death sentence to a new player, panicking them to the point of uselessness and dying to trash mobs. You can hard-carry this situation as well, by drawing the boss's aggro and then kiting it into the backline and away from your team, buying them time to collect themselves and regroup, resolve their current fights, and then turn on the boss with you when you circle back and return.
Downed Players: The most important aspect of hard-carrying new players is teaching them teamwork. The only way to do that is by saving them from death over and over again, no matter how much they deserve it. You do not pick them up because you need their damage, it's likely you 4x their damage, you pick them up because that's how they learn, that's how you learned, that's how I learned. Are they surrounded by heretics, crushers, fire, pox gas, and all of the horrors of the warp? Then it's even more important to save them, because when you succeed you'll show them something they may not have ever seen before, they'll remember it, and they'll remember that it's possible. The ability to save a downed player largely comes down to individual skill, so do not feel bad if you're unable to save them every time, darktide has a habit of making your job harder and harder the better you get at it. The best technique for saving a downed player is to respond immediately before the game AI is able to react with its strategies to stop you. Never underestimate how effective it can be to simply run over, blockpush 2-3 times, and pick them up, ideally to supporting fire from your other allies. This is even easier for grenade classes, who have no excuse for not saving someone in a backwards world where a grenade magically doesn't hurt your friends. This is especially true when freeing them from a trapper net, which requires nearly no time.
Sometimes saving a player from a bad situation is more complicated and requires a more complicated approach. The safest strategy is to retreat briefly and kill as quickly as possible, but that sometimes that is not fast enough to save the downed player. Sometimes there are dire situations that seem to be designed to test your ability to save your team, for example, sometimes the threat is so great that there is literally no time to take your finger off the trigger and let up attacking for even a second, or risk the enemy pushing forward, overwhelming you, and blocking you physically from reaching the player. In that situation you really only have one choice, you push forward and use your own body to shield the fallen player while you fight. This means walking up to the face of a crusher and landing your shots, pulling the aggro of multiple snipers and gunners off of them and onto you as you dodge them to buy time, alternating between weapons to blockpush and fire in rapid succession to force a zone of safety, all of these tactics are to buy space and time for another teammate to pick them up. Sometimes it only takes one, sometimes it only takes two of you, sometimes it requires all 3 players fighting with everything they have to save the littlest guy on the team, but you gotta do it. It's impossible to know if every situation is possible to save, but you must try every time because that is the only way you'll overcome a fight that looks bigger than what you've faced before. Don't think about if the situation looks possible or not, when you get good enough, every single situation looks too big to win before you win.