
Table of Contents
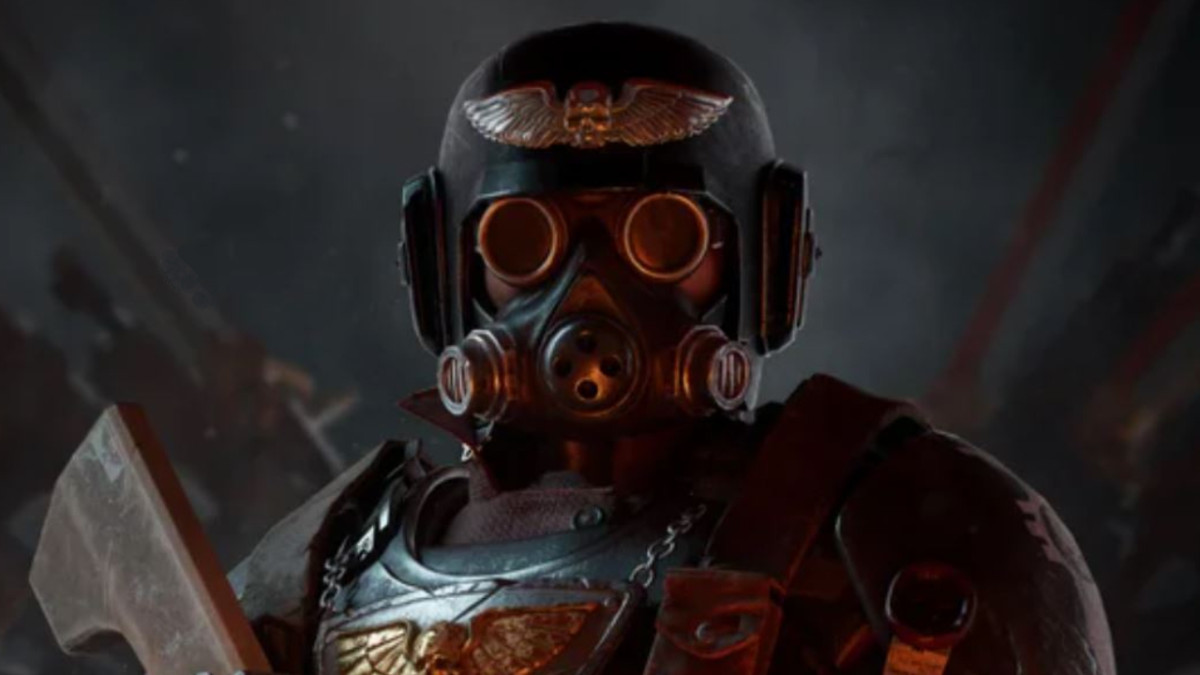
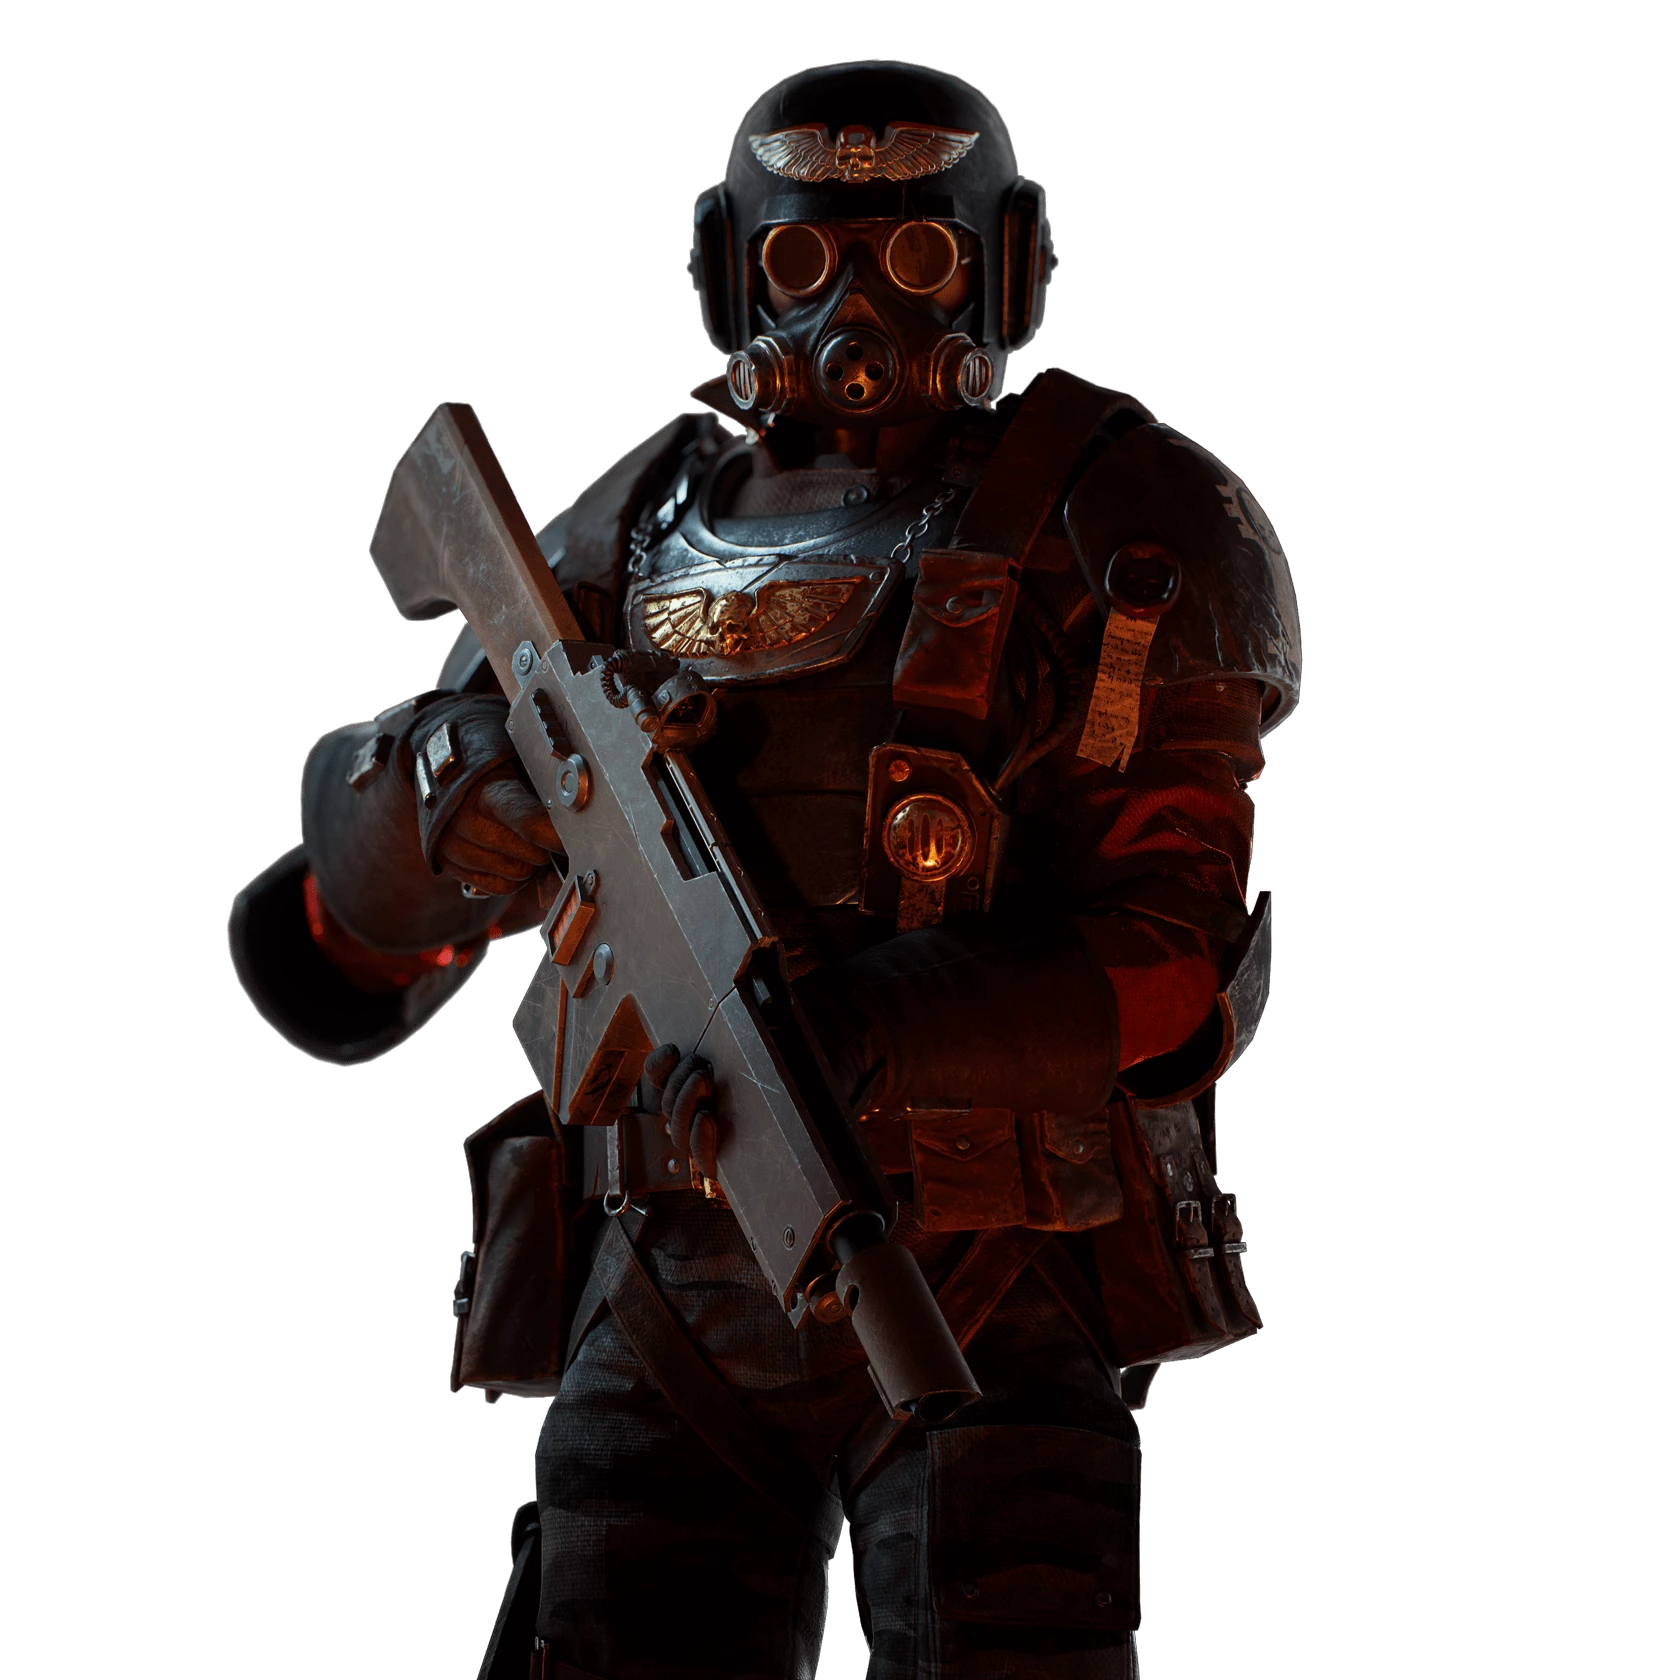
Veteran Build - Warhammer 40k: Darktide
Canary's 'Executioner Boltgun' Focus
Veteran Build - Warhammer 40k: Darktide
Class
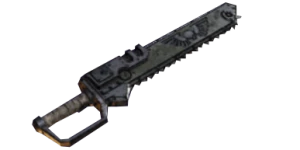
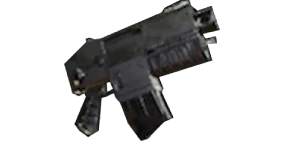
Weapons


Savage Sweep
Hitting at least 3 enemies with an attack, increases your cleave by +200% for 3 seconds.
Rampage
Hitting at least 3 enemies with an attack, increases your damage by +36% for 3.5 seconds.

Puncture
Ranged hits add 4 stacks of bleed to enemies.
Shattering Impact
Target receives 4 Stacks of 2.5% Brittleness on direct projectile hit. Debuff lasts for 5 seconds and can have a maximum of 16 stacks.
Curios

+13-17% Toughness
+13-17% Toughness
+13-17% Toughness
Talent Tree
Description
A build made because I wanted to see just how much damage a boltgun could do, so naturally needed to use Executioners Stance to see. Couldn't quite fit fully loaded/the elite damage past it, but without some form of reload speed, the boltgun can feel quite bad, and since you're always killing at least one special/elite per clip, getting that reload speed is super helpful (And I wanted to do something at least a little different than One Motion/Tactical Reload since you don't need the One Motion part at all with strategic use of your CA). So I take the ammo hit utility, and pretend Long Shot will help me make up the difference. One can decide to do the opposite though (take the stamina then take ammo and elite damage), but you get 1 bullet per survivalist proc either way regardless so it's just a matter on if you want to start the mission with an extra clip and half or not.
Beyond that, just Executioner stance and blow any special and Ogy away, ADS'ing most of the time for ammo conservation and hitting weakspots unless you just need to do a full dump against a wave or monstrosity coming at you. Your Chainsword is a very good back up though, able to clean out anything with a chainsaw hit that's a rager or below, even with 60% shredder, and stringing it's heavy swings together clears out waves while your shredders are 'on cooldown'. Also do your best to not get hit/sit behind your team to keep Catch a Breath up for your toughness regen.
Focus target for bonus damage to melt monstrosities that much better, otherwise, just boltgun everything and splatter it all. Also since Executioner Stance instantly pulls out your weapon and you get it like ALL the time since you're just nuking specials/elites with this build left and right as that's your main point, I ended up not going right side after using it for a bit. Since you're only ever pulling it out to deal with a specialist or Elite, you always have the 'Volley Adept' proced whenever you reload, so you don't miss tactical reload. Only thing you do miss is the movement speed pip, but this is a 'slow and steady' build, so it ends up working just fine. Close Quarters Killzone is for the Monstrosity Melts on top of the rare moments you fully run out of ammo and just need 10 seconds of melee killing potential, mainly just the best option to go for that gets me to the +25 toughness. If you can think you can live without it, you can dump that entire side for even MORE damage, but I find I need the extra affordance of Iron Will toughness to keep me going more than the damage and ammo. To each their own though.
Other builds by MixedLetters


Adora's 'One Hit' Invis Martyr T-Hammer
By MixedLetters • Updated 7 months ago
Price's 'Martyr Relic Blade' Chorus
By MixedLetters • Updated 1 year ago


SmallieBig's 'Indomitable Spam' Kickback Pickaxe BLO
By MixedLetters • Updated 1 year ago

Gandalf's 'Unlimited Powerrrrr' Empowered Smite Electro Scriers
By MixedLetters • Updated 1 year ago