Table of Contents

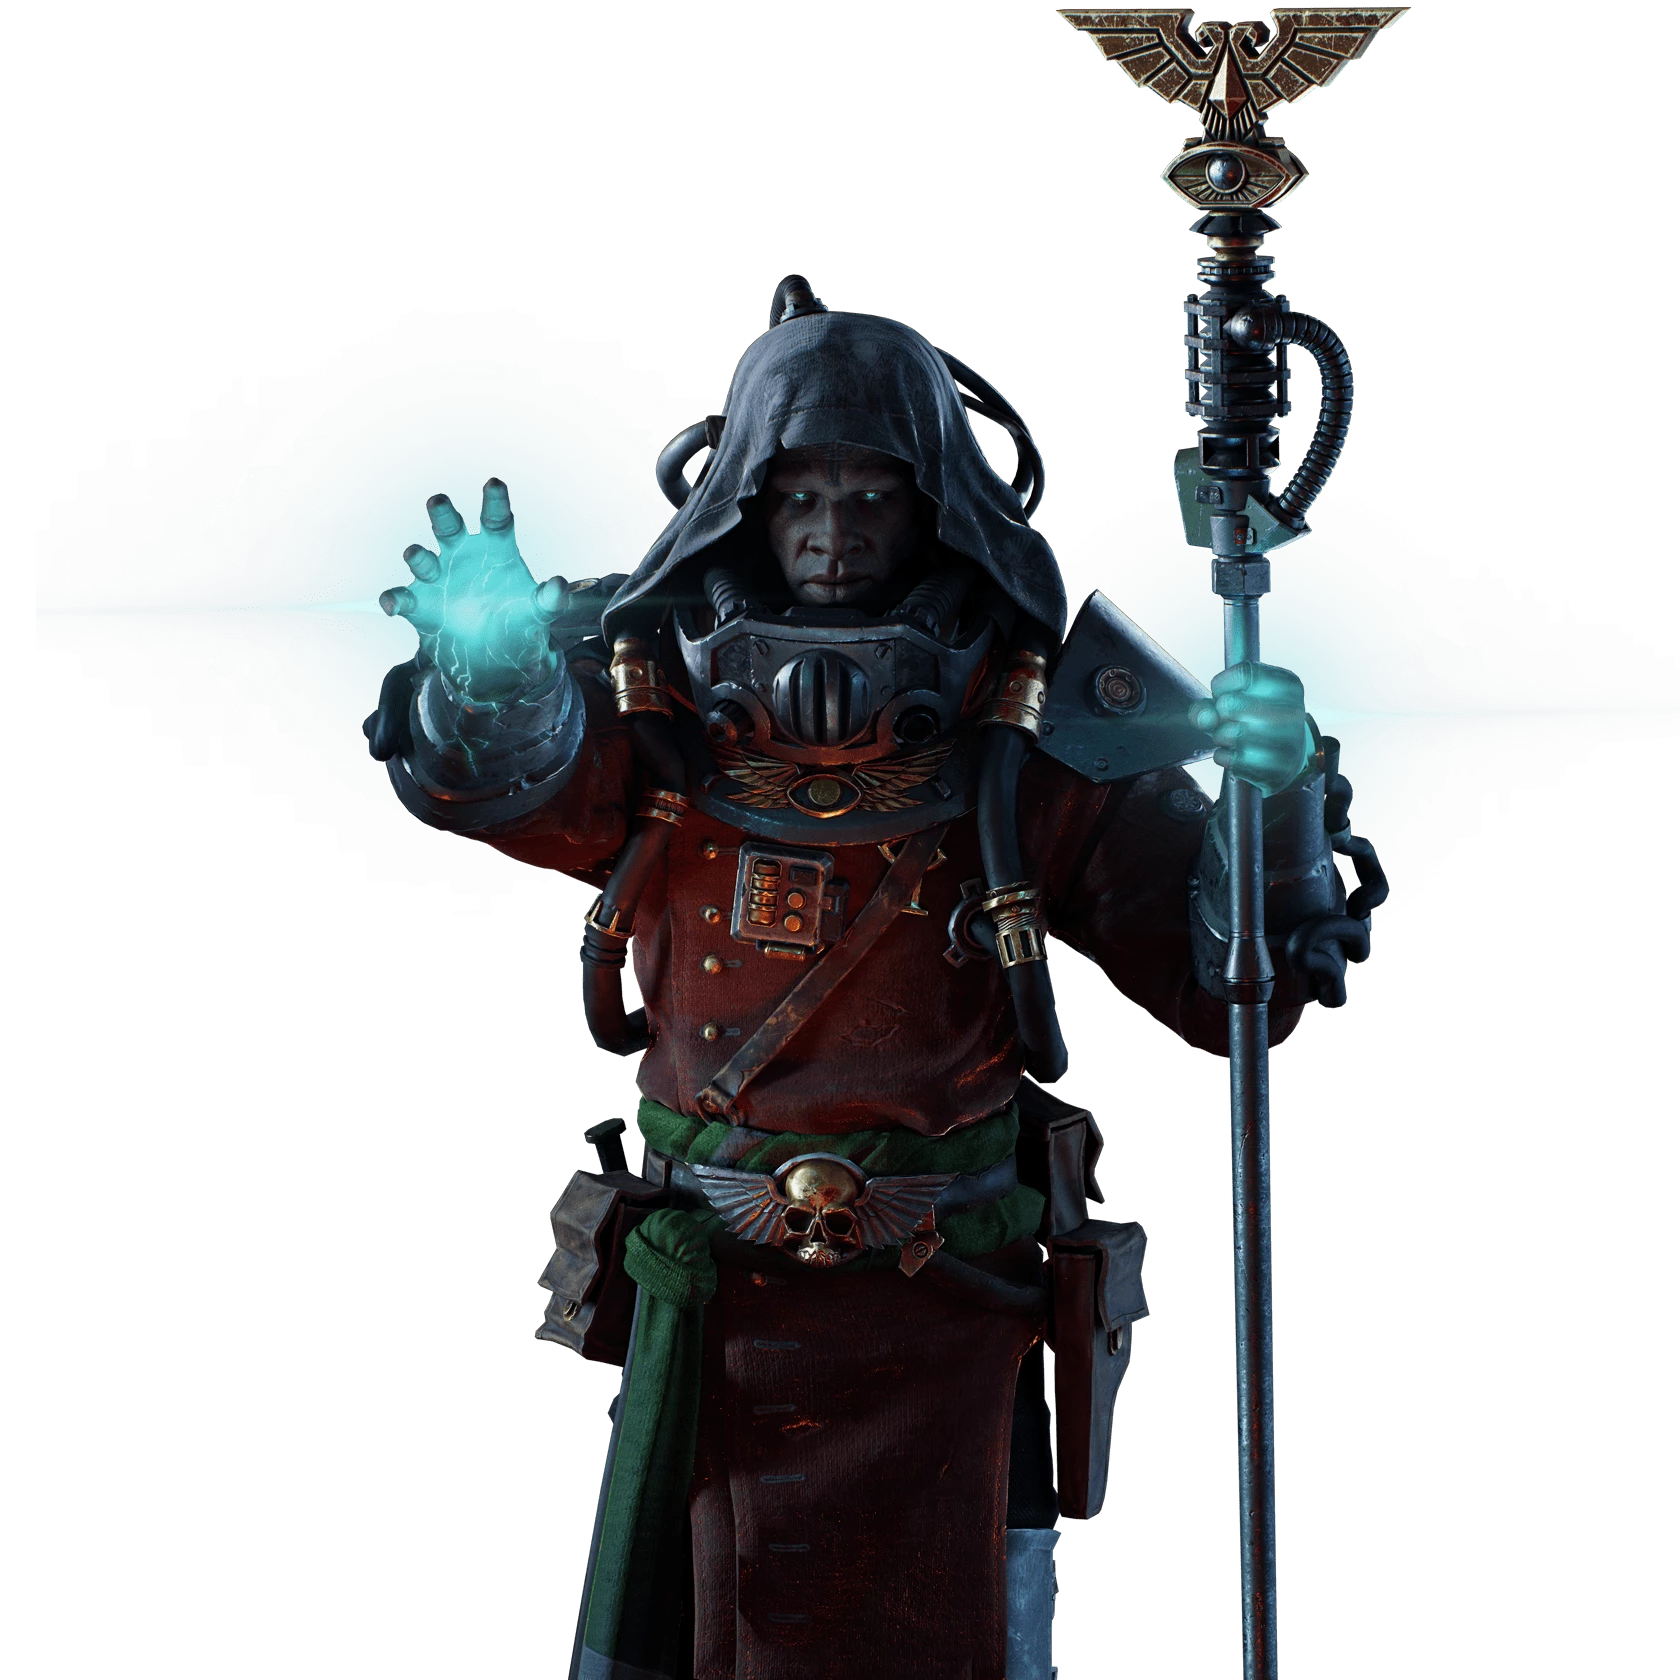
Class
Weapons


Wrath
+40% Cleave on Hit. Stacks 5 times.
Riposte
+20% Critical Chance for 6s on successful Dodge.

Dumdum
+6% Close Range damage on Repeated Hit. Stacks 5 times.
Infernus
4 Burn Stack(s) on Critical Hit to a maximum of 12 Stack(s).
Curios

+13-17% Toughness
+13-17% Toughness
+13-17% Toughness
Talent Tree
Description
TIRED OF SWINGING A MODERATELY SIZED STICK AROUND? TRY SWINGING A GIANT, SHARP STICK AROUND! MELEE PSYKER IS THE MOST EXHILIRATING WAY TO PLAY PSYKER.
This build assumes you are competent in melee and want a fast and aggressive playstyle to Psyker. You WILL run at the enemies with this build. And you WILL stay at maximum peril for maximum damage. No hiding behind bubbles. No spamming flame geysers or implosions (though they are very cool). Just classic high speed violence.
/// CRITICAL FOR SUCCESS ///
Disrupt Destiny , Scrier's Gaze , AND Malefic Momentum ARE ALL HUGE BONUSES TO DAMAGE; KILL THEM BEFORE THEY KILL YOU!!
- HEADSHOT THE GLOWY BLUE GUYS.
- ALWAYS BE ULTING.
- ALWAYS THROW A FEW ASSAIL SHARDS TO KEEP MALEFIC MOMENTUM GOING.
- AIM FOR THE HEAD-- ALWAYS!
/// COMBOS ///
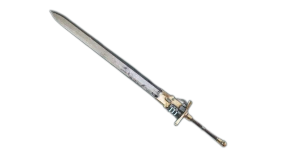
The Covenant Mk VI Blaze Force Greatsword is one of the smoothest, and most fun weapons to learn. Below are just some basic combos to keep in mind whilst playing.
/// SINGLE TARGET ///
(...) > H2: Heavy 2, or the POKE, is your hardest hitting single target move. There are multiple ways to transition to it, some of which are listed below.
- L1 > H2: Sweep into POKE, quick an easy way to ready a POKE ASAP.
- H1 > H2 (Repeat): Overhead into POKE, looping combo that does good damage.
- SPECIAL > H2: Wave Slash into POKE, use in tandem with a charged sword, this will clear the horde and let you poke any stragglers that are wounded by the wave slash.
H1 > H2 (Repeat): This combo is pretty simple. It alternates between the overhead and the poke. The poke does SIGNIFICANTLY more damage, so make sure you land those.
H1 > L4 (Repeat): This is the heavy overhead, followed by a light overhead. It's very quick, and amazing for packs of mid-armor elites. It also gives you the option to bridge into the poke if you need it.
Experiment with the H1, H2, and L4. They all weave very nicely together, and you will always have the choice between a fast single target attack, or an extremely hard hitting one. Both H1 and H2 chain into L4. L4 chains into H1, which can loop or chain into an H2. See where I'm going with this? It all loops into itself. If you can't feel it through text, try it in the Psykhanium.
/// HORDE CLEAR ///
L1 > L2 > L3 > H3 (Repeat): Fairly standard horde clearing combo, one of the only ways to perform H3. Note that H3 chains into H1, meaning you can immediately transitioning to dealing single target damage if necessary.
Push > L3 > H3: A light attack performed after any push will be a perfectly horizontal cleave, that instantly bridges into H3. This is a great combo to weave in between to pad out the horde if there's too many to cleave, and it transitions nicely into the previous combo.
SPECIAL: Kill enemies in melee to collect souls (souls vary based on enemy type). After 10 souls, your sword becomes empowered. At 20 souls, it becomes even more empowered, and it's time to cash in your reward. The special will create a huge wave slash that deletes trash mobs and wounds/staggers elites. Note that the physical slash and the wave do separate instances of damage. I like to point-blank Ragers, which often kills them outright. If they don't die to the wave, they are staggered and open for a quick slapping. (Use H1 > L4 to quickly clean up).
/// NOTES ///
1. ALWAYS BE CASTING! Scrier's Gaze and Warp Unbound should have near 100% uptime. You should never have to worry about overloading, just be worried about killing. Make sure to land melee weakspot kills to maximize Scrier's Gaze.
2. Peril Management! This build has incredibly easy peril management, it sort of does it for you. If you're meleeing weak hordes, you're likely going to be at low peril due to By Crack of Bone. However, during the more intense fights where you aren't killing as often, you should reach max peril pretty consistently. Warp Unbound is also there as a buffer to let you cast Assails or Wave Slashes at max peril without blowing yourself up.
3. Weave assails constantly! Every few melee swings, you should throw out 2-3 assail shards to get stacks of Malefic Momentum and maintain high peril. Treat it like an extended melee attack with extreme stagger.
4. Assail shards are a defensive tool as well! Use your assail shards to stagger things like Ragers, Gunners, Reapers, Flamers and Hounds. You can stagger them briefly with an Assail and finish them off with your sword.
5. Use your gun! Aim for the head. Empathic Evasion paired with your atrociously high crit chance means you can stare down Gunners and get away with it, this means you can use it to retreat from overwhelming fire safely, or aggressively approach shooters. Your gun has plenty of ammo, snipe HVTs and don't be afraid to use it for counterfire. It also does a deceptively large amount of damage. It is also your main source of damage for dealing with bosses. Don't forget to stack Malefic Momentum before you magdump a boss!
/// FAQ /// (rather, questions my friends asked me)
1. Why Assail?
Assail is a wonderful multitool that allows you to keep high peril and trigger Malefic Momentum. It also enables you to close the gap, stagger anything wearing less than carapace, and trigger multiple talents on a whim. I generally use it to stagger gunners, reapers, ragers, flamers, and dogs that are just out of reach, so I can poke them with my sword with less risk.
2. Why Warp Speed?
So you can get to your enemies faster and hit them with your sword. Honestly, mainly for fun. The movement speed is very nice to have as you get a lot more choice in the fights you engage, but I don't believe it's necessary since you already get insane movespeed bonuses from Disrupt Destiny and Mettle. The 20% movement speed also loses value at high havocs because of how restrictive movement can be, and you should not be rushing away from your team in havoc, in which case it might be more beneficial to replace it with a defensive node like Just a Dream.
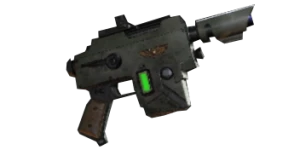
3. Why Heavy Laspistol?
You run fast with it, hold this thing out while you're moving around the map. Also, it is a pocket sniper akin to the revolver, but is also capable of taking down bosses and performing counterfire against basic shooters. It has generous amount of ammo, high damage per shot, and an amazing movespeed bonus.
4. Why Perfectionism?
Disrupt Destiny has come such a long way since its release, the reworks to targeting has greatly improved the rate in which targets appear. It's relatively low effort to keep max stacks assuming you're playing mid-high difficulty. Perfectionism is the no brainer choice assuming you can hit headshots with your sword and your gun to get the max benefits of Cruel Fortune.