
Table of Contents
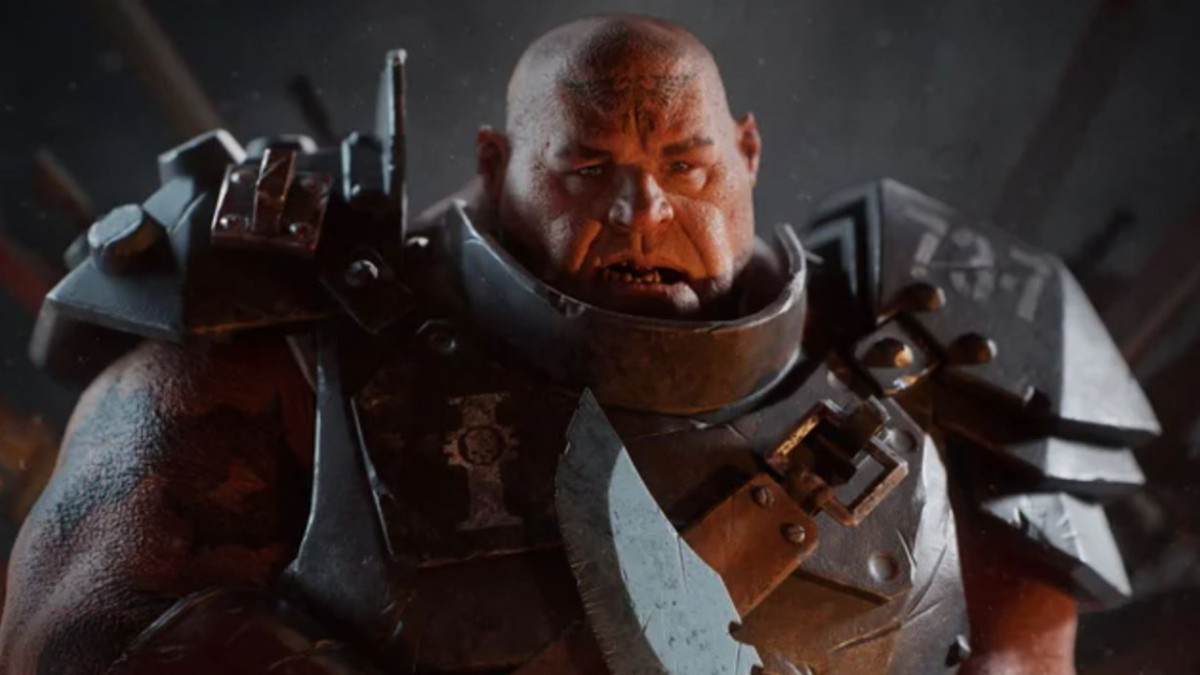
Ogryn Build - Warhammer 40k: Darktide
Shovel Bruiser: Stunner
Ogryn Build - Warhammer 40k: Darktide
Class

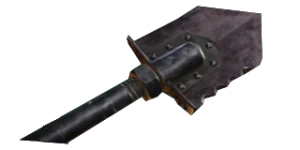
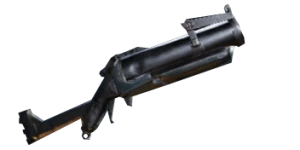
Weapons


Thunderous
Hitting an enemy gives them 4 stacks of +2.5% Brittleness. Debuff lasts for 5 seconds and can have a maximum of 16 stacks.
Skullcrusher
Target receives 4 Stack(s) of +10% Damage if already Staggered. Lasts 5s.

Adhesive Charge
Your Grenades stick to Ogryns and Monstrosities. +15% Damage vs Ogryns and Monstrosities
Shattering Impact
Target receives 4 Stacks of 2.5% Brittleness on direct projectile hit. Debuff lasts for 5 seconds and can have a maximum of 16 stacks.
Curios

+17-21% Max Health
+17-21% Max Health
+17-21% Max Health
Talent Tree
Description
Using this build you can permanently stunlock anything except Mutants. There are some timing requirements to doing this, and some are easier to do than others. But I've devised some combos that greatly improve consistency...
The Combos:
Scab Captain - Heavy > Heavy > Repeat. Yep, nothin' fancy here. Once his Shield is broken you don't even need to Punch to stagger him. And while Shielded he's completely immune to stagger so don't bother Punchin' then either. Just keep spamming.
That said, I do have an actually useful useful tip against Captains; All Ogryn melee weapons have enough range to completely avoid most of their swings while still landing attacks easily, Shovel and Club especially. Just watch out for the Crusher Captain's running overhead. And if you're not using Shovel/Club, the Sword Captain's big horizontal swing may also reach you.
Demonhost - Heavy > Punch > Repeat until dead. She staggers easily but recovers fast so don't try getting fancy with with this one, she will punish you for it. She dies fast anyway.
Plague Ogryn - Heavy > Heavy > Light > Punch. They will often begin an attack animation right before the Punch connects, but don't let it spook you. As long as you stand your ground and land the Punch they won't get the attack off. Just Charge in, hug their face and pummel it.
Spawn of Chaos - Heavy > Punch > Repeat. You can use this combo 100-0 a Spawn, but it requires adjusting your Punch timing on the fly; delaying the Punch as you get high Heavy Hitter stacks. I find it easier to just transition to a longer and higher damage combo after a couple of rounds of the first. Easier, and hurts more. And you even get options; Heavy > Heavy > Punch or Light > Heavy > Punch.
It's also possible to one-shot Chaos Spawn if you catch them mid-leap with a Charge, or even a Punch. Dogs too.
Beast of Nurgle - Heavy > Heavy > Light > Punch. This is where it gets difficult. I've only managed to truly stunluck a Beast a few times. It's very tricky to pull off, and frankly not worth trying most of the time, especially since they're so easy to kill with ranged. But if you like to live dangerously, or just have a vore fetish...
Begin the fight with a Charge, immediately after dodging the first Puke. Be warned tho, Puke has a deceptively wide range; it seems cone shaped even tho the visual is not. Once your Charge connects immediately start to move behind the Beast to get to that juicy Weakspot, charging up your first Heavy attack while you go. In order to stunlock a Beast you must consistently land weakspot Punches, and thats not easy. Beasts are wiggly boys with a large hitbox that often gets in the way. To improve your accuracy it is best to not stand inside the beast. Ideally you want to be back by the tail, standing at one side of it, at nearly max range for the Punch. Be ready to lose control, because if you do it'll begin quickly spinning around to get you. Sometimes you can retake control but you gotta react fast, turning with the Beast spamming Punches into its gooey center while you two to play Catch the Tail. And if he does manage to tag you with some vomit just GTFO immediately or you will almost certainly be swallowed. It can be quite hard to tell you've caught by a bit of Puke when you're this close too, so pay attention while you spin. Dropping a Box, Nuke or another Charge if its off cooldown can also help a lot in regaining control. May the Emperor protect you if you attempt this.
Optionals:
Ranged Weapons - Any Ranged weapon will work great here. Shovel is so versatile, you don't need to pick around it. Grab your favorite gun and go.
Grenades - Any grenade option can also work, but you will lose either Soften Them Up, which is a great team-wide damage bonus or Slam which helps a lot with the stunlock consistency and may even be required in some instances.
Charge - You can go with either Pulverize, Trample, or neither. However Pulverize has amazing synergy with Thunderous and Skullcrusher. The Bleed ticks will stack both debuffs as long as the weapon is in-hand. Using this you can take Damnation Crushers to 50% HP just by charging through them. Skipping out on it is a mistake, imo.
Other Talents - You can easily swap around other talents around if you'd like; Smash 'Em! and The Best Defence for example. I love the consistency of having both, but its definitely not necessary. The only talents that help with Stunlocking bosses are Heavy Hitter and co, Dominate, Indomitable, and Slam. Everything else is optional. And if you don't mind creating your own combos most of that is probably optional too.