
Table of Contents
Anti-Special
Anti-Boss
Melee
Bonk Survivalist
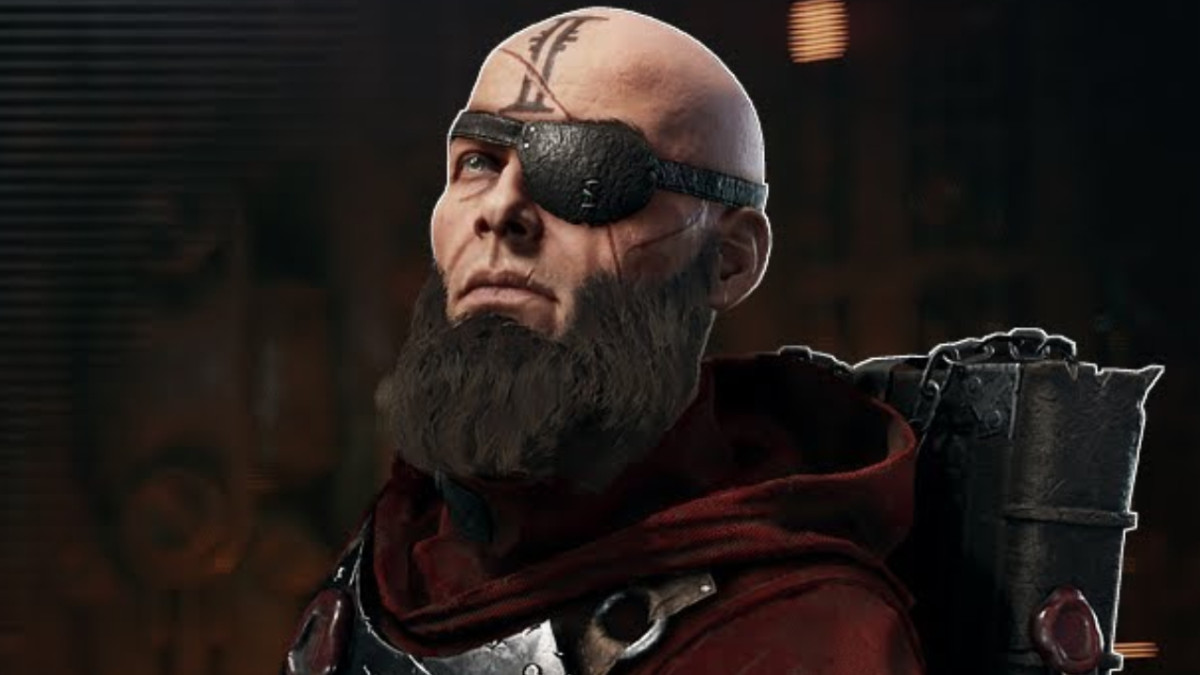
Zealot Build - Warhammer 40k: Darktide
Zealot Build - Warhammer 40k: Darktide
Bonk Survivalist
Zealot Build - Warhammer 40k: Darktide
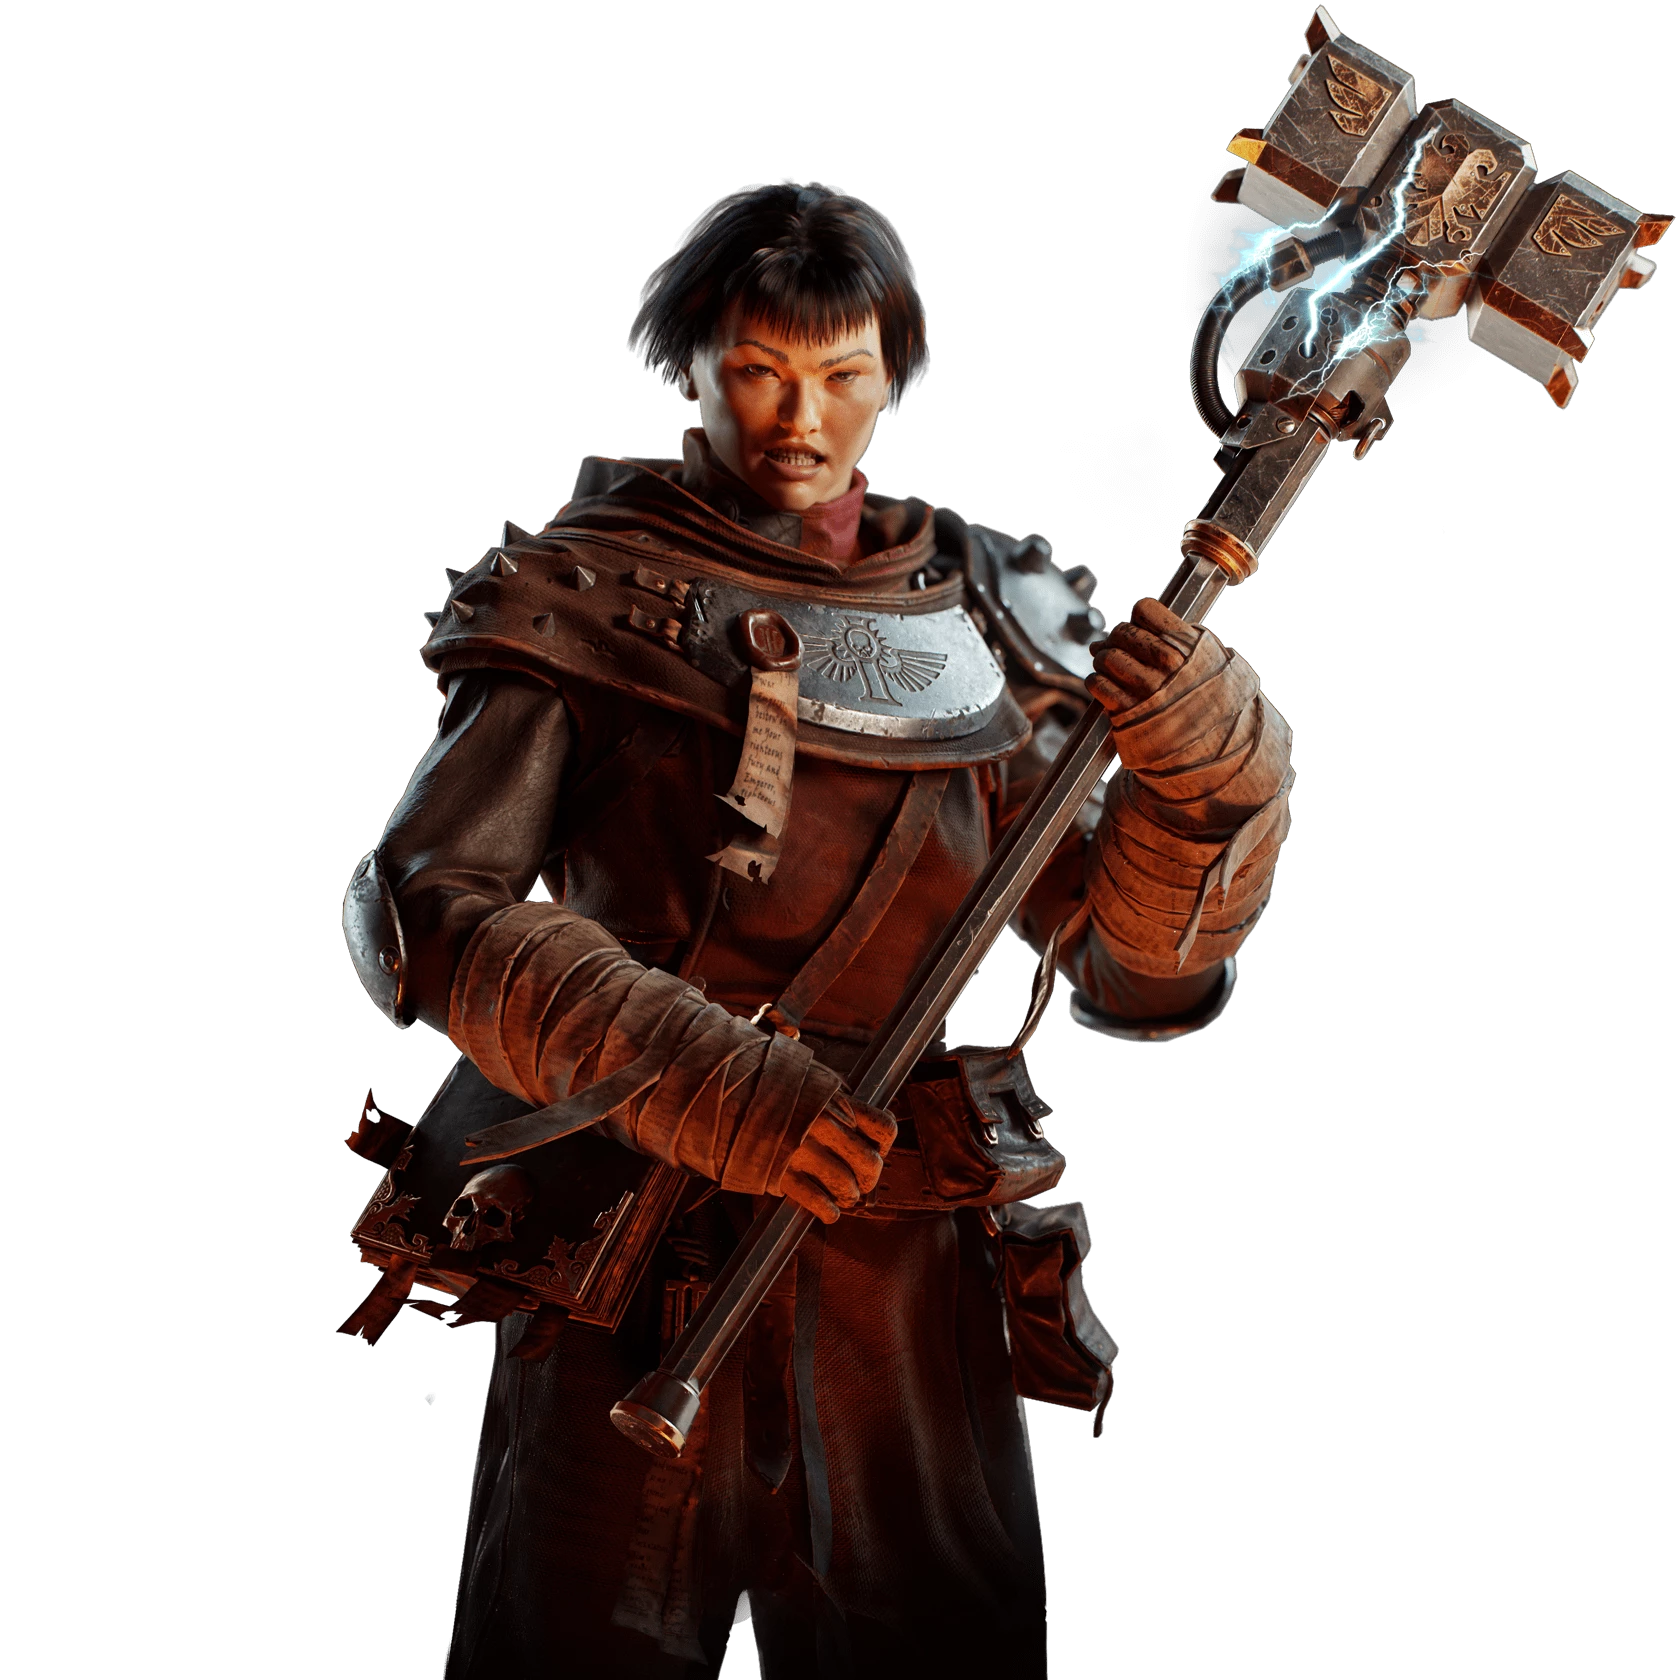
Class
Weapons

Crucis Mk II Thunder Hammer
Transcendant


10-25% Damage (Unyielding Enemies)
4-10% Melee Critical Hit Damage
Headtaker
+5% Strength for 3.5s on Hit. Stacks 5 times.
Thrust
Up to +20% Strength based on the charge time of your heavy attacks. Stacks 3 times.

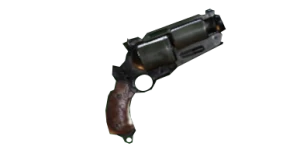
Zarona Mk IIa Quickdraw Stub Revolver
Transcendant
10-25% Damage (Maniacs)
4-10% Ranged Damage (Elites)
Hand-Cannon
+60% Rending on Critical Hit.
Surgical
+10% Critical Chance for every 0.3 second while aiming. Stacks 10 times. Discharges all stacks upon firing.
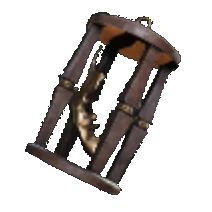
Curios
Blessed Bullet
Transcendant

+17-21% Max Health
+2-5% Health
+4-10% Revive Speed (Ally)
+7.5-30% Toughness Regeneration Speed
Gilded Mandible
Transcendant
+17-21% Max Health
+2-5% Health
+4-10% Revive Speed (Ally)
+7.5-30% Toughness Regeneration Speed
Guardian Nocturnus
Transcendant
+17-21% Max Health
+2-5% Health
+4-10% Revive Speed (Ally)
+7.5-30% Toughness Regeneration Speed
This build was last updated before the Bound by Duty patch, the talent tree may be incorrect or broken.
Talent Tree
Description
One Hit Beast of Nurgle
- Wait until it is either vomitting or eating someone for an easier hit.
- Activate Shroudfield.
- Powered heavy to the back (Weakspot).
- Minimum charge level: 0 Thrust Stacks
One Hit Chaos Spawn
- Activate Shroudfield.
- Powered heavy to the back.
- Minimum charge level: 3 Thrust Stacks
- Minimum Headtaker Stacks: 3 Stacks
- Can be one hit with 0 Headtaker stacks and 2 Thrust stacks if the Weakspot is hit from the back, however this is quite unreliable. Recommended to normally hit the Chaos Spawn three times to build Headtaker stacks, then perform a Shrouded powered hit to its back (fully charged).
One Hit Plague Ogryn
- If it is targeting you, activating Shroudfield will cause it to turn its back to you for a few seconds.
- Activate Shroudfield.
- Powered heavy to the back (Weakspot).
- Minimum charge level: 3 Thrust Stacks
- Minimum Headtaker stacks: 1 Stack
- Hitting the weakspot from behind can be tricky, but is much more reliable than its Chaos Spawn counterpart; aim for the middle of its "chimney", and avoid being too close to it.
One Hit Scab Captain
- Melee the Shield to build Headtaker stacks.
- Activate Shroudfield when the Shield breaks.
- Powered heavy to the back (Weakspot).
- Minimum charge level: 3 Thrust Stacks
- Minimum Headtaker stacks: 5 Stacks
- For an easier hit, throw some fire grenades to prevent lesser enemies from blocking it.