Table of Contents
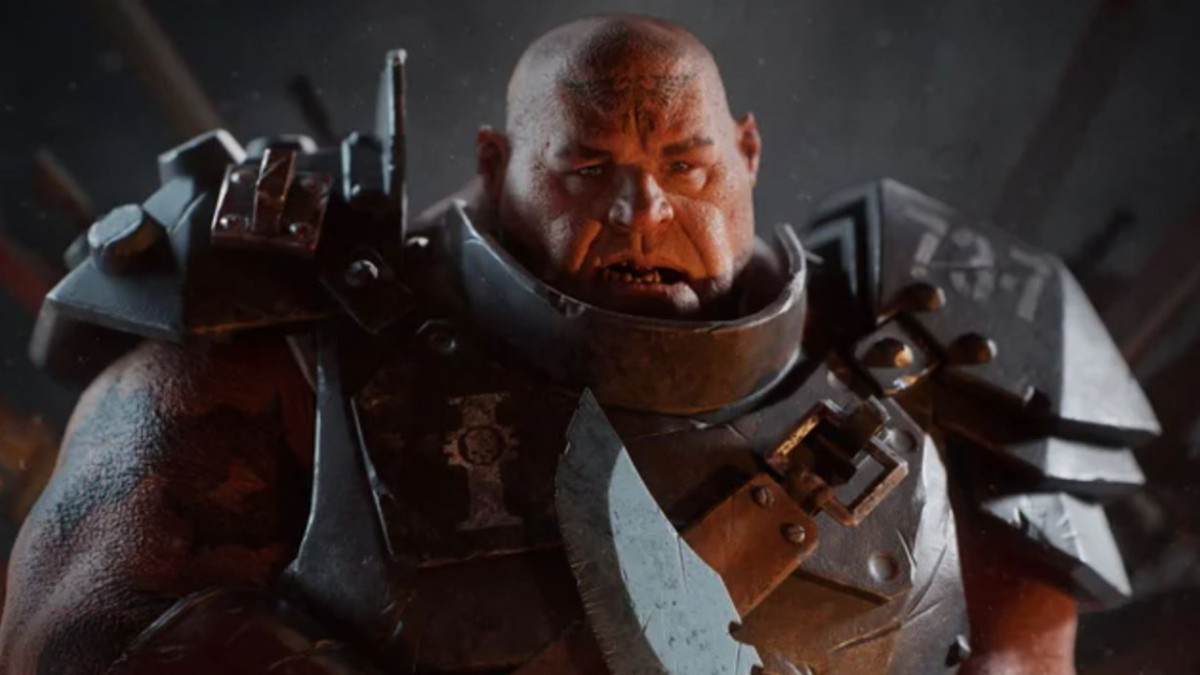
Ogryn Build - Warhammer 40k: Darktide
Shield - Sniveler Stomper
Ogryn Build - Warhammer 40k: Darktide
Class

Weapons


Brutal Momentum
+15% Weak Spot Damage. Weakspot Kills also ignore Enemy Hit Mass.
Skullcrusher
Target receives 4 Stack(s) of +10% Damage if already Staggered. Lasts 5s.

Pinpointing target
+8% Strength every 0.4 seconds while aiming, stacking 5 times. Discharges all stacks upon firing.
Gloryhunter
+35% Toughness on Elite Kill.
Curios

+17-21% Max Health
+13-17% Toughness
+13-17% Toughness
Talent Tree
Description
"I 'ate snivelers, sah. What? No I don't EAT em, not anymores at least."
Basics:
- Easy Ogryn build to use at a high level and strong high havoc setup
- Shield deals with all enemies. Heavy Hitter allows you to contribute massive damage while still being safe if overwhelmed.
- Brutal Momentum ensures that more enemies get hit by each heavy attack, causing more bleeding
- Heavy 1 and Push attacks are great against elite enemies.
- Shield synergizes surprisingly well with attack speed increases from bottom left. It has long attack animations that get shortened by attack speed buffs and fairly short delays and windups between heavy attacks.
- Rocks or Grenade Gauntlet will handle gunners and specialists with ease.
- Rumbler, Gauntlet, Box, or Nuke are for surviving FUBAR situations.
Slab Shield
Dump stat is Defenses or Cleave Damage, depending on preference. Dumping Cleave Damage is usually fine because of Brutal Momentum, but you won't always hit headshots, won't always kill when bigger enemies are mixed in, and the stat also helps when you surpass Brutal Momentum's 4 kill limit. Basically, dump Defenses unless you really like having a little extra dodge distance and slightly longer sprint.
Brutal Momentum is the core blessing. The second blessing you can use either Skullcrusher or Opportunist, they're functionally similar. Skullcrusher at max stacks (8) contributes slightly more damage against a staggered enemy and benefits your team, but you have to hit that enemy multiple times to make much use of the bonus yourself. Opportunist takes effect no matter who staggered them or how, meaning you don't have to hit an enemy 2 times to get the full bonus, but doesn't help the team.
+Maniac is still useful on the Shield, but most of the time you will fare better by whipping out your ranged or rock to deal with specialists.
Combos:
Heavy 1 + block cancel (briefly tap block to reset the combo): your offensive bread and butter combo. Useful in pretty much every situation. Heavy 1 does much higher damage than Heavy 2 and will more often get the 1-shot on most trash, leading to much higher damage on average than chaining the full heavy combo.
Heavy 1 + Push attack: your basic defensive and support combo. Use when there's a big ball of Elites so you can apply Brittleness to the group and watch them melt from an Inferno Psyker. Also a useful combo if you need to apply taunt to enemies, need to knock things down, or notice an attack coming. You will block attacks for the first part of the push attack animation.
Heavy Chain: use if trash enemies have you surrounded on all sides or if you expect to take damage soon and need bleeding enemies around for damage resistance. Note that Heavy 2 throws enemies around quite a bit so make sure they are taunted or killed quickly before they sneak past and hit a teammate or you in the back.
Heavy 1 + Light Light: use if something barely survived the heavy attack. Often used to finish off a Mutie.
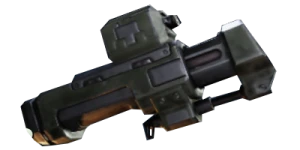
Kickback + Rocks
Kickback strong. Blaze Away + your choice of Inspiring Barrage, Run n' Gun, or Surgical. Keep in mind that Blaze Away is the #1 thing that makes Kickback strong and you'll often lose your heavy hitter stacks while spamming ranged. Run n' Gun is great at close range, but keep in mind the downside of being more accurate is that at long range accuracy is actually a downside against large groups due to the minimum pellet count mechanic.
Rumbler + Rocks
The rumbler's main purpose is for complete chaos situations that would normally call for a nuke to stagger enemies and kill trash. Rocks are helpful to conserve ammo with it. I recommend using Blaze Away and Blast Zone, and simply using your ammo pool as a panic button. The only other good blessing is Adhesive Charge since it lets you 1-shot Reapers slightly more reliably and do better damage against monstrosities, but there's nothing to combo it with that is more valuable than the other combo (bleed AoE is okay) and you really should save your ammo outside of panic mode anyway.
Outside of FUBAR stagger power, use it to take out poxbursters, trappers, and possibly gunners (if you have heavy hitter stacks up) to conserve rocks.
Grenade Gauntlet + Nuke/Box
Don't think of Grenade Gauntlet as a grenade launcher or a crusher killer. Think of Grenade Gauntlet as a reloadable rock. With Maniac, Flak, and Pinpointing Target, you can reliably 1-shot flamers, trappers, bombers, gunners, and snipers with it at up to 40 meters and 2-shot Reapers. You'll need 1 stack of pinpointing target and +Maniac to 1-shot flamers. Note: in higher Havoc, you stop meeting 1-shot breakpoints and need more stacks of Pinpointing Target and/or other buffs to 1-shot flamers and gunners. In this case Rock becomes very useful to take out Muties and Flamers while Gauntlet handles everything else.
The second blessing doesn't really matter, Explosive Offensive is almost okay but I go with Gloryhunter. 35% toughness on Elite Kill is really nice when you've got 6 gunners shooting at you.
Havoc Strategy
This build primarily plays a Frontline Role. As Frontliner, your job is to create space for the team to operate in. If the Veteran has Melee Elites on them, they can't do their job of killing the bombers, flamers, and trappers that will ruin your day. If the Hive Scum or Stealth Zealot has a pack of Maulers on them, they can't optimize their damage output. If the Psyker is getting attacked from multiple angles, the team gets overwhelmed. However, this doesn't mean that you're just tanking. By utilizing dodge and stagger effectively, you should be able to deal very high damage while keeping most of the aggro.
Against shooters: Taunt by blocking. Use shield special if you expect to block for longer than a second. Beware it takes longer to start blocking with the Special than if you just press block, sliding while starting the special can counteract this. Shooters will always target the closest enemy, so you need to be in front of the team in order to taunt any of them. If you have a dome psyker, you can help the dome stay alive much longer in some situations by moving just in front of it and taunting all the regular shooters. But you shouldn't generally do this against Gunners and Reapers. You'll be more helpful if you sit inside the dome and suppress (and kill) them with your ranged or take them out with rocks. If there's no dome, gunners will try to blaze you down; you can either keep the shield special up and hope your team kills them, or if they're close by slide forward and use shield special in between slides, then slide into them again with a Heavy attack. You can also fire a shot to suppress/knock down a few then slide in.
Kickback and Gauntlet are my ranged recommendations for havoc.
Captains
When fighting Captains (assassination targets, show up frequently in Havoc), you need to balance holding the captain's aggro with avoiding damage. Captains are tricky because their attacks come very quickly in chains that are hard to effectively dodge without blocking.
- Use light attacks against the shield; it can only lose ~6% of its HP per attack and bleed can't affect it.
- Use heavy attacks when the shield breaks to stack bleed.
- Save taunt for if you need to restore toughness or if the Captain suddenly switches aggro to a teammate. He can switch mid-attack and deal massive damage to your allies.
- Keep your back to a wall if possible. Don't move circles around the Captain, because his attacks will go through you and hit unsuspecting teammates that you moved into.
- If there's a Thunderhammer Zealot on the team, wait for them to attack when the Shield goes down.