Table of Contents

Class
Weapons


Exorcist
Quell +5% of Peril on Repeated Weak Spot Hit.
Executor
+6% Strength on Repeated Weak Spot Hit. Stacks 5 times.

Surge
2 Shots on Primary Critical Hit. +5% Ranged Crit Chance.
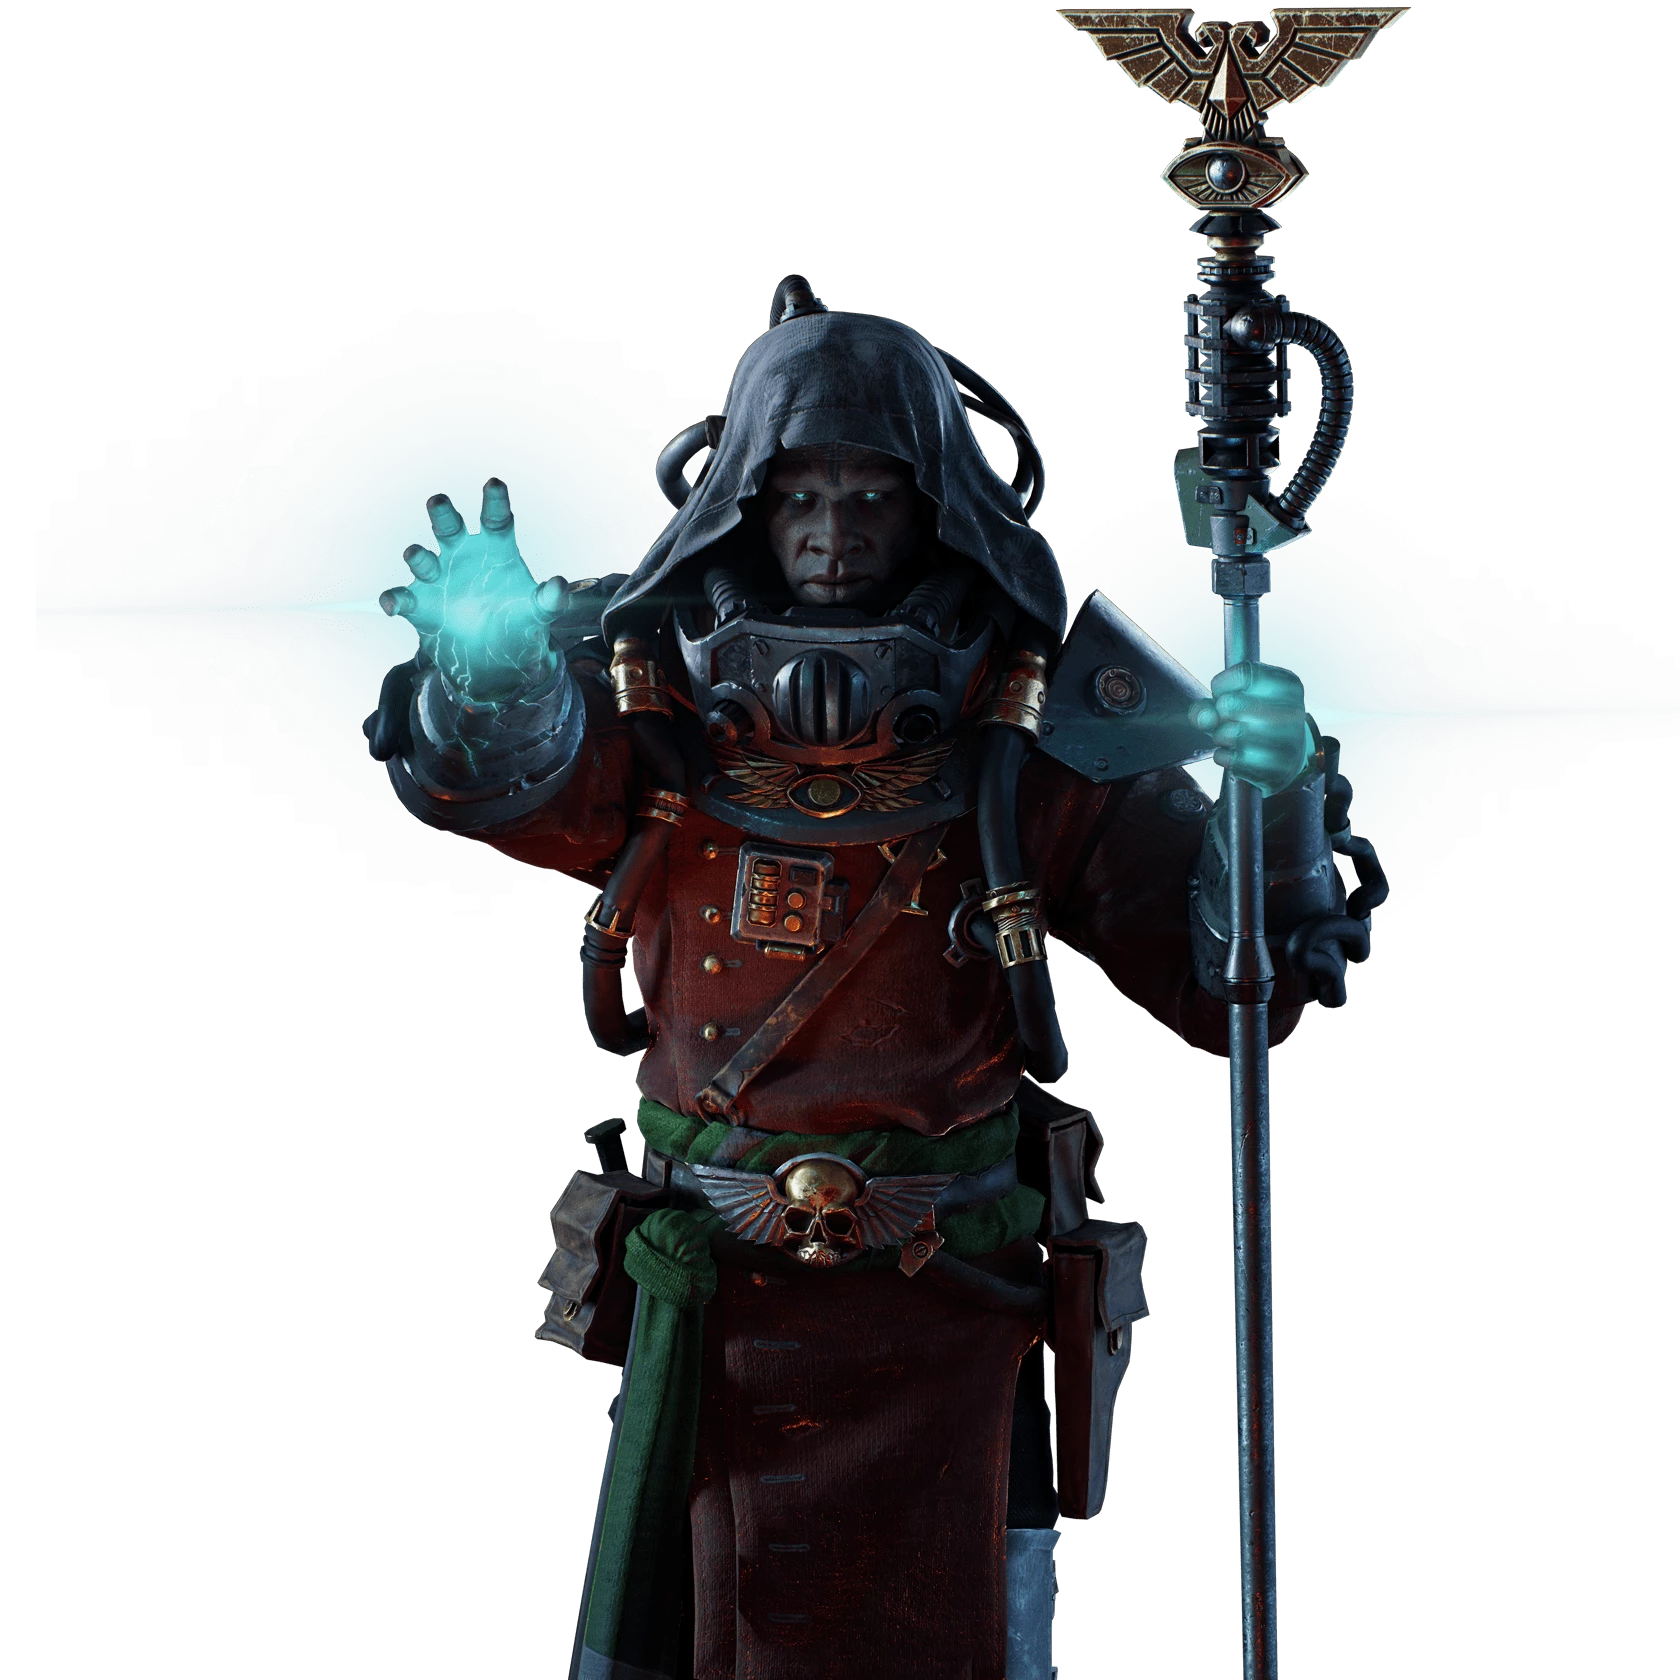
Warp Nexus
Gain between 5% and 20% Critical Chance based on current level of peril.
Curios

+17-21% Max Health
+13-17% Toughness
+13-17% Toughness
Talent Tree
Description
My go to Havoc 40 build. I recommend downloading the `FullAuto` mod so you don't mess up your hand using the primary fire of the staff.
Another similar build with a much higher skill ceiling I highly recommend is Rat's Trauma Psyker build:
https://darktide.gameslantern.com/builds/9df8cf62-74bb-407a-b6ab-b942ad63597d/the-best-psyker-build-rats-trauma-psyker
In a game mode where the most dangerous thing is a trash mob shooter that can melt you in seconds, having someone hard counter that specific enemy type with their build is essential to the survival of the team. The way a Psyker can easily do this is with bubble shield, which makes a nearly impossible game mode somewhat manageable. The talent nodes Psykinetic's Aura, Seer's Presence, and all of the keystone nodes associated with Warp Siphon all help to maximize the uptime of our bubble shield.
RANGED WEAPON
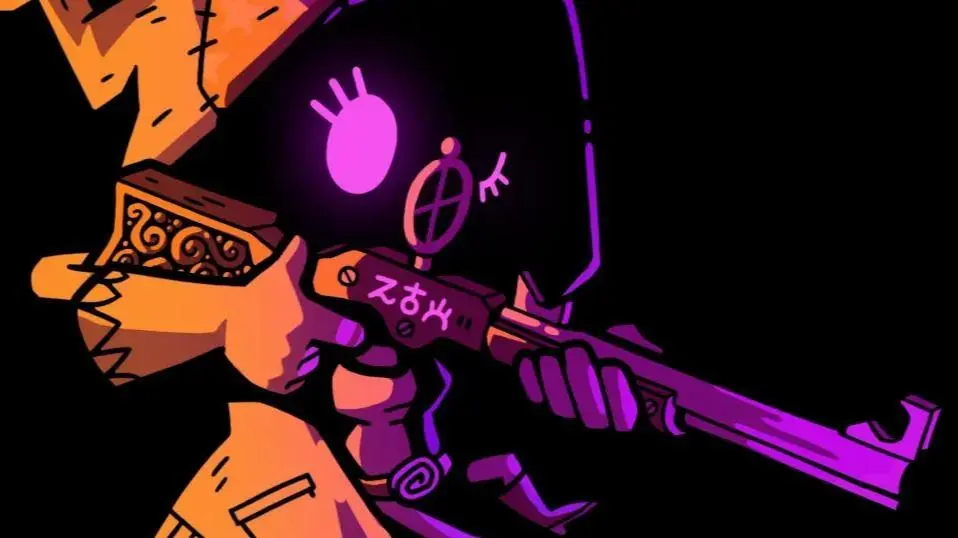
To further diminish the threat of gunners, I opted to use the primary fire of the Nomanus Mk VI Electrokinetic Force Staff to shoot suppressive volleys of orbs. Having infinite ammo and Empyric Resolve to maximize the uptime of our ranged weapon means we're able to whittle down gunner forces with ease while taking refuge in our bubble. I usually use the secondary fire of this staff to push away pox bursters, stun a moving enemy to make them an easy target, or to stun-lock crushers while my team deals with them. I've found that spamming the secondary attack at trash mob gunners that are far / scattered is a much faster way to deal with them than the primary fire, since they have so little health. This also comes in handy when you're completely outgunned by Elites laying down suppressive fire, since it's an auto-aiming hit scan attack that instantly stops them from firing.
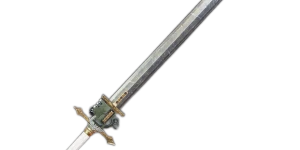
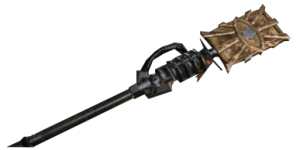
MELEE WEAPON
Since the primary fire of the staff is alright at crowd control / horde clear, I tend to barely use my melee weapon. For that reason, I chose the Illisi Mk V Blaze Force Sword for it's utility. Having a blessing to actively quell peril is a nice addition, but the main reason I used a force sword is so I can force push away dangerous specialists like trappers and pox bursters that have gotten too close for comfort. Why I chose this sword over the other force swords is I love the simplicity of the [heavy --> light] attack combo that's easy to aim at heads. When you're at high peril and have a horde upon you, it's time to pull out the Psyker windshield wiper!
BUILD ALTERNATIVES
If you struggle with horde management, you can replace Brain Rupture with Smite but I personally find the staff's primary fire good enough to keep the hordes in check. That and the extra damage we occasionally get from Kinetic Flayer occasionally proccing is nice, since the faster things die the easier it is to prevent the team from getting overwhelmed in general. Another talent node you can drop is Kinetic Deflection, as it isn't essential for the build to work but I find being able to tank a bunch of hits while reviving a downed teammates comes in clutch more often than not. When a single trash mob shooter can prevent your teammates from getting revived, having shield off cool down + Kinetic Deflection while reviving can prevent a bad situation from getting worse.
STRATEGY
Since this build struggles with quickly killing bosses, I find that it's best to stand guard looking out for hordes / specialists / elites to repel so your teammates can focus on taking down the boss quickly. The reason why I call this build the `Control Freak` is because we are able to respond to dangerous situations in seconds with our staff. Incoming specialists quickly repelled, dogged teammates easily rescued, and gunner ambushes suppressed with the press of a button.
By spamming the secondary attack of the staff twice in quick succession, you can even stop charging mutants in their tracks. Keep in mind we can also control the behavior of our teammates subconsciously with our bubble shield placements. If you want the team pushing up ahead, place your bubble shield ahead of the team, giving them the greenlight to charge forward. Likewise, if things are getting hairy it may be best to put your shield behind the team so they get the memo to fall back. After playing many games in Havoc, I've noticed one of the best places to put your bubble shield before a horde starts is at the mouths of corridors / intersections. I've seen so many missions fail because the team pushes forward when a horde starts, allowing enemies to spawn behind us and cut us off from any potential escapes when we get overwhelmed. By falling back and placing the bubble at these key locations, you'll be in a good position to escape high pressure situations while also signaling to the rest of your team that this is a passage to a safer fighting location.