Table of Contents
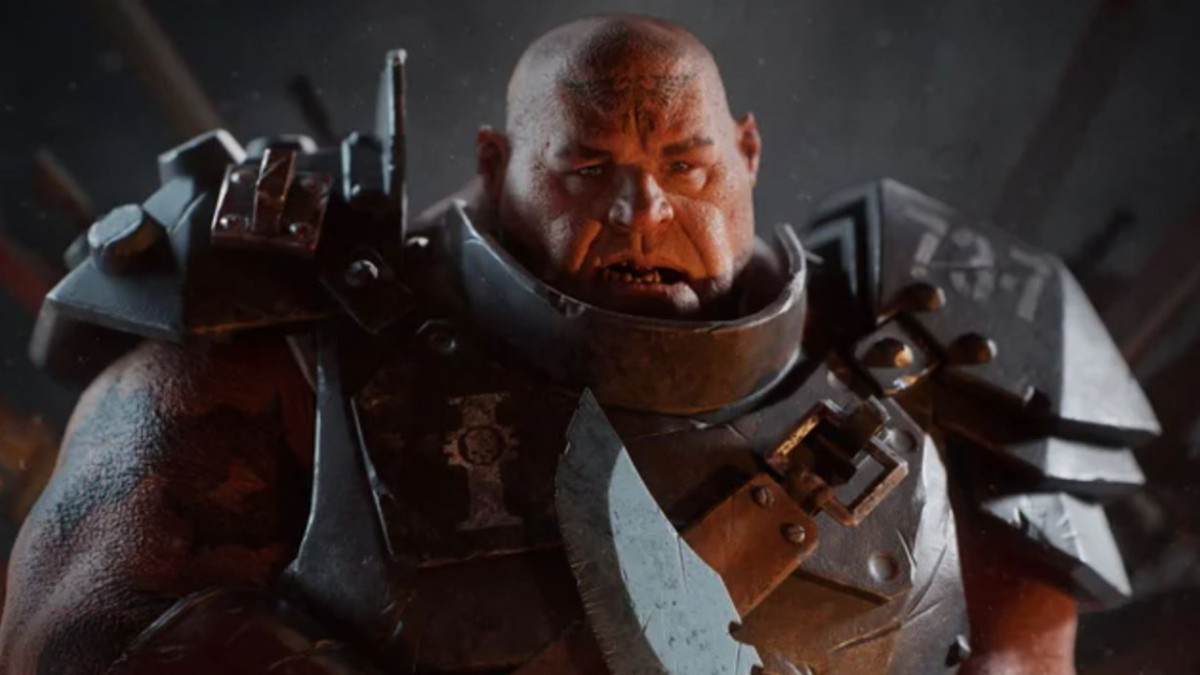
Ogryn Build - Warhammer 40k: Darktide
SmallieBig's 'Inferno Gauntlet Protector' FNP
Ogryn Build - Warhammer 40k: Darktide
Class
Weapons
Curios


Talent Tree
Description
A build that combined two concepts of mine I had in my head together! I wanted at least one build that used the 'Fire Away + Bombs Away' combo (for those that don't know, it makes all the little small grenades apply burn, up to 8 stacks, so it makes the grenade box actually able to kill things), and I also wanted a push centric shield build because they work rather well..and thus this all came together to make a build that actually functions pretty well!
Main idea is as stated, focus primarily on push attacks with the shield into heavy swings for maximum cleave + brittle being applied to the wave. Keeps your Feel No Pain stacks up, and applies extra damage with Hard Knocks so you can properly still clear out the wave even with so few other things boosting your melee damage I say, like soften them up and payback time aren't just always active. Shoot pot shots at the wave when you need spacing and want to see a nice orange glow on all the enemies, dumping as many shots as you need to keep the fire hot with Blaze Away, while still charging 2-3 stacks of Pinpoint Targeting between shots due to the length of time it takes to ready the next one (while keeping Steady Aim active for all that toughness regen on top of that. One can also just charge a full shot to x5 for further regen and to 1 shot most specials). I then go for Pacemaker to get a bit of the ranged damage back I lost for swapping this build to Loyal Protector, while also still having a 'fast enough' reload for when you eventually get to the point of needing it. Hard Knocks keeps your damage pretty consistent with your grenade shots too, along with everything else as stated, and you have a 'panic high damage Bombs Away' whenever you need it that will actually wipe the wave it's also staggering due to all the bonuses and fire.
When it comes to monstrosities, push/bonk them a few times if you are able to to weaken there armor, then toss a bomb box at them to hard stagger them and get a bunch of preliminary damage. Then dump two mags into them to activate Blaze Away to boost the fire damage and keep the fire going, then finish them off with pokes from the shield once more or a few more 'alt fire' shots from the Gauntlet, assuming your team hasn't just killed it by now. I always try and keep at least one Bomb Box on me for this purpose, unless you've seen the 2 monstrosities a mission already then you can do whatever you want.
Beyond that, it's pretty self explanatory/has been explained. A 'simple build' with a lot of different parts that can be use for different tools, but all do the same thing. Stagger, get extra damage, kill if they aren't dead already by your team. A more flamey version of the powermaul set up essentially, but it works! And feels rather good. Confident Strike is taken to save the point for The Best Defence. The rest is for regen, lots and lots of infinite toughness regen. I don't take 'Can't Hit Me...Again' because I take Feel No Pain to further save points/lean into the push aspect, meaning I have that level of DR most of the time anyway so don't need the extra incidental 20% like most of my other builds.


Adora's 'One Hit' Invis Martyr T-Hammer
By MixedLetters • Updated 5 months ago


Price's 'Martyr Relic Blade' Chorus
By MixedLetters • Updated 1 year ago

SmallieBig's 'Indomitable Spam' Kickback Pickaxe BLO
By MixedLetters • Updated 1 year ago


Gandalf's 'Unlimited Powerrrrr' Empowered Smite Electro Scriers
By MixedLetters • Updated 11 months ago


