Table of Contents
Psyker Build - Warhammer 40k: Darktide
Shock, Scorch and Shields
Psyker Build - Warhammer 40k: Darktide
Class
Weapons


High Voltage
+25% Damage vs Electrocuted enemies.
Overwhelming Force
Staggering an Enemy has a +25% Chance to Stun the enemy. Cooldown 3.5.

Showstopper
20% chance Elite and Special enemies Explode on kill.
Run 'n' Gun
You can Hipfire with this weapon while Sprinting. +15% Close Damage while Sprinting. Also reduces weapon spread at all times by -30%.
Curios

+13-17% Toughness
+13-17% Toughness
+13-17% Toughness
Talent Tree
Description
Notes for the Shock Maul build
Terminology used:
DoT is Damage over Time
LA(#-#) this is used to describe Light Attacks and their position in the moveset chain
HA(#-#) this is used to describe Heavy Attacks and their position in the moveset chain
Stagger Cleave is reference to cleaving through targets and applying stagger or knockdown, this is irrelevant to damage on cleave as it can still apply a DoT unless the hit is stopped
Cleave is strictly referencing how it carries the initial damage through multiple enemies, as is the common use-case for the term
WP is shorthand for Weakpoint, when talking about coloured numbers this is Yellow
Crit is shorthand for Critical Hit, when talking about coloured numbers or the hitmarker this is Orange
CDR is shorthand for Cooldown Reduction, some talents and modifiers will improve this
SA is shorthand for Special Attack
Stats is a term for the percentages displayed on your weapon
CC is shorthand for Crowd Control as a euphamism for anything that stuns, staggers or removes the ability of an enemy to fight back or move properly.
The Shock Maul and you:
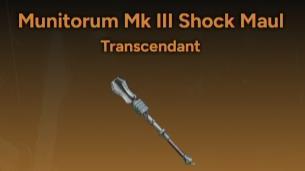
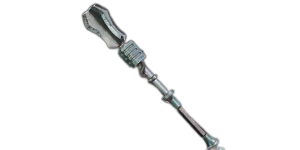
I recommend the Munitorum MkIII shock maul for the moveset, this is one of the few differences between marks and the MkIII is easier to handle in high stress situations.
The stats of your weapon should forsake Mobility over other stats, a 60% mobility shock maul is going to be the peak roll. If you do not have a godroll weapon then I would prioritise thusly, Crowd Control > Penetration > Damage > Finesse > Mobility.
Your damage per swing is nothing special but applying debuffs, the shock DoT, stagger and often stun is what you shall excel at. As shall be discussed later the Skill choice leans into using heavy attacks and applying shock as often as possible.
Perks should be +10% damage (Elite) and +5% melee crit to help with punching through Maulers, Crushers, Ragers and Gunners. Carapace is your enemy when it comes to stopping your swings and with some rudimentary crit support from the Skill tree you should have an easier time taking them down.
When encountering Maulers, Scab Gunners and Scab Ragers, especially if caught during a wide-swing, I recommend breaking your attack pattern to focus on strikedown attacks. The easiest way to do this is by push attacking followed by a HA. The Mauler will need more attention but can be taken out with additional strikedown attacks weaved into your horde clearing.
Crushers, Bulwarks and Reapers will require your SA to effectively CC. This is a powerful utility but be aware that it will leave you relatively vulnerable whilst applying the hits however it can be dodged out of effectively. The hitbox for this attack is active far longer than you may think and can be dragged onto enemies to start the attack should you miss the hit initially.
Mutants are a similar story to most other builds that focus on control, dodge them and take out with the means you have at that moment. We can see some success using Smite to stop them cold but requires at least a second of contact so engage wisely. Smite is also unlikely to kill without being used for a long duration and will require either cooperation from teammates or using the stun once Smite is terminated to take them out safely.
Blessings I recommend for this build are High Voltage and Overwhelming Force, this leads to a high amount of stun chance and extra damage against enemies hit even by just your Stagger Cleaving as this still applies your HA electrocution gained from your Smite nodes on the Skill tree.
Quirks of the Shock Maul, an incomplete list:
The SA on the Shock Maul functions in an interesting way regarding the duration of stun applied via the shock. From my testing it seems that somewhat like a DoT effect it seems to have 'theoretical stacks' of electrified rather than a simple timer.
These theoretical stacks decay in damage much more sharply, going from doing 50-60 per tick down to 7-8 in one leap, sometimes stacking and sometimes not. Damage aside, any stacks of this shock will keep the target in a state of twitching, applying CC and taking 35% more damage from your subsequent Shock Maul attacks.
The longer the SA stays connected to a target before cancelling naturally or through a dodge will increase the number of stacks, apply between 6-10 of these stacks from shortest time to cancel on stun to natural termination of the attack respectively. Cancelling early is still very useful as it cuts down on the time locked into an animation and allows you to return to protecting yourself from other threats.
There is likely to be more interesting quirks discovered upon further testing.
Hit mass and problems with armour types:
Unarmoured, Flak (with exception of the Reaper and Mauler) and Maniac (with the exception of the Mutant) are all seemingly negligible for stagger cleave on HA, these can be lumped in with the rest of the horde when you consider how to tackle a front.
The Mauler when hit on the body will significantly lower the amount of cleave you will have on your next hits, allowing anything as heavy or more so than a Dreg Gunner to stop your swing entirely. When hit on the head a Mauler will stop your swing dead, if possible it is best to try to connect a swing to the body or single them out for strikedown attacks. The SA is very effective for this and can be cancelled early as their relatively small health pool means it should only take a few heavy strikes to finish them off.
The Scab Rager is the reverse as their body is carapace and head is flak, aim for their heads and your high stagger power is going to keep them controlled well enough to take out quickly.
The Dreg Rager is less easy to stagger with your HA1 LA1 combo, switch to strikedown ASAP or do a short SA and continue horde clearing. If a group of Scab Ragers are being faced, use Smite and try to dodge to a safe distance. Rely on your Strike Team or use this opportunity to position for strikedown attacks as they are going to be more trouble trying to control with your Shock Maul than it is worth.
The Mutant, Reaper, Bulwark Shield and Crusher will all stop your swing dead no matter where they are down the line. Whilst a Mutant is unlikely to make you change your swing pattern when pressed with a horde I would recommend focusing down Reapers with strikedowns and CC Bulwarks or Crushers with your SA.
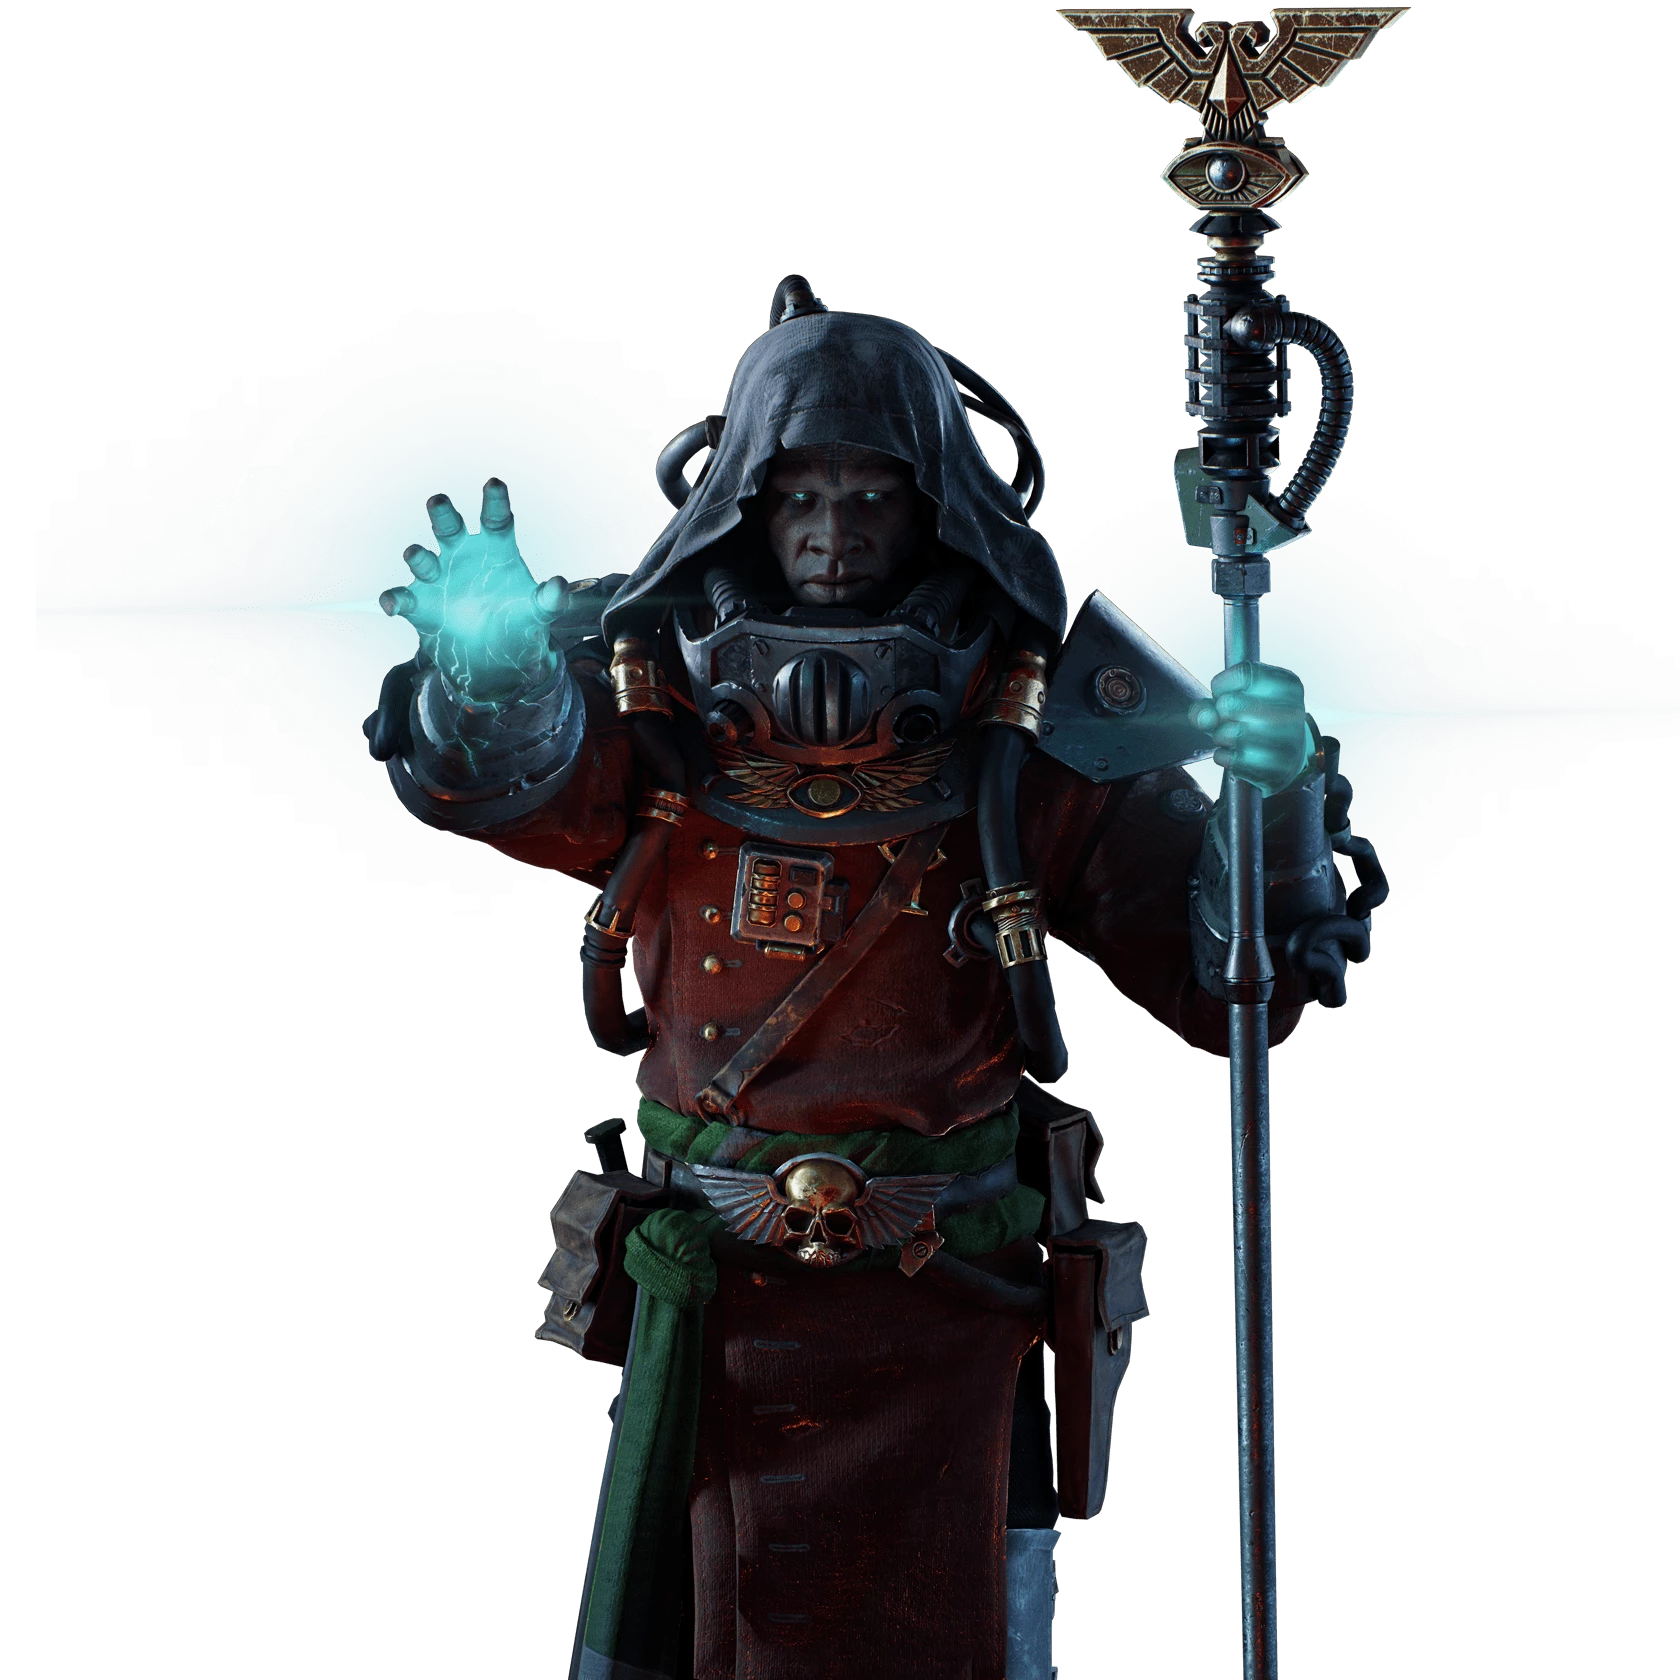
Your trusty sidearm:
I have chosen the Inferno Force Staff as the ranged weapon for this as an addition to your horde clearing and Elite melting kit, allowing you to spread Soulblaze easily amongst the horde, when Elites or Specialists die they generate more Soulblaze, if an Elite or Specialist dies to your staff then it has a chance to explode and further amplify your horde clearing.
The Blessings I would recommend are Showstopper for exploding Elites and Specials then a choice of preference between Penetrating Flame, Run 'n' Gun or Focused Channelling as all of these bring good utility in damage versus Flak/Carapace, mobility or protecting against the stray hit from a poxwalker stopping your mayhem.
For weapon stats I would say 60% damage is the way to go, having the least amount of impact on the overall performance of the weapon. It is better to lean into generating Soulblaze stacks and throwing away your peril as fast as you can. Cloud Radius just makes all your attacks bigger, it's peak. Without godrolls I would order them Cloud Radius > Burn > Warp Resistance > Quell Speed > Damage.
If you choose Run 'N' Gun do not forget how useful the primary attack is for creating space to keep running, this can and will save you taking hits.
The Build and why I took certain nodes:
Ability; Telekine Bubble and the group hug effect are going to be your best defence against a group of gunners or reapers just outside of your Smite or Staff range, this can truly be a lifesaver in tense fights over long halls or open rooms especially. Worth any excuse to throw down as often as you dare.
Blitz; Smite and all the trimmings. It is what charges up our spicy heavy attacks, provides everyone else 10% damage and triggers our Shock Maul blessing to ramp us up to that 35%, it's also Smite with quell support and everyone loves zappies. I have also noticed a tendency for the heavy attacks to make enemies explode when effected by Charged Strike, pretty neat.
Aura; Seer's Presence is just good for everyone and keeps your bubble up more often. Solid pick for consistency and adds to your group hug.
First Keystone; Warp Siphon is going to heavily play into our love of Soulblaze and Telekine Bubble, with just 3 stacks of Warp Charges allows you to summon another bubble before the first naturally decays, this is not dependent on kills to supplement the ability cooldown further with three 4% ability cooldown curios. Warp Charges will also boost your base damage significantly, allowing us to take down Crushers in around 4 hits during Meat Grinder testing. If you hate Gunners as much as I do, take this.
Alternate Keystone; Disrupt Destiny is going to be fuelling your 'passive' quelling, ramping crits, providing mobility, damage and Toughness for the low price of what you were going to do anyway. An excellent alternative to Warp Siphon, I would take Purloin Providence, Lingering Influence and from the top of the tree a passive called Battle Meditation to passively quell more peril.
Important Passive Nodes:
Anticipation is extremely powerful, making our usual sluggish Psyker into a competent dodging machine. Especially important when maintaining Smite or your Inferno secondary attack, you can dodge during these.
Puppet Master makes your group hug even bigger, it might finally catch the group Zealot.
Perilous Combustion, Souldrinker and Wildfire all feed the Soulblaze machine and make us tough and passively harmful to the forces of the Archenemy.
___________________________________________
For discussion about builds and for finding Havoc or Penance groups feel free to join the discord.
https://discord.gg/y99rZcyvs2