
Table of Contents
Class

Weapons


High Voltage
+25% Damage vs Electrocuted enemies.
Opportunist
+25% Melee Rending vs Staggered Enemies.


Gloryhunter
+16% Toughness on Elite Kill.
Puncture
Ranged hits add 4 stacks of bleed to enemies.
Curios

+1 Wound(s)
+13-17% Toughness
+13-17% Toughness
Talent Tree
Description
Adeptes Arbites - Hammer, Bolter, & Anvil
Charge in and decimate full patrols of elites, decapitate ranged threats with suppressive fire power, and bring the will of the Lex to Atoma.
Weapons:
Melee
Branx Mk XI Shock Maul and Suppression Shield over the Branx Mk VI Shock Maul and Suppression Shield due to having more relentless attacks, which means more aoe and staggering.
The Mk VI only has 1 relentless attack which is the opening heavy. Mk XI has 3, first 2 light, and opening heavy. The Mk XI then follows up the relentless with single target attacks which is perfect for finishing off any elites.
- +10% damage to Elites and Specialists makes killing them easier while they are stun locked.
- +25% damage vs Electrocuted Enemies as the shock maul provides electrocution it's a near 100% damage buff aside from the first attack.
- +25% rending vs Staggered Enemies due to Break the Line staggering this is a guarantee.
- Roll low on defense as the rest provide bonuses to desired effects like staggering, damage to flack armor, and cleave.
Ranged
Locke Mk IIb Spearhead Boltgun is the preferred choice due to the range, cleave, and overall damage output. It's main weakness is its reload, however with Dispense Justice talent, the reload is +20% faster.
- Due to the cleave power of the Boltgun, the melee stacks on Terminus Warrant are built up faster, as it's per enemy hit, not per shot.
- +5% Crit chance and +10% Crit Damage, providing a good overall damage boost when being used no matter the target. However the perks can be changed to fit desired kill prio and play style.
- Gloryhunter +16% toughness on elite kill, good when taking out long range elites and are attacked in melee.
- Puncture Ranged shots add 4 stacks of bleed, so if the shot doesn't immediately kill, the bleed usually will.
Curios:
+1 Would curio is personal preference to give one extra down, as a safety net.
x2 +17% toughness to increase the shield and survivability.
x3 +5% health & +5% toughness to provide more tankyness
The last slot on the curios is personal preference, I choose 4% ability Regeneration for more Break the Line uptime. but if a particular enemy is giving trouble then can change to provide more help.
Class Talents:
Ability
Break the Line this staggers everything aside from monstrosities, and trapper nets.
With full modifiers added to it, this is everything Break the Line does:
- Staggers all enemies aside from monstrosities.
- +25% damage
- +15% Impact
- +Toughness and Stamina
- -2.5-5 second cooldown
This combine with the bonuses above with the Branx Mk XI Shock Maul and Suppression Shield will decimate most packs of enemies.
Use mainly on elites and specialists as you will charge through any other enemy, in those situations it's best to use your activate ability on the shield which will stun and not move you out of position.
With the curios and the cd talent, this also means you can charge close to every 9-12 seconds. Effectively locking down most targets at every engagement.
Blitz
Remote Detonation is a good follow up to Break the Line charges, commanding your hound to target your charge target so when they're in the pack with you they stagger and electrify all the enemies you now have bonus damage to electrocuted and staggered.
Also not having to fight for grenades that can sometimes be scarce on maps.
This also can stagger monstrosities while your hound in attached to them.
Recommended to go to Options > Input > Tagging Wheel > Companion Target Tag = Press Once
This makes it so you only have to press the tag button once to send your hound to attack, be careful with Demonhosts
Aura
Breaking Dissent +10% Damage vs Staggered
When you are constantly staggering enemies, this is the most powerful buff you can provide to your teammates to follow up behind your charges.
Keystone
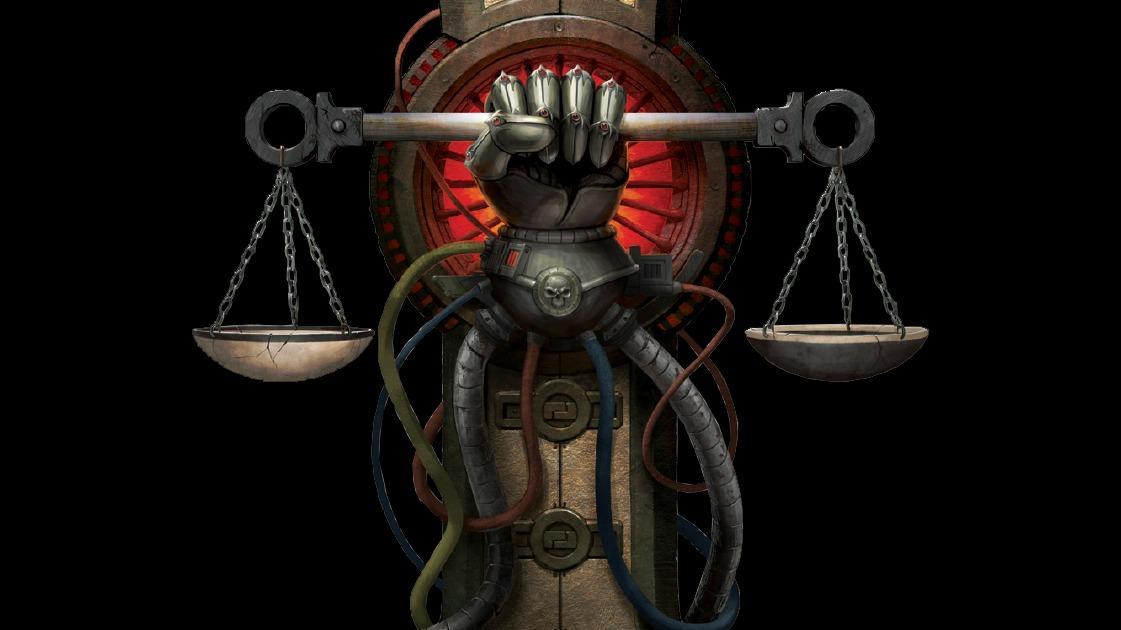
While most keystones are good to use with this build, I found Terminus Warrant to have the best synergies.
Providing all around buffs and not selected target buffs like Execution Order.
Melee attacks build ranged stacks, and ranged attacks provide melee stacks encouraging weapon swapping.
While having any Melee stacks you gain:
- +15% Melee Damage
- +25% Melee Impact
- +100% Toughness Melee Regeneration
- Allies in coherency receive +25% Toughness regenerated this way.
While having any Ranged stacks you gain:
- +15% Ranged Damage
- +50% Ranged Cleave
- +50% Suppression
- +20% Reload Speed
Stack & Swapping:
You want to build up full stacks before swapping as it provides even more buffs.
These buffs will persist either until:
- You weapon swap again
- Deplete the ranged/melee stacks
When swapping to melee:
- Over 15 Stacks of Melee Justice
- +15% Melee Attack Speed
- 30 Stacks
- +15% Melee Rending
When swapping to ranged:
- Over 15 Stacks of Ranged Justice
- +15% Fire Rate
- 30 Stacks
- +25% Crit Strike Damage
- +25% Weakspot Damage
Passives
In the First area we take:
- No Escape
- Providing more killing power after the first target dies.
- Hammer of Judgement
- Paired with the cleave of Branx Mk XI Shock Maul and Suppression Shield means more attacking.
- Target Neutralised
- Great survivability often keeping your toughness capped while focused on killing.
- Up Close
- This helps with horde killing as you can keep your toughness up while melee the horde.
- Force of Will
- Paired with the staggering abilities of Branx Mk XI Shock Maul and Suppression Shield this provides even more toughness replenishment.
- Man and Cyber-Mastiff
- With your dog attacking everything near you for Remote Detonation this provides more survivability.
+10% toughness damage reduction over ranged damage as it provides survivability no mattter the weapon being used.
In the second area we take:
- Arbitrator Armour
- Required to advance in tree.
- Concussive
- Stagger on weakspot strikes so even non-staggering attacks can now stagger.
- Suppression Protocols
- I take this over Suppression Force as the +20% damage reduction in Protocols is applied to the player so even targets you don't hit for the damage reduction deal less damage.
- Plasteel Plates
- Required to advance in tree.
+25% Impact to move to Break the Line
I opt to not take Go Get 'Em! or Unleashed Brutality as I will tell my dog who to charge with me for Remote Detonation
In the last area we take:
- Hold the Line
- Since you stagger with both Break the Line & Branx Mk XI Shock Maul and Suppression Shield this provides +15% damage resistance during combat.
- The Emperor's Fist
- A good damage boost and impact increase as you are mainly targeting elites and specialists, this makes them die almost as fast as the pox walkers around them.
- Target the Weak
- As you stagger with almost everything now, this is a flat 15% melee damage buff.
- Justified Measures
- 15% damage buff, required to take to move towards Terminus Warrant
- Cower, Miscreants!
- +25% suppressed damage, as the Locke Mk IIb Spearhead Boltgun suppresses enemies.
- Target Priority
- As charging in with Break the Line you are usually the first to hit a target.
- Monstrosity Hunter
- +20% Ogryn and Monstrosity damage, helps killing large targets, and only 10% less damage to monstrosities as a fully stacked Keeping Protocol.
Playstyle:
Focused around Break the Line & Terminus Warrant.
- Charge elite/specialist pack with Break the Line while tagging an enemy in the pack for Remote Detonation.
- Melee combat until elites and specialists in pack are dead
- Using Remote Detonation and Branx Mk XI Shock Maul and Suppression Shield ability to keep threats stun locked.
- Swap to Locke Mk IIb Spearhead Boltgun to clean up or remove threats that are too far away to charge.
- You will have faster reload as long as you're not at 30 stacks of melee, if reaching 30 stacks swap back to melee of finish killing snipers/gunners who are tooo far away to charge, or sic your hound on them.