Table of Contents
Class
Weapons


Skullcrusher
Target receives 4 Stack(s) of +10% Damage if already Staggered. Lasts 5s.
Slaughterer
+8% Strength for 4.5s on Kill. Stacks 5 times.


Execution
+20% Damage Bonus vs Staggered enemies.
Full Bore
+20% Strength for 5s when every pellet in a shot hits the same enemy.
Curios

+13-17% Toughness
+13-17% Toughness
+13-17% Toughness
Talent Tree
Description
The goal of this build is to be an unkillable front-liner who intercepts packs of armour units and doesn't let them go. On top of denying melee elites access to your squad, you also have excellent anti-specialist and anti-gunner/sniper capability with the shotgun (though only in small bursts due to ammo and fire rate). Finally, the contact grenades give you a powerful crowd control tool with multiple uses which we'll get into later in the guide.
With this build you want to be up front and leading the team. You want to manage the squad's movement/position as much as manage the enemy melee elites. The tankiness of this build allows you to survive anything the game throws at you while being able to contribute considerable boss damage and help the Veteran take out disablers and area denial specialists. This build is useful for both Aurics and Havoc, and I've used it successfully in many Auric Maelstroms and high level Havoc missions.
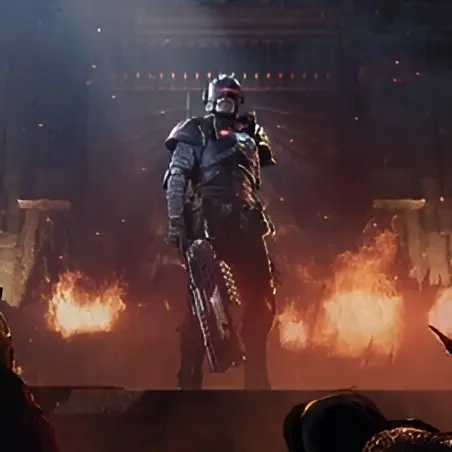
The first thing to discuss is the Indignatus Crusher, because this weapon is what the build is centred around. You will be using this most of the mission, only pulling out the grenades or shotgun for certain situations (see below). It's critical to use the weapon's attacks, special attack, and push-attack wisely. Most of the time (trash mobs, mixed hordes, and rager packs) you'll be using a 3-hit combo.
This main combo starts with a powered-up attack (light or heavy is your choice; I like to start with a heavy attack for larger blast radius and to trigger Weight of the Lex early as possible, then use lights in the rotation), followed by a push-attack aimed at the head of the nearest staggered enemy (prioritising elites of course), followed by a heavy attack (left-to-right horizontal sweep) aimed at as many enemy heads as possible. This 3-hit combo can be used over and over again to keep everything staggered while also doing considerable damage, but most importantly it keeps several offensive talents rolling. Hammer of Judgement (attack speed), Justified Measures (bonus damage), Target the Weak (bonus damage), Weight of the Lex (bonus damage), Zealous Dedication (crit chance), Soulguilt Scan (weakspot strength), and Drive them Back (bonus cleave) should all max out quickly and stay up or the entire fight if all you do is repeat this simple combo. If you do nothing else at all, this combo will lock down most hordes, even armour packs, and deal considerable damage, so get comfortable with this combo above all else.
Next, let's talk about bulwarks and crushers. These big boys are the main foes you must menace! One or two of these enemies in a mixed horde isn't a big deal and you handle them with the above combo or as you like. On Aurics and Havoc, however, you'll be facing them in groups of 4 to 6 (sometimes more depending on mission mutator), and they're often accompanied by packs of ragers and maulers. This build is designed to handle this exact threat.
You should be the one aggroing and intercepting such packs, but we all know that isn't always the case. If you see a dangerous pack of armour heading for your teammates, this is when you throw a grenade or two. The Arbites contact grenades do decent damage, but the power of this grenade is in how strongly it staggers. They explode on contact so aim your grenade just in front of the assaulting armour horde, because you want to blow them away from your team before closing in. If the armour pack is spaced out or Emprah help you there are two different armour packs away from you threatening your squad, throw a grenade at each one to slow them before closing in.
Once it's time to close in on armour packs, open up with Break the Line as soon as you are within melee distance. Aim the ability to hit as many as you can while also trying to position yourself between the armour pack and your squad. Click your weapon special button as soon as possible after Break the Line and use a light attack to quickly apply the special debuff to the closest enemy, then strike that enemy with a push-attack + light attack combo, aimed at its head. This uppercut followed by a vertical strikedown does a surprising amount of damage, and will often kill a crusher outright if you crit. After this opening maneuver, I recommend using a powered-up heavy attack to hit the next melee elite or finish off the one you attacked first. This will trigger Weight of the Lex and apply the special debuff as well as stagger and/or knockdown the melee elites closing in around you. Using powered-up attacks and the 2-hit uppercut + strikedown combo, you can keep armour packs debuffed, staggered, and mostly ineffective while also contributing excellent melee damage as well as keeping most of your talents rolling.
Now it's time to talk about blocking and defences, which leads us to talking about Forceful. When engaging melee enemies, make sure to block for a second or two if you're not at max stacks of Forceful, because you always want to be at max stacks of this amazing keystone. The main reason we don't take Arbites Vigilant on this build is because you don't want to spend your stacks, you want to stay at max stacks at all times. Not only does this help with offence (attack speed, impact, and cleave), but Adamant Will makes you immune to stunning/interrupting as well as allowing your perfect blocks to deny any melee attack, even crusher overheads, giving you a powerful tool of survivability against the main melee elites this build is designed to counter! I cannot overstate how useful this is, because normally the only way to avoid devastating melee attacks is to dodge, but when you're purposefully thrusting yourself into thick packs of elites and surrounded by enemies, dodging is often a risky gambit. This one trick gives you a powerful trump card to play in these dangerous situations, and allows you to keep doing what you're built to do without having to take a break.
Dodging is good too of course, and you should be dodging attacks from the things you are not focused on, especially horde mobs, because that keeps your bonus damage from Arbites Revelatum going. Weaving a dodge in every couple seconds is a good idea, because Street Smarts gives you an extra dodge (which is very nice with the Indignatus Crusher) and an expanded dodge window. Speaking of dodging, if you need to dodge a crusher overhead, it's best to dodge into the attack at a diagonal (I like dodging towards the crusher and to my left, its right, to set up a push-attack uppercut combo) because trying to dodge away doesn't work, especially with the cumbersome melee weapon of this build.
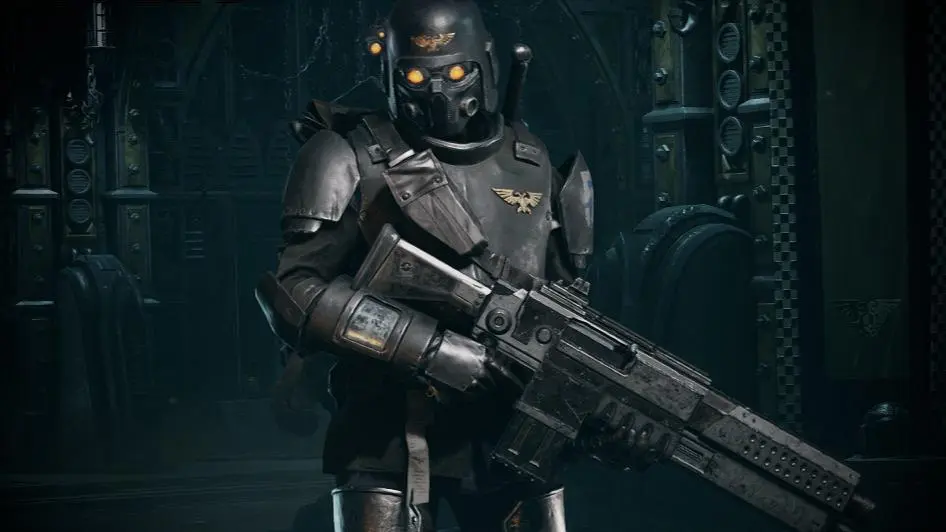
Moving on to ranged options, we'll start with the Mk VIII Exterminator. The fast swap time and instant, precise high damage shots of this shotgun are perfect for deleting any sniper, trapper, dog, flamer, bomber, etc. that happens to show up. The power of this gun also allows you to readily deal with one or two gunners, but with the small magazine it's not wise to use it this way often. I only use this gun to delete specials, kill a gunner and hopefully pin the ones near it, or contribute damage on monstrosities that I can't reach in melee. While a powerful tool, you shouldn't be using it much on this build. Just use it to remove threats your Veteran can't see or handle, and to remove any specialists that would prevent you from continuing your melee menacing.
The contact grenades are another powerful tool in your arsenal. I prefer to throw a grenade at packs of gunners instead of using the shotgun, because even if you don't kill a single gunner, one well-placed grenade will stagger multiple gunners and make the ones near by stop firing, which is usually all that's needed. These grenades also stagger monstrosities (as well as deal considerable damage) on a direct hit, so I always open up with a grenade when I close in on a monstrosity. These grenades are also amazing for clearing a path, either for you or teammates. These grenades are great for clearing a path for teammates who are moving cans, trying to rejoin when separated, helping up a downed ally, solving a minigame, etc. as well as clearing a path for you to directly engage bosses or packs of melee elites. Finally, these grenades are a great alternative to the shotgun for dealing with snipers and bombers in difficult-to-shoot areas, like when they're up on cover or behind crates.
Talent Options: If you don't like going for perfect blocks, or you're just not comfortable enough with your timing to rely on them, feel free to drop Adamant Will (you'll be losing stun immunity but you rarely need it anyway). Despite loving the perfect block option from Adamant Will, I don't recommend taking Retaliatory Force. With stamina regen to help you with block, push, and sprint cost, the only thing this node gives you is 10% attack speed, which would be nice if we weren't already getting two helpings of 10% attack speed which have nearly a 100% up-time. Furthermore, you're almost always attacking instead of blocking, and the goal of this build is to keep things from attacking, which also makes Retaliatory Force less desirable.
Rebreather is another you can drop if you like, but with as common as pox bombers are, and as frequently as I get stuck in pox gas clouds, I love this talent because with all the toughness generation this build has, I can fight in pox gas and barely notice it. Rapid Movement is another optional talent, but with as slow as this build is and stamina hungry as it is, I enjoy what this talent adds. If you trust in your ability to live without it, by all means drop it.
Talents to consider would be Shield Plates, Commendation for Condemnation, Will of the Lex, and True Grit if you're still learning the class or getting used to the hardest content, since these add considerable survivability to this already tanky build. If you're wanting more damage, there's nothing wrong with the +10% melee damage node, Target Priority, and Strike Down per se, but I've tried using them and they seem to add very little to my overall damage output or breakpoints.
Finally, if your team does a lot of high level Havoc and you think Shock Mines are a better choice, you can swap to them instead of the grenades. I find the grenades more versatile, so I favour them, but the Shock Mines are great too.
Weapon Options: I consider all elements of the Indignatus Crusher to be mandatory for this build except for the Slaughterer blessing. I find Slaughterer to add more overall effectiveness than the other blessings, but if your Havoc team needs help with armour (especially Rotten Armour and the like) then there's nothing wrong with swapping Slaughterer for Thunderous. Opportunist might sound appealing, especially with the Strike Down talent, but from my testing it doesn't seem to change my damage enough to matter. Thrust might also sound appealing, but the Indignatus is already slow weapon, and you need to be striking quickly as possible even with your heavy attacks, so Slaughterer definitely out competes Thrust on this build.
As for ranged weapons, I don't even consider the Mk VIII Exterminator to be mandatory, let alone its build. If you like another weapon for dealing with specials, gunners, and bosses then by all means try it out. The boltgun (either mark) is appealing on the surface, but its dramatically slower ready time and horrific movement profile mean that you won't have a low-stamina weapon to swap to when it's time to sprint and close distance (as opposed to the shotgun which is great for both), not to mention the awful reload speed of the boltgun. The only ranged option I've enjoyed using besides the Mk VIII Exterminator with this build is the Subductor Shotpistol & Riot Shield. I enjoy this weapon despite it not being as effective at range (but it does fire faster and deals considerable damage, and can kill/pin packs of gunners better). Also, having a shield to block ranged fire can be helpful in unique circumstances.
Curio Options: While it might sound like a good idea to run a stamina curio in place of a toughness curio, I highly recommend against it. Once you learn how to use this build, especially with the Rapid Movement talent, you shouldn't need the bonus stamina. Also, the difference one toughness curio makes is immense on higher difficulties, and can be the difference between losing no health or a noticeable chunk of health. Block efficiency might sound good too, but since we rarely have to spend stamina to block (especially if you're a perfect block enjoyer), stamina regen is better, especially since you need to push and sprint a lot to fulfill this build's role. I normally use cooldown reduction on my curious, but for this build even 3 slots of CDR only knocks off 2 seconds, so I think it's wiser to use stamina regen. As a tanky beast, having revive speed is fantastic, especially since it means assist speed now, but if you're not playing on the hardest difficulties then feel free to swap these for whatever you like.