Table of Contents
Class
Weapons
Curios


Talent Tree
Description
EDIT (October 3rd, 2025): With the changes to Marksman's Focus, it's tempting to swap over to it, but I enjoy feeling like a team leader so I'm sticking with Focus Target! as this build's keystone. However, I did make a few alterations. I dropped the +Stamina curio for a third +Toughness curio, and changed the curio perks to +Toughness and +Assist Speed (Revive Speed). If you like having the extra stamina and don't have trouble surviving then you don't need to make this change. I did it because I do more Auric Maelstroms lately, and they're a lot harder.
I dropped Target Down! because all the other classes have so much of their own toughness regen now it feels like a waste. I also dropped Precision Strikes since it doesn't do much and I wanted to max out the toughness of the talent tree, and these two free skill points allow me to add Desperado and the +25 Toughness node below it.
The elephant in the room right now is the new Mk III boltgun. I have insufficient testing at this point to say which mark is 'better', but my gut tells me to stick with the original Mk IIb. While the new one has immense CC capabilities and can mostly hit the breakpoints needed for Auric play, the inability to mag-dump on bosses, smaller mag size, and smaller ammo pool outweigh the CC advantages for both my personal taste and how I use the boltgun for this particular build. If you like the new one, then you can still make this build perform, just be mindful of the changes in gameplay. I have a feeling for high end Havoc the boosted CC will make the new Mk III a better choice since ranged weapon killing power is greatly diminished and the CC will be more useful. If you decide to use the new Mk III, consider swapping the Puncture blessing for Pinning Fire (which is arguably better on both marks anyway).
The new talents give a few more valid choices worth considering. The new Lock and Load, which I consider to be user's choice between it and the Tactical Reload. I am sticking with Tactical Reload since I rarely reload from empty except after mag-dumping on bosses, but if you want to drop something to take Lock and Load instead then I recommend either dropping Target Down!, Redirect Fire!, or the +5% Movement Speed node. Dropping two of those to take both Lock and Load as well as Tactical Reload is a fine choice if you think your team doesn't need as much support from your keystone. Also, both Exhilarating Takedown and Confirmed Kill are excellent and easy to obtain since they're at the top of the tree, so if you want/need even more toughness then feel free to grab one (I would take Confirmed Kill over Exhilarating Takedown, but they're both good, just take whichever you like better). Finally, if you want to drop the Focus Target keystone entirely, you can still hit the same breakpoints and contribute nearly identical damage by simply taking Skirmisher and keeping it up for most of the mission.
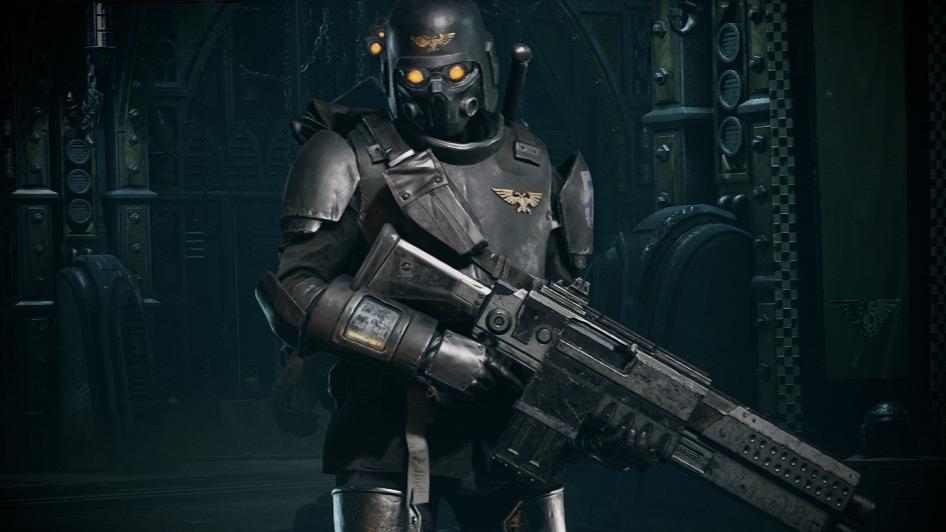
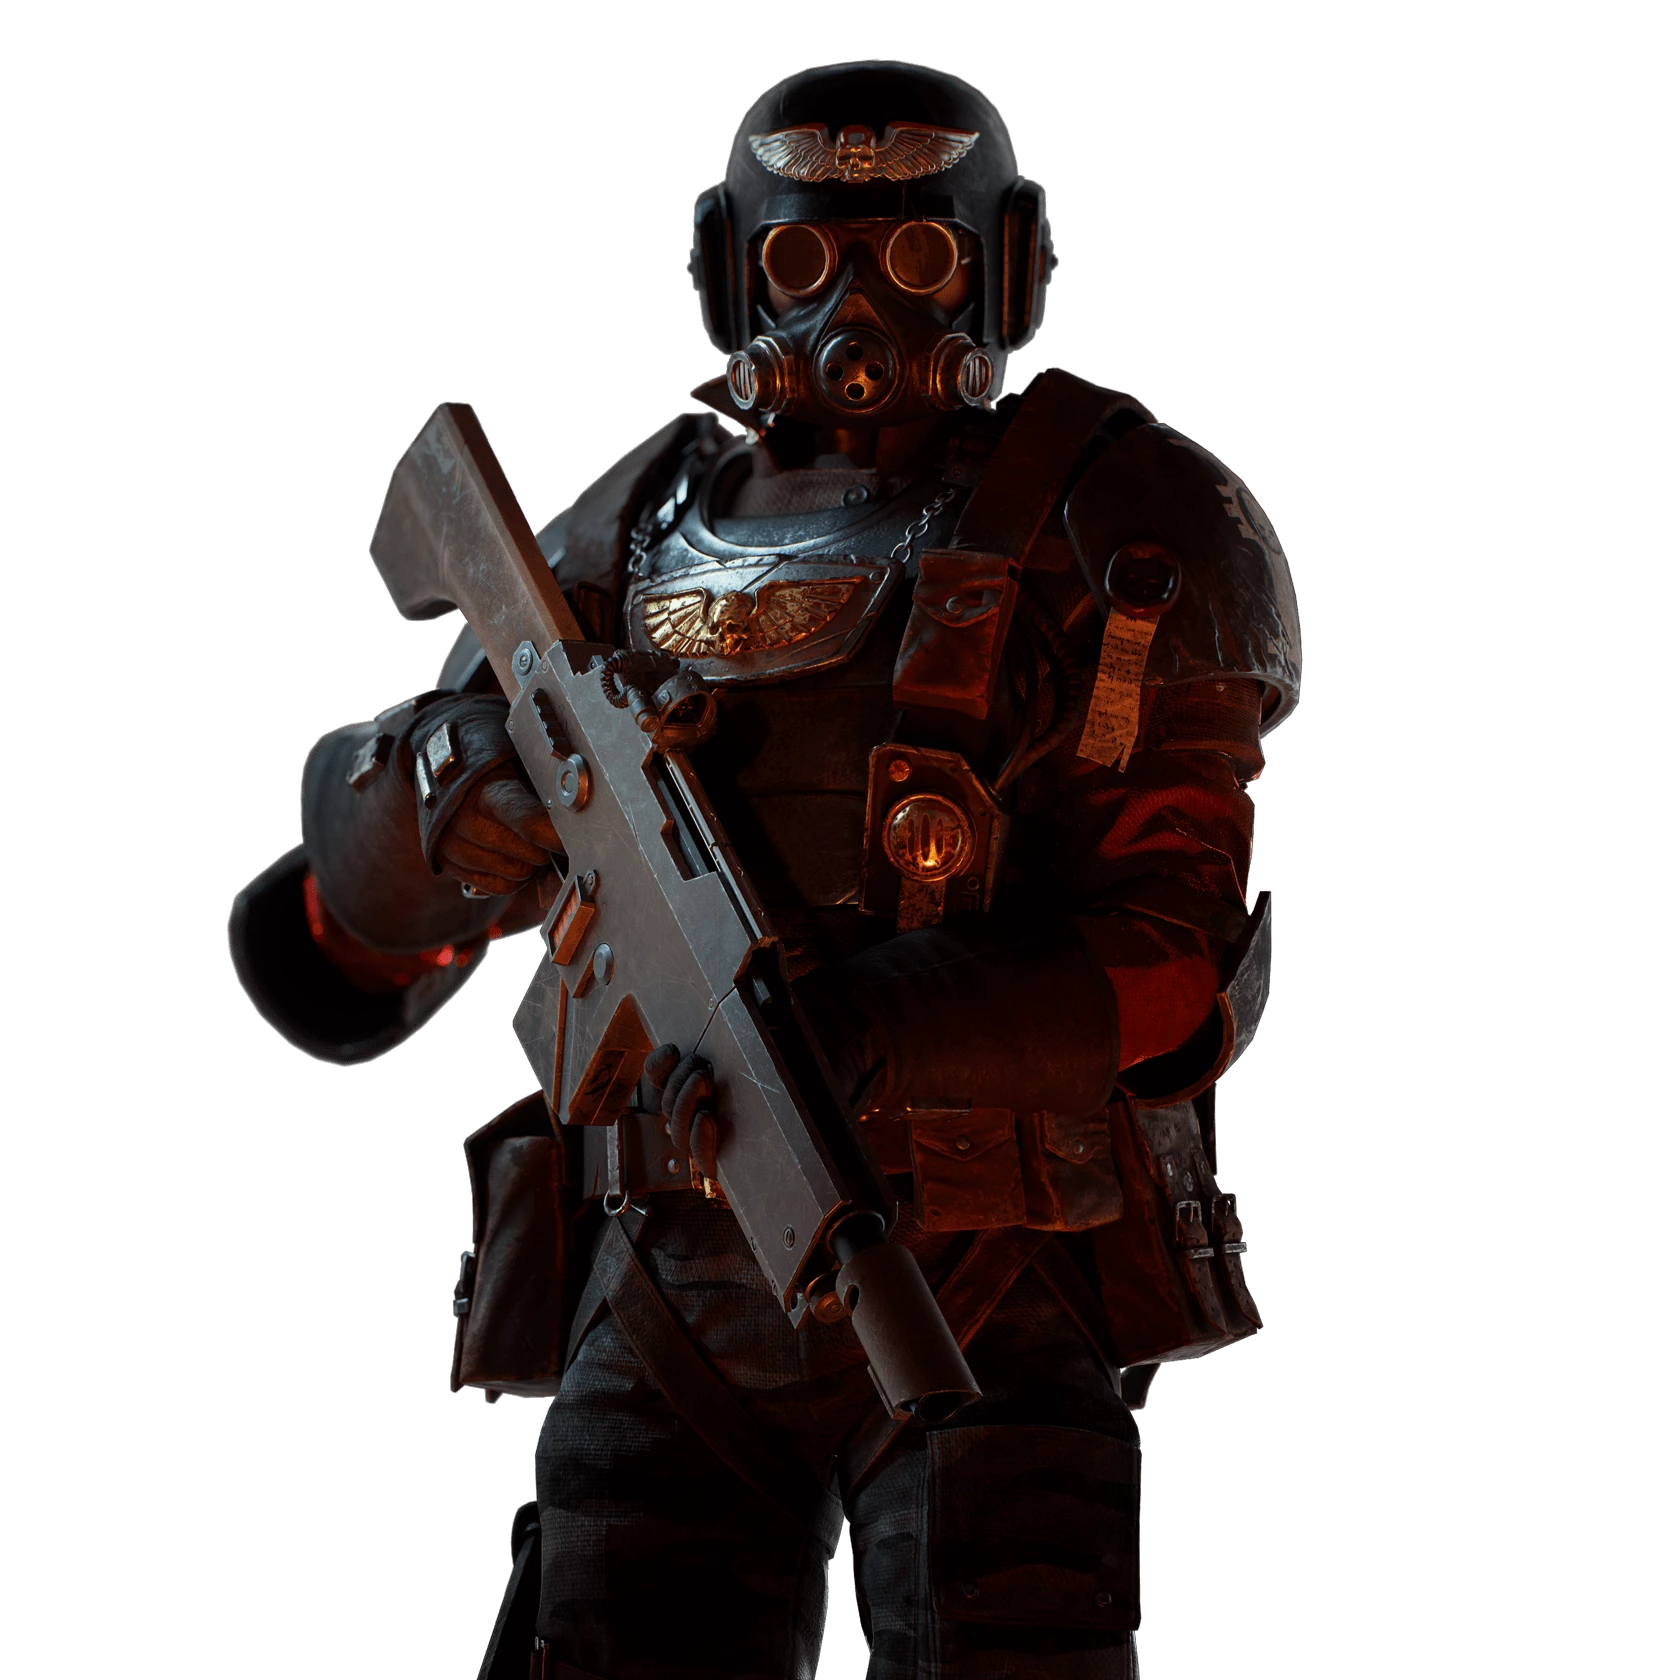
The goal of this build is leading your team to victory by being an unshakable sniper, monstrosity killer, and squad support. When used properly with even a decent team who stay together, you should be contributing high damage to all enemies across the board while keeping your team alive with gold toughness and never allowing enemy snipers and gunners a chance to suppress your party.
With this build you want to be in the middle of your team at all times to provide rolling damage and toughness bonuses in addition to ammo regeneration via the Survivalist aura, so it's main weakness is playing with spaz randos or players who refuse to group up. On its own, it can handle anything the game throws at it, and is able to quickly recover from bad situations on top of being able to clutch well.
I have tested this build on over 100 aurics (playing mostly with friends on voice, granted), and not only is it fun to play "party leader badass" but it always comes in #1 or #2 on boss damage and ranged elite kills, while also contributing considerably to overall damage dealt and horde mob kills via Shredder spam (see below).
The first thing to talk about is the centre piece of the build, the Boltgun. You must treat the Boltgun as a sniper rifle with a secondary feature of being a rapid-fire grenade launcher. Do not treat it like a combat rifle or machine gun, that is counter to the tactical philosophy of this build (and perhaps even how FatShark intends the weapon to be used). Use the Boltgun to pick off gunners, snipers, and elite/special units far away from the party as your top priority, and always aim at chin level of your targets. The recent improvements to the Boltgun make landing headshots much easier, and with Reciprocity + Surgical, you are practically guaranteed a headshot critical on every shot as long as you aim for at least half a second. This will kill most Auric enemies in a single shot, and the ones you can't kill in one shot you either shouldn't be shooting (crushers & bulwarks), you ADS double-tap instead (reapers), or you mag-dump (monstrosities).
There are only three situations in which you do not ADS with the Boltgun. The first and most important is vs monstrosities. Move in close, use Voice of Command to stagger (if possible) and trigger For the Emperor! then mag-dump into the head or weakspot. This deals 35K dmg in 2 seconds in addition to the 3-4k possible dmg from bleed DoTs assuming the monstrosity lives longer than 5 seconds. The second is vs tight packs of gunners, shotgunners, or any pack of non-crusher/non-bulwark elites w mixed horde. A single mag-dump, when aimed properly at chest-head level, can kill a 8-12 elites in a single mag-dump. Only do this once you've practiced enough to be sure of your mag-dump aim control, otherwise simply grenade (see below). The third and final is vs distant groups of non-elite shooters and gunners to suppress them. Even a single hip-fire of two shots near a pack of ranged enemies is often enough to make them stop firing and either cower or seek cover, but I usually spray 5 or 6 bolts just to make sure, because when this needs to be done (rarely) party survival is more important than saving a few bolts.
The next thing to talk about is the Focus Target! capstone. This is one of two linchpins of this build, and proper usage will not only help you one-shot the enemies you're supposed to kill, it provides a solid 12% flat dmg bonus to the entire party with a 100% up time once combat begins. You should bind Focus Target! to a key or mouse button you can easily press, since you'll be using it frequently and it needs to be something you automatically do before every shot. You should begin every major combat with max stacks, because the first marked target killed will trigger Redirect Fire! for the entire team, and as long as you kill another target with Focus Target! before Redirect Fire!'s 10 second duration expires, the full dmg bonus carries over to the new 10 second duration. This means you do not have to wait for Focus Target! to reach max stacks between kills to keep the 12% flat dmg bonus rolling the entire fight!
The other linchpin of this build is the almighty Shredder Frag Grenade. This is the most effective grenade in the game, as it has a huge radius, guaranteed stun/stagger on all enemies (even B'urgles if placed correctly), and applies a healthy amount of bleed stacks to everything in its extended radius (no fall-off like the explosion dmg). Always begin combat with at least one, if not two, well-placed grenades to stagger & soften up mixed hordes. Two Shredders will kill all regular horde mobs just from the bleed, and half-kill most elites (and will sometimes kill weaker elites and most specials). Most importantly is the Shredder's ability to stun/knockdown elites. This is the main way you deal with thick packs of bulwarks, crushers, maulers and ragers. The explosion interrupts charging attacks like crusher & mauler overheads and rager combos in addition to taking these enemies out of the fight for 3 to 4 seconds. This should give you and your party enough time to deal with them, especially if you have a melee power house on your team. While these grenades can be used to suppress/kill distant groups of ranged enemies, I recommend not doing this unless you're flush with grenades because the Boltgun is a faster, better way to do this, and costs much less in regards to resource management.
Speaking of resource management, if used correctly Demolition Team will provide you with dozens of bonus grenades in a single mission (assuming it's top end content). You do this by making sure to always stay at 1 or 2 grenades, and if you ever hit your grenade maximum during combat, throw one at the earliest opportunity to make sure the next Demolition Team proc isn't wasted. If you use Demolition Stockpile in addition to Demolition Team, always stay at 1 grenade to not waste either talent's proc. I find Demolition Stockpile unnecessary for high-end play since Demolition Team always keeps me flush with Shredders. If you play easier content or just like the security of having regenerating grenades, there's nothing wrong with prioritising Demolition Stockpile in your build, even over Demolition Team if you prefer.
Talent Options: I consider all choices for this build to be mandatory except for Tactical Reload, Focused Fire, and Redirect Fire! (and of course your choice of Demolition Stockpile vs Demolition Team as I mention above). Your main goal with this build is to be an unkillable linchpin of your party who allows them to do what their builds do best and support them with counter-sniping and mechanical boosts, including extra ammo from Survivalist and extra grenades from Field Improvisation. If your team doesn't need the 7.5% or 12% bonus damage from the additional keystone nodes, then you may drop these for what you think best suits your team and play style.
Melee Options: While the combat knife and dueling sword are top tier melee weapons and fantastic at keeping you alive, I prefer the power sword for its ability to horde clear and deal high dmg to the few melee enemies I don't kill with the Boltgun. Despite its poor defensive abilities, I have mained the power sword for most of my career and have no trouble staying alive and 'dancing' with enemies. If you prefer another melee weapon, that's fine. I consider the melee weapon completely optional for this build, so use whatever you are comfortable with, just remember it needs to be good at quickly killing tough melee elites.
Ranged Options: I consider all choices for the Boltgun to be mandatory for this build with the exception of the Puncture blessing. After all my testing, this combination seems the best, but you can live without Puncture if you prefer Pinning Fire, Shattering Impact or Cavalcade for helping with bosses or obliterating mixed hordes with mag-dumping. The main reason why I choose Puncture over the others is that if you miss a headshot and only wing a special or ranged enemy, it will often die from the bleed DoT as it cowers or runs for cover, which I find to be far more helpful to the team than what the other mentioned blessings provide (Cavalcade only adds on average another 4k dmg to mag-dumps on bosses, and Shattering Impact is weak considering you can easily kill non-boss enemies with a single shot or melee anyway).
Curio Options: I consider +4% Combat Ability Regeneration to be mandatory, but nothing else. I prefer two toughness and one stamina curios, but if you feel like you don't need the bonus stamina and would prefer a third toughness or a wound/health curio, by all means try it out. I find that the bonus stamina for sprinting and block-pushing my way through/around enemies is more important than anything else, so I strongly recommend the stamina curio and the perks I outline above.

