Table of Contents
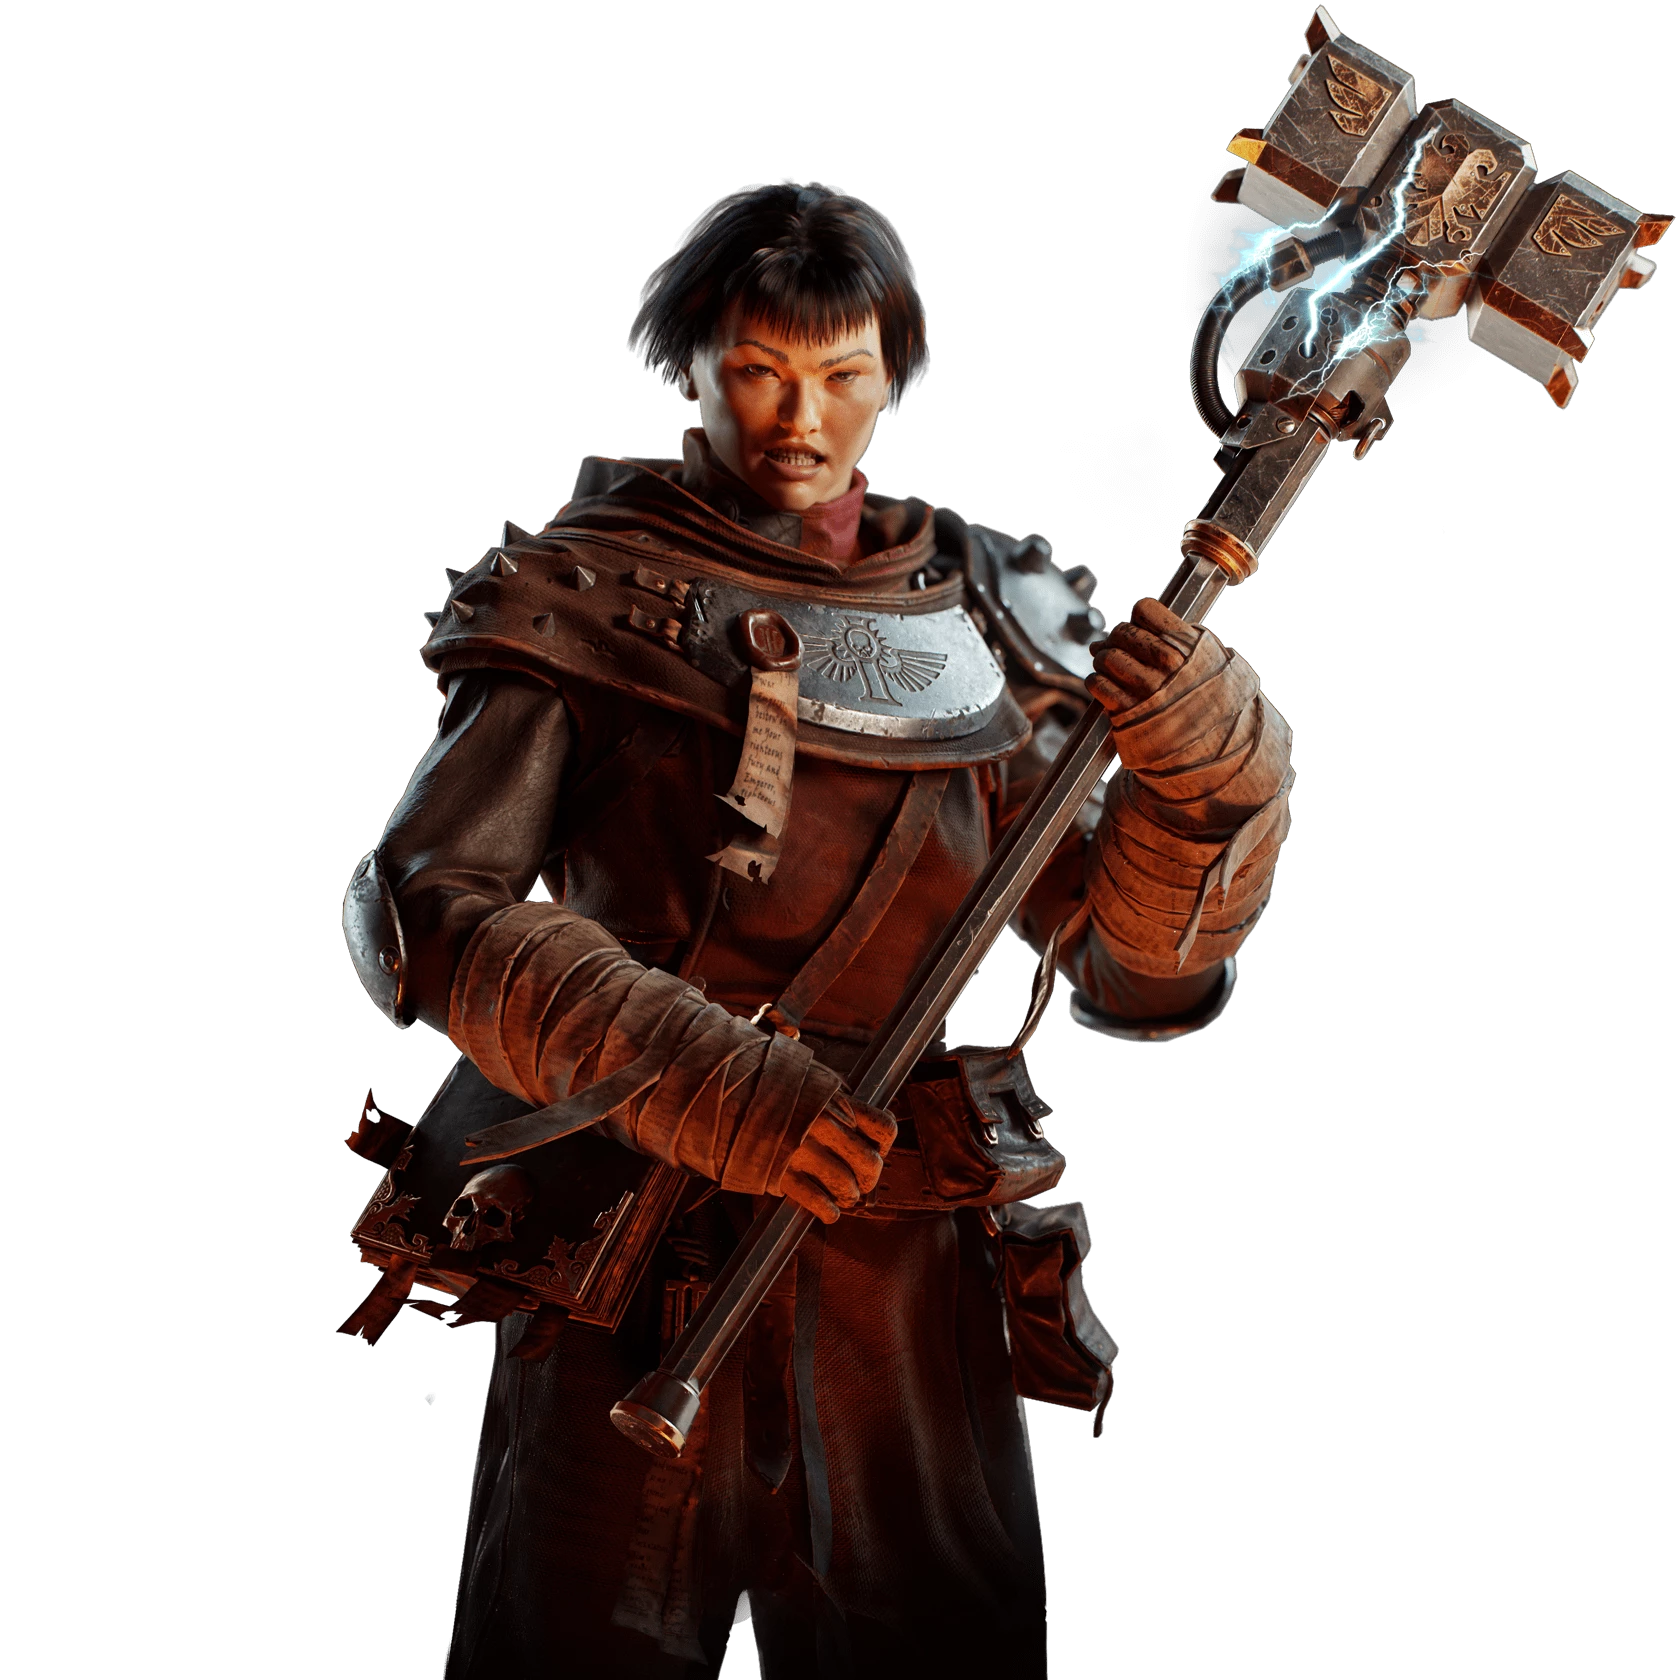
Class
Weapons
Curios


Talent Tree
Description
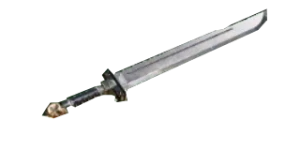
This build is designed to maximize the effectiveness of the Devil's Claw sword and its parry special action. Grievous Wounds increases your impact enough on weakspot hits that you can stagger everything except ogryns, mutants, and bosses even by just spamming light attacks, which makes the Skullcrusher blessing more powerful than the commonly-chosen Rampage blessing. Shred was chosen over Rampage because it's more reliable for single-target damage and helps proc various talents.
Since the sword is weak against carapace armor, the bolter is needed for killing crushers at a reasonable rate. Blades of Faith are used for killing most specialists/gunners outside melee range and for animation-canceling the slow bolter weapon swap. To do the animation cancel, start swapping weapons and then use a throwing knife after the bolter equip animation has started.
No Respite allows you to easily maintain your stamina for parrying, but can optionally be swapped for something else. If you want Infectious Zeal to buff teammates' crit chance, dropping No Respite is probably the best option. Anoint in Blood, Vicious Offering, Thy Wrath be Swift, and Shield of Contempt are other decent swaps if you don't think you need for the extra stamina recovery from No Respite. Impassible is an alternative to No Respite for maintaining stamina and refreshing dodges if you're good at timing your dodges and parries.
Benediction is generally the best Zealot aura, but this build can swap to any other aura if you prefer, or if another Zealot on your team is using Benediction already. Beacon of Purity in particular is useful for certain mission modifiers. Zealous used to be a meme aura, but seems worth considering now that it got a buff to stamina regen delay.
On the curios, you can swap the block efficiency perks for ability cooldown, stamina regen, or whatever else if you prefer. The +3 stamina curio could also be swapped for toughness/health if you prefer.
I like the Mk VII Devil's Claw best, but you can use a different variant if you prefer. I've included suggested attack combos below for each variant of the weapon. There's quite a bit of room for improvisation with the attack combos, especially when mixing in parries and push attacks.
Catachan Mk VII "Devil's Claw" Sword
Horde clear: heavy > light > repeat OR heavy > parry/block cancel > repeat
Single target: light > heavy, then (light x2 > heavy > repeat) OR push attack > light > repeat
OR spam light attacks
Monstrosity/boss aggro: parry when possible, then spam light attacks between enemy attacks
Catachan Mk IV "Devil's Claw" Sword
Horde clear: light > heavy > repeat OR spam light attacks
Single target: heavy > light > repeat OR heavy > parry/block cancel > repeat
Monstrosity/boss aggro: parry when possible, then use the single-target combo between enemy attacks
Catachan Mk I "Devil's Claw" Sword
Horde clear: spam heavy attacks
Single target: spam light attacks
Monstrosity/boss aggro: parry when possible, then spam light attacks between enemy attacks


