Table of Contents

Ogryn Build - Warhammer 40k: Darktide
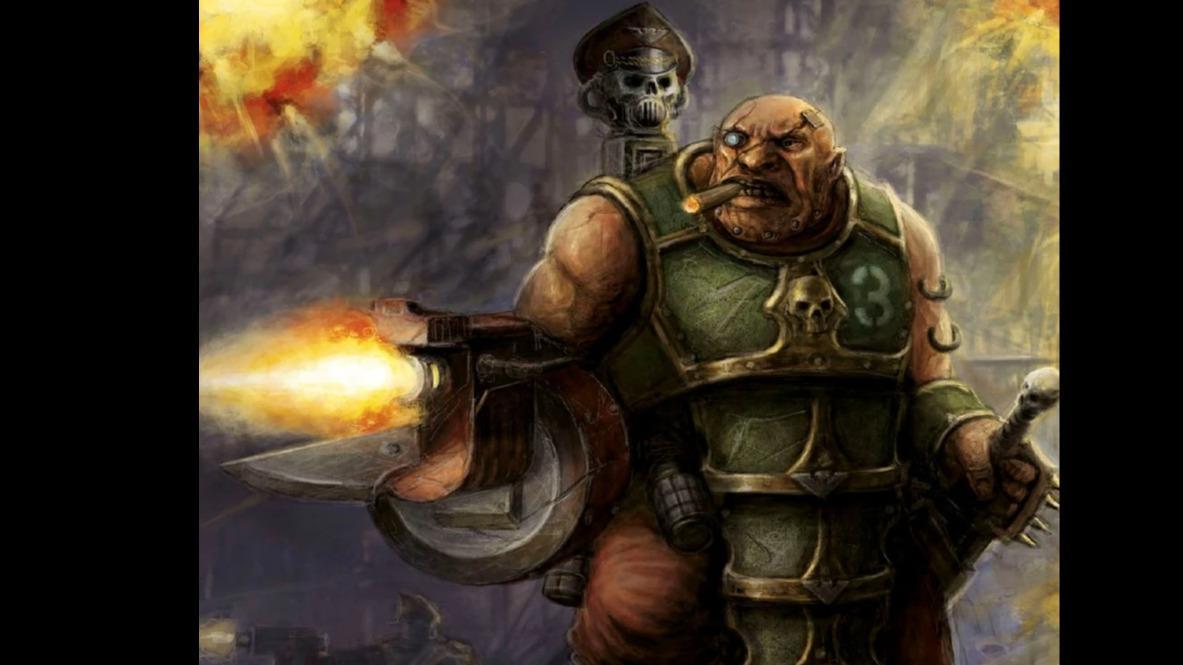
GET RIPPIN! (The META Gunlugger)
Ogryn Build - Warhammer 40k: Darktide
Class
Weapons
Curios


Talent Tree
Description
RIP IT, SAH! — The Ripper Gunlugger META Build Guide
The dream is alive!
CURRENT HIGHEST HAVOC : 23 (Im not hard grinding it until I stop lagging, would like more data on higher modes though)
NOTES: Felt fine, elite waves melt before our mighty ripper and its flechettes.
Finding the game difficult to play on account of lag spikes though. Not sure if its my end, seems to have gotten worse.
Talent Tree Overview
After a lot of testing, this build delivers exactly what we want:
- Massive Bleed uptime
- Reliable Burninating pressure
- Strong melee as a backup (not the focus, but very real)
- Durable braced firing gameplay
- Consistent performance in Auric and likely high Havoc ( More testing required)
This setup blends ranged brutality with melee flexibility while staying tanky enough to bully everything standing in front of you.
Core Identity
This build is a Ranged-First Hybrid: the ripper does the killing, melee patches gaps and handles armor, and your talent picks maximize crit uptime, braced stability, and toughness sustain.
What the Tree Prioritizes
- Mandatory Nodes: Massacre and Good Shootin' — core crit engine; Massacre also benefits melee, pulling double duty.
- High-Value Nodes:
- Defense Talents: Pumped Up , Mobile Emplacement , Steady Grip , No Hurting Friends! — provide braced stability, damage reduction, and survivability.
- Melee Talents: Soften Them Up , Slam , Strike True , Batter — allow melee utility, stagger, armor clearing, and pseudo Skullcrusher effect through Soften Them Up without the need to take it.
How It Plays
The tree is shaped around one concept:
Kill chaff → trigger Massacre → @Lucky Bullet procs → everything bleeds to death.
Your nodes funnel into a single loop: stable braced fire, high DoT uptime, and enough melee to handle Crushers and stay alive.
Mandatory Nodes
- Massacre — core crit engine, enables Flechette to shine, benefits melee.
Good Shootin' — Lucky Bullet proc for more crits.
Average Crit Chance
- With maxed Massacre stacks (18.5%) and Lucky Bullet (15% chance per shot):
- Chance to crit per shot = base chance + (chance it didn’t crit) × Lucky Bullet 18.5% + 81.5% × 15% ≈ 31% per shot to crit!
Thats pretty damn good, Sah!
✔ High-Value Nodes
Defense Talents:
- Pumped Up — free 12.5% DR with high uptime, massive survivability.
- Mobile Emplacement — stability for braced control.
- Steady Grip — recoil control + braced consistency.
- No Hurting Friends! — safe bracing + team benefit.
Melee Talents:
- Soften Them Up — melee debuff, pseudo Skullcrusher synergy for Pumped Up.
- Slam — stagger utility for melee control.
- Strike True — higher melee consistency.
- Batter — smooth melee chain + good uptime.
⚠ Nodes We Skip (And Why)
- Smash 'Em! — overkill for this build; club hits multiple targets constantly.
- Bulletstorm — low uptime, negligible bonus.
- Reloaded and Ready — low uptime, low payoff.
- Pacemaker — good on pure gunners, but hybrid melee/DoT gameplay makes it less useful.
This frees up points to...diversify our heretic smashing portfolio to include some of the aforementioned synergy's for our Bonk Stick =D
Ranged Weapon — The Ripper
Overview
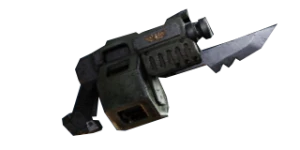
The Ripper MK2 is the primary ranged weapon for this build, offering high AoE damage, reliable mid-range sniping, and consistent bleed synergy. Flechette is the mandatory blessing that makes this build shine with crits.
Unique Ripper Mechanics
- Pellet Count: Each shot fires 21 pellets, with a guaranteed minimum of 5 hits. Even if only one pellet lands, the game counts it as 5 hits. This ensures consistent damage, reliable bleeds, and mid-range sniping effectiveness.
- How It Works In-Game: The game calculates hit per pellet based on spread and distance. The minimum pellet mechanic guarantees at least 5 hits per shot, making damage output and bleed application predictable.
- Blaze Away Ammo Rounding: The Ripper counts shots for Blaze Away stacks after 19 rounds. With a 21-round clip, every mag can fully trigger Blaze Away, giving maximum stack uptime per reload.
Recommended Blessings & Perks (Ranged)
- Flechette (Blessing): Mandatory; unique bleed synergy and crit interaction.
- Blaze Away (Blessing): Provides the most stat bonuses and interacts neatly with the Ripper’s 21-round magazine.
- 25% Flak (Blessing): Most general damage bonus; effective against nearly all enemies since most have no armor or only partial carapace.
- 25% Unyielding (Blessing): Boosts boss damage, and is especially effective against Reapers, Bulwarks, and Crushers.
Playstyle Tips (Ranged)
- Focus on destroying elite and mixed hordes.
- Braced Fire: With our toughness synergies, wade forward while laying down swathes of destruction.
- Conserve ammo for mid-range engagements.
Melee Weapons & Talents
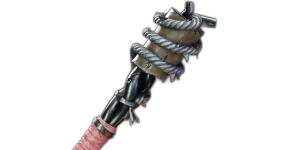
Primary Melee Weapon — Brunts Basher MK3
- Overview: The king of melee — fast attack speed, high stagger, sweeping lights for horde clear, and overhead strikedowns for armor. Tons of combos, though light spam is generally enough.
- Combo Tips: Mix in a heavy at the end of a light chain for two strike downs, e.g., L1-L2-L3-H4 combo for two sweeping attacks and two strike downs — good for mixed hordes and elite heads. Can also do triple strike down push attack, but light spam is most efficient.
- Additional Utility: Slap enemies to knock back Pox Walkers and stagger foes.
Recommended Blessings & Perks (Melee)
- Confident Strike (Blessing): Shoring up toughness regen; better than Smash 'Em! for this build.
- Thunderous (Blessing): Adds brittleness on hit, synergizes with club’s high attack speed, increasing team damage.
- 25% Carapace (Perk): Effective against Crushers.
- 25% Unyielding (Perk): Boosts boss damage and effective against Reapers and Bulwarks.
Playstyle Tips (Melee)
- Use the club to stagger and control rager and armor waves with practiced ease.
- Focus on horde clear and elite/special cleanup while conserving ammo for ranged engagements.
- Light spam is generally sufficient, but mix in heavy strikes at the end of light chains for strike down combos when dealing with elites.
Curios & Defensive Setup
Curios: 17% Tougness x 3
Perks: 5% Tougness x2 / 4% Combat Ability CD x2 / 20% Gunner Resitance x2 / 20% Sniper Resistance x1 / 12% Revive Speed x2
Total Stats:
- Base Toughness: 226 → effective ~233
- Gunner DR: ~36%
- Sniper DR: 20%
- Revive Speed: 24% faster (~0.75 sec saved per rescue)
- Combat Ability CDR: 8%
Combat Ability Cooldown
- Point-Blank Barrage: 80s base
- 2 × 4% CDR perks → 8% total:
80×0.08=6.4 seconds reduction80 \times 0.08 = 6.4 \text{ seconds reduction}80×0.08=6.4 seconds reduction
- Third 4% perk saves ~3.2 seconds → minimal impact
- Conclusion: Two perks provide ample uptime with Maximum Firepower + Bruiser
Revive Speed
- 2 × 12% → ~24% faster
- Base: 3 seconds → 2.28 ≈ 2.25 sec
- Applies to all save actions: nets, ledges, downed allies
- Saves ~0.75 sec per rescue → often the difference between clutching a save or losing a teammate
Toughness & Damage Reduction
- Base Toughness: 226
- Effective DR:
- Gunner: 2 × 20% → ~36% (0.8 × 0.8 = 0.64 → 36% blocked)
- Sniper: 1 × 20% → 20% DR
Sniper Shot Toughness Test (Ogryn)
- Stats: 226 Toughness, 300 HP
- Scenario: Hit by a sniper shot with 20% sniper resistance
- Result:
- With 20% sniper resist → Toughness drops to 1, HP intact
- Without sniper resist → Toughness breaks → drops to 1, HP drops to 232
Interpretation:
- Sniper resistance is actually meaningful — it prevents toughness from breaking fully and protects some HP.
- Even with high base toughness, a sniper shot is enough to almost deplete toughness.
- 20% sniper resistance buys ~70 toughness worth of buffer, which can be the difference between fully breaking toughness or surviving with minimal loss.
Takeaway: For Ogryns, sniper resistance is worth taking if you want that extra buffer against one-shot potential from snipers.
Practical Takeaway:
- Survives sniper hits
- Massive buffer for braced forward fire
- Optimal for Gunlugger Ogryn frontline while supporting the team
Well Sah, this had been me guide to bashn, rippin, bleedin, and burninating the emprah enemies!


