Table of Contents
Class
Weapons
Curios


Talent Tree
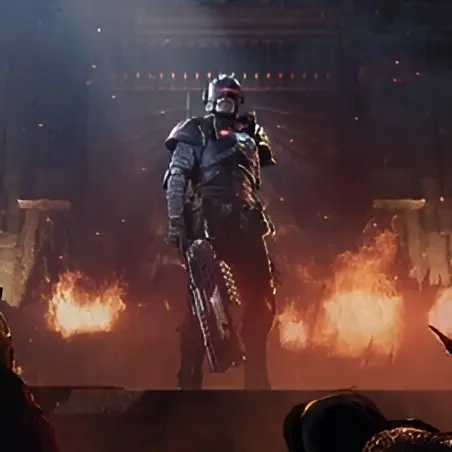
Description
HAVOC 40 | ARMOR SUPPORT
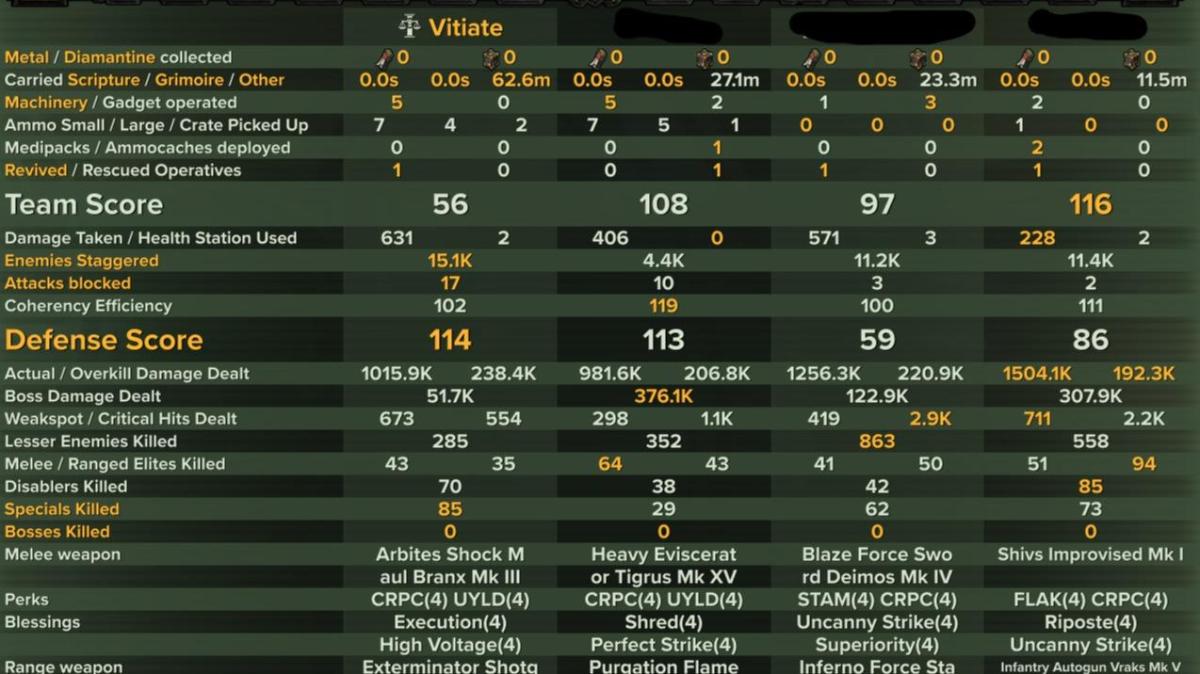
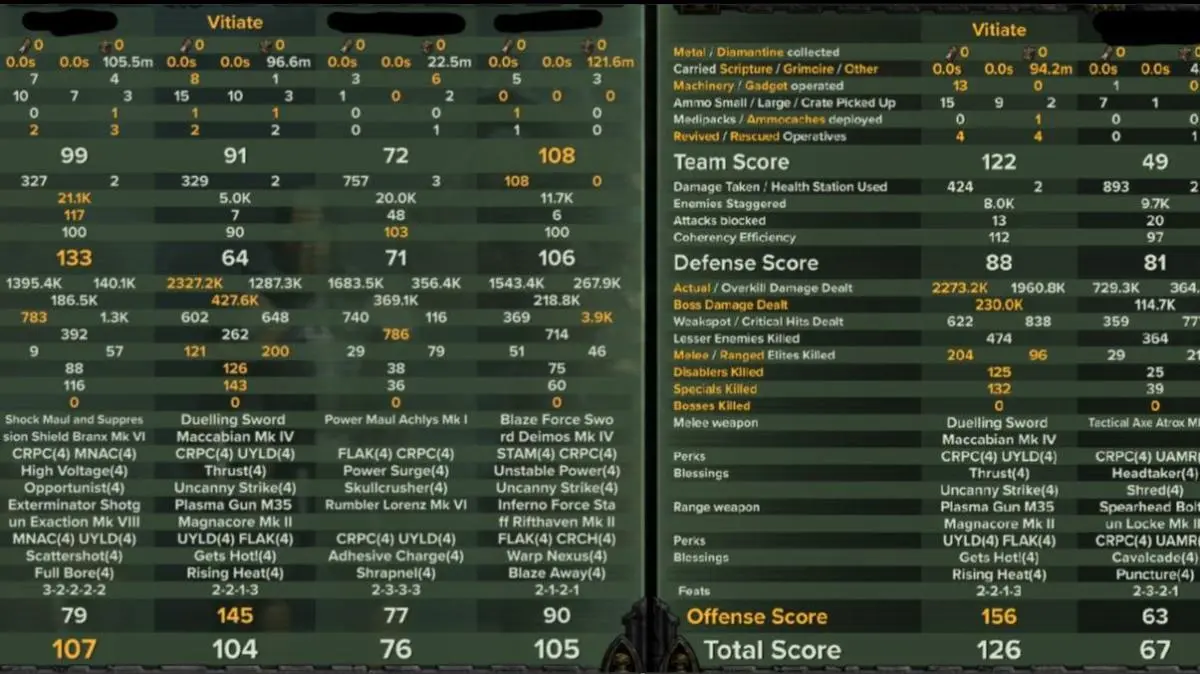
Here is my H40 support build for hard countering Rotten Armour, Stimms, Encroaching Garden or Final Toll.
You will frontline and control the battlefield.
BUILD CONSIDERATIONS
MELEE
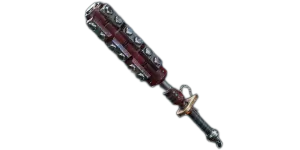
- Arbites Shock Maul.
- Carapace, Unyielding
- Execution, High Voltage
- Hit Combos
- Out of Mine
- Heavy 1 > Weapon Special > Repeat
- Heavy 1 staggers, and the Special Alternate Fire electrifies the enemy maximizing Shock Maul Blessings
- Heavy 1 > Weapon Special > Repeat
- In Mine
- Heavy 1 > Light 1 > Repeat
- Heavy 1 > Weapon Special > Repeat
- Heavy 1 > Block Cancel > Repeat
- Trash Clear
- Light 1 > Heavy 1 > Repeat
- Block + Push Attack + Heavy 1 > Repeat
- Out of Mine
RANGE
- Exterminator VIII Shotgun
- Flak, Maniac
- Full Bore, Sustained Fire
CURIOS
- +17% Toughness - Combat Ability, Revive Speed, Gunner Resist
- +3 Stamina - Combat Ability, Revive Speed, Stamina Regen
- +21% Health - Combat Ability, Revive Speed, Gunner Resist
This Curio setup of Toughness, Stamina, and Health is my default for Arby.
The +21% Health puts you in a great position to have 3 True Grit procs and survive. It then gives a little leeway for any other chip shots you might take.
Then the +3 Stamina helps with many stamina intensive builds I run with the Arby giving me a pretty good feel regardless of what I build.
H40 TIPS
A few tips when playing the character
- Frontlining
- You will be setting the frontline for your team. Even if you have a Shield Psyker, they will be following you.
- If you find yourself staring at your teammates' backsides
- Then you're not doing your job.
- If you do mess up, the build will give you 3 mulligans via True Grit.
- Corralling, Kiting & Culling
- When pulling aggro it's important that you setup the chokepoint/killzone.
- You don't have to Break or Mine right away.
- General rule: You want 80% of the horde coming after you AND you want to be able to funnel 80% of that horde
- The remaining 20% is easy to pick off for your remaining 3 allies
- Your first evaluation is after pulling aggro > WHERE do you pull it to?
- If out in the open > pull back to choke point
- Follow the When to Break & When to Shock considerations below
- If out in the open and surrounded
- Panic Shock Mine
- You got caught > Focus solely on clearing your path back to the choke point or kiting path
- Panic Shock Mine
- If out in the open > pull back to choke point
- Your second evaluation > kiting paths & distance left
- Since you're pulling most of the aggro, it's not hard to just kite and pick off enemies.
- If your choke point breaks down > If you have large maps and can move back > use it to your advantage
- Very often all of the Armoured enemies will chase after you and so your teammates can stand in the horde without any issues dealing damage
- Since you're pulling most of the aggro, it's not hard to just kite and pick off enemies.
- When pulling aggro it's important that you setup the chokepoint/killzone.
- When to Break & When to Shock
- In S3 of H40, Shock Mines were hilariously busted. Now you have a 90s cooldown, and thus can't just spam these things.
- Being methodical with how you frontline will heavily dictate your team's success.
- Break the Line
- This is your default
- You should be able to use this 4-6 times per mine recharge.
- Break the Line + Arbites Vigilant will give you two 25% damage bonuses.
- It's easy to hit 5 Elite enemies during ability, and get off 10 hits to maximize Forceful + Arbites Vigliant synergy
- One important note: You don't have to attack what you knocked over.
- You can use this ability to cull the herd while kiting.
- One common way I use this: Crusher/Mauler/Rager mob
- Break the Line into the Crushers, then immediately pull back to kill the Ragers.
- Then 1v8-10 Crushers/Maulers is much easier.
- Shock Mine
- Your rule of thumb to mine is about 20+ Crushers/Maulers.
- To newer players anything below this number this looks very, very scary. It's really not.
- Ragers are easy to kill via Break the Line with the damage bonuses.
- Your rule of thumb to mine is about 20+ Crushers/Maulers.
- Shock Mine > Break the Line
- If you mine first, then Break the Line, you will have full 6 seconds of both +25% damage buffs, and another 6 seconds with just one. By the time the mine ends, you will have Break the Line almost off cooldown.
- At this point reevaulate the Coralling, Kiting & Culling considerations.
- In S3 of H40, Shock Mines were hilariously busted. Now you have a 90s cooldown, and thus can't just spam these things.
- Specials & Disablers
- Since you're frontlining, Specials & Disablers will be the bane of your existence.
- Here is how you win in every situation.
- As a habit, when not in combat always switch to your Exterminator and reload.
- If in mobs or while Shock Mine is down, reload your gun before Break the Line.
- Most of the time, the armored elites will create a natural blockade to gunners
- If there is no blockade
- Sniping Reapers is #1 priority. These will melt you.
- Pushing Gunners is next priority
- Even if you're surrounded by Armor, understand that only 1-3 of them will every attack at once.
- This makes them very easy to dodge. This is also where most people panic and don't realize how the games' code of enemy attack patterns work in H40.
- If there is no blockade
- Trappers, Snipers, and Bombers
- Create space via kiting, Break the Line or Shock Mine
- Then identify and shoot in the face ASAP. Since you're frontlining, they're coming for you because your advancement triggered their spawn or aggro.
- Hounds and Mutants
- Identify, then Block + Push Hounds, and dodge the Mutants
- Then kill them.
- Since you're frontlining, Specials & Disablers will be the bane of your existence.
- Boss Fights
- You're not going to melt the boss, but you can draw aggro for the person who does kill bosses.
- When drawing the aggro, you can dodge, reload your gun, and shoot any Special that shows their face.
- Clutch Revives - Break the Line plus the setup I showcase will allow you to revive anyone while they are staggered. Or you can always Shock Mine. Just be aware if they are stagger immune and can still attack.

Havoc 40 | Vet | 4M Nade Weapon Specialist
By Vitiate • Updated 2 months ago

Havoc 40 | Zealot | 1.5M Blazing Fury Warrior - Duelling Sword
By Vitiate • Updated 1 week ago

Havoc 40 | Zealot | 1.75M Fury Martyr Warrior - Relic Blade
By Vitiate • Updated 1 week ago

Havoc 40 | Ogryn | 1M Shield-Tank-gryn
By Vitiate • Updated 2 months ago

