Table of Contents
Class

Weapons



Riposte
+20% Critical Chance for 6s on successful Dodge.

Thrust
Up to +20% Strength based on the charge time of your heavy attacks. Stacks 3 times.


Warp Nexus
Gain between 5% and 20% Critical Chance based on current level of peril.

Blaze Away
+8% Strength for every 10% of magazine spent during continuous fire. Stacks 5 times.
Curios


+17-21% Max Health
+13-17% Toughness
+1-3 Max Stamina
Talent Tree

Description
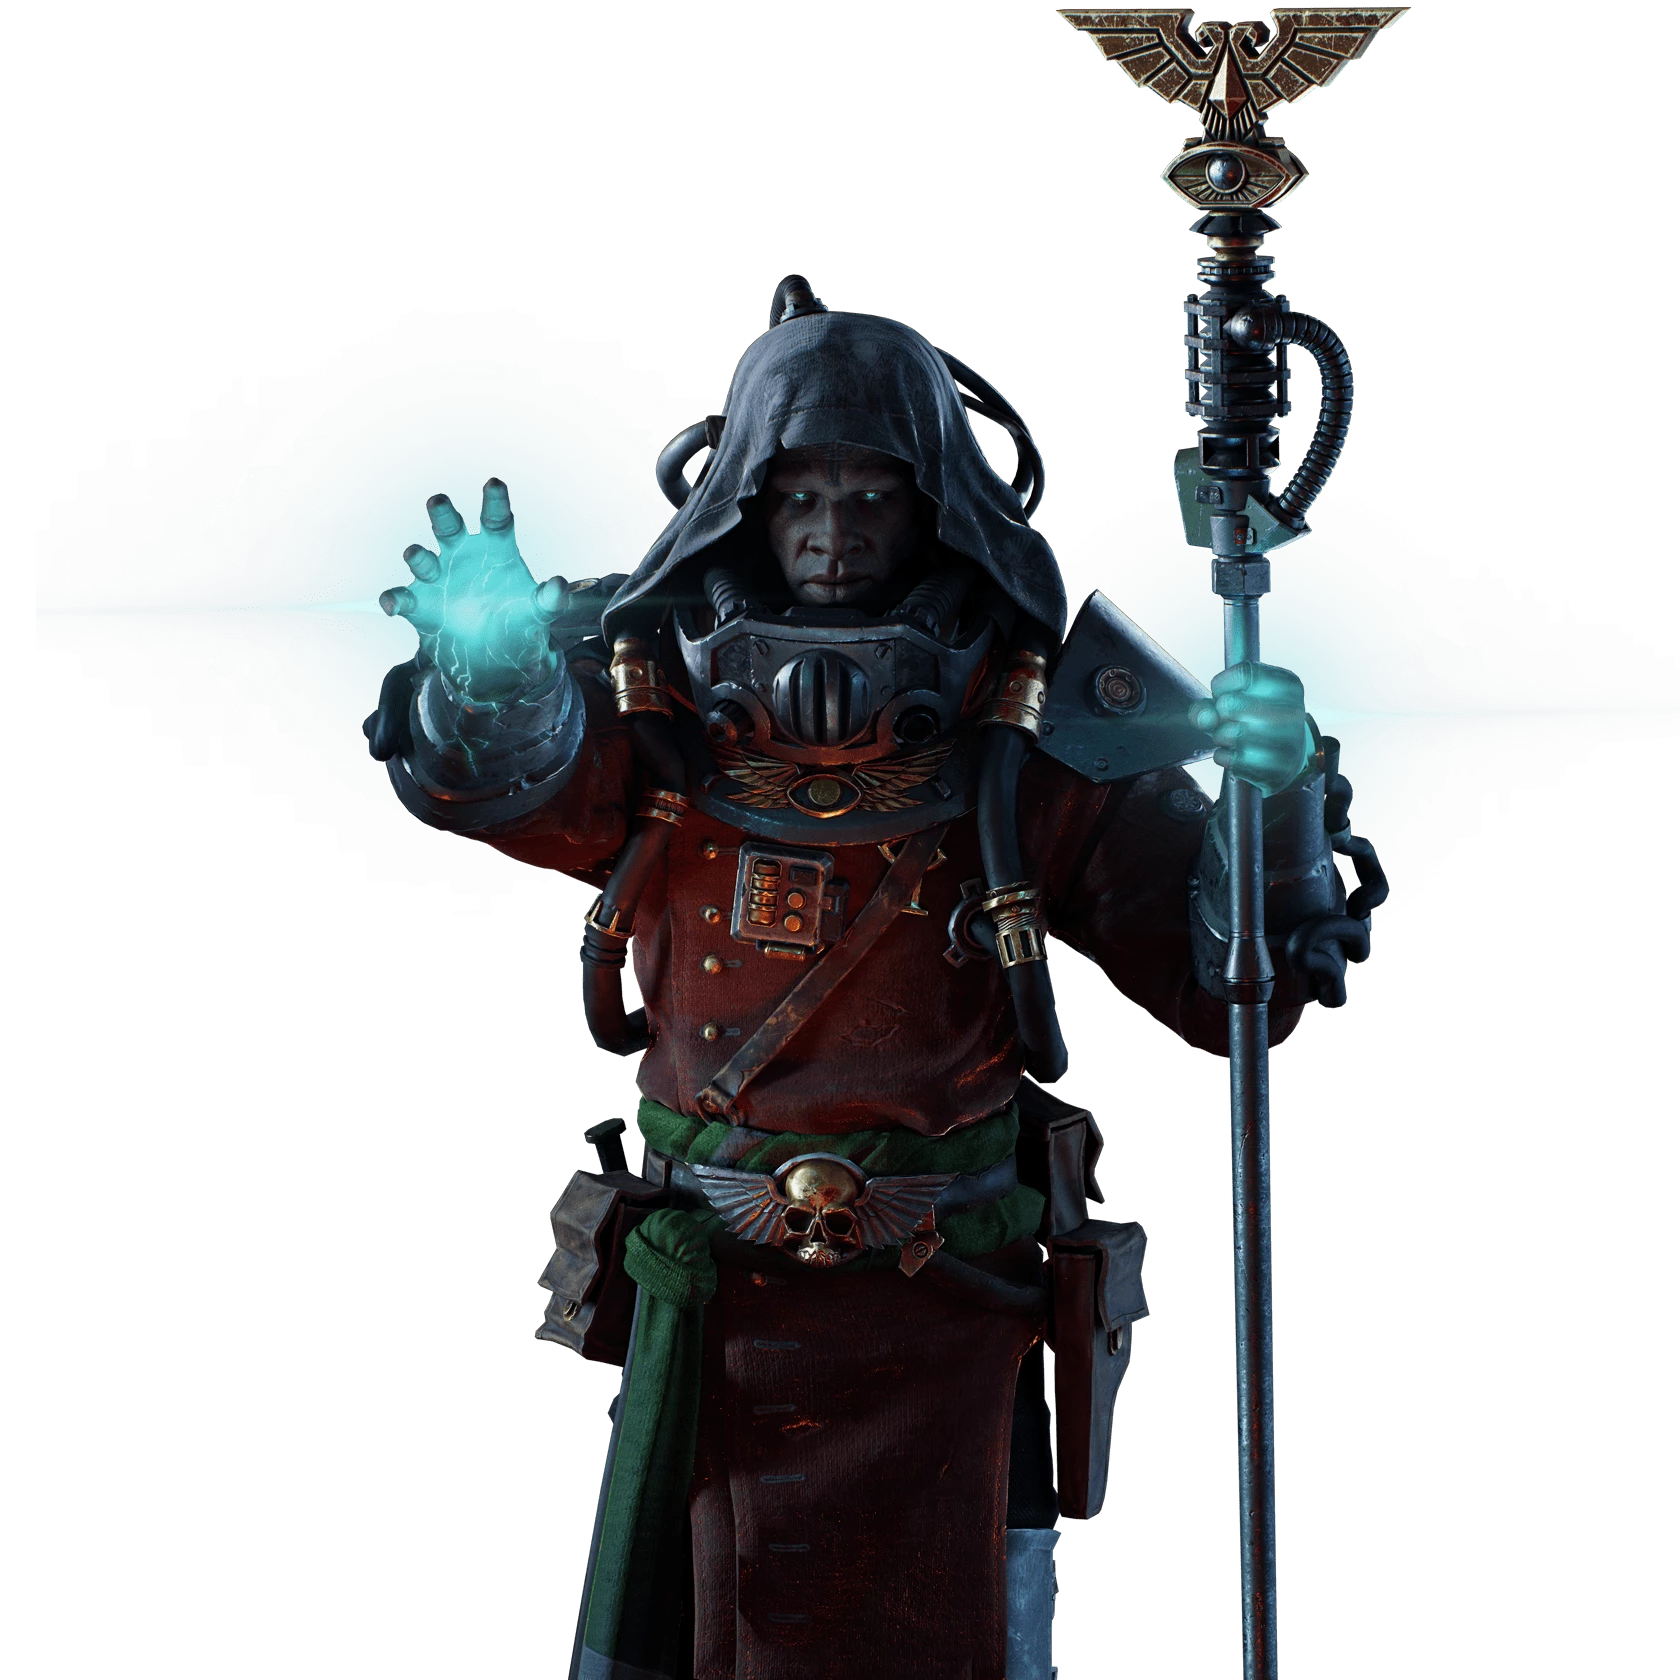
This is a Rifthaven Mk II Inferno Force Staff + Telekine Shield (bubble) build that goes for high damage output and a balance of survivability. You will use the flame staff more than anything else with this build. I see this build as a 'base' as to what a typical flame staff build would look like; and that you should change accordingly to what you need and prefer. Further explanation on each part below.
I am not a pro at Darktide. I've been asked what build I used in one of the clips I posted on YouTube. On brief look on other builds that use the same weapons, I've not found something that used the same talents as mine. So here it is.
The Rifthaven Mk II Inferno Force Staff is either loved or hated. Loved because of how strong it is for clearing, and hated because it makes run easier and less challenging.
+-------------+-------------+-------------+
The Main Damage:
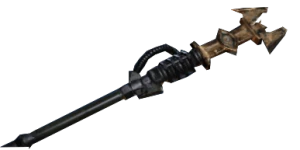
Rifthaven Mk II Inferno Force Staff
Use Flak Armoured and Unyielding Perks, with Warp Nexus Blaze Away and 60% on Damage.
Main reason why Damage is at 60% is because it is only applicable on the hit. The staff is mostly used to apply burns, not as a weapon for direct hits. There are youtube videos showcasing this, and it is slightly more effective to drop Damage and increase everything else on the staff to maximize damage.
Flak Armoured allows you to kill elites quicker in a flame sweep (as well as left click light attack spam), and Unyielding allows you to deal more direct damage to monstrosities. Carapace Armoured is not considered here as the damage output on Crushers is far too low. Please know that these Perks do NOT increase the damage over time warpfire effect. It only affects direct hits by the flame staff. With that in mind, you can swap out any Perk for anything else that you prefer. Ranged Crit Chance + Unyielding would be good too.
The gameplay is simple, charge BELOW 45%, then let go and sweep your screen. BELOW 45% is important because of Blaze Away. If you charge 46%, Blaze Away stacks will disappear. Continuously charging below 45% will allow Blaze Away to be active at full stacks, charge after charge. What does Strength do from Blaze Away? It increases Damage, Impact (stagger), and Cleave. Cleave does not affect flame staff, having constant 40% increase to Damage and Impact to the flame staff makes it a silly weapon that staggers a lot of enemies. But do know, this is only applicable to the 'hit' of the fire. When you hit an enemy, 1 stack of warpfire is applied on the enemy (2 stacks if crit). In between attacks, always look around you. Something might be behind you. Use light attacks if you need to push something away with your staff. Light attacks from the staff have stronger stagger than charged attacks.
Because Blaze Away increases Impact, sweeping with the staff is more effective than holding the flame in 1 spot. What I mean by this is, make sure you're touching the flame to all the enemies around you rather than keeping the staff still. Sweeping will allow you to stagger enemies even if the enemy is touched once; as well as spreading damage over time to all enemies. It is true that hard focusing a section will kill that section faster; but staggering all 50 enemies, is better than killing 30 and having 20 freely run towards you. The warpfire stacks will kill the 50 enemies eventually.
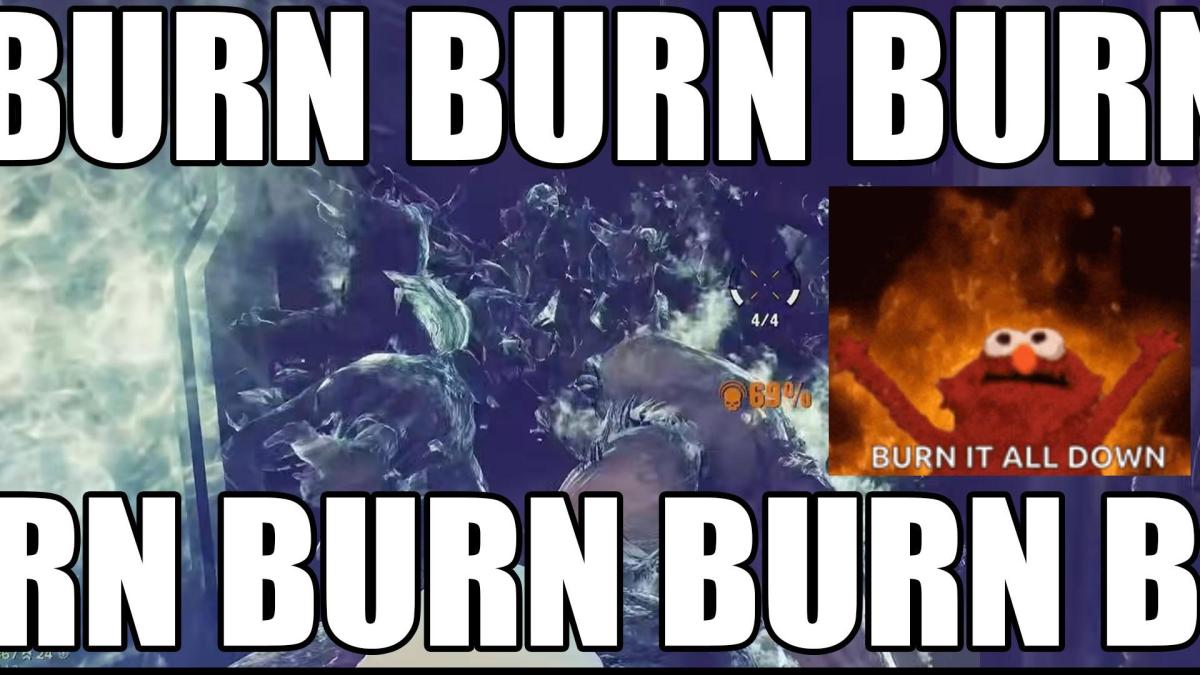
How does warpfire work? The more stacks, the more damage. Rifthaven Mk II Inferno Force Staff alone can stack 15 stacks maximum on a single target. The damage varies per enemy type, some take higher ticks, some take lower.
1 Stack: Single digit damage ticks.
3 Stacks: Around 15 damage ticks.
6 Stacks: Around 60-140 damage ticks.
9 Stacks: Around 90-300 damage ticks.
12 Stacks: Around 120-400 damage ticks.
15 Stacks: By the time this non-boss enemy reaches this many stacks, it's probably almost dead.
These numbers are not exact, but it should give you an idea of the damage you're dealing. Know that a stack will tick 10 times; most elites have 1k-2.3k hp. Something like that. The damage varies depending on your peril count and applied buffs (Blaze Away etc).
Can you have more than 15 stacks? Yes. Perilous Combustion See below.
How does the build work?
Imagine 30 hordes and a mix of 20 elites/specialists inside it. Drop Telekine Shield. You charge below 45%, sweep everything. The 30 hordes will get staggered and eventually die from a few stacks of warpfire. Kinetic Flayer triggers on a random elite, killing it, and Perilous Combustion triggers, spreading 3 stacks of warpfire to nearby elites/hordes. If a horde die, Wildfire spreads to enemies around it. At this stage, a bunch of enemies will have 6 or more stacks of warpfire on them as you continuously charge sweep your flame staff. Eventually, another elite will die, releasing another 3 stacks of warpfire from Perilous Combustion on top of whatever amount of stacks the enemies already have. This has become a runaway warpfire situation. You only need 2 or 3 elite deaths in a group to wipe the entirety of the group regardless of size.
Perilous Combustion does not have a stack limit. If there is, I have no idea what it is. I've seen 22 stacks on a single enemy before. Keep dropping Telekine Shield whenever you have it. You'll eventually learn where and when to use this effectively. If you don't know the timing, it is overall better to be used than not; for the toughness regeneration it gives on the team.
Go to Auric Psykhanium, burn the group with the sniper in it, and watch Kinetic Flayer, Wildfire and Perilous Combustion kill stuff.
+-------------+-------------+-------------+
Melee choice is for mobility:
Generally speaking, you don't need to use your melee to kill anything. Your staff is usually better at it. The main struggles for the staff are Crushers, Captains (bosses with bubble shield around them) and Monstrosities.
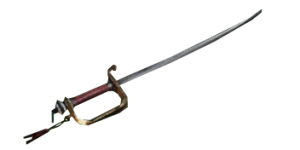
Both Maccabian Mk IV Duelling Sword and Catachan Mk VI Combat Blade has high mobility modifiers (bigger dodge distance + faster running speed).
A crusher/boss comes to you, you have 2 choices:
1. You decide to stay and fight:
Maccabian Mk IV Duelling Sword (Block Efficiency+Carapace/RiposteThrust) can heavy attack poke. You'll be able to get rid of that 1 crusher that's on you, instead of relying on team mates to save you. This weapon is also the better choice if you're the only one alive in your team. There will be moments where you simply can't run and have to kill some enemies/bosses in melee. I use this weapon with Block Efficiency because I don't expect to kill stuff with it other than Crushers. If I need to rescue/revive a player, block efficiency comes into play.
2. You decide to run away and reposition yourself for staff:
Catachan Mk VI Combat Blade (Stamina+Block Efficiency/RipostePrecognition) has a fast running heavy attack. If you hold heavy attack while sprinting forward, and then slide during the attacking animation, you'll be ratting like there's no tomorrow.
I switch to melee when I need to move around.
Of course, you can go for an aggressive playstyle where you bring a different melee altogether. If I were to use a different weapon, my weapon of choice is Cadia Mk XIIIg Assault Chainsword due to its high base damage.
+-------------+-------------+-------------+
Curios are up to you:
I default to Cooldown Reduction, the other 2 perks are optional. Note that stamina regen, block efficiency, and faster revives are great options.
I would aim to get Curios that suit your play style. If you have absolutely no idea what to do with Curios, grab Health, Toughness and Cooldown Reduction; and then adjust to get what you need depending on what you're struggling with. The stamina curio is up to you as well; sometimes, I find myself with no stamina to push a poxburster or that I don't have enough stamina to block multiple attacks (reviving someone for example), hence why I went for that instead to match my needs.
Just a rule of thumb, you don't need a ridiculous amount of toughness, minmax build crafters will tell you that Health is more important than Toughness due to the mechanics of being hit while not on maximum toughness (if you get hit while not at max toughness, the damage is spilled onto hp, that is, you survive longer for more hits with higher hp in general). If you continuously get hit twice then recover toughness to max, the second hit will always chip away your hp, a very high maximum toughness in this case would not matter. High toughness does allow you to take a 3rd or 4th hit better, as the toughness reduces hp damage taken so long as you have toughness. If you run out of toughness, it's all going to hp damage direct. But remember, you have a lot of toughness regeneration/damage reduction talents to make up for this, I don't know what the optimal hp vs toughness ratio is for the best durability; because I think it depends on how often you get hit consecutively.
What is used in the video is Health + Toughness + Stamina Curios, with 3x Toughness, 3x Cooldown Reduction, 1x Health, 1x Gunner Res, 1x Bomber Res perks. I keep stepping into bomber stuff, and sometimes get beamed by gunners.
+-------------+-------------+-------------+
Talents:
Survivability: Mettle Soulstealer Souldrinker is more than enough toughness regeneration. Psyker is not the type to take chip damage. You're either healthy, hurt badly, or dead. Any more toughness regeneration is wasted.
The main damage reduction/mitigation would be One with the Warp, Just a Dream and Anticipation. One with the Warp would allow you to take toughness damage from something decently, Just a Dream allows you to take less hp damage as long as you aren't maxed on peril, and Anticipation gives you an extra dodge to move yourself around in combat. The extra dodge can be the difference between taking a hit, and dodging it entirely.
Penetration of the Soul not a necessary talent. This talent is only applicable on direct hit (just like 60% Damage on staff). Not only that, it is only applicable on Warp Attacks.
Peril Equilibrium is generally good for the melee weapon. It helps keep up Warp Rider if the player is pushed into melee.
Empyric Resolve allows you to use the staff more often. This means you can deal more damage overall, and the staff would also feel nicer without needing to reload so much.
Kinetic Flayer will be the primary reason why you bring Brain Rupture. This allows you to snipe far away enemies with Brain Rupture to compensate for the close ranged nature of the staff. I find it wasteful to bring Smite to a flame staff dominant build. Sure, you could switch to smite when there's too many crushers. But that means you're not using the weapon that can sweep the area clean. Assail has a different effect. Bringing it allows you to clear ranged enemies decently well, making the build more diverse. The difference is you lose that instant 3 stack warpfire from Perilous Combustion on a Kinetic Flayer kill that triggers once every 12 seconds. You also lose boss dps provided by Kinetic Flayer as well. Know that Kinetic Flayer does not pop on Poxburster.
Alternative Talents to get:
Swap Soulstealer for Quietude: Soulstealer keeps you healthy on hordes. Quietude keeps you healthy when you're fighting something that has high hp (because there's no horde to kill).
Swap Telekine Shield Telekine Dome Sanctuary for Venting Shriek Becalming Eruption Creeping Flames: This is a hard offensive build for flame staff. Dropping bubble altogether for more mass warpfire. Best you carry Empathic Evasion with this by dropping Peril Equilibrium or Psykinetic Grip. You'll also need to drop Empyric Resolve for Penetration of the Soul because your skill will be ready before your peril reaches critical.
I recommend testing alternative talents until you find something that suits your own playstyle and preferences. The selected talents on this guide are my own preferences that I've ended up with after a few hundred hours of playing around flame staff. I'm still learning and adjusting.
+-------------+-------------+-------------+
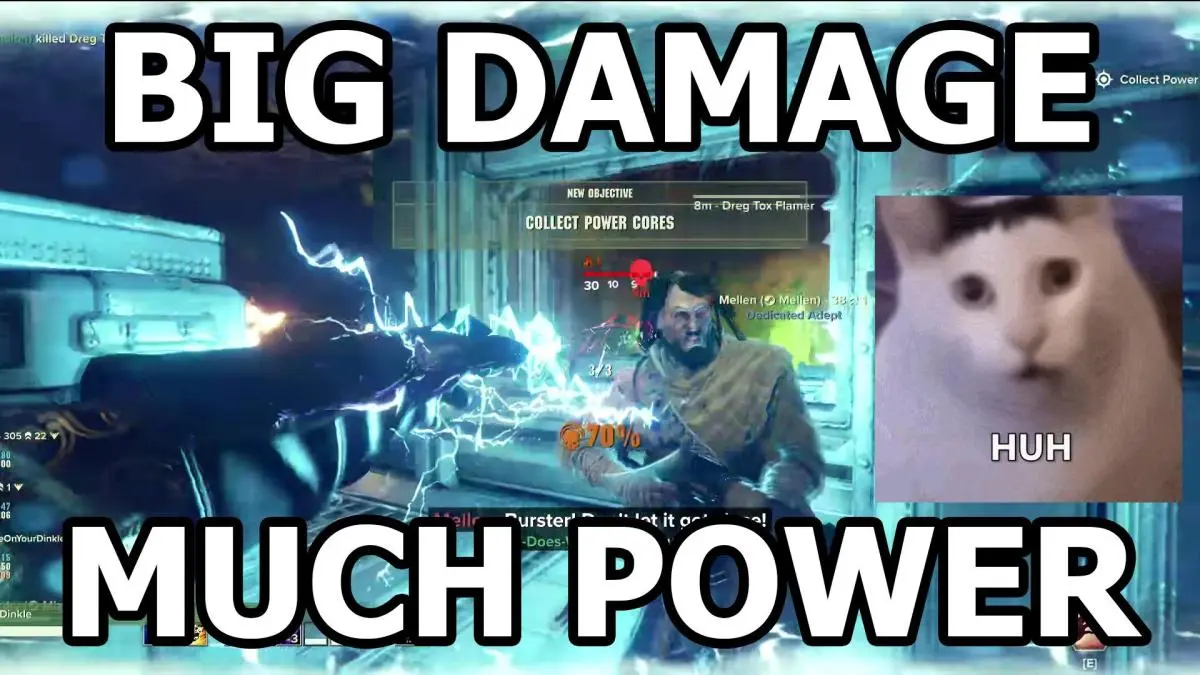
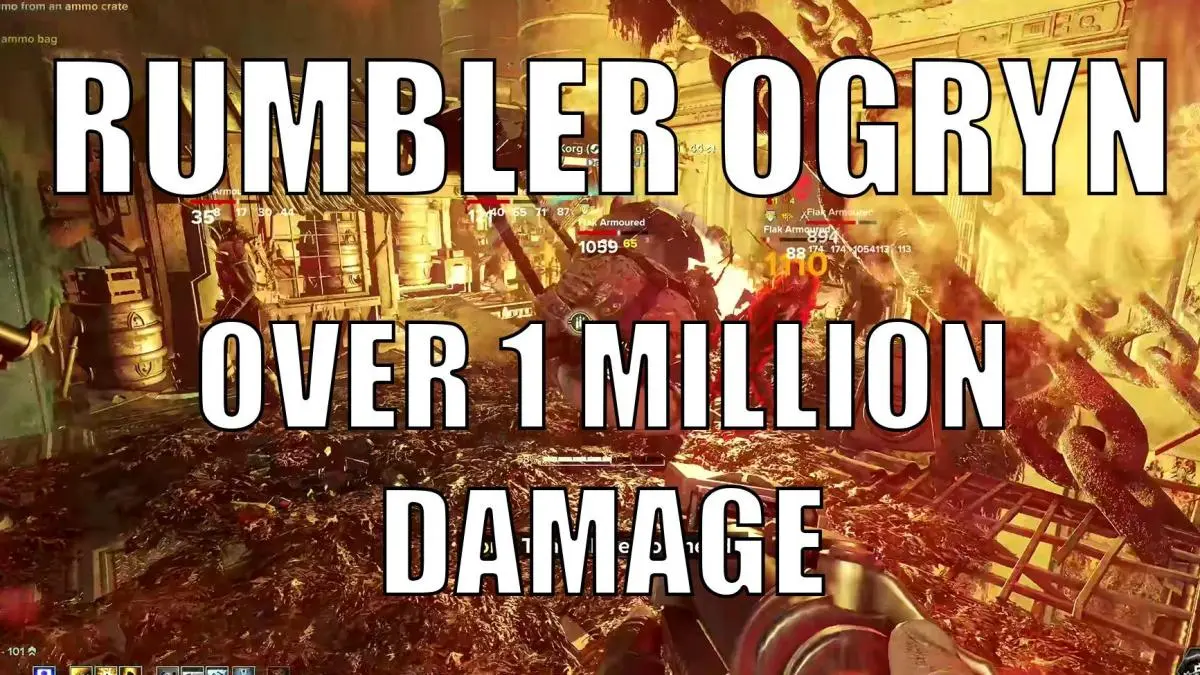
The video linked is a short showcase of what the build can do. It is true that without my teammates, I would be dead long ago, but I think the clip shows what flame staff does, and what mobility and block efficiency from the melee duelling sword does (revived a player with it).
Video
Other builds by Mizumelon