Table of Contents
Veteran Build - Warhammer 40k: Darktide
Parash - Havoc 40 Plasma Support
Veteran Build - Warhammer 40k: Darktide
Class

Weapons



Shred
+4% Bonus Critical Chance on Chained Hit. Stacks 5 times.

Thrust
Up to +20% Strength based on the charge time of your heavy attacks. Stacks 3 times.

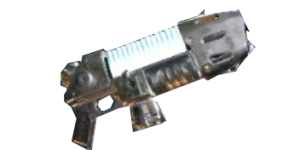

Gets Hot!
Critical hit chance scales by your current heat level up to +10%. Also increases critical ranged attacks damage by +10%.

Rising Heat
Up to +20% Strength scaling with Heat Level.
Curios


+13-17% Toughness
+13-17% Toughness

+17-21% Max Health
Talent Tree

Description
Very conventional and very good, provides incredibly useful auras, points at things, prone to exploding if misplaced.
--
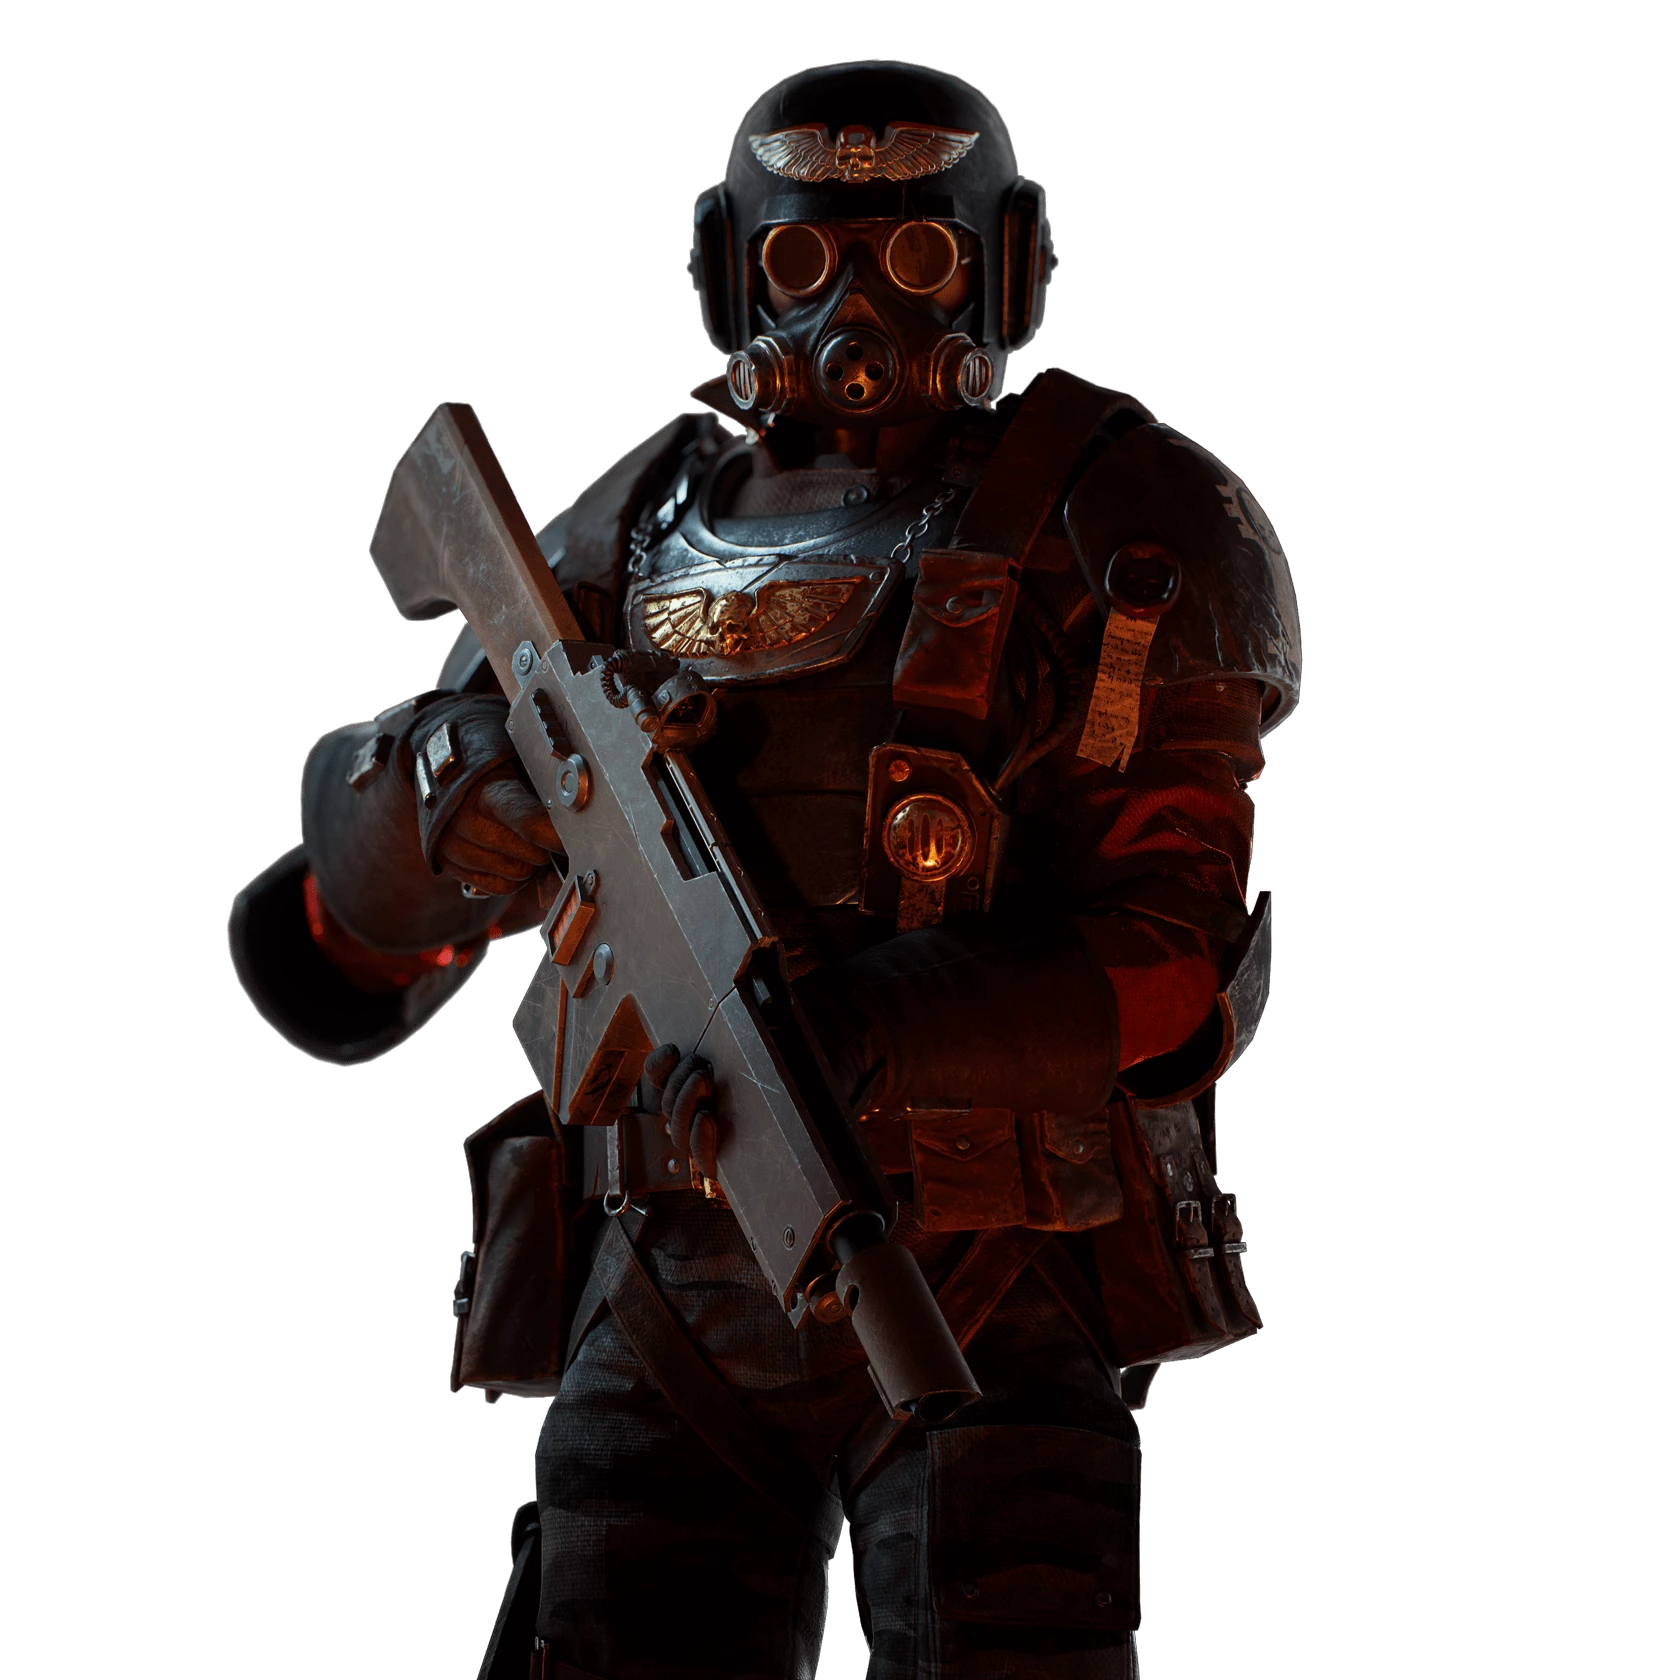
Plasma Gun
Calculating breakpoints with Focus Target! and Skirmisher and the two plasma blessings and Longshot is a bit of a PITA. For subsequent notes, assume Havoc 40 enemy health, max Redirect Fire! and Skirmisher stacks (which are easy to max out during missions) and the minimal Longshot bonus.
- +Unyielding seems to be a gimme.
- With the perk, need only 55%+ plasma heat and 3+ FT stacks for an uncharged crit weakspot to one-shot a Reaper
- Without the perk, you need all 6 FT stacks and be at 90% plasma heat for an uncharged crit weakspot to one-shot a Reaper
- Candidates for second perk:
- +Flak is the most reliable choice - with it, you can uncharged non-crit weakspot kill scab gunner with 4+ FT stacks and 55%+ plasma heat. Without the perk you need more stacks of everything if you don't want to rely on a crit.
- +Crit Chance is a bit of a gamble, but crits will often ensure one-shots on elites and makes bodyshots less bad. Gets Hot! means you'll be critting pretty often and they'll be disproportionately helpful. The bonus crit chance is always helpful, and it can make you slightly less dependent on heat gain for hitting breakpoints.
- +Elites is interesting. Without +Unyielding you can uncharged crit oneshot reapers with 5FT stacks and 70%+ plasma heat. Without +Flak you can uncharged non-crit weakspot one-shot a scab gunner with 70%+ heat and 4+ FT stacks, or 55% heat and 5+ FT stacks. If you're feeling funny, can try +Elites AND +Crit chance.
- +Maniac maaaybe? Lets you uncharged non-crit weakspot kill scab flamers with minimal FT stacks
- Can dump Thermal Resistance in exchange for Charge Rate so you can scale the plasma blessings faster. Been playing with that variation and it doesn't seem much less controllable. (Note that the optimal stats for maximizing heat gain is is 71-74% thermal resist but the difference between 60-80 for both thermal resist and charge rate is pretty marginal).
- Gets Hot! and Rising Heat Thresholds: 19% 37% 55% 73% 91%
- Therefore, best to have heat generation of 19% per shot, which is the value from 71-74% thermal resist
- 75%+ thermal resist is 18% per shot
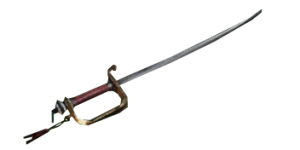
Melee Weapon
- Shred or Riposte on the dueling sword helps with hordeclear. You already deal crazy armor and boss damage even without Uncanny Strike, your biggest threat in melee is getting bodyblocked by chaff and crits can be incredibly useful for lowering ttk on little guys. After trying both I prefer Shred - it feels more consistent, and is easier to proc while fighting bosses to boot (love juicy head-pokes on captains).
- Might be worth swapping +Unyielding or +Carapace for +Stam given vet's loss of +1 stam in 1.13.x. Taking a stam regen talent like Duck and Dive or Target Down! feels like it's sufficient, though.
- If my team lacks AoE CC and has lots of boss-killing power already, I also run this build with an Aridin Mk I Power Falchion . In exchange for some mobility and raw single target damage, it provides easy, powerful CC rotations. It's a flexible weapon but my preferred setup is below
- Dump stat Heat Management. Heat buildup is pretty reasonable, especially with blessings, and since you'll likely end up switching weapons frequently to kill pop-up specialists you'll always have some natural cooling-off time. Isolated trash mobs can also be dealt with without needing to activate. Extra run speed is always useful!
- Take Cranial Grounding . Second blessing Energy Leakage (most consistent damage) , Heatsink (higher activation uptime), or Overload (faster cooldown from max, some flavorful emergency CC)
- I like+Maniac - the faster I can kill dreg ragers and finish off muties, the better. I prefer +Carapace as the second perk for the capacity to quickly solo crushers and maulers, and to contribute to killing Twins. +Flak is an alternative for better performance against scab ragers and dreg bruiser hordes.
Talents
tl;dr Reciprocity, Agile Engagement, and Leave No One Behind are my preferred flex nodes.
- Leave No One Behind helps fill gaps that revive shout misses - faster rescues and recoveries from ledges/traps, etc. It also lets you take only 1 ally revive speed curio perk (rather than 2-3) in good conscience :P However I don't consider it essential.
- Reciprocity is a non-essential preference pick. Extra crit chance synergizes well with dueling sword and plasma blessings, so in theory the usefulness ceiling is high, but YMMV depending on your uptime. FWIW my Reciprocity uptime usually hovers around 25-30% with an avg of ~2 stacks.
- Agile Engagement is very comfortable - it synergizes well with the rhythm of keeping dueling sword out most of the time for movement, swapping to plasma to kill priority targets, swapping back for defense or poking armor/muties etc. Not strictly essential for hitting breakpoints, though.
- Born Leader is very, very helpful, although not strictly essential. The extra coherency radius facilitates more flexible positioning while maintaining coherence (remember - it's a daisy chain, so when your radius expands the impact on your team is nonlinear). The regen + shout bonus helps keep ogryns' huge toughness pools topped up.
- Exhilarating Takedown is a solid source of TDR and provides some nice toughness replenishment that synergizes with born leader. You should be aiming for headshots anyways, so it's an easy pick imo - I tend to have 40-60% combat uptime with multiple stacks. If you don't feel confident in getting lots of headshots, can take the 10% TDR gray node instead if you feel you're lacking in defensive traits.
- Duck and Dive provides a welcome mobility boost and a source of stamina regen that helps mitigate the dueling sword's small stamina pool.
- Might not be necessary if you take +stam on your melee weapon, though
- Target Down! is an alternative source of stamina regen that also synergizes with (or can theoretically substitute for) Born Leader, but I find Duck and Dive more helpful overall if I have to choose only one
- Focused Fire is technically non-essential node as built. However, it's effectively a flat 5% damage bonus for the whole team when combined with Redirect Fire! (you'll have 80% uptime, all at 6 stacks in typical games), and an extra 10% for the whole team against priority targets like bosses. That's a lot of damage to leave on the table.
Suggested Alternative Picks
- 15% melee damage boost - always helpful.
- Trench Fighter Drill or Exploit Weakness to further capitalize on Shred/Riposte.
- Grenadier is an option, but IMO situations where you absolutely need to throw more than two smokes out at the exact same time are rare, so improving capacity from 3-4 isn't critical, plus 30s smoke duration from Grenade Tinkerer is plenty of time to regen with Demolition Team. In most cases there isn't a huge benefit from throwing two smokes in close proximity to each other, so the 20% chance of double nades isn't super impactful.
Appendix
Plasma Ammo Regen
- tl;dr I don't think Fully Loaded is essential on plasma gun since it doesn't significantly improve pickups, but it does potentially have a meaningful impact on ammo regen. Refer to the info below and make your own judgment.
- Ammo Capacity
- Base reserve: 135 charges (45 shots)
- Fully Loaded (FL) reserve: 168 charges (56 shots)
- Auras
- Sharpshooter - 1% ammo on elite/special kill by vet, 5s CD
- Base proc: 1.35 -> 1. Recovers 2 every third cycle (remainder greater than 1 added to subsequent calculations)
- FL proc: 1.68 -> 1. Recovers 2 every second and third cycle.
- Survivalist - 0.5% ammo on elite/special kill by anyone in coherency. 5s CD
- Base proc: 0.675 -> 1.
- FL proc: 0.84 -> 1
- Sharpshooter - 1% ammo on elite/special kill by vet, 5s CD
- Pickups on H40
- Tin: 6%
- Base: 8.1 -> 9 (3 shots)
- FL: 10.08 -> 11 (4 shots)
- Stash: 20%
- Base: 27.0 (9 shots)
- FL: 33.6 -> 34 (12 shots)
- Crate: 40%
- Base: 54.0 (18 shots)
- FL: 67.4 -> 68 (23 shots)
- Tin: 6%
Other builds by DireWolf2K