Table of Contents
Class


Weapons



High Voltage
+25% Damage vs Electrocuted enemies.

Skullcrusher
Target receives 4 Stack(s) of +10% Damage if already Staggered. Lasts 5s.


Dumdum
+4% Close Range damage on Repeated Hit. Stacks 5 times.

Enhanced Voltaic Arcs
Arc lightning gains +10 jump angle and +1 jump distance, and can jump 1 additional times.
Curios


+17-21% Max Health
+17-21% Max Health
+17-21% Max Health
Talent Tree

Description
Let your Artificer Servo-Skull l handle ranged specialist threats autonomously via Noospheric Command d to trigger all your ranged passive buffs while you stay in melee with the Shock Maul. Melt dense armor walls at range with the Arc Rifle, then two-tap staggered stragglers in close quarters.
Why This Build Dominates (Beginner-Friendly to High Havoc)
- The Servo-Skull deals ranged damage, meaning double-tagging threats with Noospheric Command immediately procs your entire suite of ranged talents (Threat Detection Imperative , Galvanic Marking Array , Superior Defence Engrams , and Hybrid Combat Covenant t) without ever putting your melee weapon away.
- Combining Flensing Protocols , continuous Coherency regen from Resurgence , Auto-Repair Doctrines , Omnissian Recharge Litany , and defensive stacks from the Skull's ranged kills makes you exceptionally forgiving to pilot.
- You aren't starved for ammo or reliant on tight combat ability cooldowns, making it resilient in high-modifier Havoc missions.
- In Havoc, you might want to remove Channelled Motive Force for Medicae Servo-Skull to increase group utility and clutch potential.
Loadout Overview
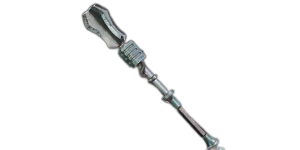
Primary Melee: Shock Maul Munitorum Mk.III
You can change this for any other Weapon you feel more comfortable with, but i find it perfect for this build.
On other classes, the Shock Maul is a slow, clunky defensive weapon. On this build, your passive tree removes every single one of its weaknesses and turns it into a high-speed, armor-melting blender.
- The Maul's sluggish windup and tiny hit cap are completely erased by +80% Cleave (Thanks to Shockline Breach Protocol + Adaptive Combat Calibration ) and up to +24.5% Attack Speed (Uncapped Arrestor + Servo-Sinew Surge ). You swing fast and sweep through entire hordes effortlessly.
- Melee crits automatically shock targets (Electro-Strike Conduit), giving you permanent uptime on High Voltage (+25% damage) while melting armor with System Shock (+10% Brittleness).
- The Maul’s massive innate stagger instantly triggers Skullcrusher (+40% damage). When stacked on top of Flensing Protocols (+20% base damage) and the melee buff from your Servo-Skull's kills (Hybrid Combat Covenant), overhead heavy strikes hit like a freight train.
- Because your sweeps cleave through whole packs, every swing hits 3+ enemies to trigger Omnissian Recharge Litany (+10% toughness), while rapid crits constantly proc Power Redistribution Uplink (+7.5% toughness and +15% TDR)
- The special attack will Annihilate Captain shields, and stop Armoured enemies dead in their tracks.
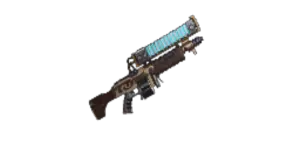
Secondary Ranged: Arc Rifle Branx Mk IV
The Arc Rifle is arguably the king of sustained DPS for the Skitarii. While it might not match a Plasma Gun for raw single-target burst, it completely outclasses it in area coverage and pure ease of use. Just aim down a corridor at a lumbering wall of Carapace, pull the trigger, and watch heavily armored Ogryns turn into a pile of smoldering ash.
That said, run whatever clicks best with your playstyle... there are no rigid rules here. This is simply the most reliable, high-impact setup I’ve found for grinding more difficult missions.
Combat Playbook
Horde Management & Specialists
- Walk through the horde with your Shock Maul. Push periodically to activate Shockline Breach Protocol (you should be doing that anyway when facing hordes to control them) and Channelled Motive Force (+15% damage on stamina spend).
- Keep your eyes peeled for distant specialists. simply double-tag them. The Servo-Skull eliminates them while you stay locked in melee, buffing your defenses in real time.
Crusher & Mauler Patrols (Walls of Carapace)
- Fall back to funnel them into a chokepoint or corridor. Draw the Arc Rifle and let loose. The innate carapace penetration, Dumdum damage ramp, and Enhanced Voltaic Arcs jumping between targets will disintegrate whole waves before they reach melee range.
- Close distance, land a stagger with your special or heavy opener to apply Skullcrusher , and execute them with two heavy overhead strikes on their brittle, electrocuted weakspots.
Data Interrogations & Auspex Objectives
- Command the Artificer Servo-Skull to autonomously complete hacking/scanning sequences while you maintain a 360-degree defensive perimeter.
That about wraps up the build! While it might not reach the hyper-specialized DPS peaks of pure DPS trees or the raw boss melt of a Chordclaw, it offers a rock-solid, beginner-friendly brawler loop that punches well above its weight in High Havoc and Auric Maelstrom. Tag your targets, swing away, and let the Omnissiah handle the rest.
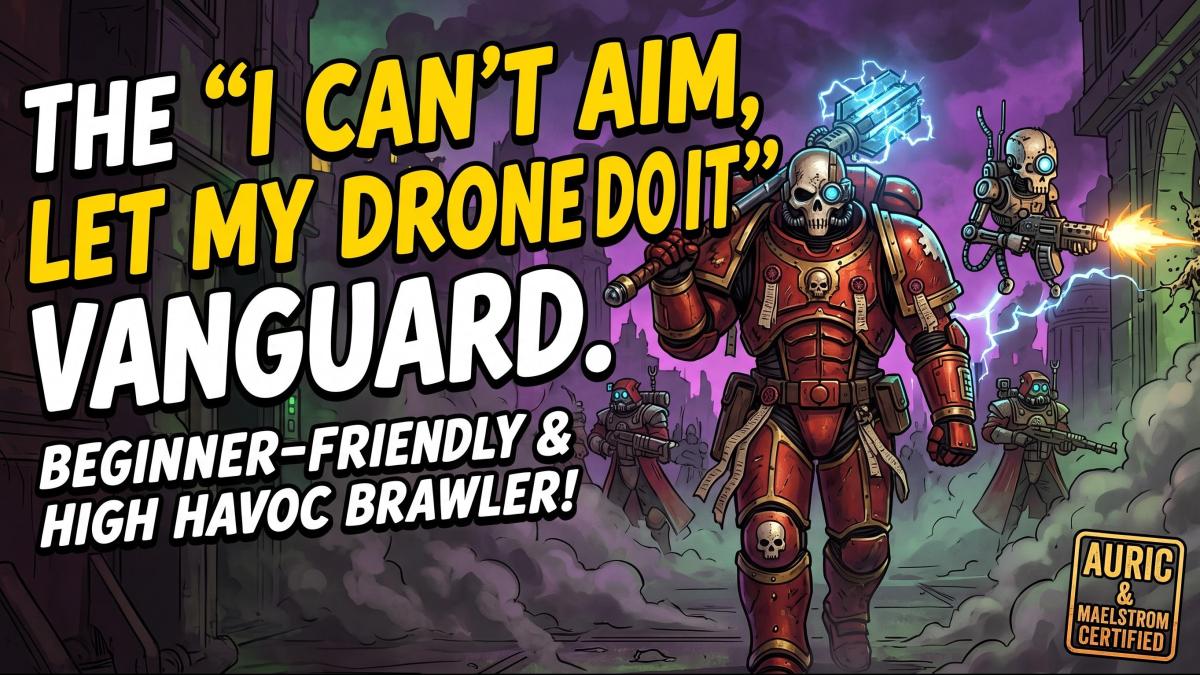
Thumbnail was AI Generated.
Other builds by Aquillus