Table of Contents

Ogryn Build - Warhammer 40k: Darktide
Bullgryn
Ogryn Build - Warhammer 40k: Darktide
Class
Weapons
Curios


Talent Tree
Description
Intro
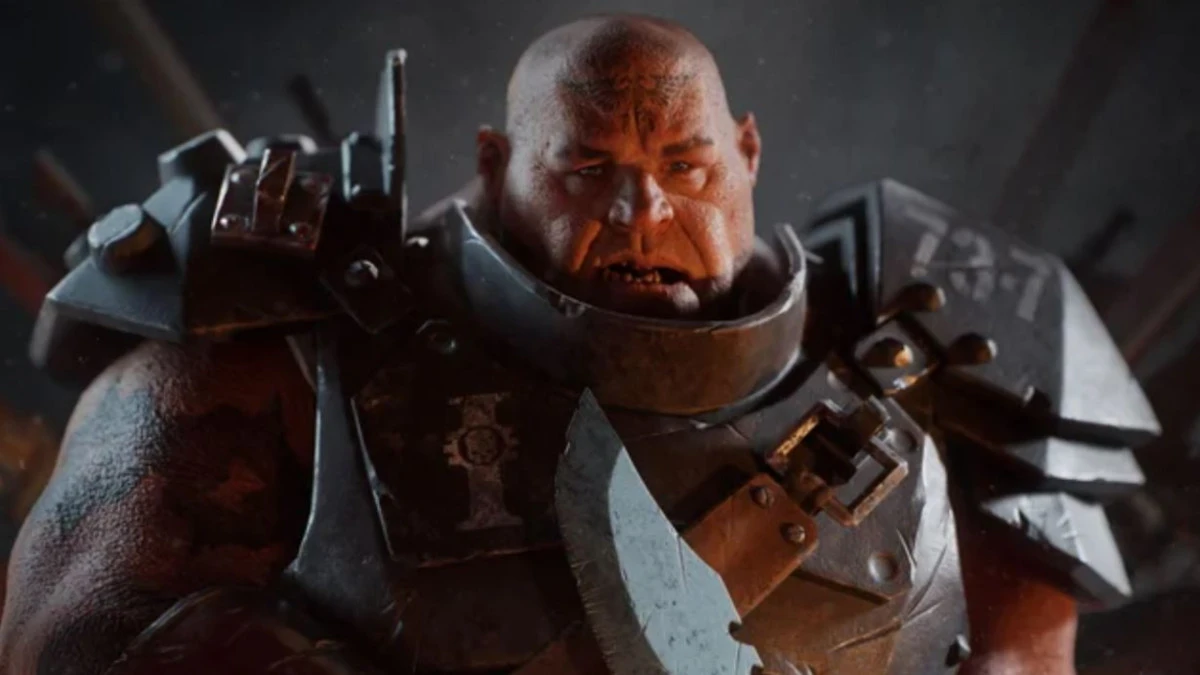
King of the frontline, as long as you are hitting something in melee; you are invincible. Using heavy spam for everything, they will be die before you run out of toughness. Giant stack of crushers? No Problem, shoot a sticky into them to knock them on their arse and start beating them up.
If your Feel No Pain stacks run low, start push attacking. If toughness is low, charge into a few of them (space to cancel it so you don't run out into the open), and get it all back (plus applying bleed, thus more damage reduction). The only threat are specialists, due to your giant hitbox, but a side dodge (or push attack for dogs) is enough to avoid all of them.
This is a great beginner's build into auric maelstrom, while you won't be dealing the most damage or killing specialists outright you provide an immense amount of cc (only out done by smite psykers), damage amp and brittleness for your team while being very tanky. You are the shield and heart of the team, your main job is to ensure everyone else is safe whilst knowing how much damage you can take before taking cover. The main issue is your grenades tend to knock everything around, but them being on the floor for 3 seconds is usually better than them actively killing your team.
Mechanics
Anything you don't kill is stunlocked and hit with a minimum of 15% damage amp, up to 35% + 8 stacks of brittleness 2.5% (the tooltip is wrong, so you can have upto 20% brittleness with 20% rending) when you heavy into a staggered target (which is should always be) + rumble direct hit (they're staggered from the 2nd heavy so you can't miss). This means they're gonna dead really soon, including bosses. Even though you generally don't do a lot of damage, you do absouletely pump monstrosities and you're only only to be out done by hammer stealth zealots who can one shot them. Other than that you're constantly staggering them with rumble rounds to the dome.
With how multiplicative bonuses work out for toughness damage reduction, you end up with around 45% toughness damage reduction with max stacks. Then in addition to that you have up to 60% from Delighting in Destruction. Due to how tanky this build is, you're generally the last to go down (except for a stealthy boi), you'll be taking minimum damage, you can safely get allies up with upto 84% damage reduction. The main threats are disablers (you can shoot a grenade at your downed ally prior to reviving them) which will knock all disablers bar the mutant. Secondary threats are things you can't avoid like tox flamers, snipers and gunners that's why we have resistances in our curios. Keep in mind your health pool is massive so you actually use up a lot on the medkit, try to give it to the lil uns and baggsy the next medicae.
Charge is taken instead of taunt for three reasons. 1. Mobility, the ogryn is really slow and ocassionally we have to help a friend thats a bit too far away 2. We already have a taunt from attention seeker. 3. The knock down and bleed apply the brittleness, damage amp and damage reduction from Soften them up, DiD, skullcrusher and thunderstrike when you have your melee weapon out prior to charging.
Gameplay
When entering a new room, stand infront and do an ocular patdown of all new specimens. If it's an open room full of gunners that are too far to reach before they shred you; shields up (to taunt them), move to the side (so you don't block your ally's shots) and into cover or advance towards them to crush their puny skulls in. You can also lob a grenade over (mainly for the stagger, but a direct hit on the central gunner is a bonus) This will knock them all down allowing you team to safely engage. If there is no cover you can always be the cover by deploying your shield. If it's a bunch of melee goons, heavy spam.
If it's a corridor of shooters you can play it safe or you can charge right through them, staggering them all and then bashing them to death. Just make sure you aren't charging too far from your team or charging into another room of gunners ready to blast you.
Weakest to snipers (if they're really far away or behind fence you can't hit them), and isn't good at clearing spreadout gunners and shooters. However you can keep a room permanently staggered with rumble spam, just like you can keep any tough melee staggered with heavy spam.
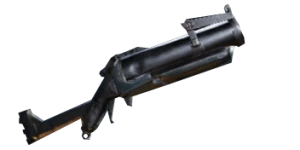
To kill elites and specialists (that aren't ogryns or mutants), you gotta either shoot at their feet, or bounce the grenade into their crotch to ensure the initial hit and the epicentre of the blast hits them or it's not a one hit kill, unfortunately if you aim at their head it will bounce in a random direction and often leave them with a silver of hp. It's not all bad as they will be knocked to the ground and bascially any damage will be enough to finish them off.
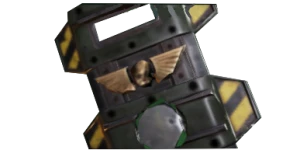
Ogryns/monstrosities you can feel free to shoot them anywhere. Bulwarks you can shoot over/under their shield to get the attach. Can't quickly kill mutants except with box, however they're generally not a threat so best to save it and just bash their heads in when you dodge them and they run into a wall.
Substitutions
The Kickback got buffed, if you get fullbore/surgical you can reliably 1 hit mutants with a +maniac perk. You'll bring less cc, but more damage and it still reliably stumbles most mobs at medium range. You can also take out snipers with one or two shots (depending on surgical timing) from long range. With a +flak this will trade more specialist/elite clearing vs Carapace/monstrosity, the choice is yours. With this build, I'd recommend the bully club with Thunderous, Skullcrusher or Thrust to help deal with them. You can staggerlock bosses with Charge > Heavy (x2 for Plague Ogryn) > Slap, repeat. Also that means you can forgo the Attention Seeker Node and opt for a stronger Charge.
You can opt for the rock instead but you do miss out on the sweet 15% damage amp from Soften Them Up.


