Table of Contents

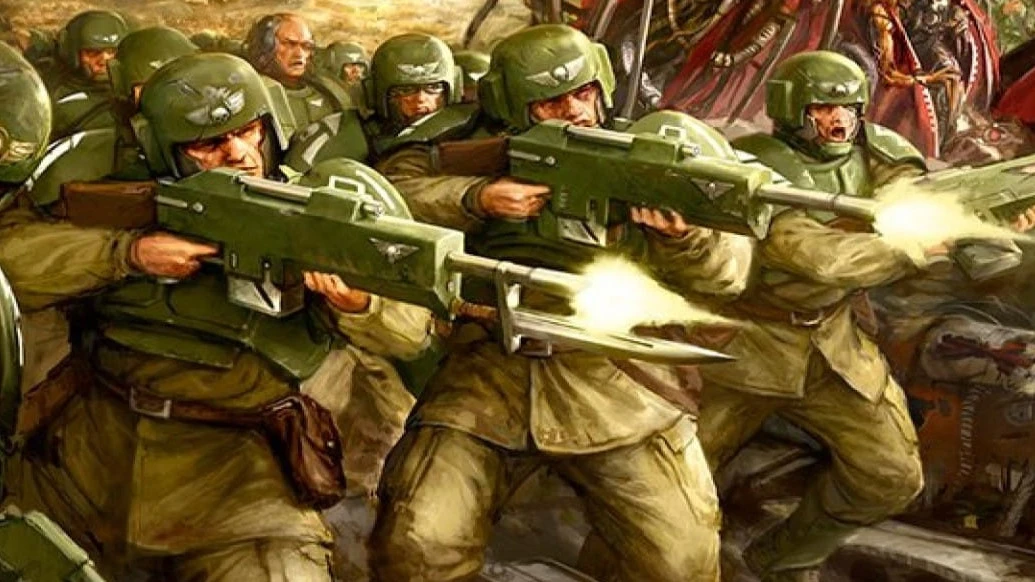
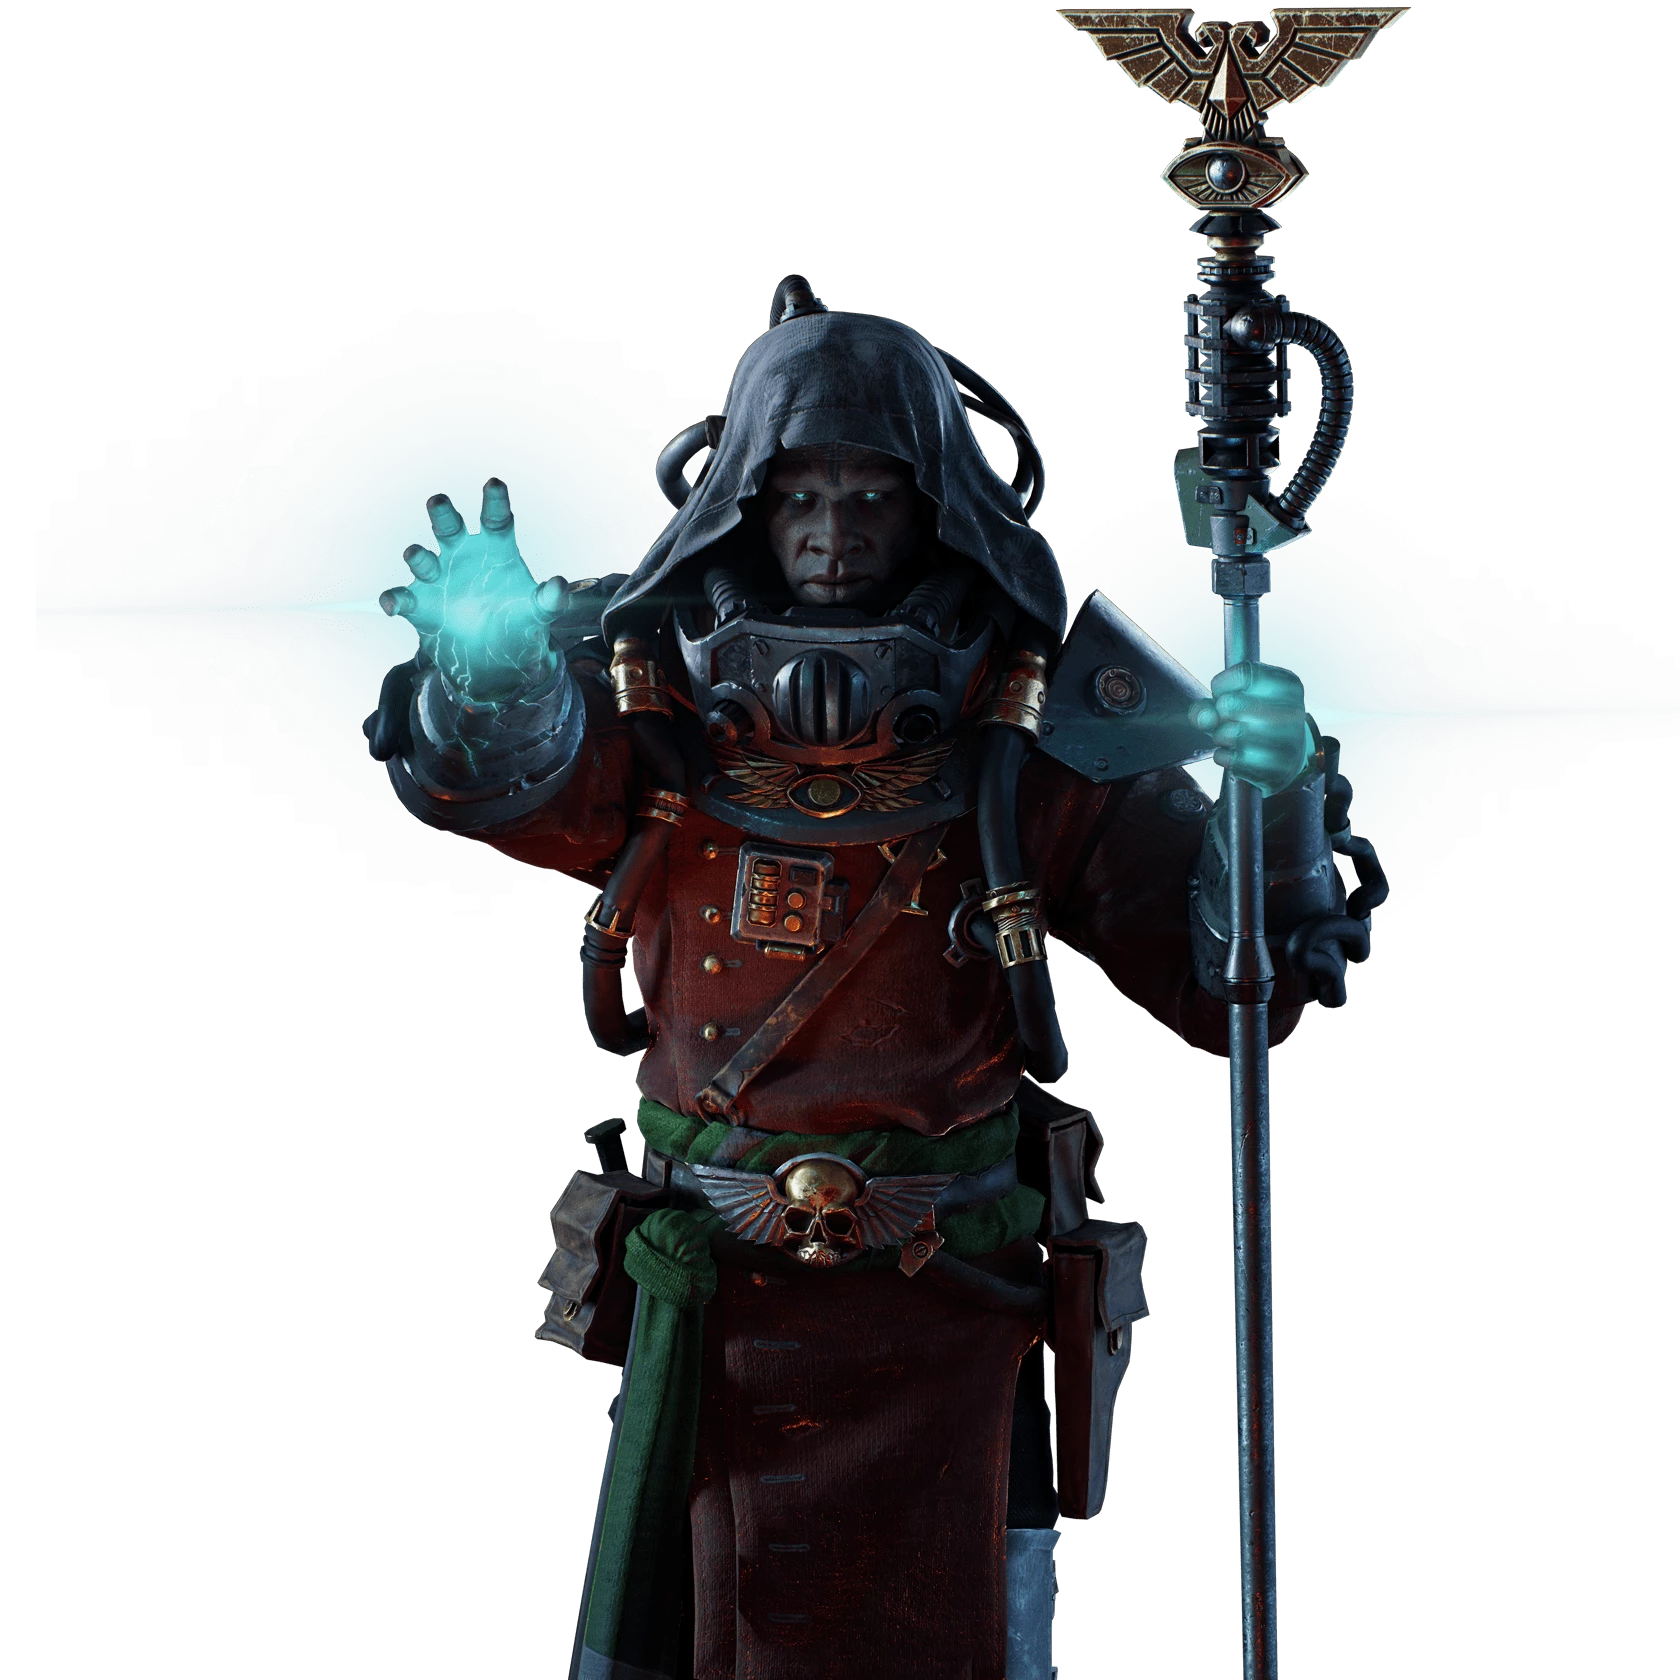
Psyker Build - Warhammer 40k: Darktide
Auric Maelstrom Tactician
Psyker Build - Warhammer 40k: Darktide
Class
Weapons


Uncanny Strike
Hitting an enemy's weakspot applies 8 stacks of 2.5% Brittleness. Duration 5 seconds. 16 max stacks.

Rending Shockwave
Target receives up to 8 Stacks of 2.5% Brittleness, scaling with charge time of Secondary Attack. Debuff lasts for 5 seconds and can have a maximum of 16 stacks.
Warp Nexus
Gain between 5% and 20% Critical Chance based on current level of peril.
Curios

+13-17% Toughness
+17-21% Max Health
+1 Wound(s)
Talent Tree
Description
The idea behind this build is to take control of the battlefield regardless of what the situation is. The crowd control given to you by the trauma staff and the ability of the barrier to block out specials completely are both there to buy your team as much time and breathing room as possible whenever the enemy is trying to overwhelm you. You dictate the fight, not the enemy. That is also why I've gone with Rending Shockwave over something else like Blazing spirit. The name of the game is speed, this build does it's job with brutal efficiency and speed to buy as much time as possible to get breathing room to think and plan or get an overview of the situation.
Weapons
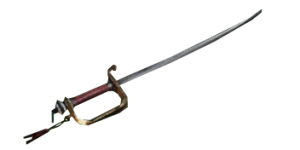
Maccabian Mk IV Duelling Sword
Perks: As this build grabs as much crit chance as possible, bonus crit chance synergizes very well here, the bonus vs maniacs allows for the all-important 1 shot heavy attack vs mutants. If you don't have bonus vs maniacs, you can still reach it with 6 warp charges.
Blessings: Uncanny strike is the only important one that you need, it allows you to shred anything in front of you. For your second blessing, go with whatever you prefer, Riposte or Precognition are both excellent for ripping apart elites but Shred and Rampage work very well vs hordes.
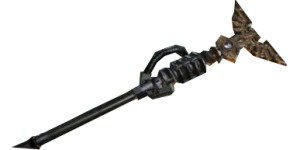
Equinox Mk III Trauma Force Staff
Perks: Ranged critical strike is imperative here as we're building as much crit as possible. For your second perk go with whatever enemy you're struggling with the most, I find Carapace & Unyielding both give a lot of value.
Blessings: Warp Nexus helps you ramp up your critical strike chance quite a bit, and Rending shockwave amplifies your damage significantly. This actually stacks up to 16 stacks total on enemies, so a tier 4 blessing will reach the cap after 2 fully charged hits. This is a +40% damage to that enemy for both you and your allies and will make enemy Ogryns and Monstrosities disappear quickly. Get in two fully charged secondaries before a Veteran's Krak grenade implodes. More importantly, it also boosts your own damage. Since we want to remove enemies as quickly as possible, ramping up our own damage to do so, helps. And as good as Soulblaze damage can be, it simply kills too slowly for Auric Damnation Maelstroms for our needs here.
When the horde is in your face, you should still be using your trauma staff to delete them. Target your own feet and make the problem go away. Use the trauma staff to work your way out from yourself until every enemy is dead or lying on the ground ready to be finished by your teammates. The trauma staff brings both oppressive amounts of damage and CC in the same package and will perform better and better as your skill with it improves.
Curios
1 Health/Toughness/Wound leaves room for mistakes and is an even spread. If you end up not going down, then replace the wound with toughness or health as needed, but I prefer having room for mistakes and not needing it than needing it and not having it. Damage resist vs gunners is there because there will be gaps in cooldowns where you don't have shields up, and since Nurgle blessed gunners are a thing. Double toughness regen should be more than enough to keep you topped up with regen from coherency. The stamina regen is there to make sure that you are always fit for fight and can keep going in melee with the best of them. 1 Block efficiency is a nice to have, you can switch it and the stamina regens around if you prefer to play more passive with melee. Find what works best for you.
Blitz:
Assail
Assail is there for 2 reasons.
- We really really really really want "Mind in Motion". It gives us extreme mobility while venting, and allows us to walk backward away from a horde while venting and keeps us from being bogged down or overwhelmed.
- With max warp charges, a right-click-thrown assail will 2 shot ranged elite gunners or 1 shot snipers netters and bombers. Spam throwing them into a pack of ragers will also make them go away before they become a problem.
Ability:
Telekine Shield
With proper use and placement, this is probably the best ability in the game. With enervating threshold, it will stun any specialist enemy that attempts to pass through it completely blocking out all enemy specials not just ranged enemies or ranged specials like the netter like the dome does. This is what makes it better than the dome in my opinion. Place it down mid-horde, and you no longer have to fear the lone netter mixed in with the horde that your poor Ogryn can't see but that will get him killed. Place one behind yourself in the doorway when you hear that wave of poxbursters come and you can now safely ignore that problem and continue what you were doing. They will kill themselves on your wall.
Keystone:
Warp Siphon
This helps keep your build going. When at 6 charges, it gives you -36% peril generation and +24% base damage. This also applies to your assail peril and damage. It also gives you 18 seconds off your next shield whenever you place down a Telekine shield, assuming you're at 6 charges. And at Auric Maelstroms you should always be at 6 charges because the enemy and elite/specialist density is so high that getting them back is never an issue.