Table of Contents

Class

Weapons



Unstable Power
Up to +20% Strength, scaling with Peril.

Deflector
This weapon Blocks both Melee and Ranged attacks. Additionally, Block Cost is reduced by -30%.


Warp Flurry
-8.5% Charge Time on Chained Secondary Attack. Stacks 3 times.
Warp Nexus
Gain between 5% and 20% Critical Chance based on current level of peril.
Curios


+13-17% Toughness
+13-17% Toughness
+17-21% Max Health
Talent Tree

Description
── AT A GLANCE ──
Horde Clear: [5/5]
Crowd Control: [5/5]
Elite Killing: [3/5]
Special Killing: [4/5]
Monster Damage: [3/5]
Survivability: [3/5]
Team Utility: [3/5]
Peril Management: [Hard]
Skill Floor: [Moderate]
Strengths
- Unparalleled Crowd Control abilities
- Great AOE damage
- Disintegrates lesser enemies
- Quick response time to stun and kill specials
- Not ammo reliant
- Excellent Defence
- Extremely strong into high armour melee seeds
Weaknesses
- Mediocre monstrosity damage
- Squishy
- Tricky Peril Management
- Low mobility
- Reliant on positioning
- Countered by the The Encroaching Garden & The Final Toll
Foreword
So it's been over a year since I played Darktide. Coming back, I watched and read a lot to see how the game and meta had shifted. The biggest change for psykers at least was the introduction of Warp Unbound. What I at first wrote off as a skill designed to prevent accidental self-destructs, I quickly realised was actually a tool to break the game. During Scrier's Gaze lingering effect, we get around 12 seconds where we can cast spells infinitely. Slap a bunch of cooldown reduction on, and we can get that 25 second Scrier's Gaze down to nearly 12 seconds. What this means, is that you have a class that, if your careful at managing your peril, can cast spells constantly, and can enjoy near permanent Smite coverage. I would highly recommend however, that you make use of the Warp Unbound timer mod to prevent premature self-detonations. I unfortunately, can not post a working link as this website has blacklisted mods for some reason. But you can copy and paste the link below to find it.
Warp Unbound Timer Mod - www.nexusmods.com/warhammer40kdarktide/mods/366?tab=files
Azyr Psyker
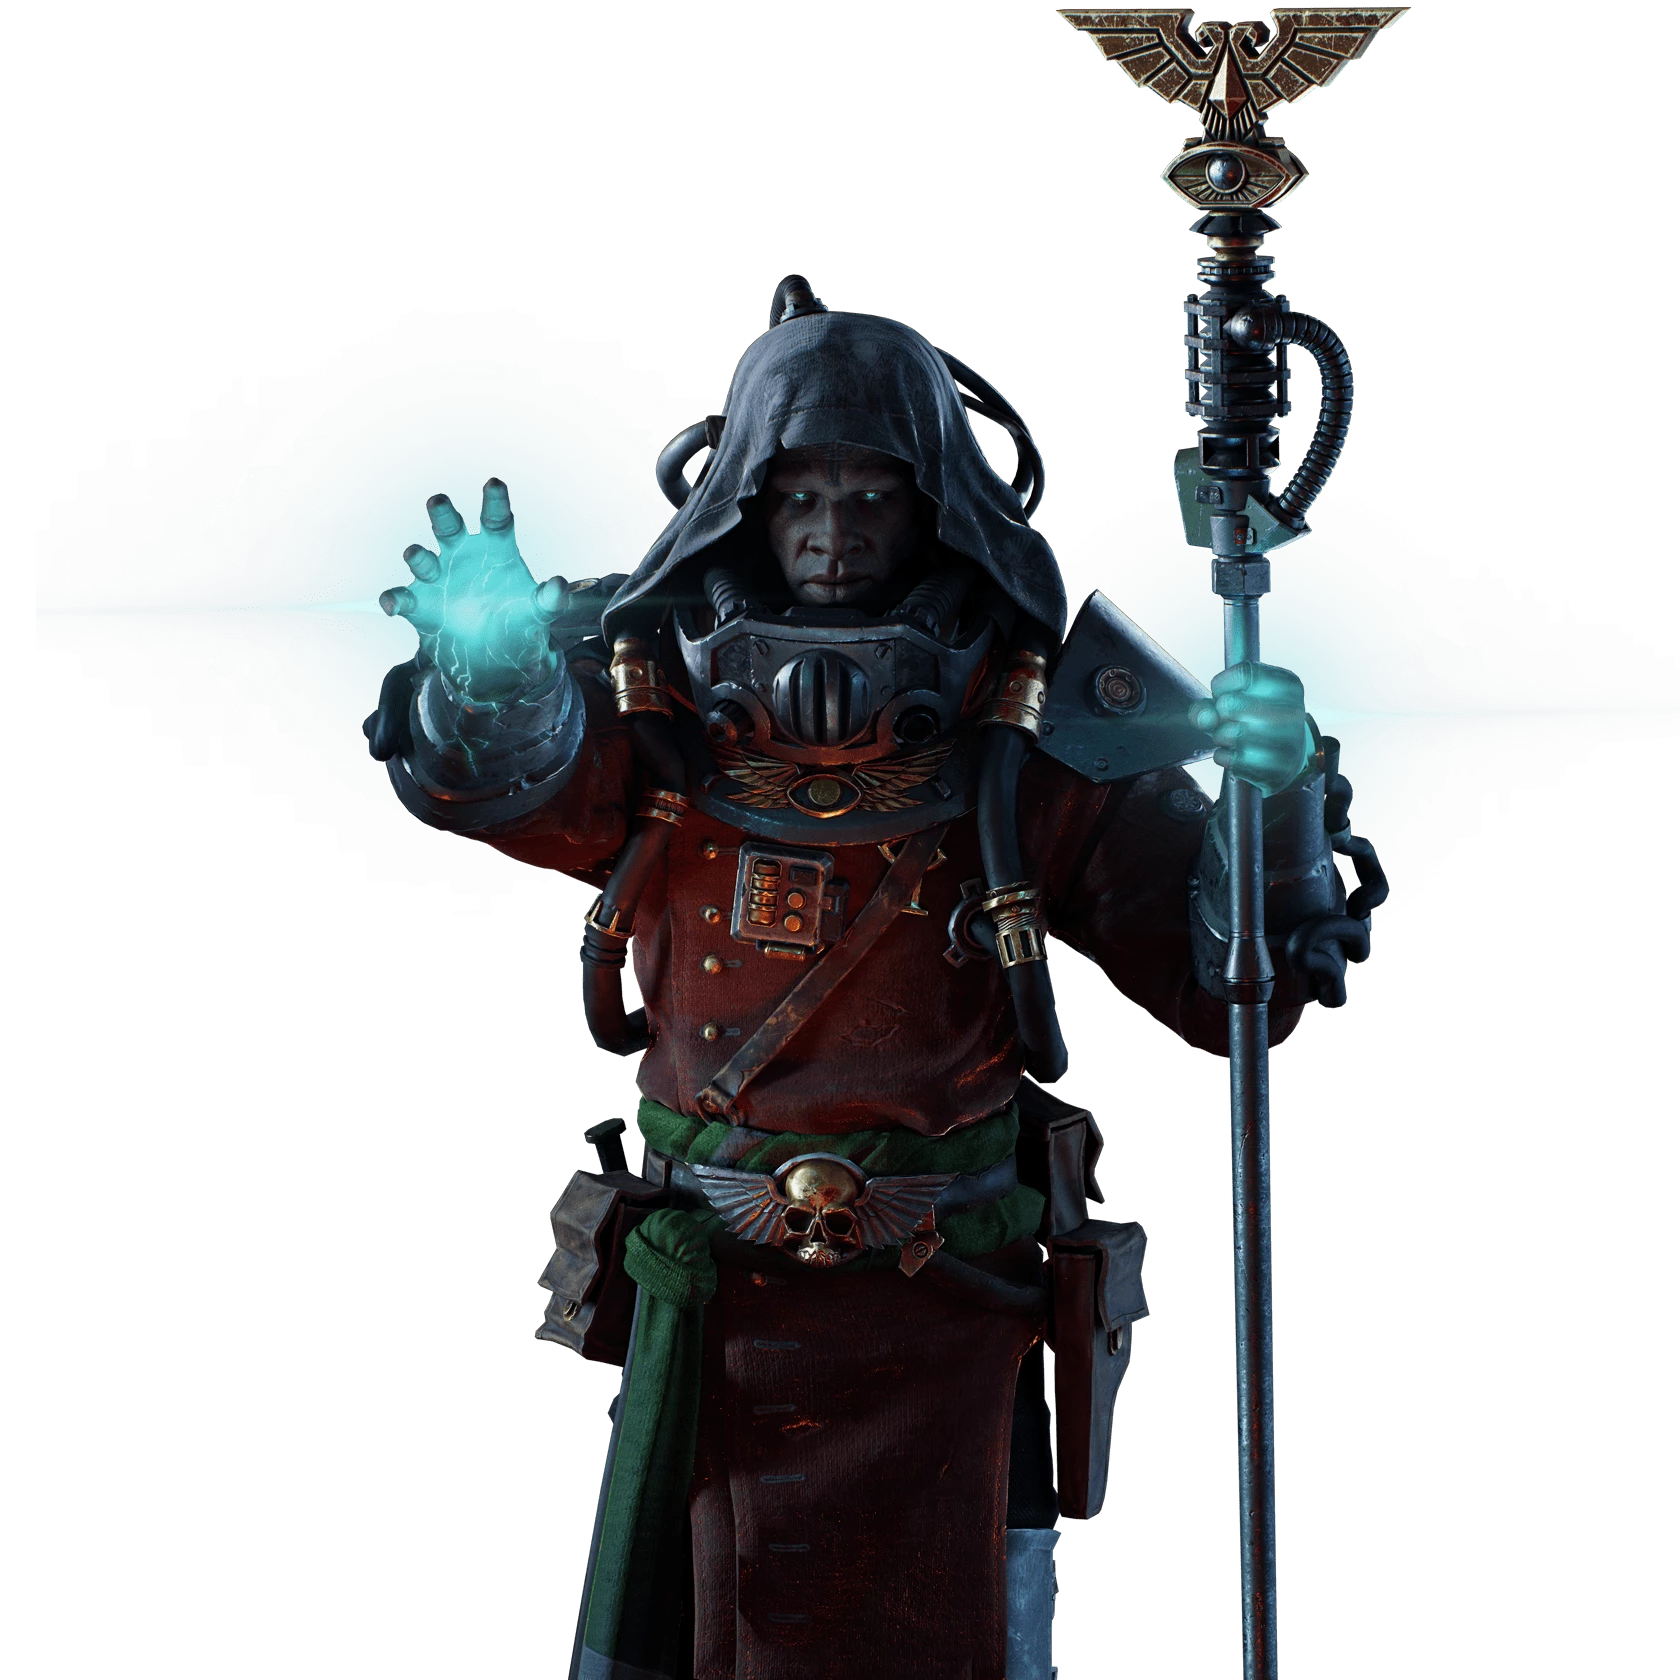
Movement is essential, and this build lives and dies on your ability to dodge slide whilst smiting. Smite will shoot electricity to up to 3 beams out from the psyker. Once an enemy is being electrocuted, it can then jump again, up to 2 additional targets provided they are within a ±45° angle cone opposite to where they are initially hit by smite. This can happen an infinite number of times, meaning that if you hit the first person in a horde, you can effectively electrocute the entire group, and this will only count as one of your three beams. Once Smite has locked onto a unit you no longer need to aim at them. Once you are sure that all enemies are being shocked, and none of them have managed to sneak past that ±45° angle, you can start looking around. Whilst smiting, if you are below 3 beams, it will automatically latch on to new targets, allowing you to suppress groups of enemies both in front and behind you.
Understanding this mechanic is crucial to getting the most out of Smite . If you are already firing 3 beams and a group of enemies manage to get close to you, then even if you slide back and continue shocking, it will not lock on to the new targets until pre-existing targets have died. Similarly, if an enemy you were smiting dies, the chain becomes broken, and a previously suppressed horde may become mobile again. Some enemies cannot be stunned. These typically include bosses, but also includes enemies blessed by Enchroaching garden in Havoc. I would either not recommend bringing this build into those modifiers, or communicate with your team beforehand so they are aware of that limitation.
NEVER smite using left click. Only ever Smite after charging up with RMB. Tapped Smite fires once at low damage and cuts off before any scaling starts, while held Smite ramps both damage and spread rate the longer you channel, letting it chain-stun a genuine cluster rather than one target. Both versions build peril at a similar rate, so tapping pays nearly the same cost for a fraction of the payoff
Once you have locked on to an enemy, move around using dodge slides to position yourself in the safest position possible. Once it has acquired a target, smite will pass through walls and objects, allowing you to get into cover whilst zapping a horde round the corner. Ordinarily, Smite is more of a crowd control spell. But by running Empowered Psionics , we triple the damage, turning it into a crowd control ability that can also delete hordes.
The Azyr Psyker is capable of dealing Boss Damage. But mostly, you do not deal boss damage. A Plague Ogryn , Scab Captain or hell, even Rodin Karnak and Rinda Karnak are not great threats by themselves to a competent team. What is a threat is them combined with Scab Trapper Pox Hound and all manner of Nurgle worshippers trying to sodomise you whilst you're dealing with these bosses. Your job is prevent enemies from interfering whilst your teammmates give them a London Welcoming. The main reason the Karnak Twins spell disaster for so many Havoc mode runs, is because object permanence goes out the window as everyone hyper-focuses on them. It's not the Pox mines that are the problem by themselves, but the horde that forces you onto them. The only time you should be engaging bosses is if everything else is dead or if the boss is literally in your face and you can't focus the horde.
Playstyle
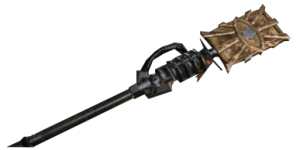
My beloved Nomanus Mk VI Electrokinetic Force Staff is an underrated and misunderstood weapon. It deals respectable damage on a quick charge time, and does not require us to be at all effective with aiming. This makes it especially good for lights out and ventilation purge modifiers, or to quickly snap and eliminate a special threat. It can stun larger armoured threats like Crushers in their tracks and can stop a leaping hound. The stun happens immediately, whilst the damage does not proc until the animation ends. This immediate stun allows us to flick around and instantly stop a special before it has time to wind up its attack. The arc will spread to an additional target, letting us hit two targets at once. The second target hit only takes around 20% of the damage that the first one does, but it still stuns them in please. Repeated uses of this weapon can open up Bulwark and stun a couple of Crusher in their place, neutering them as a threat even before they are killed. For the majority of the mission, charged shots should be spammed as you progress to eliminate specials and ranged enemies before they can become a problem. I find most players only make use of it for its high innate critical chance to spam light attacks. Both attacks should be used depending on the context.
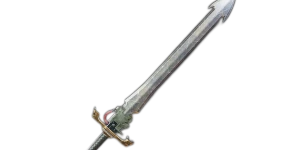
When the number of elites exceeds 4+ or a horde of lesser enemies approaches, this is where we start smiting. Try to position yourself either behind your team, behind cover, or with your back up against a wall to make sure you can hit the entire horde. Obviously this puts us in a position where we are cornered, so be constantly vigilant of threats. Mutant can be difficult to stagger so will likely require dodging. The biggest threats come from Dreg Tox Bomber and Scab Bomber , as their AOE will force you to change position. The Deimos Mk IV Blaze Force Sword is used mostly for utility. Deflector allows you to block ranged attacks, and when paired with Kinetic Deflection , can be used to build up your peril if you're looking to Venting Shriek to spread some soulblaze. Its heavy-2 attack when aimed at a Crusher can Stagger them to the floor. Use this weapon when you're surrounded and blocking to dodge slide towards safety, or to deal damage to Mutant and Scab Captain when the opportunity presents itself.
Build Path
- Soulstealer & Mettle - Our main sources of toughness replenishment. The first two will keep you topped up whilst smiting hordes.
- Scrier's Gaze, Warp Unbound - What makes this build. Having 12 seconds where we can generate as much peril as we want without blowing up, is quite frankly, disgusting and broken.
- Smite , Empowered Psionics & Charged Up - Main source of crowd control and damage. This combination is what allows you to melt hordes.
- Seer's Presence & Psykinetic's Aura - Helps reduce cooldown for frequent uses of Scrier's Gaze
- Empathic Evasion - For the longest time, I never understood what this actually did, and thought it was just good for proccing abilities that require dodging to work, like Precognition. What it actually means is everytime you land a criticla hit, you are immne to getting shot. Given that the Nomanus Mk VI Electrokinetic Force Staff can get up to 50% critical chance, this skill is actually nuts at keeping you safe. Keep attacking and you will be immune to ranged damage for the majority of the mission.
- Perfect Timing - You will be critting all the time with the Nomanus Mk VI Electrokinetic Force Staff. This is a very consistent +15% damage.
- Channeled Force Empyric Shock - The Nomanus Mk VI Electrokinetic Force Staff benefits more than any other staff from using its primary attack due to its high critical hit chance. It is pretty much the only weapon the psyker has access to that can make use of these talents. The other options here are not great. Whilst I did initially run soulblaze nodes, in practice, without an additional source to stack soulblaze with such as with the Rifthaven Mk II Inferno Force Staff or Creeping Flames, the damage it generates is mostly negligible. Our skill points are better spent buffing our staff up.
- Warp Rider - flat damage increases. Warp rider is almost always active, since our peril will usually be at 100%, so constitutes a straight 20% damage increase to all everything we do. Whilst I would like to be able to pick up Vulnerable Minds, we are unable to do so without compromising on defensive skills.
- Immaterial Focus & One with the Warp - Defensive nodes that help keep us alive during the more hectic moments of a mission.
- Just a Dream - A skill I slept on for way too long. Psykers are so squishy, and the corruption damage in Havoc 40 so high, that without this node, you often die outright. Not just that you get downed, but that you go from 100 - dead, dead. Even two poxwalkers who happen to attack at the same time, can instantly delete you. Unfortunately, it is less reliable in this build than others, due to how often we are sat at critical peril. Despite that, the probability that it can save your life, and likely save your run, is too great not to take it. If you feel like you are not getting the benefit from it, then I would swap this for Vulnerable Minds.
- Penetration of the Soul - Extra damage against armour. Helps you cut through Scab Mauler and Crusher enemies.
A final note on Kinetic Deflection . This node provides insane defence for any budding Psyker. The formula for how it converts stamina expenditure into Peril is:
Peril gained per block = (Block Cost ÷ Max Stamina) × 25%
Taking a single +3 Stamina curio roughly halves your Peril generation per block, because Block Cost is fixed, it's the stamina that block would normally have cost you, set by your weapon, while Max Stamina is the number you're inflating. Divide a fixed number by a bigger number and the result shrinks.
Block Efficiency stacks on top of this rather than competing with it. It reduces Block Cost itself before the Peril conversion happens, so a build running both Stamina and Block Efficiency curios is hitting the formula from both ends: a smaller numerator and a bigger denominator.
Weapons
The Deimos Mk IV Blaze Force Sword is mostly used for utility. With Kinetic Deflection and Deflector we can safely turtle up regardless of how FUBAR a situation has become. Realistically, you should have this out for less than 10% of the match, and there are only 4 scenarios when it should be pulled out.
- You have become completely surrounded and need to defend and dodge-slide until you can create some distance and start suppressing.
- You need to deflect damage against ranged units as you advance on them.
- You need to quickly dispatch a mutant.
- You want to deal damage to a Monstrosity or Scab Captain and all other threats have been dealt with (or your team has left you to deal with it as it backs you into a corner).
Because of this, Increased damage to Unyielding and Mutant makes the most sense. The Scab Captain shield is its own damage type and nothing increases damage against it. You could take extra damage to Flak to hurt them more when the shield breaks, but the Mutant is a much more present threat that you will likely have to deal with multiple times throughout a run. Being able to kill it in 1-2 hits eliminates this threat quicker and allows you to get back to crowd control duties. Theres actually several really strong secondary perks for the force sword. I personally favour Unstable Power with this build. Our peril is likely to be at or near 100% at all times, so constitutes a pretty consistent +15% - +20% increase in damage. The only two enemies I am frequently hitting with this are Mutant and bosses, so I prioritise extra damage against these two. Slaughterer, Uncanny Strike, Shred, Executor and Precognition are all very good and viable. If you find yourself meleeing often, then Shred pairs particularly well with Empathic Evasion.
For our ranged option, the Nomanus Mk VI Electrokinetic Force Staff pairs extremely well with our playstyle. You can effectively spam the secondary fire throughout a mission, ensuring specials are unable to approach your strike team. It arcs to +1 additional enemy, meaning that you can keep 2 Crusher locked in place, or open up a pair of Bulwark from range without having to go around the shield. It also has incredibly high innate crit chance . The primary fire can be used to take out distant targets and on average, will do much more damage than any other staff's primary fire. Warp Flurry, and Warp Nexus I find to be the best synergy in 90% of cases. Surge can be useful if your spamming primary attack a lot. Everything else I find either niche or just weak.
Curios
- 2 x toughness curio
- 1 x health curio
- 3x ability cooldown
- 3x revive speed
- 2x gunner resistance
- 1x toughness perk
Whilst you can make adjustments based on individual builds, I find this to be a pretty good mix of stats for most psyker builds, and is a good starting point to aim for, as I know how tedious it can be to find those +17 toughness and +21 health curios. Block efficiency and stamina regeneration can also be useful depending on what you are looking for, and you can adjust your loadout to what you need. In general, if you are looking for more toughness or health, it is more efficient to pick up toughness perks and a health curio, as a curio gives you +21% health compared to +17% toughness, whereas both versions of the perk only give +5% health.
Whilst the psykers innate health is low, and at high Havoc we will still get 1-shot by crushers and maulers, I have found the extra health useful in mitigating the myriad forms of corruption present. Cooldown reduction lets use our abilities more frequently. This combined with cooldown reduction in our talent tree, means there should never be more than a couple of seconds between Warp Unbound ending, and Scrier's Gaze coming off cooldown. Whilst we are usually the ones supressing enemies for our team, there will be times when we need to make a quick pick-up. Kinetic Deflection makes this possible, provided there are no heavy hitters in the mix, and extra revive speed can help make the difference to losing a teamate or not.
Gunner Resistance is the most useful resistance node as it applies to Dreg Gunner, Dreg Shotgunner, Scab Gunner, Scab Plasma Gunner, Scab Shotgunner, and Reaper. Please note, this reduction does not apply to basic gunner type enemies, and these previously unassuming enemies will become some of the biggest threats in high havoc. This is the largest collection of enemies out of any of the resistance perks. These enemies can absolutely shred you in seconds, and it's not uncommon to see teammates seemingly insta-die when faced with a firing squad of them, especially with toughness grace period being removed. The ability is multiplicative, so it does have some diminishing returns. 0.80×0.80×0.80=0.512
3x Gunner resistance = 48.8% damage reduction
2x Gunner resistance = 36% damage reduction
It's up to you whether you choose to take all 3, or use that last slot as a flex pick. I personally like to pick up block efficiency because of its synergy with Kinetic Deflection. Since Kinetic Deflection converts a blocked attack's Stamina cost into Peril at a fixed rate, anything that lowers the underlying Stamina cost of a block also lowers the Peril you take on for absorbing it.
Peril gained = Blocked attack's Stamina cost × 0.25
Extra block efficiency therefore compounds twice over: you're spending less Stamina per block in the rare cases you do dip into it, and you're generating less Peril from every block that Kinetic Deflection converts.
Questions & Answers
Question: How can I ask you a question?
Answer: Of course, provided you are kind and respectful, I have unforunately been banned from discord due to their terrible AI automated detection system. If you wish to contact me, the best way is through Discord's competitor Stoat in the link below. I do apologise as it is inconvenient and a less commonly used app. Please be aware, Darktide and Youtube are both my hobbies. Whilst I will attempt to get back to you as soon as possible, it may take some time before I can respond.
Server: stt.gg/a0bSbDFW
Question: Can this clear Havoc 40?
Answer: It can clear Havoc 40, but with some caveats. It will not work on all modifiers. In particular, the Azyr psyker is HEAVILY countered by the The Encroaching Garden modifer and I would not recommend trying to make it work into these games. Otherwise, it works well as a screening tool, keeping hordes in place to protect your backliners, and giving melee classes an easier time. It is exceptionally strong into seeds where there are an abundance of heavy melee armour, such as Crusher & Scab Mauler enemies.
Question: Why do the stats, weapons, and abilities in the video not match what's written in this guide?
Answer: I am constantly evolving and refining my builds. As patch notes are released, certain weapons and abilities may change in effectiveness. Additionally, as my skills and knowledge grow, my preferred builds can shift. I aim to provide videos demonstrating the effectiveness of my builds as proof of concept. However, these videos may sometimes be outdated. While I strive to keep everything current, Darktide is my hobby, and I may not always have the latest updates in the videos. The information in these guides reflects my most recent thinking and should be considered more accurate than what is shown in the videos.
Video


Other builds by Crukih