Table of Contents
Class
Weapons
Curios


Talent Tree
Description
The Charonite way
The Ogryn Charonite is the first build I ever made, shortly after the Class update patch. Since then I have had to change a few things from its initial design due to patches. The nerf to Survivalist aura meant that we went from gaining one shot on every elite or specialist kill, to one shot every 4+ kills (depending on the 5-second cooldown and how spaced those kills are). This necessitated Swapping Frag Bomb to Big Friendly Rock to deal with specials, meaning that we lost out on the damage boost from Soften Them Up, making this build a little more selfish in nature. Whilst the core identity of the Ogryn Charonite remains the same, a few things have been tweaked since its inception.
Playstyle
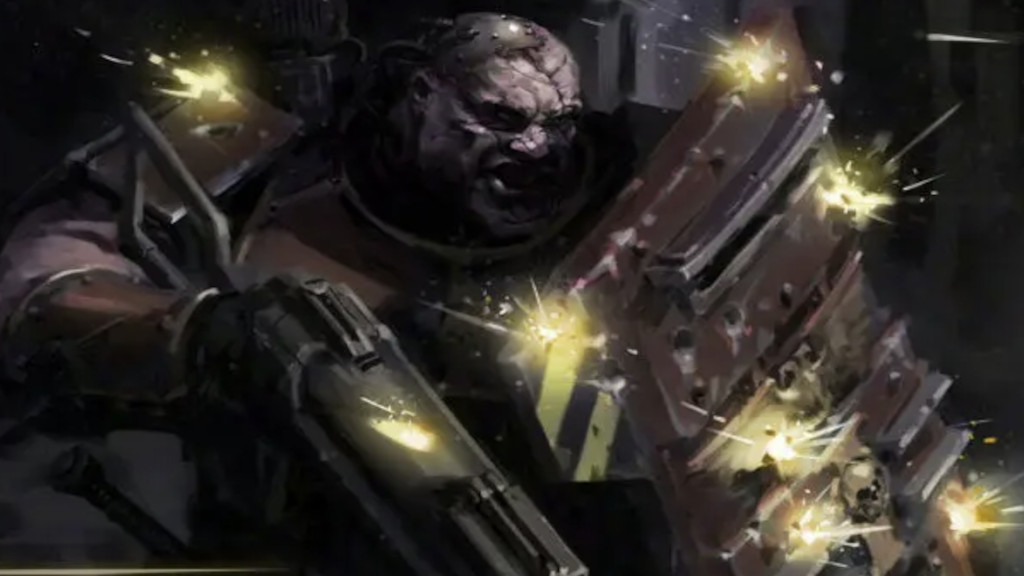
We are primarily a front-line tank. With a slab shield, our role is to control hordes. Constant heavy attacks not only replenish our toughness, but is able to stagger even a line of maulers and ragers that other classes would struggle with. We control these mixed hordes until our team can deal with them. In cases where they are not able to support, 3 heavy attacks combined with our bleeding stacks can deal with most elites. Even crushers can be staggered semi-reliably. If there is a wind-up attack we have not been to stagger, we can dodge backwards or to the side and hit them again. If there is a line of crushers looking to smash our team, we can charge through them and knock them on their back. You shouldn't be taking much damage with how effortlessly we can recharge our toughness, and what little chip damage we do take we can shrug.
When it comes to ranged combat, we still mostly rely on our melee. By raising our shield and blocking shots, we taunt ranged enemies, forcing them to come to us. Even snipers sometimes 'spaz out' and start meleeing thin air once taunted, eliminating their threat. The only exception to this are gunners, and reapers who do not have a dedicated melee. These should be advanced upon with our shield until we are ranged to give them a good crumping. Very rarely will we be using our special ability to plant the shield in the ground. You want to always be advancing and attacking. We are not a tank in the traditional sense, we are a high-health DPS machine. Also fun fact, Toughness replenishment from coherency is disabled whilst using the shield's special ability, and we can still be shot from the sides and back. As such the only time you want to use it, is when you are genuinely protecting your team from a swathe of heavy gunners, or to protect yourself until your ability comes back from cooldown when your toughness runs out. Always be attacking and moving. Blocking a doorway with our shield does not help our team, and makes us incredibly vulnerable to disablers.
Our ranged weapon, the rumbler should be used sparingly. It should be used to snipe the occasional distant special that our team has not gotten to, such as bombers, flamers and snipers. It can kill a sniper in one hit on direct impact without the explosion even being needed. With this set-up, it can 1-shot reapers on direct impact and deal significant damage to monstrosities. It deals only moderate damage to crushers, but can help to stagger them before engaging in melee. Our frag bomb should be saved for those 'oh shit' moments, to help turn the tide of battle. If everything goes smoothly, you can play an entire mission without ever needing.
Build-Path
The Best Defence & Smash 'Em! - Does not matter if you hit a single target, or a horde, every heavy attack is going to replenish 25% Toughness. This is what allows you to wade through the enemy without taking any damage.
Heavyweight - +30% extra damage against Ogryns is a no-brainer. Synergises fantastically with Batter. This allows us to 1-shot reapers with our rumbler.
Indomitable, Stomping Boots & Pulverise - Loyal Protector is the go-to for tanky Ogryn's but I prefer running the bull rush ability. Yes, a 25% damage debuff is nice, but the extra mobility and hard crowd control Indomitable brings to the table allows you to provide far more support for your team. The best defence is a good offence as they say, and the fact it has a much shorter cooldown is a nice bonus. Indomitable lets you reposition if you are in a bad spot, CC priority targets such as a line of crushers or that Monstrosity voring your friend, and lets you get to downed teammates quickly. Pulverise also synergises amazingly with Delight in Destruction.
Batter - You do not do a lot of damage naturally to Maulers, Crushers and other high-health targets. Ordinarily, you would just keep battering them, CC-ing them into submission until your team can actually deal the killing blow. The bleed from batter is what allows you to take down these big targets, and turns your defensive shield into a vicious weapon. Bleed stacks multiplicatively. One heavy attack on an Ogryn will see you deal about 11 damage per tic on your dot. After three heavy attacks, it is over 100 damage per tick. This skill alone will allow you to control large threats solo stun-locking them in place until they bleed to death.
Delight in Destruction - Up to 60% damage reduction simply for doing your job. Whether it be through Heavy attacks with Batter, or bleeding a horde with Indomitable, this skill allows you to laugh at gunners whilst you cut down their brethren.
Attention Seeker - You can keep your shield raised whilst advancing on ranged targets. This skill, however, will force most to put down their ranged weapons and come at you with melee. It is a fantastic tool for eliminating ranged targets without having to snipe them out. It also allows heavy damage enemies, like gunners and snipers to focus on you whilst your team takes them out. Gunners will delete your stamina pretty quickly. However, you can use the shield's special ability to plant yourself in place, taking all the aggro from these units so your team can eliminate them hassle-free.
Orox Mk II Battle Maul & Mk III Slab
Whilst you are sacrificing some raw DPS over other options, the utility this thing offers is second to none Just constantly spam heavy attacks to keep your toughness high and stun everything in your path. The only time you should be using light attacks is if you took the keystone modifier Brutish momentum, and you don't need to be topping off your toughness. Also when there are a lot of disablers around, especially packs of pox hounds, so you can more easily dodge disables and eliminate them swiftly.
The first heavy attack is a strike down. If you want to maximise your damage against tougher targets, attack once, block and then attack again. Admittedly, most of your damage will be coming from bleed so it's not super necessary to succeed, and this means our overall heavy attack volume is decreased. Heavy-1 does have ridiculous cleave, however, so use it when there is a huge pack in front of you to deal with. I like to run extra damage to carapace and flak armoured enemies, as Scab Ragers, Maulers, Crushers and Scab Captains are the main threats you want to increase your DPS against. Extra damage versus maniacs is also viable.
Skullcrusher is a fantastic blessing for making enemies take more damage from all sources. You are going to be constantly staggering enemies anyway, so it will proc constantly. It synergises well with Batter to increase our bleed damage. Opportunist further increases our damage, especially when dealing with Crushers and maulers and the like. Keep your guard up whilst advancing on ranged targets to get into the swinging distance, or rely on Attention seeker to bring them to you.
Lorenz Mk VI Rumbler
The rumbler is the closest thing we are going to get to an accurate long-range weapon with Ogryn. Yes, the grenade will often hit a target and bounce off, but the impact damage alone is enough to kill a sniper outright. There are even some cool niche tricks you can do with it that make me favour it over our other ranged options. If there is a teammate that needs reviving, you can fire a grenade at the ground. I have had a few occasions where I've found myself in a sticky situation surrounded by a horde. I've gone to revive teammates, and been pounced by a pox hound, only to have my grenade go off and free me from its clutches.
Adhesive Charge is a necessary blessing here. The damage it can inflict to Reapers and Monstrosities is night and day, and will become your main DPS source against these targets. I like to run extra damage to the carapace and unyielding enemies, as these are the targets your grenade is going to be sticking to.I love taking Shrapnel for that little extra DOT damage. Not only does it trigger Delight in Destruction, to help increase our toughness, but also stacks against bosses and and increases our DPS by a not insignificant amount.
Curios
After 1,000+ hours in Darktide, I have a few simple rules when it comes to Curios. Melee classes (Ogryns and Zealot) should take 2x Toughness and 1x Health Curios to give a good mix of defensive stats. Veterans should take 3 Toughness Curios, as they benefit more from Toughness than other classes, owing to their larger toughness pools and skills such as Iron Will. Psykers should run 2x Toughness and 1x Stamina curio to make up for low Base stamina, and to benefit from their faster stamina regeneration. Obviously, there are some caveats to that. A melee centric Veteran might want to run 1x Health Curio and certain knife and stealth builds might want to run a stamina curio. But for the most part, I find this a good rule to stick to to ensure you have curios that are effective for the vast majority of your builds, especially when starting out when it is difficult to find any curios, much less good ones. Oh and Wound Curios should only ever be used on Zealot Martydom builds. Having Wound Curios actually means that health stims will now heal less on you. I know some people like to take a wound curio 'just in case they go down', but in higher difficulties, there is no guarantee your team can pick you up. It's far better to invest in defensive abilities which prevent downs as much as possible.
For Perks, Always take Extra toughness and gunner resistance. Gunner Resistance is the most useful resistance node as it applies to Scab Gunners, Scab Shotgunners, Dreg Gunners, Dreg Shotgunners and Reapers. This is the largest collection of enemies out of any of the resistance perks. These enemies can absolutely shred you in seconds, and make up a significant portion of the enemies encountered in Auric Maelstroms. The ability is multiplicative, so does have some diminishing returns. 0.80×0.80×0.80=0.512 meaning that we end up with a total gunner resistance of 0.488, just below 50%. I can certainly see the argument to only running two gunner resistance curios (with an overall damage resistance of 36 %) and opting for something else (potentially sniper OR Flamer), but I still value that extra 12.8%.
For the final perk, it depends on your build. If you are using a build which relies heavily on your ability, then run cooldown reduction to more frequently make use of said ability. I find this to be especially powerful on builds which make use of Voice of Command for instance. If your build is not too heavily reliant on your ability, then run for extra health. Again you can tweak this to suit individual playstyle (and the mercy of the RNG-gods as Hadrons bricks yet another piece of equipment), but this is a pretty good rule to aim for.
Strengths
The biggest strength of the Charonite is its versatility. There is nothing the Moebian 6 can throw at us that we don't have the tools to deal with. It doesn't matter how many ragers or maulers are mixed into that horde, we can suppress and kill them, all while remaining the tankiest member of our team. We don't need to worry about the Ogryn's lacklustre ranged accuracy, when we can just force them to come to us. Even if a dozen gunners are blazing away in the distance. If for some reason our teammates cannot deal with them whilst we pull aggro, we can simply rush over and smack them down ourselves. That is why I favour Indomitable over Loyal Protector. Not only can it help us close the gap, but can also knock an entire team of Crushers on their back so we can better deal with them.
You should not be aggroing Daemonhosts anyway, but if for some reason that thing absolutely, positively must die, you can tank it infinitely with your shield's special ability whilst your team whittles it down. Just please, if you do this, communicate with your team first. Shield Ogryn's mindlessly rushing at these things when they can be easily avoided is what gives the rest of us such a bad reputation. Sure, you killed it, but now everyone's health is majorly corrupted and you got... nothing... absolutely nothing as your reward. Remember that discretion is the better part of valour.
Weaknesses
Ammo economy can be an issue. Whilst we do have Big Friendly Rock to help our ammunition go further, you do have to be selective with your shots. Your ability to deal with Monstrosites decreases considerably without rumbler ammunition. Also, your damage is spread over a large number of threats. Heavy attacks into a horde of maulers or ragers can apply bleed stacks to multiple targets, but a single mauler will have them applied just as quickly. Your damage increases the more threats in front of you, meaning you can take longer than expected to deal with just one or two elites.
Questions & Answers
Question: Why do the stats, weapons, and abilities in the video not match what's written in this guide?
Answer: I am constantly evolving and refining my builds. As patch notes are released, certain weapons and abilities may change in effectiveness. Additionally, as my skills and knowledge grow, my preferred builds can shift. I aim to provide videos demonstrating the effectiveness of my builds in a Damnation level Auric run as proof of concept. However, these videos may sometimes be outdated. While I strive to keep everything current, Darktide is my hobby, and I may not always have the latest updates in the videos. The information in these guides reflects my most recent thinking and should be considered more accurate than what is shown in the videos.
Video

Azyr Psyker | Smite | Venting Shriek | Empowered Psionics
By Crukih • Updated 1 year ago


Sister of Battle | Immolation Grenade | Chorus of Spiritual Fortitude | Blazing Piety
By Crukih • Updated 5 months ago


Aqshy Psyker | Brain Rupture | Telekine Shield | Warp Siphon
By Crukih • Updated 5 months ago

Ulgu Psyker | Assail | Telekine Shield | Disrupt Destiny
By Crukih • Updated 1 year ago

