
Table of Contents
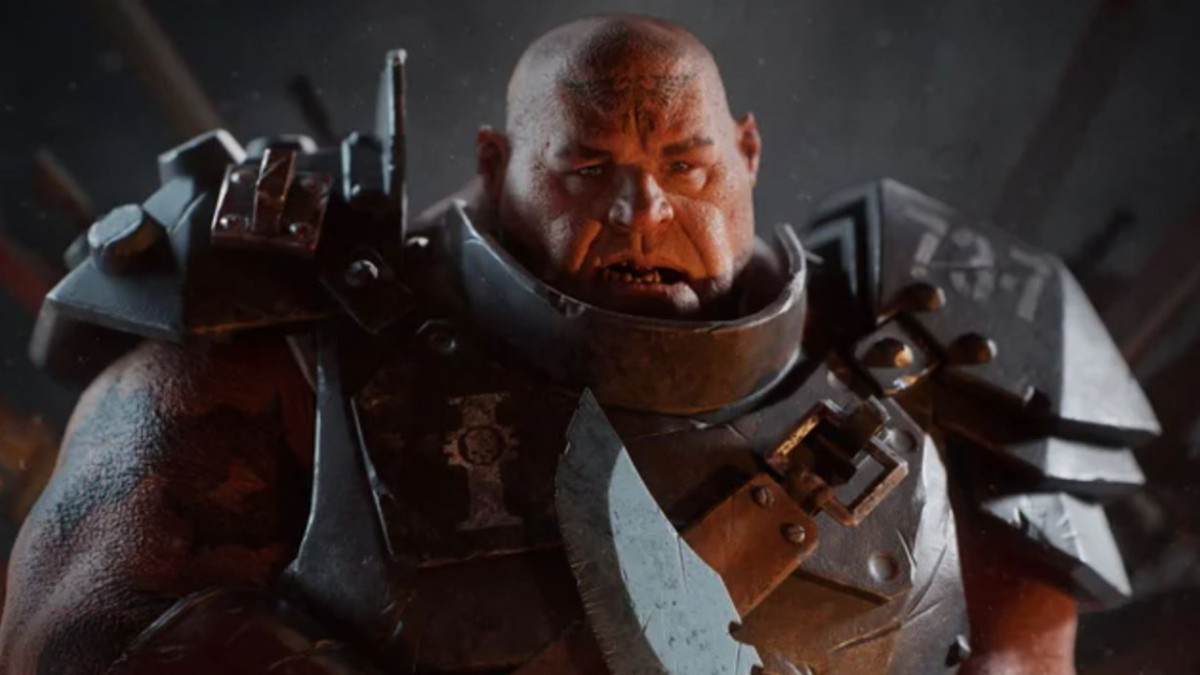
Ogryn Build - Warhammer 40k: Darktide
SmallieBig's 'Havoc Tank' FNP Protector Shield
Ogryn Build - Warhammer 40k: Darktide
Class

Weapons


Skullcrusher
Target receives 4 Stack(s) of +10% Damage if already Staggered. Lasts 5s.
Opportunist
+25% Melee Rending vs Staggered Enemies.

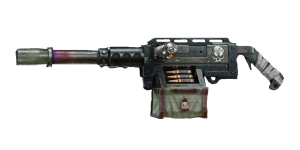
Surgical
+10% Critical Chance for every 0.2 second while aiming. Stacks 10 times. Discharges all stacks upon firing.
Inspiring Barrage
+4% Toughness for every 10% of magazine spent during continuous fire. Stacks 5 times.
Curios

+13-17% Toughness
+13-17% Toughness
+13-17% Toughness
Talent Tree
Description
A full tank, full regen, full 'nothing can hurt me' Ogryn build. This build had me learn that No Hurting Friends! gives you stacks for ANY damage, including toughness damage, and the fact it works for you as well is insane and basically gives you 12.5% strength and 15% DR for free once the horde gets close. This combined with every other form of DR I pumped into this makes you basically impervious so long as you're hitting things, and feels pretty fantastic. Even when you swap to your gun, with Steady Grip and Inspiring Barrage, regardless of if you're shooting from the hip or adsing, you'll have infinite toughness and infinite DR.
You're a walking wall, able to regenerate your toughness insanely quickly, while still doing decent damage! Payback Time + Brutish Strength allows you to two shot most anything in the game outside of Ogies which take around 3-4 depending on weakspot hits, but even then for a shield that's pretty dam good. And killing things in two means you get to keep Delight in Destruction active that much longer, which makes you just that much more unkillable. Feel No Pain working now correctly is nice too, and having it shoot your toughness gen to the moon is fantastic. Getting some push Synergies with the aforementioned Brutish Strength helps a lot to, I'd take more but you spend so much points on other parts of the tree it's hard to do so for something that's meant to function with low stats. One can probably drop some earlier pips though if you want to grab No Push Over and Hard Knocks, probably just drop the toughness pip + Can't Hit Me...Again! . But in Havoc, you need everything you can get, so this is what I came up with.
I take Bomb Box for a solid panic button that has 3 charges (so you aren't competing to heavily with others grenades) and synergises with Go Again!. I take that over Valuable Distraction as you don't need the damage (especially these days with everyone's bonkers damage outputs) and spreading Brittle does largely the same thing on targets that matter, so having your 'mobile personal psyker bubble' up near on effect end in some cases is ridiculously strong and potent. Pumped Up sometimes falls off depending on how much you need to push things, but one can manage it with good tracking of one's stamina and stringing in other hits in between pushes so slam can keep your stamina high.
I also don't take Toughest, as you have SO much toughness regen even with just base feel no pain you don't feel a thing as the keystone describes. I feel if you take it with heavy hitter you probably want it (might do it as a none havoc build actually...) but with Stay Close! you're a walking regen tank, so better to spend the point somewhere else. I also don't take Implaceable, as sometimes you're not actually heavy attack *shock face* as getting in quick hits for batter with the maul actually is good now! And you get so much other DR everywhere else it's better to get a more 'consistent' supply of it verses intermittent stuff. You are never charging a Heavy attack on this build beyond lining it up while walking in for a hit anyway, so better to just have points elsewhere! I also moved the 5% toughness DR node to Frenzied Blows, as more hits = more toughness = less damage, and Feel No Pain tends to make up the difference (lets you push/attack faster too, letting you keep your stacks more, and hitting more means more die so even MORe regen!).
Bruiser just keeps the taunt train moving, it can be swapped out, but I feel little need to. Beyond ALL that, I feel the build is self explanatory, Shield heavies to knock around the wave, lights to stack up Bleed and knock enemies around for CDR, push bonk armored/monsterous targets to weaken them for you and your team. Heavy Stubber for actual Monstrosity damage and dealing with things outside of your shield range, with Dedicated Practice to help with it's long pull out game. ADS for far off targets and when you get your toughness nuked to far away from enemies to bonk, or just dump a mag if you can spare it for a full toughness refresh in like half the mag. Bonk, bleed, and push like a proper wall/juggernaut to victory! (Ohh, and Pained Outburst is mainly copeum for dogs, as you are still rather immobile. A lot better than before though, but you'll still get caught out if you miss a special here and there).
Other builds by MixedLetters


Adora's 'One Hit' Invis Martyr T-Hammer
By MixedLetters • Updated 7 months ago
Price's 'Martyr Relic Blade' Chorus
By MixedLetters • Updated 1 year ago


SmallieBig's 'Indomitable Spam' Kickback Pickaxe BLO
By MixedLetters • Updated 1 year ago

Gandalf's 'Unlimited Powerrrrr' Empowered Smite Electro Scriers
By MixedLetters • Updated 1 year ago