
Table of Contents
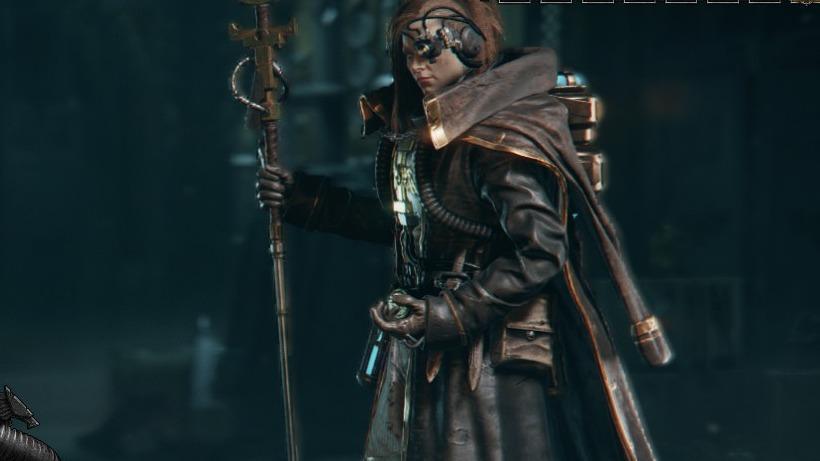
Psyker Build - Warhammer 40k: Darktide
Runa Helvintr - Infinite Peril | Smite | Soulblaze | Martyrdom | Cleave
Psyker Build - Warhammer 40k: Darktide
Class

Weapons


Blazing Spirit
Enemy gains 4 Stacks of Soulblaze on Critical Hit.
Wrath
+40% Cleave on Hit. Stacks 5 times.


Warp Flurry
-8.5% Charge Time on Chained Secondary Attack. Stacks 3 times.
Warp Nexus
Gain between 5% and 20% Critical Chance based on current level of peril.
Curios

+1 Wound(s)
+13-17% Toughness

+17-21% Max Health
Talent Tree
Description
This is the original Infinite Smite Build (yes) with the Electro Staff, & Empowered Psionics. (Let alone Soulblaze synergy & Crystalline Will). Perfected over the course of circa February 2025 till around circa October 2025, and has remained unchanged since then.
(Weapon perks can be modified as needed)
CORE MECHANICS - PLAYSTYLE
Use the Electro Staff to pick off enemies at range, spamming the Secondary Attack as your main attack. Rarely will you use the Primary Attack. Once your Peril reaches 100%, Quell Down OR spam the Secondary Attack until the Scier's Gaze 10s after effect wears off. The Electro Staff's primary targets will be Specialists & Elites, and using the Greatsword against armored-units like Maulers & Crushers, or just general Hordes.
When enemies get close, particularly Hordes, use the Greatsword to cleave through them. Ideally you'll want to begin attacking in melee with 100% Peril, then pop Scrier's Gaze, targeting enemies with Soulblaze active on them. Keep in mind that most of our Critical Chance we have is derived from Scrier's Gaze. If you melee often outside of Scrier's Gaze, consider adding 5% Melee Critical Chance instead of 10% Melee Damage (Elites) so that Soulblaze, Mettle, and Perfect Timing properly proc.
Then once at 100% Peril again, switch to your Smite ability and hold it down, taking care to not get hit by stragglers. On some occasions the cooldown for Scier's Gaze will be done prior to the Scier's Gaze 10s after effect ending. When channeling Smite this is extremely useful, as you can infinitely maintain the channel so long as Scier's Gaze comes off cooldown fast enough.
- On the occasions where you do miss the mark, and end up Overloading, we have Crystalline Will, to prevent us from getting down, and or any damage at all. This usually only occurs when there is a lack of Specialists & Elites around, or a pause in the waves. The +1 Wound(s) Curio provides room for error, but also to reduce the self-inflicted damage from Overloading, which can be done intentionally to clear a room.
General Rotation
+90% of the time you will be at 100% Peril. The times you are not, are usually when you are in melee with enemies, which is why we don't have Warp Splitting selected. Majority of your Secondary Attacks and Smite usage will be while at 100% Peril.
Spam the Secondary Attack of the Electrokinetic Staff at Specialists & Elites.
Hit your Ability; Scier's Gaze once at 100% Peril.
If a bunch of melee non-elite enemies are present, begin cleaving with the Greatsword until at 100% Peril.
If Empowered Psionics is active on your buff bar, continue to Step 5. If not, then continue spamming the Secondary Attack of the Electrokinetic Staff and start from Step 1.
With Empowered Psionics active, pull out your Blitz; Smite, and begin channeling at the mass of enemies, holding the channel for a few seconds after every enemy is dead, or mostly dead. If you get interrupted while channeling Smite, revert to Step 1.
If a bunch of enemies are still present, and Scrier's Gaze's cooldown is up, hit Scrier's Gaze again, while not letting go of the channel.
Revert to Step 6. ∞
Notes on Soulblaze:
While it may not appear so, Soulblaze plays a huge role in this build. I tried a few games without it, and performed horribly. It allows you to consistently regen Toughness, and when combined with Electro Staff, you are able to quickly hit max stacks of Soulblaze on a mass of enemies if there are a bunch of Specialists present. In addition, it allows for a consistent Critical Strike Chance increase, and causes your DPS to snowball while Smiting a mass of enemies. Furthermore, while used in melee, if the Soulblaze itself kills an enemy, that will buff your melee DPS due to Malefic Momentum. Everything synergizes with eachother in this build, and Soulblaze is a key functionality to that.
Slow & Steady;
You'll move alot slower than the rest of your team, due to the constant channeling of Smite and the Electro Staff, so make sure to always be moving forward when possible.
In addition, make sure to attack with your channels & staff at a full 360 degrees, as to not be interrupted.
Other builds by Ultimate Powa


Tyra Helvintr - Lex Paladin | Invincible | Forceful | Boltgun
By Ultimate Powa • Updated 8 months ago

Tyra Helvintr - Lex Paladin | Execution Order | Boltgun | Anti-Specialist
By Ultimate Powa • Updated 8 months ago


Inquisitor Tyre
By Ultimate Powa • Updated 8 months ago


Lord Medicae ||| Auric | Gunslinger | User
By Ultimate Powa • Updated 5 months ago