Table of Contents
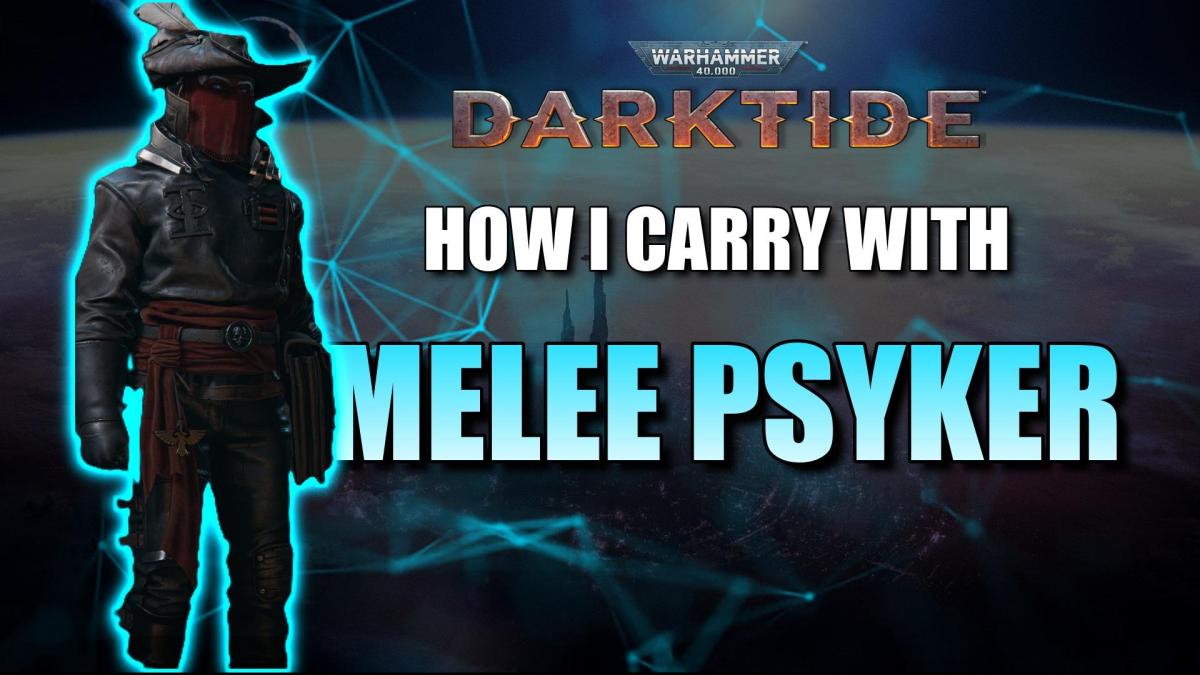
Class

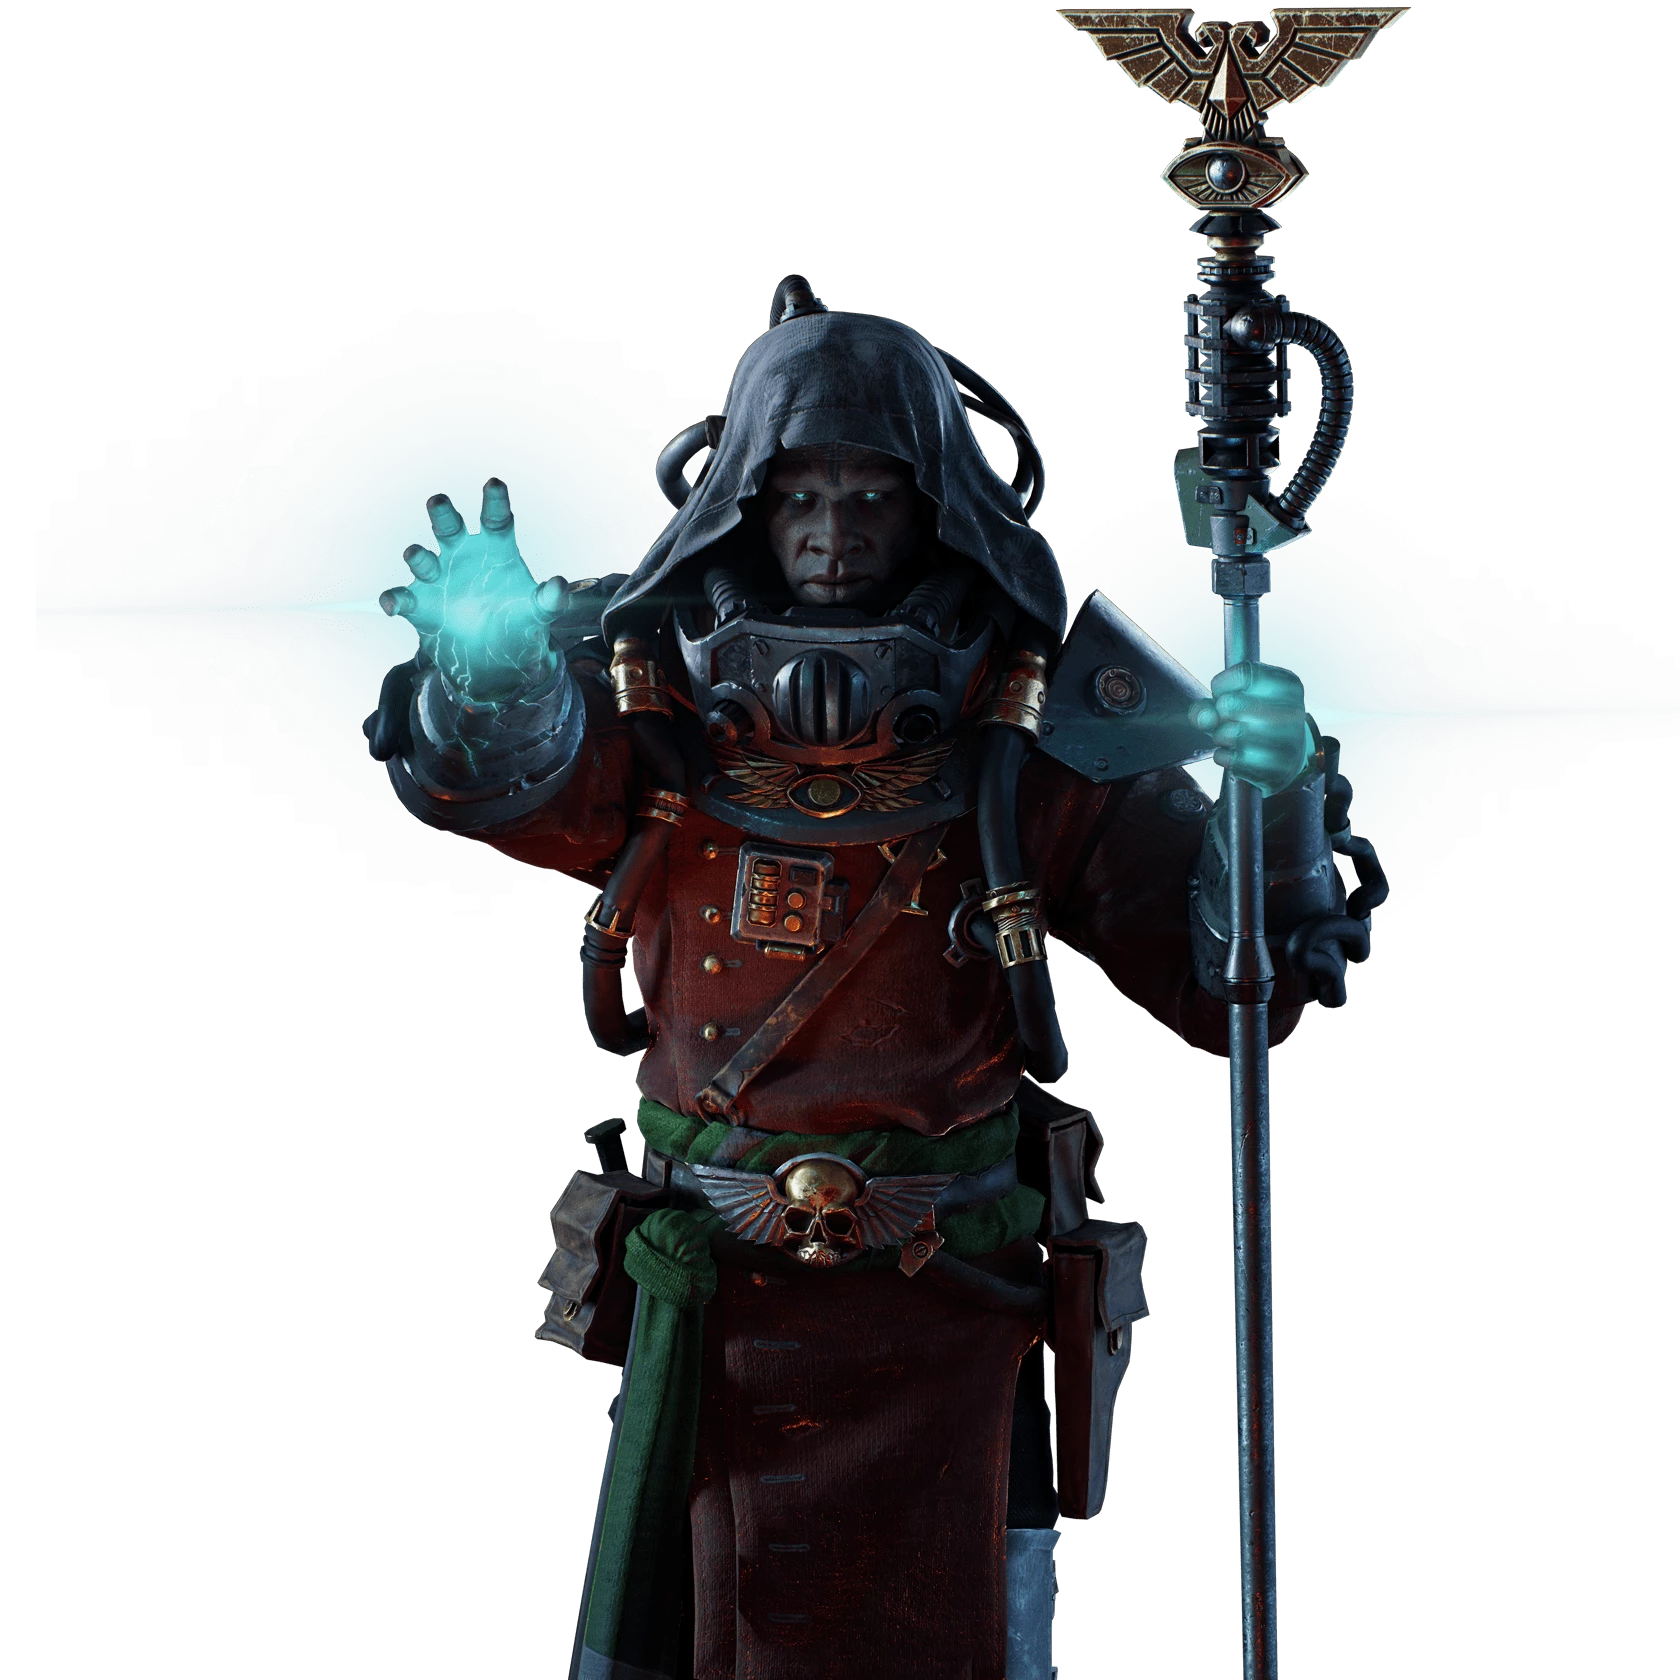
Weapons



Unstable Power
Up to +5% Strength, scaling with Peril.

Riposte
+20% Critical Chance for 6s on successful Dodge.


Surge
2 Shots on Primary Critical Hit. +5% Ranged Crit Chance.
Warp Nexus
Gain between 5% and 20% Critical Chance based on current level of peril.
Curios


+13-17% Toughness
+13-17% Toughness
+13-17% Toughness
Talent Tree

Description
29.09.2026 - Hit "CONTROL + F" and search "29.09.2026" to see what has been updated. The core build for both variants is the same.
The embedded video is a video guide for Melee Psyker. The same YouTube channel has a Duo Melee Psyker Havoc 40 run, both using this wall variant.
Index
1.0.....................Why use my builds?
2.0....................Gear Guide
2.1....................Force Greatsword Intro
2.2...................Electrokinetic Staff Intro
2.3...................Laspistol Intro
2.4...................Curios
2.5...................Obscurus Intro & Rolls
2.6...................Deimos Intro & Rolls
3.0....................Talent Guide
3.1...................Non-ability Talents & Talent Alternatives
3.2..................Walls
3.3..................Scrier's Gaze (has talent variation, see link in 1.0 or mini-guide in 3.3)
3.4..................Venting Shriek
4.0...................Gameplay Guide
4.1..................FGS
4.2.................EK Staff
4.3.................Laspistol
4.4.................Obscurus
4.5.................Deimos
5.0...................Misc
5.1..................Peril Management
5.2.................Toughness
5.3.................Movement
5.4.................Advanced Tip
1.0 WHY USE MY BUILDS?
- This written guide is slightly different than the video guide, most notable there is no discussion on rolls or talents in the video.
- Builds revolve around using both the "Uptime" mod and going by feel across a few hundred Havoc 40 games with these builds.
- Most games are on Party Finder and inviting 1-2 low ranks, so much of the output is the build and less from the team
- Feel is my long-term judgement on the efficacy of talents as we are buffed by sources outside our own character in real games, fighting different enemies under different circumstances
- Utilizes Enervating Threshold & Scrier's Gaze to their maximum potential
- By default, this guide is for Enervating Threshold but anything that deviates due to picking Scrier's Gaze will be noted
- Link to Scrier's Gaze (talents only:)
- Most unholy clutch power, can deal with every situation that presents in Havoc 40
- Huge, palpable impact on the team and is very fun
2.0 Gear Philosophy
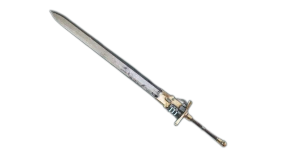
2.1 Covenant Mk VI Blaze Force Greatsword (FGS)
- Huge single target DPS vs. the Mk VIII (~ +33%)
- INSANE range, you outrange almost every incoming melee attack in the game
- Warp resist stat
- Enervating Threshold warp resist = 60% or under
- Scrier's Gaze warp resist = 60%
- If you want, can swap Carapace for anything:
- Maniac - I've noted the following breakpoints:
- Non-crit fully charged warp slices can 1-shot nearby dreg ragers on havoc 40 with high Disrupt Destiny stacks.
- Non-crit H2 will 1-shot dreg ragers with high Disrupt Destiny stacks.
- I did this for a few days and it is awesome vs Dreg faction, but useless vs Scab faction.
- Infested - for rotted armor
- Maniac - I've noted the following breakpoints:
- Unstable Power can swap to Shred if you like synergy with crit talents and gambling for 1-hit kills on some elites
- Generally I prefer Unstable Power after using Shredfor a whole month
- Riposte tends to be up when you need it most, and I always build for the worst situations.
- Non-negotiable blessing for me, unless you know you have a good taunt ogryn (in which case it doesn't matter what you use because you'll win anyways...)
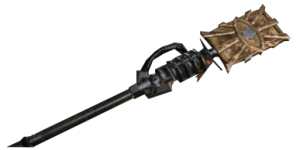
2.2 Electrokinetic Force Staff Nomanus Mk VI (EK staff or EK)
- Innate +21% crit chance and +31.5% crit damage, other staves do not have the 'Critical Bonus' stat
- Primary attack crits do 2x to nearly 3x damage at base, plus the Surge blessing is a global 2x multiplier to that damage
- Crits trigger several important talents
- Is used like a warp revolver to take out ranged elites (can suppress all gunners easily,) specials, and dreg ragers
- 29.09.2026 - KEEP ON Solidity if running EK staff with the following criteria:
2.3 Accatran MG II Heavy Laspistol (Laspistol or LP)
- Rolls
- Has the highest sprint speed stat in the game, allowing for worry-free, easy kiting.
- High crit chance and crit multipliers, which synergize well with many of our talents.
- Easily applicable Burn via Infernus
- Entirely unique interaction with psyker: the force push is used to reliably* stop most specials with infinite "cleave"
- *Even those unpushable bursters hiding in a pack of enemies
- 29.09.2026 - KEEP OFF Solidity if running Laspistol (see section 2.2 above if wondering the criteria for running this talent.)
2.4 Curios
- Can swap Toughness for Revive Speed
- Scrier's Gaze: should definitely swap Combat Ability Regen for Revive Speed or Health*
- *I usually run Health
2.5 Obscurus Mk II Blaze Force Sword (Obscurus)
- Rolls
- Lowest possible warp resistance, rest = 80%
- Unyielding & Maniac OR Carapace OR Flak
- Pick whichever ones you hate fighting more, but you can't go wrong with Unyielding
- Unstable Power and Uncanny Strike / Riposte
- Uncanny Strike will nearly double your only "okay" damage vs. carapace.
- Riposte is great for clutching and Dreg seeds
- Mediocre horde clear, but high mobility and single target damage
- Single target combos are fast, allowing for high uptime with on-hit talents, such as Mettle
2.6 Deimos Mk IV Blaze Force Sword (Deimos)
- Rolls
- Lowest possible warp resistance, rest = 80%
- Unyielding & Maniac OR Carapace OR Flak
- Pick whichever ones you hate fighting more, but you can't go wrong with Unyielding
- Maniac should help with a lot of breakpoints and often 1 hit mutants
- Carapace is less needed if running Uncanny Strike because of the high base carapace DPS
- Unstable Power and Uncanny Strike / Riposte
- Uncanny Strike will make carapace DPS extremely high
- Riposte is great for clutching and Dreg seeds
3.0 Talent Philosophy - from top to bottom, with abilities at bottom. (See end of 3.1 for talent variety)
3.1 Non-ability Talents
- Since the 29.09.2026 update, I always use this with the Scrier's Gaze variant. The value drops a lot with Enervating Threshold
- By Crack of Bone countering Scrier's Gaze peril increase will constantly shoot your toughness up mid-combat.
- Though most players say it's good when you have no toughness, the talent also helps prevent those situations in the first place.
- Specific examples of great use cases:
- 1) Double-hits from ragers. The first hit will increase peril with Just a Dream to regen some toughness, all before the 2nd blow lands. Your health lost is reduced by a lot.
- 2) Surprise bursts from gunners. Each bullet that increases peril with Just a Dream will also give you some toughness back.
- 3) Countering pox gas, once again through Just a Dream
- For non-Soulblaze builds, this is rarely noticeable aside from shotgunner waves, which are already easy to kill
- You can easily add a little bit of Soulblaze from any source and explode elite packs on H40 maps, but it's a bit boring.
Battle Meditation 29.09.2026
- For Scrier's Gaze, allows for decent extension of Scrier's Gaze
- Allows warp slices into hordes to "refund" the peril cost.
Blitz 29.09.2026
- Kinetic Flayer is now an easy pick for both build variants.
- Assail can be used for fun. See end of this section for trade-offs for a Havoc-viable setup while remaining melee-focused.
Immaterial Focus 29.09.2026
- Always a good pick for global damage resistance and sometimes useful stun immunity.
- Big global damage resist, often times when you need it most.
- Will proc at 96% or lower peril.
- Insane synergy with Quietude& Scrier's Gaze
- Incoming toughness damage (pox gas, bullets, or dreg ragers commonly) --> gain peril from Just a Dream --> gain toughness from Quietude
- Incoming toughness damage (pox gas, bullets, or dreg ragers commonly) --> gain peril from Just a Dream --> gain toughness from Quietude
- The +1 dodge makes the FGS feel a lot more forgiving when kiting extremely dense elite packs.
- 29.09.2026 - Not a necessary talent for Obscurus Mk II Blaze Force Sword or Deimos Mk IV Blaze Force Sword
Warp Splitting 29.09.2026
- Though I never used this with Scrier's Gaze with the assumption my FGS warp slice will delete hordes, I still take it with Enervating Threshold because nothing else is worth replacing it with.
- NO MICROMANAGEMENT: 70%-80% uptime on warp damage buff; 45-55% on the non-warp damage buff
- No micromanagement means not trying to upkeep the talent, playing naturally.
- MICROMANAGEMENT: 70-80% for both, done by treating the staff like a revolver and quickly 1 shotting something every few sec
- Very nice for clutching when you have no dodges + fighting elites/bosses + getting shot at. Allows time to reset dodge counter
- Enervating Threshold variant: peril slow-down makes upkeeping Unstable Power , Warp Rider , and Warp Splitting easy
- Scrier's Gaze variant: peril slow-down has no significant positive or negative effect
- +2 stamina has helped to compensate for an inactive Kinetic Deflection (at 97% peril) and scales with the talent for more efficient blocks
- Toughness Replenishment is a 1.25x multiplier to all toughness sources that actually matter in Havoc
Solidity 29.09.2026
- Basically required to [Slide, Shoot, Quell] with a staff since the quelling changes to Havoc (still annoying to do, less so with talent.)
- I have to extensively test this for [Slide, Shoot, Quell]. If I can get good at it again, this will be a REQUIRED talent for my playstyle. If not, I might throw this talent out entirely and try to do heavy quells and only [Slide, Shoot] as one action only.
Disrupt Destiny 29.09.2026 - 3 different builds, depending if you are:
- Confidently aggressive: max damage possible but inconsistent: Perfectionism + Cruel Fortune
- Stacks: ranges from 0-25; averages 20-25 if having a good time, 0 if having a bad time.
- Very difficult to maintain if you are the last alive.
- Confidently aggressive: free talent point and mostly consistent: Lingering Influence ONLY
- Stacks: ranges from 8-15; averages 11-12
- 29.09.2026 Rotted armor where things die slowly? I prefer this variant.
- 29.09.2026 Very good teammates taking a lot of kills? I prefer this variant.
- See end of section below for where to put the free talent point
- Lazy: consistent: Lingering Influence + Cruel Fortune
- Stacks: ranges 11-15; averages 13-14
- Can maintain high stacks during clutches / solo
Difficult to kill enemy highlighted? Look away for 5 seconds, the next markable enemy you see will be instead highlighted. That is the technical part of it. Realistically, keep attacking enemies’ frontline, from the side. I will draw below (x = enemies, y = highlighted enemy >O = you and your field of view)
xy
xx
xx
xx >O
You drop line of sight with the unwanted highlighted enemies (likely in the back) AND you are still attacking something so you don’t just sit there and be useless for 5 sec
Talent Variety 29.09.2026
- For the Enervating Threshold build, consider swapping off one or more of the following for A-B below (in no particular order:)
- Immaterial Focus
- Empathic Evasion
- Cruel Fortune (Great for: rotted armor, teammates too good, or just learning the build and can't maintain Perfectionism. Use Lingering Influence instead of Perfectionism as well.)
- Solidity (I only use when: using EK staff, on Havoc, and making use of [Slide, Shoot, Quell])
- A) True Aim: less mental burden to swap --> shoot --> swap and kill something you know will die vs. gambling a crit.
- Can kill weaker specials and trash guaranteed (higher Malefic Momentum uptime)
- For Laspistol, easier to upkeep Infernus on bosses.
- B) FOR FUN: Assail + True Aim + *Psykinetic Grip* combo
- May want Solidity regardless of the criteria listed just above.
- May want Solidity regardless of the criteria listed just above.
- For the Scrier's Gaze build, consider swapping off one or more of the following for A-F below (in no particular order:)
- Immaterial Focus
- Empathic Evasion
- Cruel Fortune (Great for: rotted armor, teammates too good, or just learning the build and can't maintain Perfectionism. Use Lingering Influence instead of Perfectionism as well.)
- A) Solidity: (I only use when: using EK staff, on Havoc, and making use of [Slide, Shoot, Quell])
- I find myself using the Laspistol more often nowadays since the quell changes really suck.
- B) Warp Splitting: I get a single charge warp slice fast enough to handle high-density situations, so I personally don't like to use node.
- Many great melee psykers prefer it still. It is up to you.
- C) Battle Meditation: if wanting to extend Scrier's Gaze by a good amount.
- D) Empyric Resolve: if wanting to extend Scrier's Gaze by an extreme amount.
- E) True Aim: less mental burden to swap --> shoot --> swap and kill something you know will die vs. gambling a crit.
- Can kill weaker specials and trash guaranteed (higher Malefic Momentum uptime)
- For Laspistol, easier to upkeep Infernus on bosses.
- F) FOR FUN: Assail + True Aim + *Psykinetic Grip* + *Warp Splitting* combo (also can swap Warp Speed for Warp Unbound)
3.2 Walls
- Main intent is for anti-special use
- As long as a pixel of the enemy touches the wall, they get stunned. You can pretend the wall is actually lengthier than it looks
- Bursters may walk through
- Trapper nets may pass
- Bombers easily throw over the wall
- The wall has width
- Mutants may run through the full thickness --> stunned + recoil --> no follow-up stun
- Mutants may run through partial thickness --> stunned + recoil --> follow-up stun
- Dogs will likely run through the full thickness --> stunned --> no follow-up stun
- Spam them, they have high uptime thanks to Psykinetic's Aura
- Most of Darktide consists of paths MORE narrow than the wall's length, meaning you should rotate the wall. Otherwise, parts of the wall are wasted outside of the map.
- In a narrow hallway, rotate the wall diagonally or straight to move up on gunners. I will draw below an aerial view of a narrow hallway
| > > ) X |
| ^ ) X |
| ^ ) X |
| ^ ) X |
| ^ ) |- | | is the hallway
- ) is the diagonal wall
- X are gunners
- ^ > is your path of movement
- Notice how you can rotate the wall to walk the entire length of a gunner line and get behind them
- Sanctuary has bad uptime.
3.3 Scrier's Gaze
Plays more aggressively, but most of the time damage is not that much higher than Enervating Threshold
- Warp Splitting changes to By Crack of Bone now that we are trying to buy time for high Scrier's Gaze stacks.
- 29.09.2026 Quietude is always used now.
- Precognition: big damage + fast stacking that lingers after the end of Scrier's Gaze
- Warp Speed: most players don't use, but it improves slide tech immensely.
- Warp Unbound? IMO is useless unless you can spam a useful peril-generating action (see end of section 3.1 for an Assail variant).
- Peril management: don't worry, play naturally in almost all cases & spam Scrier's Gaze . That mental energy should be spent on anything else.
- FGS reroll: swap <60 warp resist to =60 warp resist
- Link to Scrier's Gaze (talents only:)
3.4 Venting Shriek
I have not experimented with Creeping Flames and Perilous Combustion but I know like any Soulblaze build, it will explode elite packs on H40 and make the game very easy.
4.0 Gameplay Guide - Havoc 40 focus
4.1 FGS
Warp Slice (the special wave) - THE GAMEPLAY LOOP REVOLVES AROUND WARP SLICES. ALWAYS THINK ABOUT WHAT IS IN FRONT OF YOU AND HOW MANY CHARGES YOU NEED TO DEAL WITH IT.
- Mechanics
- 2-part attack consisting of the wave projectile and the physical swing. The physical swing itself (without the projectile) can be a light or heavy attack.
- The physical swing can generate special meter, meaning sometimes you can swing into a horde and instantly have another half or full charge ready.
- Special light: useful on trash mobs. The physical swing will kill them and generate warp charges
- Special heavy: useful on elites. Has huge damage and with enough buffs, can 1 hit many elites when combined with 2 charges.
- Reaches to ~30 meters with large damage drop-off after ~10 meters (subjective estimate)
- 2-part attack consisting of the wave projectile and the physical swing. The physical swing itself (without the projectile) can be a light or heavy attack.
- Zero charges: will stagger specials (not mutants) and elites (not ogryns / maulers)
- Will free teammates from pox hounds through walls
- If through a wall, aim slightly above teammate's silhouette when they are pounced. The wave is wide, not tall.
- Will stop most enemies from hitting distant trapper-netted teammates, buying time for them.
- Will free teammates from pox hounds through walls
- One charge: kills trash mobs and weakens elites at close-med range
- Two charges: kills trash mobs at long range and kills or weakens elites and specials at close-med range
Combos
- Aggressive trash clear: [L, L, L, H] repeating or [L, L, L, L]
- Sliding / Sprinting: [L, L, H] (I almost never do this)
- Safe trash clear: [Push, L] repeating
- The first light after a push is unique and is perfectly horizontal
- This will be your primary way of avoiding getting body blocked, stuck, and killed by trash
- Pair with hugging a wall for the highest chance of out-maneuvering high density hordes that are going to trap you
- [Push, L, H] repeating: the heavy variant is the unique sweeping heavy from the previous combo (I almost never do this)
- Single-target: [H, H] OR [L, H, block cancel] OR [L, H, (L, L, H)]. Some common-use scenarios assuming enemies are focusing you:
- [H, H]
- Boss damage
- Dangerous for chaos spawns unless you are confident
- Stab mechanics* for Beast of Nurgles
- *All stab attacks in Darktide WILL hit weakspots if you aim at it, even through their body. You can be in front of a Beast of Nurgle and hit its rear weakspot by aiming where it should be and stabbing, assuming the weapon is long enough.
- Kiting melee elites
- Dangerous for dreg ragers unless you are confident or have low ping
- Chain killing elite gunners
- Vanguards*
- *If not much is going on, double push to open them and quickly kill them
- Boss damage
- [L, H, block cancel]
- Kiting chaos spawns safely
- Kiting melee elites safely
- Vanguards*
- *If there is a lot going on, it is fairly safe to [L, H (hold), jump, H (release)] over their shield, aiming for the head
- Quick access to 1-hit kill mutants
- It is okay to completely miss the Light to ensure you can safely hit the more important Heavy after.
- [L, H, (L, L, H)]
- A hybrid of both combos above.
- Virtually matches the DPS of [H, H] while also outputting 1 more attack in the same amount of time:
- 3 hit combo versus 2 hit combo = +50% attacks = +50% Empathic Evasion proc chance + increased Mettle movement speed uptime.
- Kiting bosses or melee elites mixed with ranged enemies
- More Empathic Evasion uptime.
- Chain killing elite gunners mixed with normal shooters
- More Empathic Evasion uptime
- Normal shooters are weak enough for the lights to kill
- Kiting melee elites with trash
- Trash mobs may step in front of elites and are weak enough for the lights to kill
- [H, H]
- [Sprint, Hold Heavy, Slide + release Heavy]: a very fast opener or gap closer. I use this ALL the time when first engaging almost anything, or when needing to run away
- [Hold Heavy, Sprint, Slide + release Heavy]: not as far distance as the previous, but you can queue attacks faster and "ping pong" between spaced out gunners.
- The gap in distance covered between the above combos is closer when you have movement speed buffs. The movement speed buffs GREATLY ENHANCE the slide to very silly levels of power.
- Force Push (~10 meters)
- Open bulwarks
- Knocks captains down and off maps (hilarious)
- Melee twin gets pushed back, not knocked down
- Interrupt overheads
- Proc kinetic flayer
- Extra insurance vs. bursters
4.2 EK Staff
Primary attack: for range elites, specials, and occasionally dreg ragers (absolutely melts them)
- Will proc Empathic Evasion, Mettle , and Perfect Timing very easily to make you immortal
- Sprint sliding + Empathic Evasion is near 100% immunity from shooters
- Sprint sliding + Mettle is high movement speed to avoid all melee enemies
- 29.09.2026 [Slide, Shoot, Quell] safely and repeatedly is now impossible without Solidity.
- When to quell:
- Short quells during any downtime (changing targets, during slides)
- Can shoot and immediately quell to negate peril cost entirely
- [LMB, LMB, Immediate Quell] will basically freeze your peril and allows for consistent shooting
- 29.09.2026 this is now very hard to do and you definitely want Solidity.
- Careful when only aiming for the head, many enemies will crouch / hide and make you miss entirely after the first hit. It is okay to just aim at the body unless you can guaranteed headshots
- Weapon swap is so fast that you can be on melee and quickly [Swap, Shoot, Swap] and not even see the staff on your screen
Secondary attack is for fast moving specials or when you don't feel like aiming
4.3 Laspistol
Offense
- Used mostly for specials, but will kill elites readily.
- High unyielding damage, particularly good for reapers and bosses
- Infernus lets you apply max Burn stacks quickly
- Can burn bosses at range, or up close and swap to FGS for few sec before re-applying burn (only need one crit to get back to max stacks if you don't let the stacks drop too low)
Defense
- To kite, you do not need movement speed buffs to outrun almost everything, though they help create distance. You should be sliding to maintain infinite stamina and have ranged immunity (during the slides.)
- Can turn around to apply Burn to any bosses chasing you intermittently, upkeeping max Infernus stacks.
- If you sense any non-mutant special that may give you trouble, force push them.
- The force push will guaranteed hit what you want hit within ~10-12.5meters, no matter how many enemies are in the way.
- Example: a boss, dreg ragers, and horde have 2 trappers, 2 bursters, and a dog that just jumped for you. If you force push, both trappers are knocked down, both bursters are knocked down + explode, and the dog is knocked out of the air.
4.4 Obscurus
Combos
- Horde clear: [L, H]
- Clears at an okay rate. Pair with Assail or an AoE staff to clear hordes and also keep high Malefic Momentum stacks.
- Single target: [H, L, L]
- Hits quickly, you will be very fast thanks to high Mettle uptime
- The light stab has long range, useful for kiting dreg ragers or enemies moving away from you.
- The warp attack is mostly useless, unfortunately
4.5 Deimos
Combos
- Horde clear: [L, L, L, L]
- Terrible cleave, but technically will kill single enemies very fast. Pair with Mettle or an AoE staff to clear hordes and also keep high Malefic Momentum stacks.
- Single target: [L, H, (L, H)]
- VERY high DPS and frequent stab attacks with long range.
- Entirely unique property: heavy staggers all non-bosses and captains, even mutants.
- Probably our safest weapon
5.0 MISC info
5.1 Peril Management
- For both Enervating Threshold and Scrier's Gaze, higher peril is favored for One with the Warp
- For Enervating Threshold , Warp Rider + Unstable Power do a lot of heavy lifting for damage. Keep your peril above 80%.
- Try to stay between 80% and 90% so you have a buffer for Just a Dream and Kinetic Deflection while also maintaining most of Warp Rider and max Unstable Power
- Try not to waste the FGS special progress just to maintain high peril, instead use your staff or blitz, whichever is faster / makes sense
- For Scrier's Gaze, do not worry about peril management that much since you'll otherwise have to fight against Scrier's Gaze constant peril generation; you are better off spending that mental energy on literally anything else
5.2 Toughness
- Mettle , Warp Expenditure , and Disrupt Destiny are your only toughness generators.
- It is easier to think about the toughness generation in the following way:
- Mettle - you can't control your crits, but you'll be critting when you are hitting things. Bottom line: hit things
- Warp Expenditure - you should always aim for the head anyways. Bottom line: hit things in the head
- Disrupt Destiny - even if at max stacks, it is nice to hit the highlighted guys anyways for +movespeed. Bottom line: hit blue things
- Overall: hit things > in the head > especially if they're blue
5.3 Movement
- Movement needs its own entire guide, so I will keep this brief. It is ironically last and in a small section for this guide, but is more important than literally anything else in the entire game
- With the FGS specifically, go back up to the sprint/heavy/sliding combo and:
- Practice these over and over and over and over and over and over
- Get to a point where you can replicate the movement in the video
- Do not waste dodges for overheads unless it is actually going to hit you. When a bunch of overheads come at you, you go from playing Darktide to Dark Souls to conserve dodges.
- Do not underestimate any number of dreg ragers. If they have to die slowly so you don't get hit, so be it.
- Do not underestimate a very small pack of Vanguards and Maulers. They have crazy stun --> overhead synergy.
- Watch how good players move around in Havoc. They can make any build work because of movement.
5.4 Advanced Player Only Tip - always be hitting things
- This is hard to do in practice, but you should always be hitting something.
- Nobody else will kill anything if you're the last one alive. If you stack a lot of mobs, it is hard to revive. You should ALWAYS kill things.
- When you treat every passing second as possible outgoing damage, you realize how hard this tip actually is to follow. All aggro is on you, so the window of attacking decreases BUT is nonetheless ever-present
- 6 dodges spent not attacking and redundantly blocking --> 6 missed heavy attacks --> 6 elites that could be dead
- 1 prolonged H2 stab awaiting incoming mutie from far away --> 1 missed H2 stab on something closer --> 1 elite that could be dead
- 4 missed heavy attacks --> 4 missed elite kills
- Horde not cleared --> increased body block chance & dying
- People can run suboptimal builds and destroy the scoreboard because they literally just hit things more often than others
- Practice in solo Havoc 40 (Baross or Archivum, scab or dreg seed) and you will be surprised how fast you improve in full teams.
Video
Other builds by arman276