Logo
Games
Lantern
My Offensive Shield Build H-40
Horde-Clear
Anti-Special
Anti-Elite
+9 more
 My Offensive Shield Build H-40
 Ogryn Build - Warhammer 40k: Darktide 

 My Offensive Shield Build H-40
 Ogryn Build - Warhammer 40k: Darktide 

Class

Divider

Weapons

Divider
weapon container top
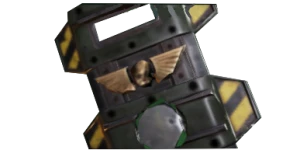
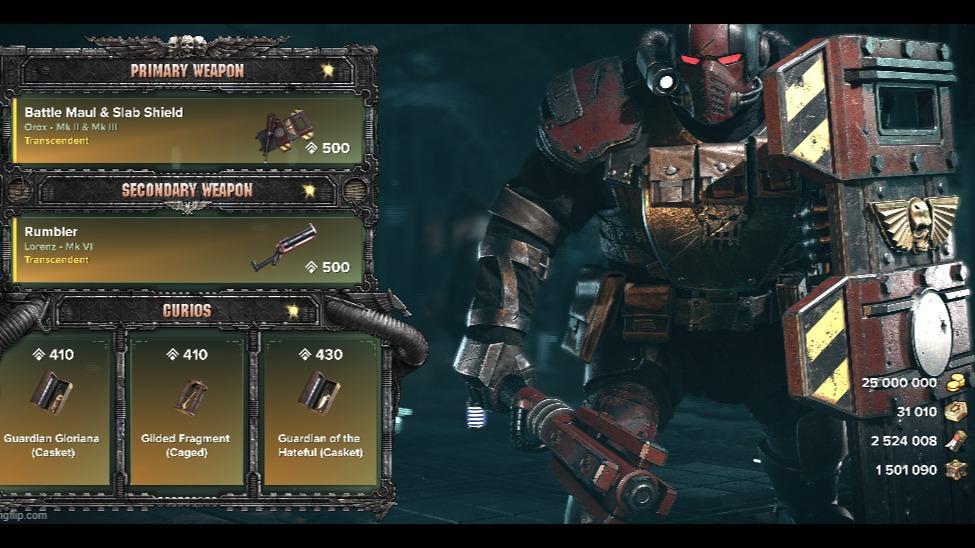
Orox Mk II & Mk III Battle Maul & Slab Shield
Transcendant
Orox Mk II & Mk III Battle Maul & Slab Shield
weapon container middle
Cleave Damage
[76/80]%
Penetration
[76/80]%
Crowd Control
[76/80]%
Defences
[76/80]%
Damage
[76/80]%
10-25% Damage (Carapace Armoured Enemies)
10-25% Damage (Flak Armoured Enemies)
Skullcrusher

Skullcrusher

Target receives 4 Stack(s) of +10% Damage if already Staggered. Lasts 5s.

Brutal Momentum

Brutal Momentum

+15% Weak Spot Damage. Weakspot Kills also ignore Enemy Hit Mass.

weapon container bottom
weapon container top
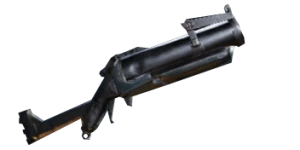
Lorenz Mk VI Rumbler
Transcendant
Lorenz Mk VI Rumbler
weapon container middle
Blast Radius
[76/80]%
Ammo
[76/80]%
Penetration (Blast)
[76/80]%
Blast Damage
[76/80]%
Mobility
[76/80]%
10-25% Damage (Carapace Armoured Enemies)
10-25% Damage (Unyielding Enemies)
Adhesive Charge

Adhesive Charge

Your Grenades stick to Ogryns and Monstrosities. +15% Damage vs Ogryns and Monstrosities

Shattering Impact

Shattering Impact

Target receives 4 Stacks of 2.5% Brittleness on direct projectile hit. Debuff lasts for 5 seconds and can have a maximum of 16 stacks.

weapon container bottom

Curios

Divider
weapon container top
Blessed Bullet
Transcendant
Blessed Bullet
weapon container middle
+13-17% Toughness

+13-17% Toughness

+1-4% Combat Ability Regeneration
+4-10% Revive Speed (Ally)
+2-5% Toughness
weapon container bottom
weapon container top
Blessed Bullet
Transcendant
Blessed Bullet
weapon container middle
+13-17% Toughness

+13-17% Toughness

+1-4% Combat Ability Regeneration
+4-10% Revive Speed (Ally)
+2-5% Toughness
weapon container bottom
weapon container top
Blessed Bullet
Transcendant
Blessed Bullet
weapon container middle
+13-17% Toughness

+13-17% Toughness

+1-4% Combat Ability Regeneration
+4-10% Revive Speed (Ally)
+2-5% Toughness
weapon container bottom

Talent Tree

Divider

Description

Divider

I use this on any difficulty. This is meant to max out the damage potential of the shield itself. Great build, but not too much defence like some of the other shield build options. Be careful with this one. I only use bullrush to knock things back nothing else. Other builds I'll use the extra nodes for toughness/bleed, etc. All the node choices are strictly for damage output only. You don't need impact nodes either because of the inherent stagger of the shield itself, so you're safe. There's so much stagger built in already that it doesn't matter it's just diminishing returns. With this build you need to be playing very aggressively. Other builds with the shield I usually play defensively. For this to work you have to put in the work.

22 hours ago