Table of Contents
Zealot Build - Warhammer 40k: Darktide
Hammer Time Havoc 40(Bosses Hate This Build)
Zealot Build - Warhammer 40k: Darktide
Class

Weapons



Thrust
Up to +12.5% Strength based on the charge time of your heavy attacks. Stacks 3 times.

Headtaker
+5% Strength for 3.5s on Hit. Stacks 5 times.


Penetrating Flame
Direct hits apply 4 Stacks of 1% Brittleness for 5s. Stacks 20 times

Blaze Away
+8% Strength for every 10% of magazine spent during continuous fire. Stacks 5 times.
Curios


+1 Wound(s)
+1 Wound(s)
+17-21% Max Health
Talent Tree

Description
Updated for the current patch: Depths of the Damned
Build Guide:
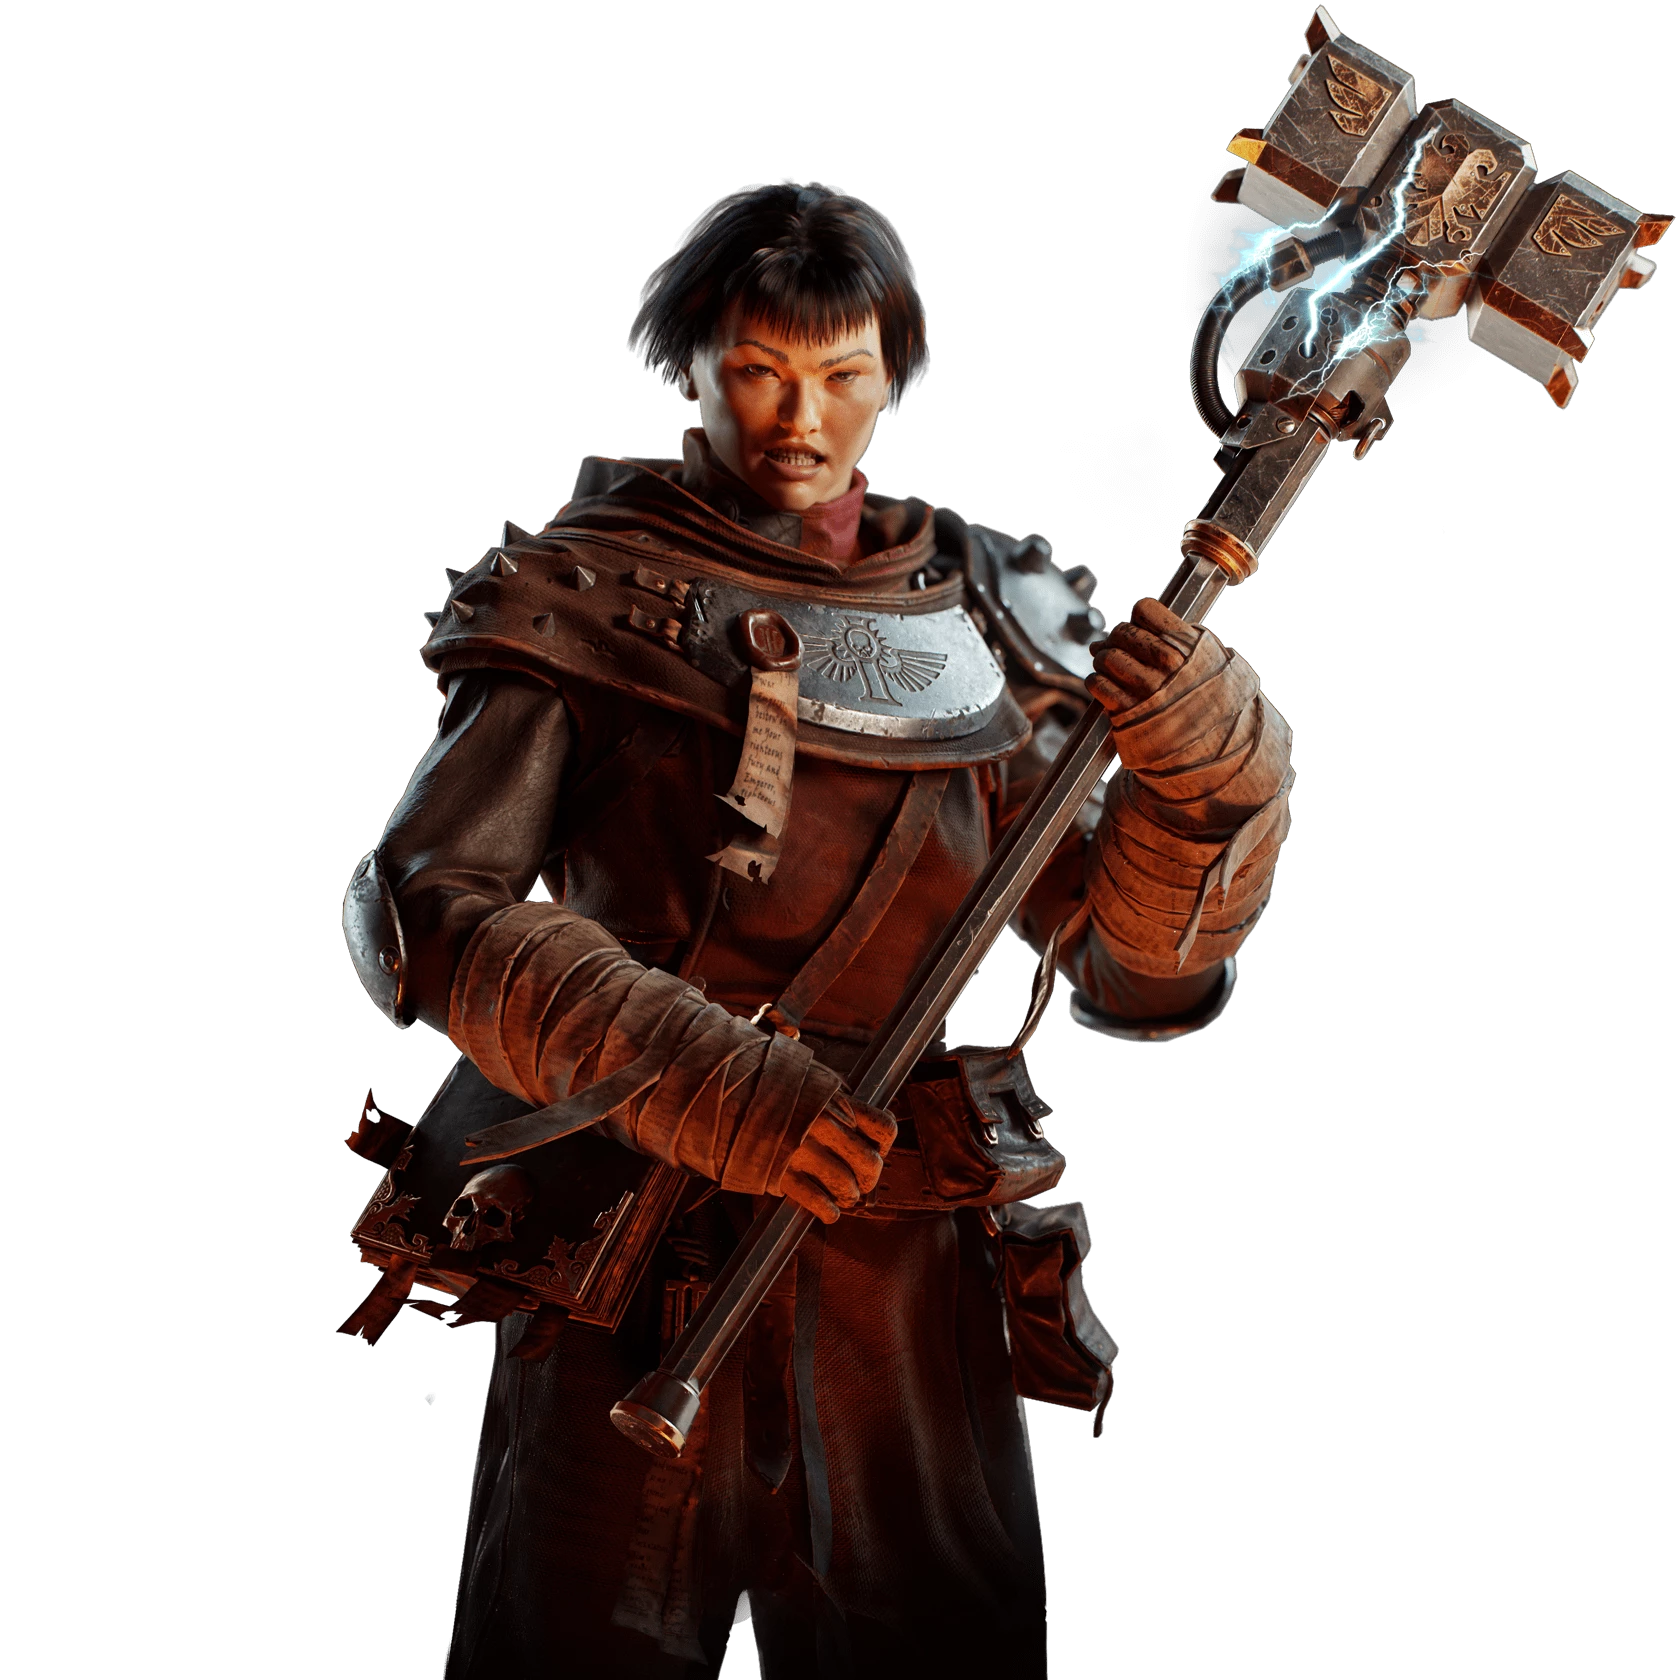
-Focus on positioning, this is an extremely powerful build in an experienced players hands. Awareness of what is around you and what your fellow teammates are struggling with in a run will allow you to thrive using this build. It is a target priority focused build where you can dish out a MASSIVE amount of dmg in single target bursts as long as you focus on what’s around you and what you should be killing quickly to help your team do their jobs
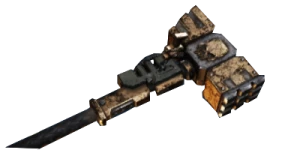
-You can take out most anything in the game quickly with a charged hammer strike, utilizing Thrust from charged heavy attacks, and headtaker stacks built up on the THammer from trash mobs. While utilizing martyrdom and headtaker stacks You can one tap all monstrosities with a fully charged backstab Hammer Overhead to weak spots. Additionally, using the same method, you can 1-tap Captains and Daemonhosts, (Hexbound asw).
-Learn to thrive at low health because if you want to Nuke bosses and output the most amount of dmg you can you’ll need to take advantage of Martyrdom and rely on your holy revenant ability to tank any lethal damage you might take
Curio Explanation:
-For my build, I prefer the 21% Health because I’m deliberately playing around low HP and Martyrdom, and the extra Max Health also increases the amount Holy Revenant can restore. The 17% Toughness setup is more conventional, but I prefer the larger health pool and the stronger emergency heal.
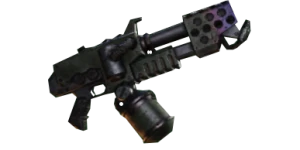
-Take out Flamer for large mixed hordes and it will deal with them quickly
-I use the Crucis MK II because of the undeniably impressive single target damage which when used in tandem with this build can Nuke any boss the game throws at you and your team, even Packmasters, who were seemingly created to Counter us Hammer Stealth Mains. Learning the specific moveset of the Pack Master will allow you to still deal with him fairly quickly even if his Aggro is on you. Just Kite, wait for a window, and Strike hard and fast
-Using this build I’ve won countless Havoc 40’s, clutched up situations where my whole team was down, performed clutch revives, and consistently put up Damage numbers between 1 Million and 3 Million in any given Havoc 40 match
-This build takes A LOT of practice to be good at, but once you get a feel for the positioning, movement, and mechanics surrounding the stealth back-stab, you will consistently add value to your team and clutch many situations where all seems lost
Happy Boss Hunting,
LegendsnareYT
Video
Other builds by LegendsnareYT