Table of Contents

Class

Weapons



Uncanny Strike
Hitting an enemy's weakspot applies 8 stacks of 2.5% Brittleness. Duration 5 seconds. 16 max stacks.

Precognition
+60% Finesse Damage for 2s on successful Dodge.


Penetrating Flame
Direct hits apply 4 Stacks of 1% Brittleness for 5s. Stacks 20 times

Warp Nexus
Gain between 5% and 20% Critical Chance based on current level of peril.
Curios


+13-17% Toughness
+13-17% Toughness
+17-21% Max Health
Talent Tree

Description
── AT A GLANCE ──
Horde Clear: [5/5]
Crowd Control: [4/5]
Elite Killing: [3/5]
Special Killing: [3/5]
Monster Damage: [3/5]
Survivability: [4/5]
Team Utility: [5/5]
Peril Management: [Moderate]
Skill Floor: [High]
Hysh Psyker
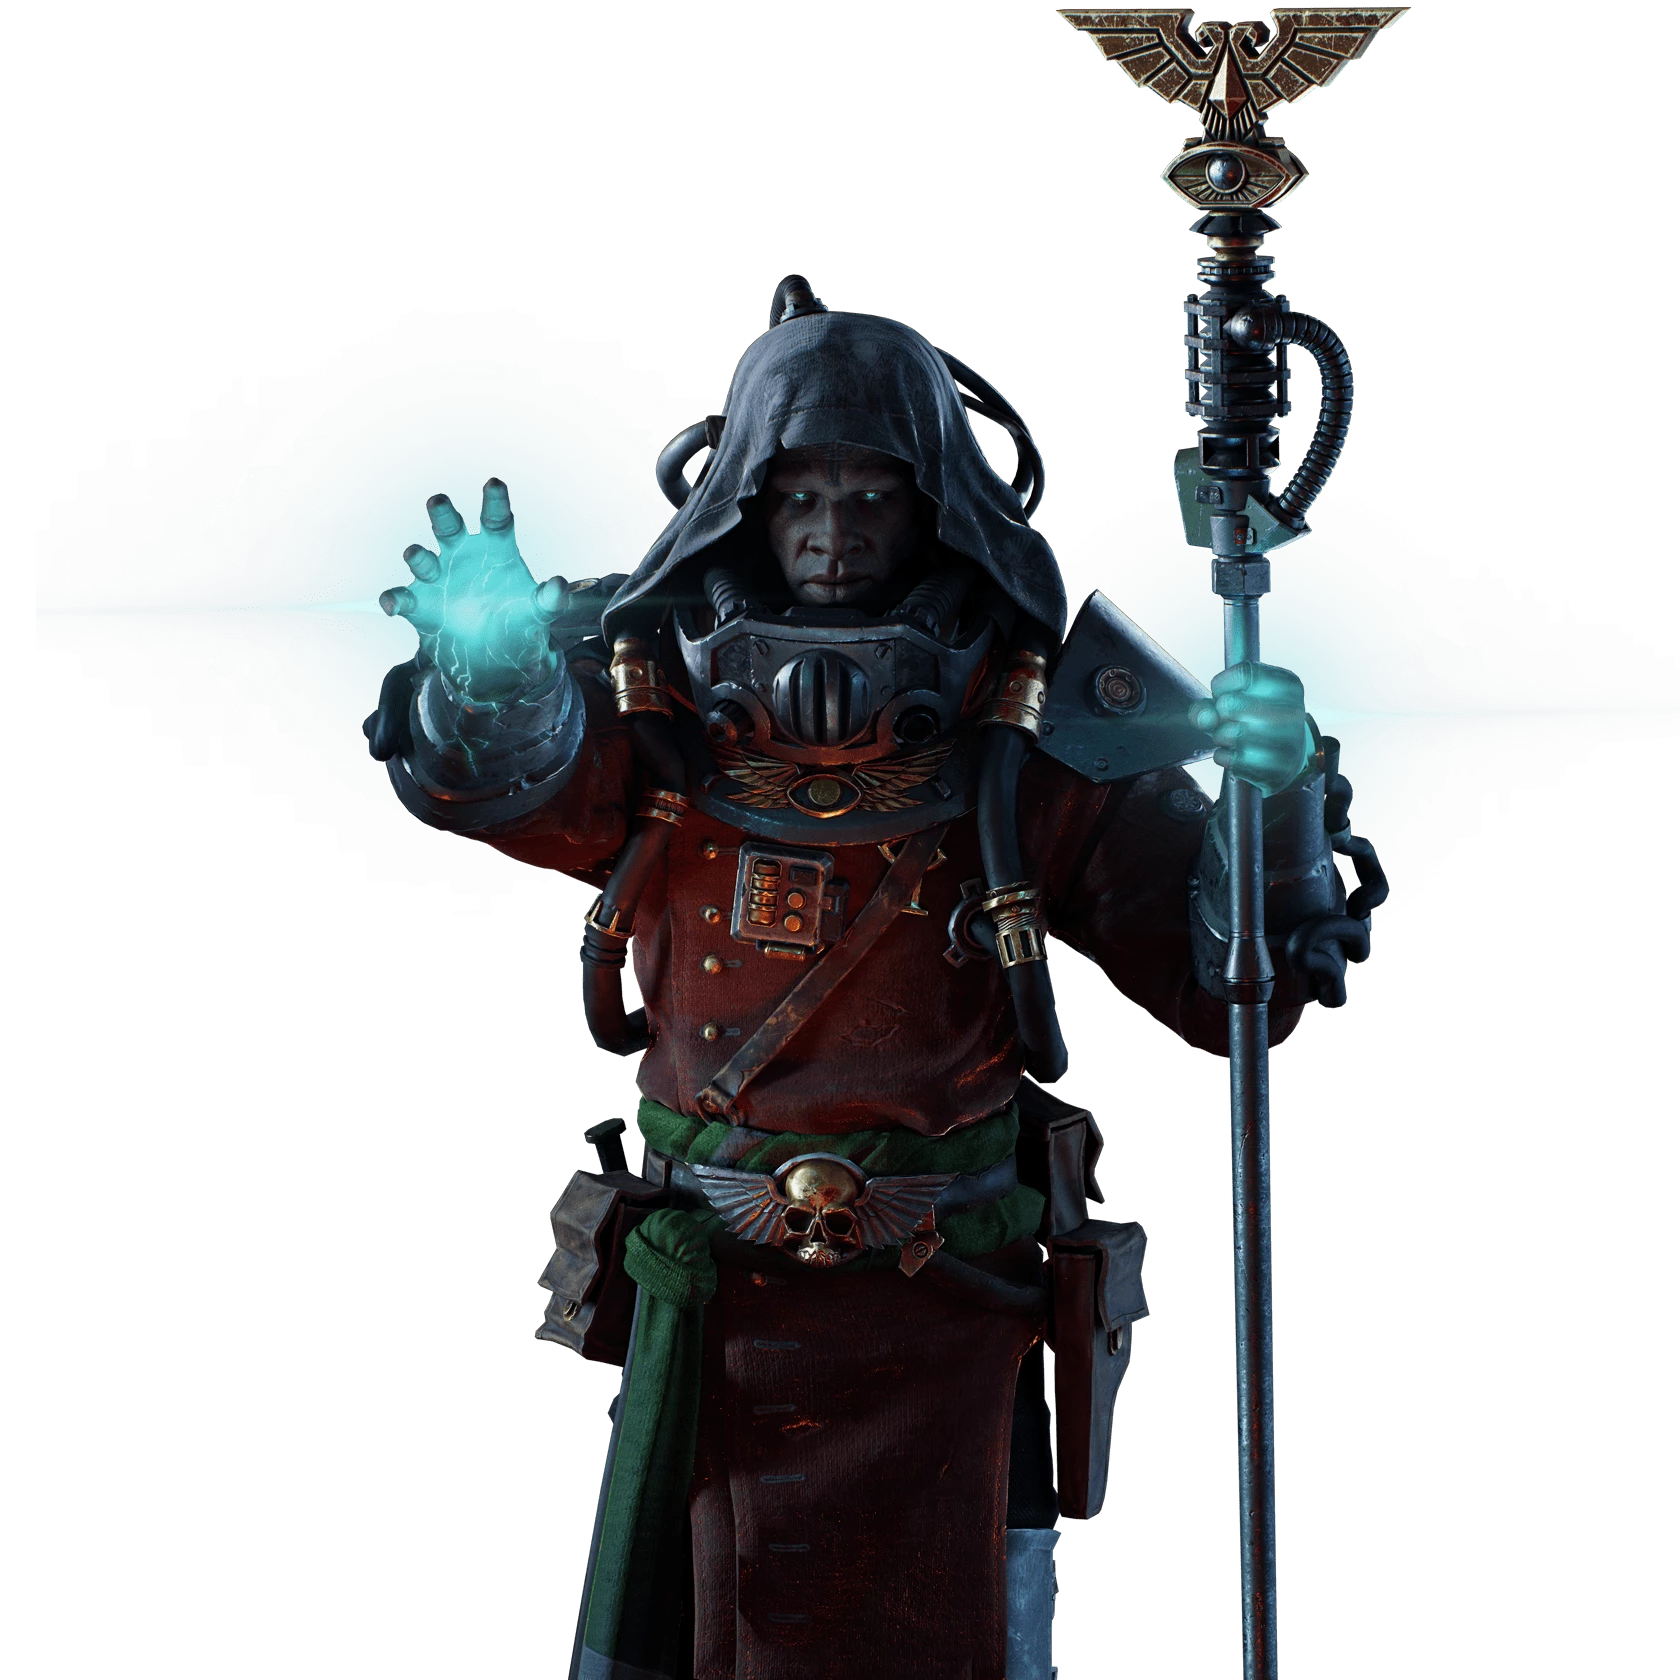
The current 'meta psyker' build, I guess. Although I must admit, I hate using that term as teamwork and co-ordination are what is important, and 'meta' is often defined by whoever keeps repeating it loud enough. That said, the Hysh Psyker provides a massive amount of utility while also melting mixed hordes. These two effects synergise together, as enemies killed via soulblaze reduce your cooldown. This is what allows at least one instance of Telekine Dome to be up permanently. It provides not only ranged protection to your team, but toughness regeneration in melee fights. You are providing so much to the team that you shouldn't be afraid to stand behind them, using them as a shield, giving yourself the space needed to make the most of your warp abilities.
Playstyle
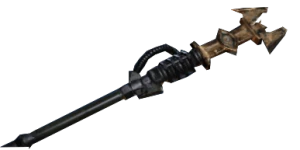
Horde clear is our specialty. The Rifthaven Mk II Inferno Force Staff does less armoured damage than the equivalent Zealot flamer, but makes up for it with infinite ammo. Use it constantly throughout the mission to deal with approaching hordes. The primary attack fires a squirt of flame rather than a constant blaze, which is not a good way to apply soulblaze quickly, since it only applies one stack normally or two on a critical. It does, however, have very high stagger, enough to push ragers back. Use this to quickly push enemies away from you while you create distance to hit them with a concentrated secondary attack stream of fire.
You are the linchpin of the team. You should decide the best place to engage the enemy and position your Telekine Dome accordingly. A good team will fight with you inside the shield, and only leave when forced to. Make use of chokepoints and terrain advantages as much as possible, positioning yourself so you can incinerate enemies in a line. A good defensive position is always preferable, and domes in the middle of nowhere should only be used when caught out suddenly or advancing on ranged enemies. This is also effective against a Beast of Nurgle. Putting a dome over its head traps it, preventing its vomit attack from spreading and allowing allies to safely land heavy attacks to its head.
During boss fights, your focus should still be on horde clear. That said, if there is no horde to clear, you can contribute to boss damage. Dropping a shield allows you to make use of Kinetic Resonance, and spamming Brain Rupture at a monstrosity can deal respectable damage from a safe distance. Your melee weapon can also deal good boss damage and is the best method for dealing with Scab Captains. Otherwise, this is a risky endeavour for such a squishy character and should only be attempted in emergencies.
Weapons
The Rifthaven Mk II Inferno Force Staff is our primary weapon throughout the mission. To get the best use out of it, make use of funnel points and chokepoints. Flames deal damage based on the base armour type of the enemy, so I like to pick up extra flak damage since it's the most common armour type you'll encounter. More importantly, though, is how the flame staff works with critical hits. The majority of the damage comes from the burn stat, and soulblaze stacks increase damage exponentially, so even a modest increase of 5% leads to a massive damage increase across all damage types. The burn stat technically caps damage over time at 75% with 14 stacks. If you want to min max your weapon, you can push for this, but I kept the dump stat at 60% for simplicity's sake (and because of rounding errors, I'm not fully certain if it maxes out at 75% or 76%, and I don't want to spread misinformation). For blessings, Warp Nexus is a natural choice for increasing critical chance and Penetrating Flame helps us better deal with armoured threats such the Crusher and Scab Mauler
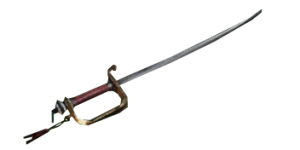
Most staff psykers run some kind of force staff to make use of its Deflector ability. Given how frequently we're dropping Telekine Dome, though, I find this less necessary than for other psyker builds. One of the biggest threats you will come across is the Crusher, as these will not be staggerd by your flames, and their overhead attacks will 1-tap you. For this reason, I favour the Maccabian Mk IV Duelling Sword. Heavy attacks can deal good damage, even to their armour. If backed into a corner with nowhere to move to, their special parry special ability can save you in a pinch, and deflect that damage back at their head. Uncanny Strike better helps us cut them down to size and Precognition helps to deliver that finishing blow faster.
Curios
- 2 x toughness curio
- 1 x health curio
- 3x ability cooldown
- 3x revive speed
- 2x gunner resistance
- 1x toughness perk
Whilst you can make adjustments based on individual builds, I find this to be a pretty good mix of stats for most psyker builds, and is a good starting point to aim for, as I know how tedious it can be to find those +17 toughness and +21 health curios. Block efficiency and stamina regeneration can also be useful depending on what you are looking for, and you can adjust your loadout to what you need. In general, if you are looking for more toughness or health, it is more efficient to pick up toughness perks and a health curio, as a curio gives you +21% health compared to +17% toughness, whereas both versions of the perk only give +5% health.
Whilst the psykers innate health is low, and at high Havoc we will still get 1-shot by crushers and maulers, I have found the extra health useful in mitigating the myriad forms of corruption present. Cooldown reduction lets use our abilities more frequently. Abilities are some of the most powerful tools any budding varlet has, and should be prioritised in the majority of cases. Whilst everyone should be working hard to avoid dying, there will inevitability be times when we need to make a quick pick-up. Kinetic Deflection makes this possible, provided there are no heavy hitters in the mix, and extra revive speed can help make the difference to losing a teamate or not.
Gunner Resistance is the most useful resistance node as it applies to Dreg Gunner, Dreg Shotgunner, Scab Gunner, Scab Plasma Gunner, Scab Shotgunner, and Reaper. Please note, this reduction does not apply to basic gunner type enemies, and these previously unassuming enemies will become some of the biggest threats in high havoc. This is the largest collection of enemies out of any of the resistance perks. These enemies can absolutely shred you in seconds, and it's not uncommon to see teammates seemingly insta-die when faced with a firing squad of them, especially with toughness grace period being removed. The ability is multiplicative, so it does have some diminishing returns. 0.80×0.80×0.80=0.512
3x Gunner resistance = 48.8% damage reduction
2x Gunner resistance = 36% damage reduction
It's up to you whether you choose to take all 3, or use that last slot as a flex pick. I personally like to pick up block efficiency because of its synergy with Kinetic Deflection. Since Kinetic Deflection converts a blocked attack's Stamina cost into Peril at a fixed rate, anything that lowers the underlying Stamina cost of a block also lowers the Peril you take on for absorbing it.
Peril gained = Blocked attack's Stamina cost × 0.25
Extra block efficiency therefore compounds twice over: you're spending less Stamina per block in the rare cases you do dip into it, and you're generating less Peril from every block that Kinetic Deflection converts.
Strengths
- Incredible AOE damage
- Great teamwide defence
- High shield uptime
- Great crowd control and stagger
- Good boss damage
- Mobile
Weaknesses
- Slow at eliminating ranged threats
- Slow to kill Carapace enemies
- Squishy
- Reliant on team for space and protection
- Takes time for DoT effect to kill


Other builds by Crukih