Table of Contents
Zealot Build - Warhammer 40k: Darktide
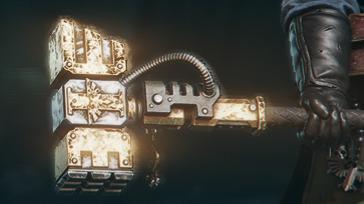
Chad Zealot Bonk Hammer
Zealot Build - Warhammer 40k: Darktide
Class

Weapons


Headtaker
+5% Strength for 3.5s on Hit. Stacks 5 times.
Thrust
Up to +20% Strength based on the charge time of your heavy attacks. Stacks 3 times.


Surgical
+10% Critical Chance for every 0.2 second while aiming. Stacks 10 times. Discharges all stacks upon firing.
Puncture
Ranged hits add 4 stacks of bleed to enemies.
Curios

+1 Wound(s)
+1 Wound(s)
+1-3 Max Stamina
Talent Tree
Description
"Big or small this will bonk them all"
This is a simple build guide for the Bonk Zealot build, This build functions fairly simply the idea is the lower your health is the stronger you are. Optimally keeping your health at one to two Wounds Allows you enough health and damage resistance to keep yourself in the fight as well as your allies. It is best to ignore health stations and med crates however healing is still useful in much smaller quantities, when Holy Revenant activates and you're unable to find an enemy to replenish your health in such cases its good practice to keep a med stim or use a deployed med crate when available to replenish a small amount of health. med stations are a last resort and should only be used if you have too many corrupted wounds, fire barrels can be used to lower your health back down If necessary. like all builds it is a good idea to learn to dodge well. dodging keeps this build alive and replenishes toughness so remember to stay slippery.
A short video explaining the uses cases for the thunder hammer:
https://www.youtube.com/shorts/AugrjVqOvLs
The boltgun is a straight forward weapon however with this build it functions best when used to pick off targets with head shots allowing the bleed stacks wither away the last sliver of health but in some cases enemies still need a second or third shot. works best on flack/unarmored enemies.
Bossing: The last but certainly not least, bossing is where this build truly shines but learning the timing for the wind-up can be tricky but rewarding. the main strategy for charging bosses is to bait out an attack, dodge, make space, activate your hammer ability, charge your heavy attack, then activate Fury Of The Faithful while aiming for the most vulnerable part of said boss for massive damage. Daemon hosts allow for a more deliberate line up if you hit them while in a resting state, 2-3 successful blows with the method described above will make short work of them