Table of Contents

Class

Weapons


Last Guard
Block Breaks push Enemies, 9s cooldown. -30% Block Cost.
Skullcrusher
Target receives 4 Stack(s) of +10% Damage if already Staggered. Lasts 5s.

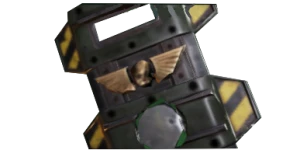
Adhesive Charge
Your Grenades stick to Ogryns and Monstrosities. +15% Damage vs Ogryns and Monstrosities
Shrapnel
4 Bleed Stacks from close range explosions.
Curios

+13-17% Toughness
+13-17% Toughness
+13-17% Toughness
Talent Tree
Description
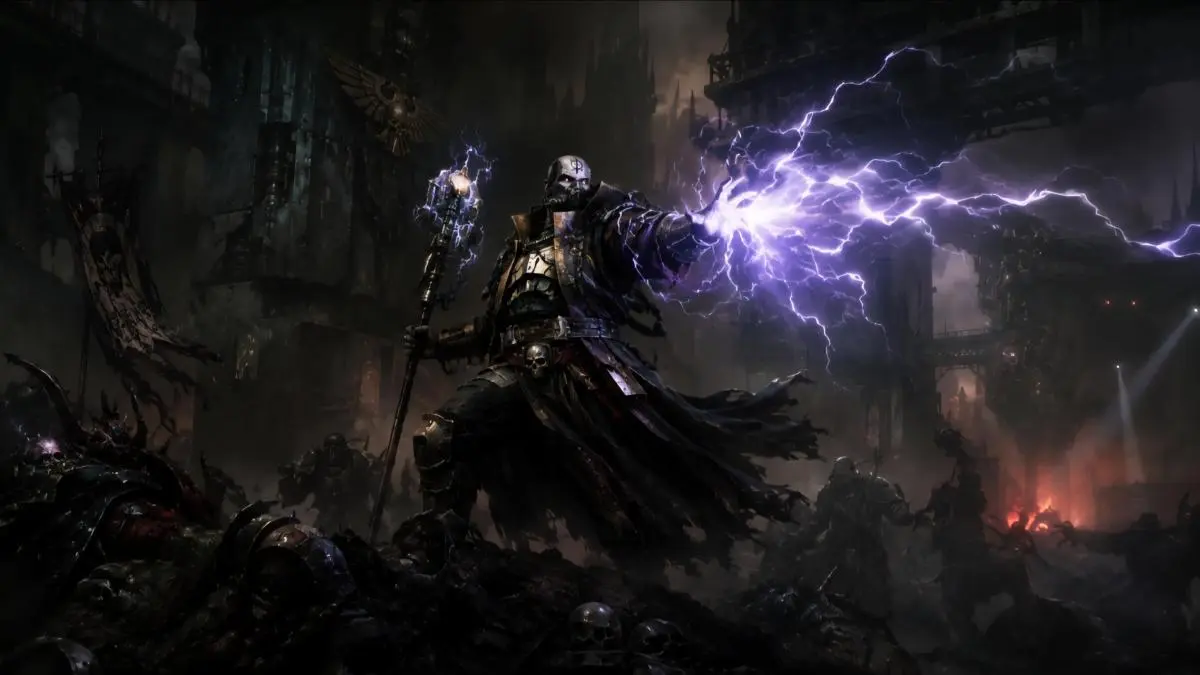
The Bulwark of Tertium
Havoc 40 Slab Shield Ogryn
When the hive descends into chaos, when Crushers thunder through the front line and gunfire turns corridors into deathtraps, this Ogryn does not retreat.
He plants his shield.
The Bulwark of Tertium is built around a simple philosophy: the squad cannot die if the enemy is too busy dealing with you. Every talent, blessing, and weapon choice serves that purpose. This isn't a build focused on chasing damage numbers. It is a build focused on controlling the battlefield so completely that your team can fight without fear.
At its core sits the Orox Mk II & Mk III Battle Maul & Slab Shield the perfect weapon for a frontline protector. The shield's immense stagger allows you to dictate the pace of every engagement, keeping hordes, Crushers, and Bulwarks locked down while your team dismantles them. Confident Strike was chosen because toughness sustain is the lifeblood of any tank build. The more enemies you hit, the harder you become to kill. Skullcrusher transforms all that stagger into team-wide damage, causing enemies you've already knocked off balance to suffer even greater punishment from every source. Combined with Carapace damage, the shield becomes surprisingly effective at breaking down armoured elites despite its defensive nature.
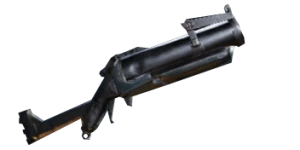
Backing up the shield is the Lorenz Mk V Kickback , chosen specifically because it solves the few weaknesses the shield cannot. Distant specialists, dangerous shooters, and advancing elite packs can all be stopped instantly with a well-placed blast. Surgical provides enormous critical strike potential for deleting priority targets, while Expansive creates a natural synergy with the build's melee focus. One devastating Kickback blast into a crowd empowers the shield, allowing the follow-up melee engagement to hit significantly harder.
The heart of the build is Loyal Protector .
Most players use their combat ability as an emergency button. This build uses it as battlefield control. Loyal Protector forces the enemy to acknowledge your presence, repeatedly taunting everything nearby and pulling pressure away from your teammates. Whether a Veteran is pinned by shooters, a Psyker is being overwhelmed by elites, or a Zealot has overextended, Loyal Protector instantly resets the fight in your squad's favour.
The modifiers were selected to amplify that role. Feel No Pain turns every taunt pulse into a source of toughness restoration, ensuring the ability protects you while protecting your team. Valuable Distraction causes taunted enemies to take increased damage from all sources, making every activation both a defensive cooldown and a team-wide damage amplifier.
Supporting all of this is Stay Close! , an aura chosen because it strengthens the entire squad rather than just yourself. Toughness replenishment is one of the strongest defensive stats in Havoc, and improving it for everyone creates a noticeably sturdier team.
The build's incredible durability comes from Feel No Pain , the keystone that transforms an already tanky Ogryn into something far harder to kill. Each stack grants both damage reduction and toughness replenishment, creating a constant defensive buffer before any other talents are considered. Toughest! increases the value of every stack, while Strongest! ensures your natural shield gameplay constantly replenishes them through pushes and crowd control. Pained Outburst acts as an emergency failsafe, knocking enemies away and restoring toughness when things start getting dangerous.
Beyond the keystone, several talents work together to create layers of survivability. Heavyweight is invaluable in Havoc, increasing both your damage against Crushers, Bulwarks, Reapers, and Plague Ogryns while reducing the damage they deal to you. Implacable provides damage reduction during heavy attacks, allowing you to stay aggressive without sacrificing durability. Pumped Up rewards good stamina management with additional resistance, while No Hurting Friends! makes you tougher the longer a fight drags on and the more pressure your squad experiences. Finally, Too Stubborn to Die provides one last safety net, ensuring that even when wounded, you remain exceptionally difficult to bring down.
Control is where the build truly shines. Attention Seeker allows blocks and pushes to taunt enemies without requiring Loyal Protector, constantly pulling aggression away from allies. Brittle Strength turns every push into a damage amplifier by applying Brittleness to enemies. Hard Knocks further increases melee damage against staggered targets, while No Pushover dramatically improves the strength of your pushes, allowing you to bully entire groups of elites. Combined with Slam , which boosts impact and restores stamina, the build gains the ability to lock down huge sections of the battlefield almost indefinitely.
What truly makes the build feel immortal, however, is the toughness engine working beneath the surface. Confident Strike , Smash 'Em! , The Best Defence , Feel No Pain , Stay Close! , and Feel No Pain are all feeding toughness back into the build simultaneously. Rather than relying on a single source of sustain, the build layers multiple systems together until toughness becomes a constantly replenishing resource. The harder the enemy pushes, the more opportunities you have to recover.
The curios reinforce this philosophy. Triple toughness curios dramatically increase the value of all your toughness regeneration and damage reduction talents. Combat ability regeneration means more Loyal Protector activations throughout a mission. Stamina regeneration fuels additional pushes and blocks, while Gunner resistance helps mitigate one of the few threats capable of testing even a shield Ogryn.
The end result is a build that doesn't simply survive Havoc 40—it controls it.
Enemies are taunted, staggered, weakened, and held in place. Crushers lose their momentum. Gunner lines collapse. Teammates get breathing room. Revives become safer. Every fight slows down and bends around the Ogryn standing at its centre.
You are not the squad's damage dealer.
You are the reason the damage dealers are still alive.
Plant the slab. Draw their attention. Hold the line.
The Bulwark of Tertium does not fall.