Table of Contents
Ogryn Build - Warhammer 40k: Darktide
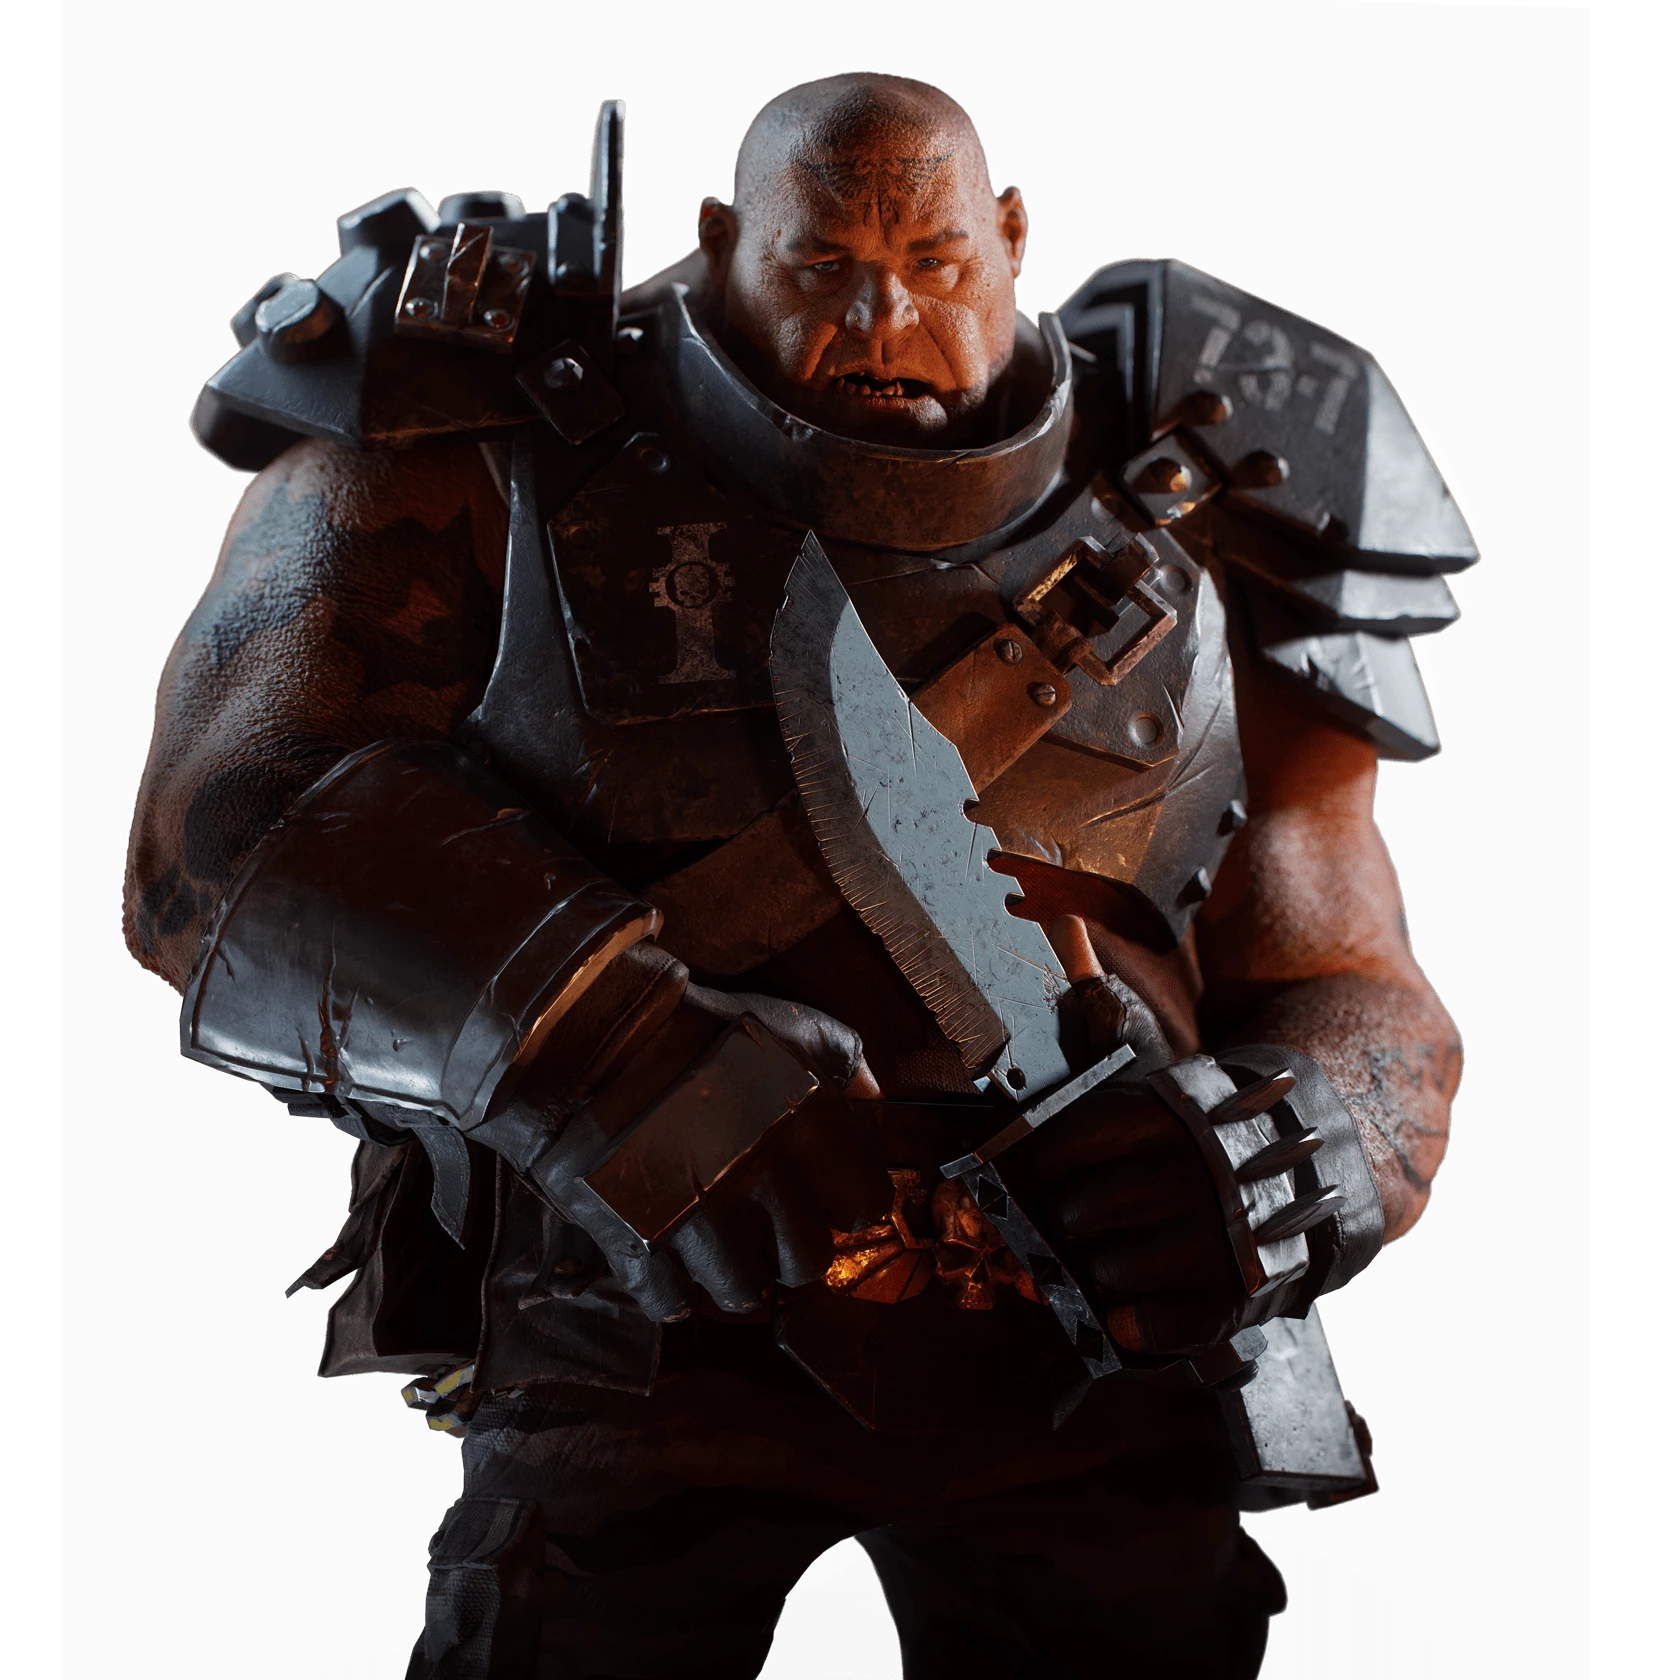
Ogryn Bonepicker (+Pickaxe Guide)
Ogryn Build - Warhammer 40k: Darktide
Class

Weapons



Thrust
Up to +20% Strength based on the charge time of your heavy attacks. Stacks 3 times.

Slaughterer
+8% Strength for 4.5s on Kill. Stacks 5 times.


Pinpointing target
+8% Strength every 0.4 seconds while aiming, stacking 5 times. Discharges all stacks upon firing.

Gloryhunter
+35% Toughness on Elite Kill.
Curios


+13-17% Toughness
+17-21% Max Health
+13-17% Toughness
Talent Tree

Description
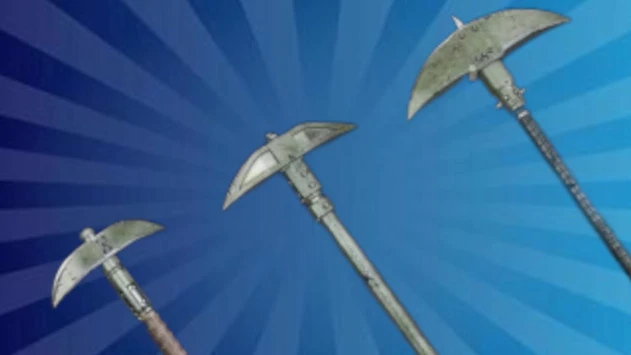
The Karsolas (Light) and Borovian (Medium) picks have a "Pull" special that yoinks enemies, stumbles them towards you (depending on their weight), and applies a debuff that makes them take 10% more damage for 5 seconds. It does not stumble or move Muties or Monstrosities. To make use of the "Pull" special while on the move, you want to Pull while sliding, then slide again and charge the strikedown heavy while sliding. This lets you enter combat at basically full speed with a powerful strikedown heavy.
Borovian (Medium)
Borovian is slept on. Some think it's the worst of both worlds but it's really a straight upgrade over the Karsolas while being faster than the Branx.
Combos
Light 1 + Block cancel. Use against hordes or batches of light elites when defense isn't a priority. Light 1 has great cleave values and if you get the timing right it's just as good against hordes as Karsolas.
Push attack + Heavy 1 + Light + Light (push attack optional): Use when being attacked by huge numbers of horde or light elites, such as ragers. Start this combo with a Heavy when sliding into a fight.
Special + Heavy + Light: Use against heavy elites like Crushers.
Special + Light + Light: Use instead of above if not using Thrust or if there's a lot of heavy elites you need to stagger while the team helps kill them. Both lights are strikedowns after the pull.
Light attack spam: Use when killing sporadic enemies.
Karsolas (Light)
The light pickaxe has the simplest horde-clear moveset, but that doesn't mean it is a lightweight against armor. The weapon special is a powerful stagger that pulls the enemy slightly closer. After using the weapon special, the next attack (light or heavy) becomes a powerful strikedown. The next light after that combo is also a strikedown.
Two ways to build it:
1) Heavy-focused: Thrust and Slaughterer
2) Light-focused: Slaughterer and Headtaker or Confident Strike
Heavy Combos
- Heavy Chain - Bread and butter. Note that the heavies have a much shorter delay before Thrust (and Crunch) stacks build up than the other pickaxes.
- Special + Heavy + Light: go-to combo against Bulwarks and anything with a lot of HP. Great against ragers and other medium elites when you lack buffs. Great to kill a mutant (use the special before they get to you). The special won't pull them, sadly. On Heavy build this will kill a crusher with 1 stack of Heavy Hitter, or Crunch, or Headtaker over S&S. On Light build it will kill a crusher with nearly maxed buffs.
- Push Attack + Heavy + Light: follow-up combo for anything that you've already hit with the special combo but isn't dead yet. It's also a useful combo when you have a mixed horde and need to push everything before taking out a priority target.
Light Combos
- Light 1,2,3 + tap block: use in hordes. Avoids the strikedown of Light 4. You can just do a full light chain if there's a beefier target you want to take out, to maintain confident strike, or if you're just lazy it's not a big difference.
- Special + Light + Light: fast single target combo.
- Push Attack + Light + Light: Use to push trash while taking out a priority elite.
Note that you can use pushes without doing a push attack by holding block for just a moment after pushing. It can be helpful to push before charging a heavy in cases where you don't want to push attack.
Branx (Heavy)
Lights are strikedowns, and so is Heavy 1. But lights chained after the second heavy become wide attacks. Your main hordeclear combo is Push Attack + Heavy 2 + Light then repeat Heavy 2 + Light.
The special attack is a push, rather than a pull, but it applies the exact same Pull debuff as the other picks. It has a bit of an uncomfortable delay if you try to use it after a heavy attack so it is best used after a light attack.
Recommended blessings: Pick two between Slaughterer, Headtaker, or Thrust. I don't recommend using Slow and Steady as most of the extra toughness regen will be overkill with talent regen. Confident Strike is actually better than Slow and Steady for survivability because it lets you regenerate toughness on the lights or specials attacks in between heavies which helps your survival more than increasing heavy hit restoration. Just keep in mind pushing or blocking resets it.
Combos
Heavy 2 + Light main horeclear combo for this weapon. It gets noticeably faster once heavy hitter reaches 5 stacks.
Push Attack + Heavy 2 + Light most common way to open the combo.
Heavy 2 + Light + Special + Heavy 2 alternate combo that applies Pull debuff.
Heavy 1 + Light + Heavy 1 single target combo when you don't have 5 stacks of heavy hitter yet
Heavy 1 + Light + Light + Heavy 1 single target combo when you have 5 stacks of heavy hitter already.
Blitz
Switch between Rocks and Frag Bomb as needed. Rocks are great to save allies from Muties and quickly take out flamers and gunners. Frag Bomb if the team has only 0-1 other players that need grenades. Frag Bomb recommended for Heinous Rituals unless there's a Hive Scum.
Ranged Weapons
Grenade Gauntlet: Most reliable specialist killer. Struggles to meet breakpoints for Gunners and Flamers in H40 but still great to take out Bombers, Snipers, and Trappers and suppress shooters. If enemies are tightly grouped (inside each other), a few shots can do significant AoE damage. The special attack has increased AoE but only use if safe to do so.
Kickback: Most reliable suppression and anti-specialist tool. Use with rock.
Thugshot: good against specialists in Havoc but rough ammo efficiency.
Rumbler: Struggles to make breakpoints in high Havoc for specialist killing without ranged buffs. Great as a panic button for mass aoe damage but really needs a few talent points to be good in high Havoc. Great even without investment in Aurics and below.
Other builds by DocDeranged